


Kẹp giữ sợi Filament
 Bytinx_1344834Likes1.2KDownloads6K
Build another version of this model.
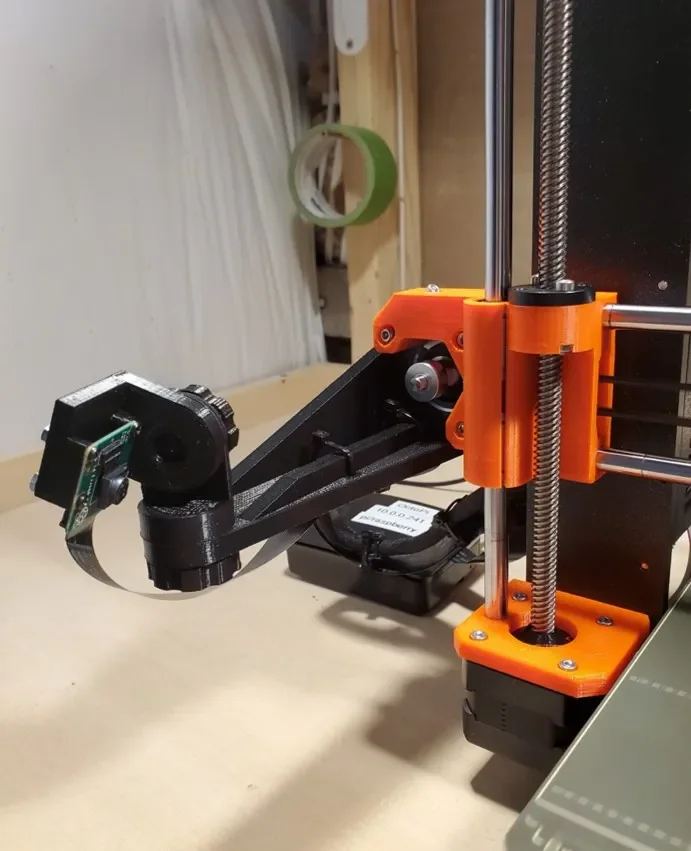
This is a mount for a Raspberry PI Camera on a Prusa Technologies MK3s 3D Printer. The mount attaches to the X-Axis Motor with a single M3x10 screw (use one from the Prusa spares package.). The design is for a Raspberry Pi v2 Video Camera.
Printer Brand: MK3
Printer: Prusa i3
Rafts: No
Supports: No
Resolution: Medium (0.2mm)
Infill: 30%
Filament: Hatchbox PLA Black
Notes:
1/26/23: An update to this design can be found at:
https://www.printables.com/model/376326-camera-mount-prusa-mk3s
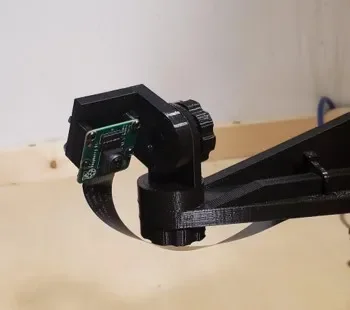
Original Notes: The Camera Board is attached to the Mount with four #2 screws. Put two spacers between the camera board and the mount to create space for the components on the board. The mount provides 2-axis adjustment so you can obtain the exact view you want. Print two of the Knobs. There are holes in the main bracket for tie wraps to route and secure the camera's ribbon cable. I have also included a simple Clip you can tie wrap to the X-axis motor cable and attach the ribbon cable with tie wraps. I used three Clips.
Finally, when it was first assembled the camera was not in focus. The factory sets the focal length to infinity. There are instructions on the internet on how to focus it. Essentially, I held the camera housing on the board carefully with needle-nose pliers and then rotated the lens counter-clockwise with a pin until it was in focus. There's a little soft cement that holds the lens secure, so you will need to push a bit past where it is in focus and let the cement spring back into it's final position.
TinkerCAD
Bytinx_1344834Likes1.2KDownloads6K

 By3DSourcererLikes48Downloads377

 BydalleLikes0Downloads147

 Byarhi_585078Likes64Downloads544

 ByHanzo3dLikes155Downloads416

 ByGeek5DLikes147Downloads489

 ByBrokentooth_designsLikes23Downloads411


 Bycrawler-3903250Likes0Downloads907

 Byartme-3dLikes0Downloads335

 Bybloblis67Likes0Downloads318

 ByWyomingWolf_261196Likes52Downloads431