

New
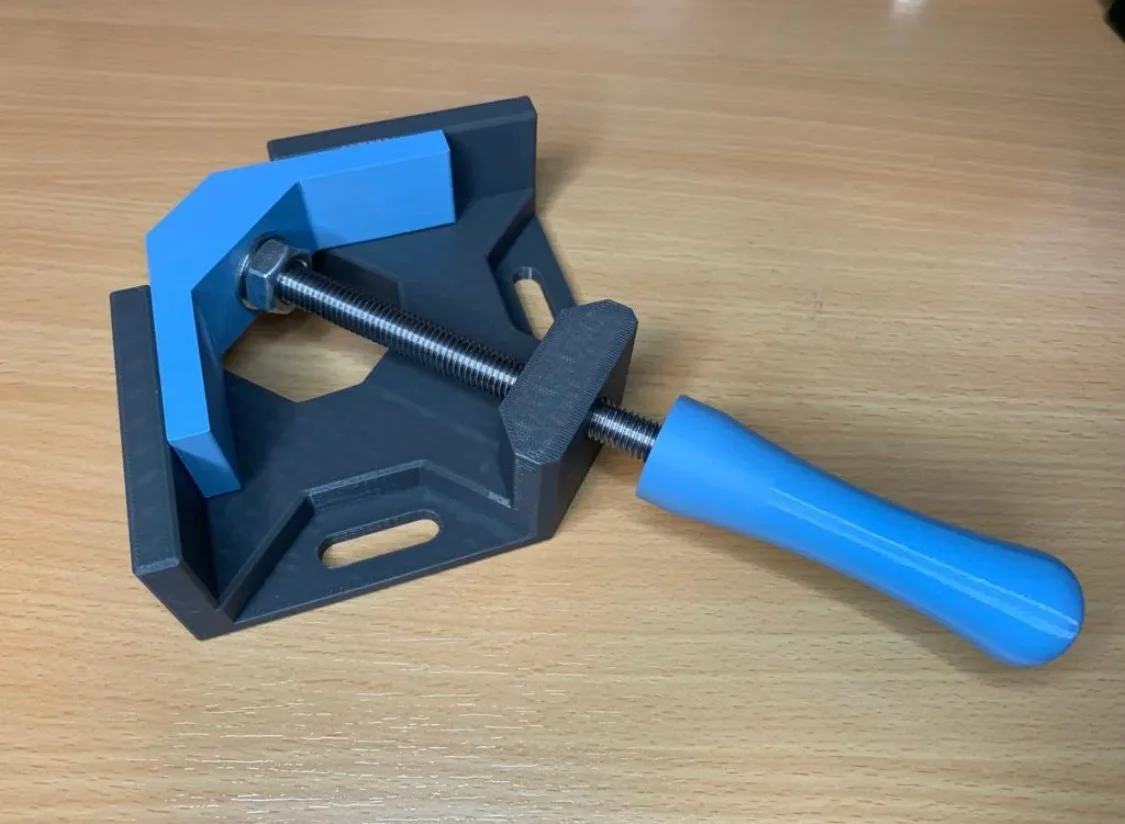
90 Degree Corner Clamp - holds two boards square for gluing and screwing (100% printed)
 Bydelloo2008Likes0Downloads245
Build another version of this model.
Hardware:
Settings:
Add a pause in Slicer at 36mm height - that you can insert an M10 nut with 17mm wrench size.
Add a pause in Slicer at 18,2mm height - that you can insert an M10 nut with 17mm wrench size
Assembling:
As a reminder, if you use threadlocker instead of self-locking nuts, you must let it dry first before use.
Turn the threaded rod into the main part. Then put an M10 nut and a washer on it.
Put the clamp part on it and then the second nut, fix the outer nut with threadedlocker or a self locking nut so that the nut and the rod are flush (green line).
Slide the clamping part over the outer nut and screw the middle nut together and secure it again with threadlocker. ATTENTION do not clamp the part it must be able to rotate freely!
Put a drop of threadlocker on the rod about 57mm from the edge and screw the handle on.
Bydelloo2008Likes0Downloads245


 Byvc-designLikes0Downloads536

 Bychubbs8697_2027893Likes585Downloads1.7K

 ByelitailLikes0Downloads132

 Bythorin-oakenshieldLikes0Downloads532

 ByrexLikes0Downloads104

 ByleonicLikes0Downloads1.4K

 ByfifindrLikes500Downloads4K

 ByVC_DesignLikes679Downloads3.6K

 ByDan Schwartz SchwartzLikes744Downloads3.4K

 Bytorii-creative-studioLikes0Downloads450