



New
SolderMate - Fully 3D Printed Desk Soldering Companion
 ByleonicLikes0Downloads1.4K
Build another version of this model.
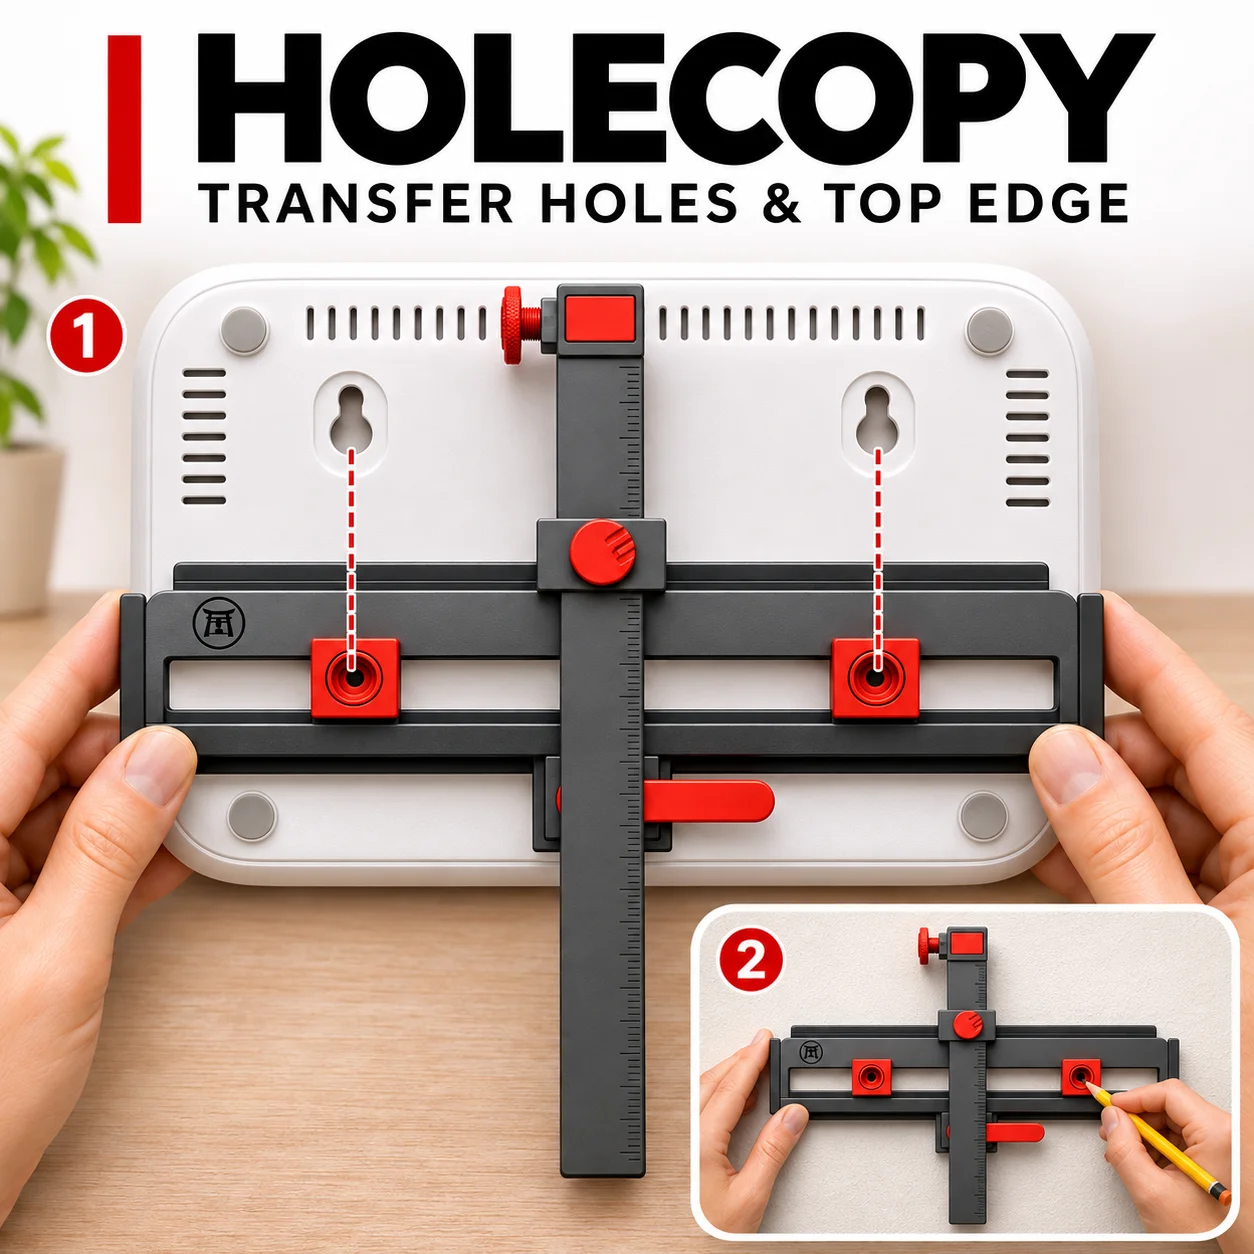
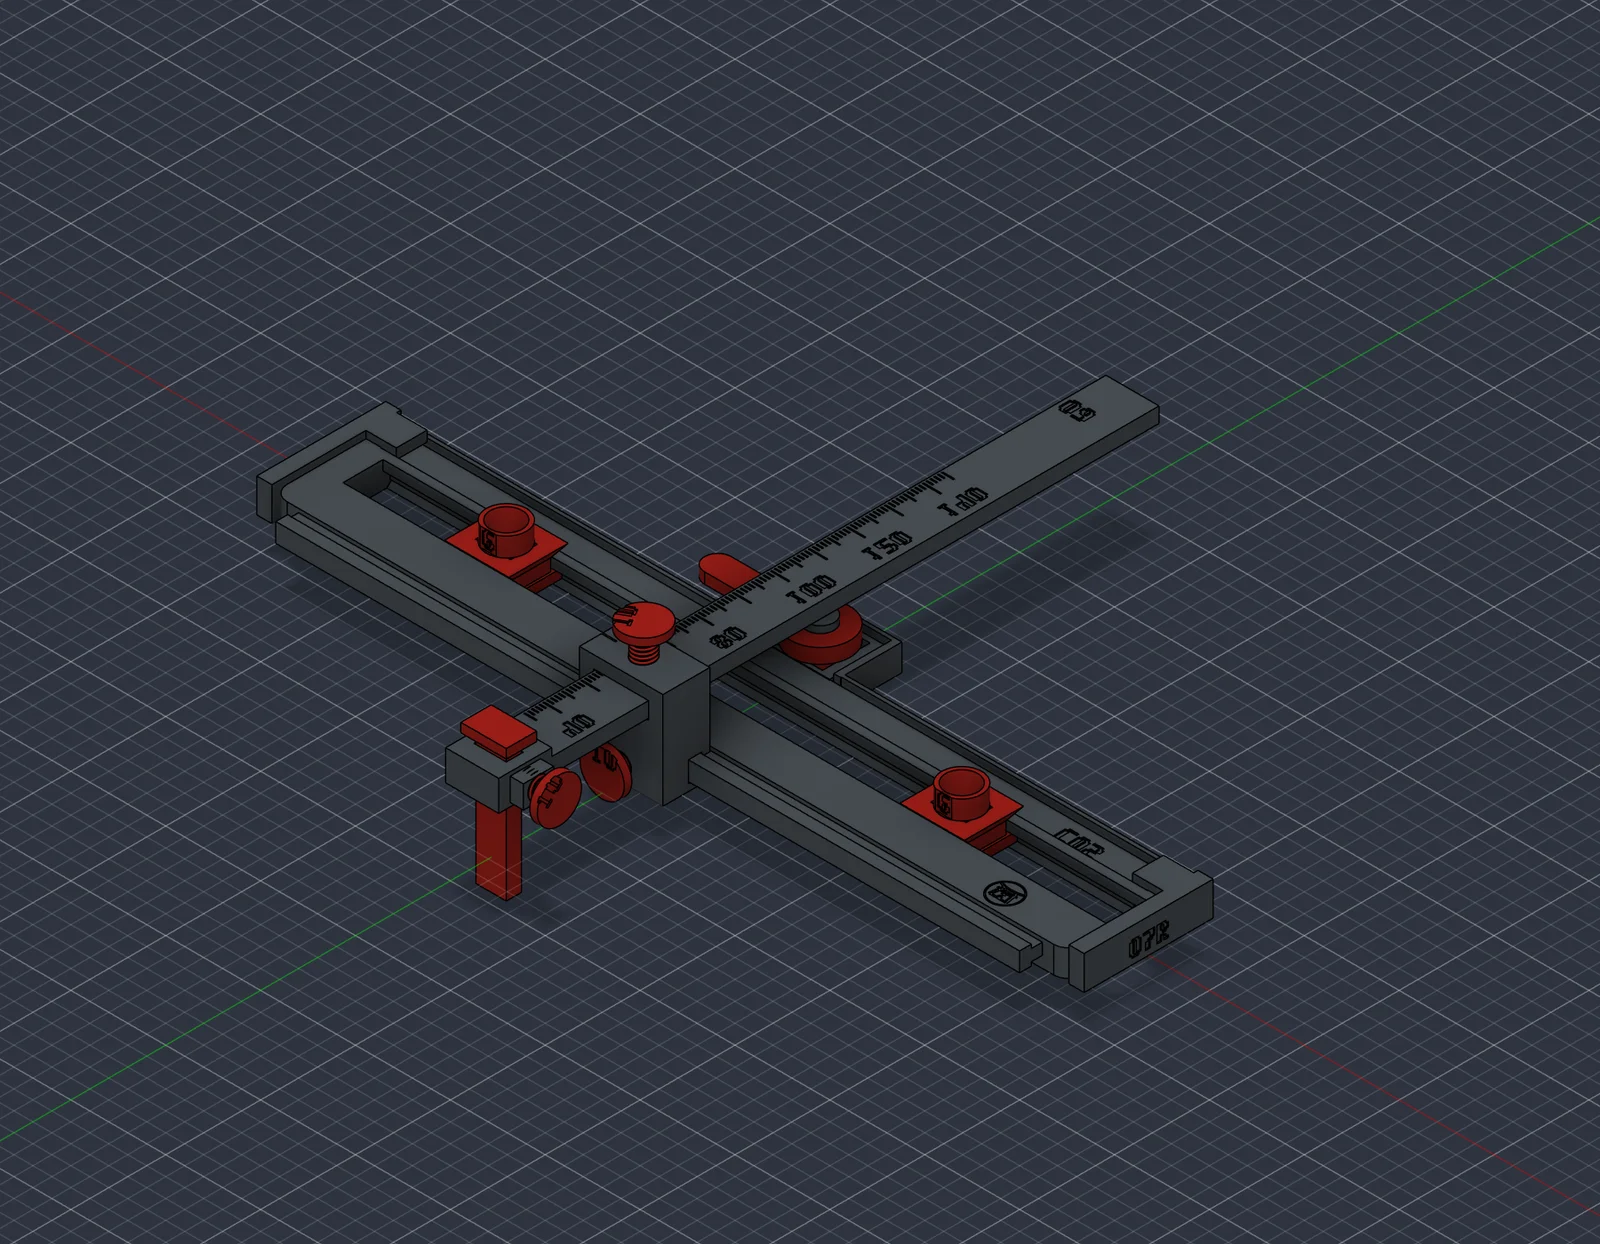
HOLECOPY helps you transfer the position of two mounting holes and the top edge of an object to a wall. Set both retractable tips in the mounting points, close the common cam lever, and adjust the sliding ruler against the top edge. Retract the tips and edge fence, place the jig flat against the wall, align the edge reference and mark the holes through the tips.
FEATURES
• Nominal marker spacing: 18–172 mm.
• Nominal distance from hole centres to top edge: 35–145 mm.
• 3.6 mm locating tips; a fine pencil is needed for marking.
• Common cam lock, retractable markers and sliding top-edge reference.
• All structural and moving parts are 3D printed.
PRINT AND ASSEMBLY
Print T01 plus one C05 and one C06 first to check sliding and retention. Reuse C05 and C06 in the finished tool. Quantities are included in the STL filenames. Recommended starting point: PETG, 0.4 mm nozzle, 0.2 mm layers, four perimeters and 30% infill; use five perimeters for the axle and snap parts. Inspect bridges and supports in your slicer. Assembly guides in English and Polish are included.
FUSION
The F3D and STEP files are included. The separate Fusion script positions the assembly; see the last page of the guide.
VALIDATION
The CAD geometry and selected mechanism positions have been checked digitally. Fit, locking, accuracy and support requirements have not been verified by a physical print or slicer test.
ByleonicLikes0Downloads1.4K

 ByfifindrLikes500Downloads4K

 ByVC_DesignLikes679Downloads3.6K

 ByDan Schwartz SchwartzLikes744Downloads3.4K

 Byvc-designLikes0Downloads534

 Bythorin-oakenshieldLikes0Downloads531

 Bychubbs8697_2027893Likes585Downloads1.7K

 Byquibeck_3353173Likes965Downloads1.9K

 Bydenis-3dLikes0Downloads266

 ByRungeKuttaLikes229Downloads1.2K

 Bydelloo2008Likes0Downloads244

 ByJeremyVillalo_760366Likes68Downloads770