

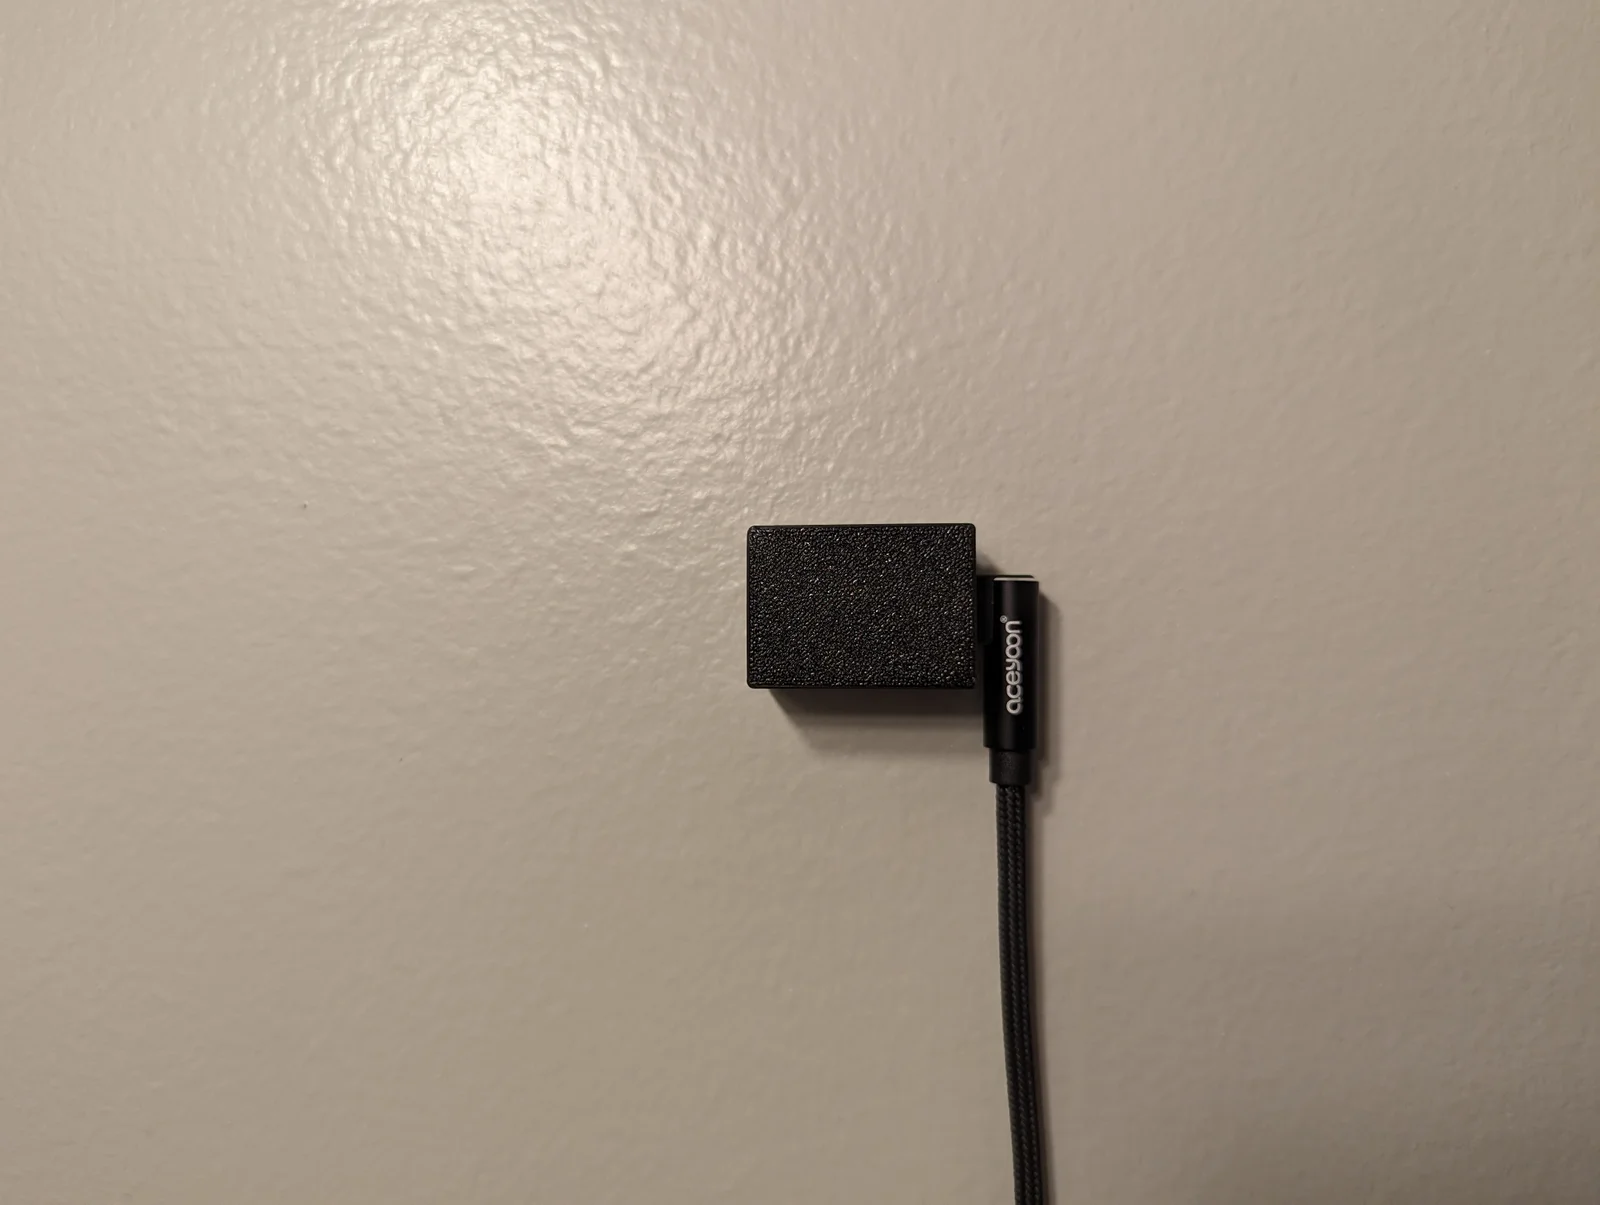
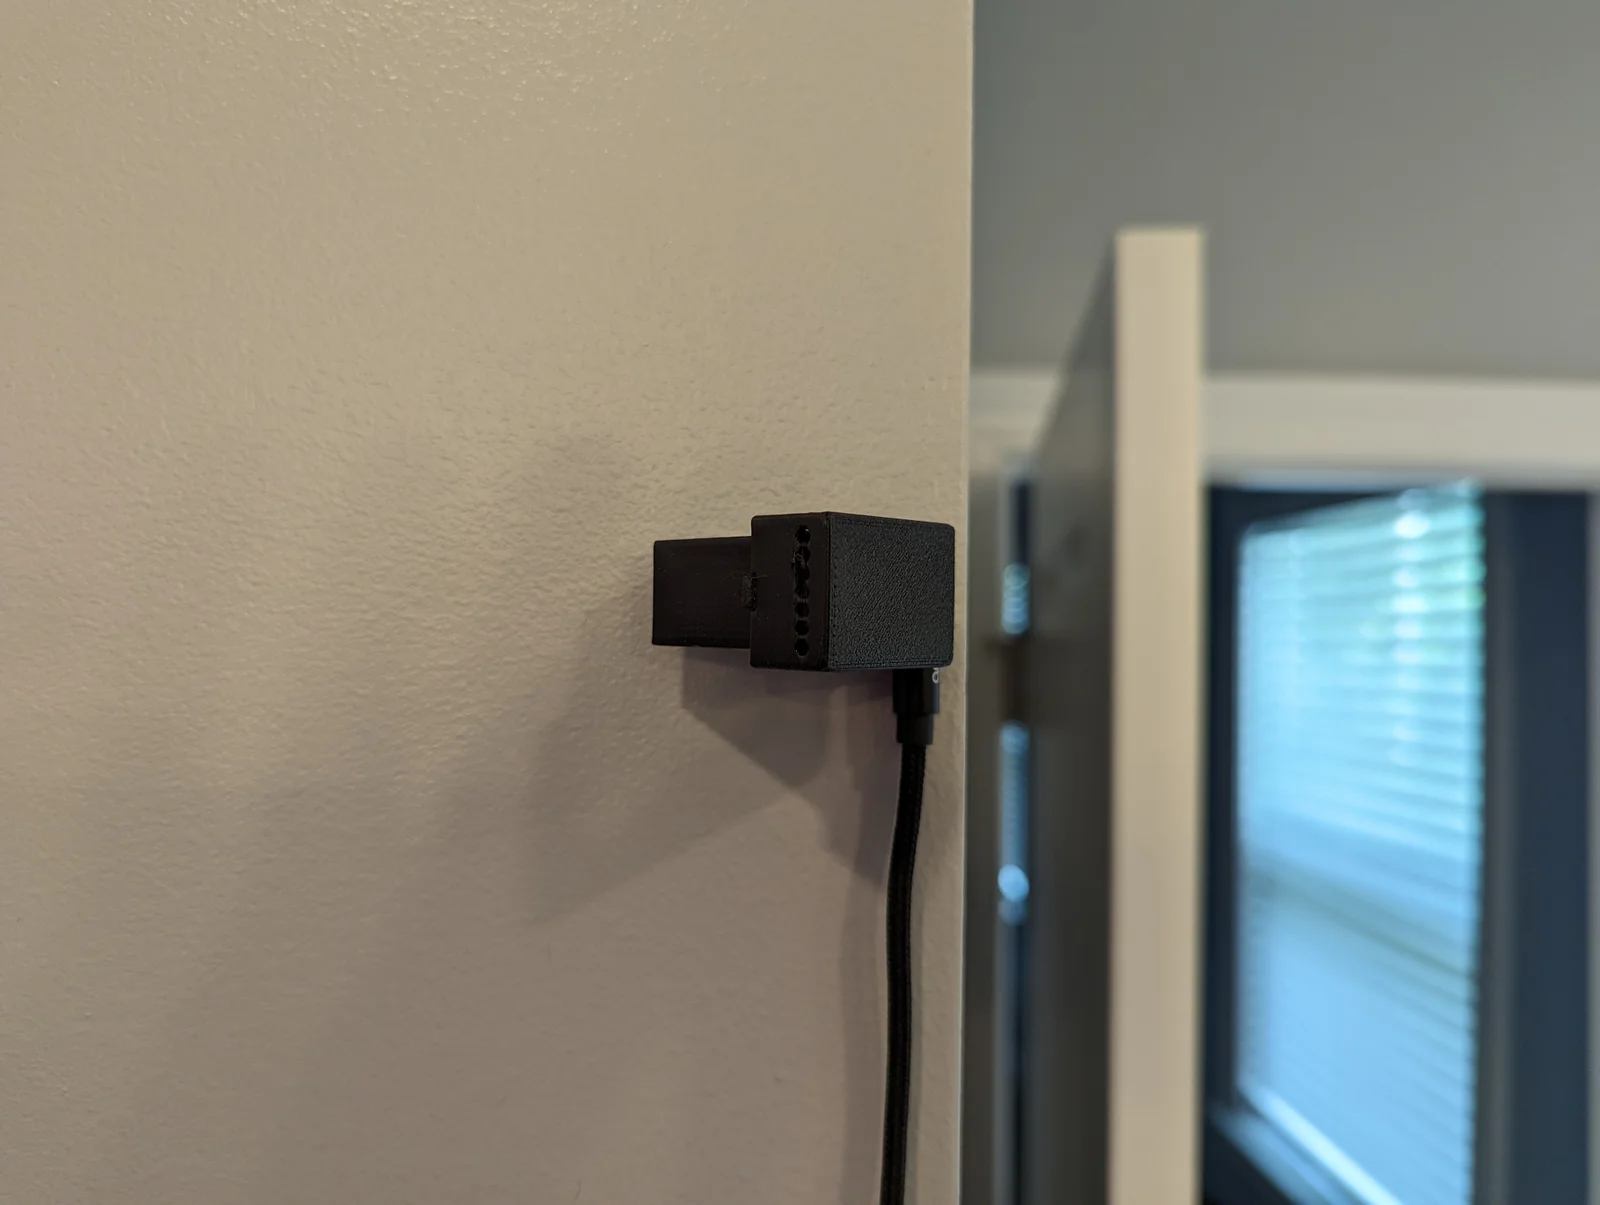


Giá Đỡ 3 Nút Nhấn Gắn Dưới Bàn
 Tác giảBrokentooth_designsLượt thích30Lượt tải224
Dựng một phiên bản khác của mẫu này.
 Hộp case bảo vệ cho LD2410C và ESP32-C3, hỗ trợ nhiều loại cáp USB-CTác giảSebastian_96540 · 17/04/2026
 Vỏ cho ESP32 C3 Super Mini và LD2410C - Bản RemixTác giảSnille · 08/04/2025
Hãy bình luận, đánh giá và đăng tải thành phẩm! Cập nhật ngày 1/2/2024: Tôi đã thêm một mặt sau mới có khớp bi để mang lại sự linh hoạt tốt hơn khi in một mặt sau cho nhiều tùy chọn lắp đặt. A simple case for using an LD2410C radar sensors with an ESP32 C3 Mini. I've included a little spacer that can be slid over the pins of the LD2410C to help with soldering to the ESP board. BOM: * ESP32-C3 SuperMini
Tác giảBrokentooth_designsLượt thích30Lượt tải224

 Tác giảckthLượt thích148Lượt tải2,4 N

 Tác giảJaronLượt thích310Lượt tải1 N

 Tác giảw3rN42Lượt thích127Lượt tải931

 Tác giảTomDDLượt thích89Lượt tải574

 Tác giảkukulinLượt thích77Lượt tải513

 Tác giảJwidessLượt thích34Lượt tải373

 Tác giảAustin Wolt WoltLượt thích162Lượt tải377

 Tác giảLecso_113752Lượt thích76Lượt tải330

 Tác giảBroBuilds3D_4455044Lượt thích32Lượt tải451

 Tác giảtovelaermans_3355197Lượt thích63Lượt tải422

 Tác giảkyleschiefferLượt thích35Lượt tải395