



Kẹp giữ sợi Filament
 Bytinx_1344834Likes1.2KDownloads6K
Build another version of this model.
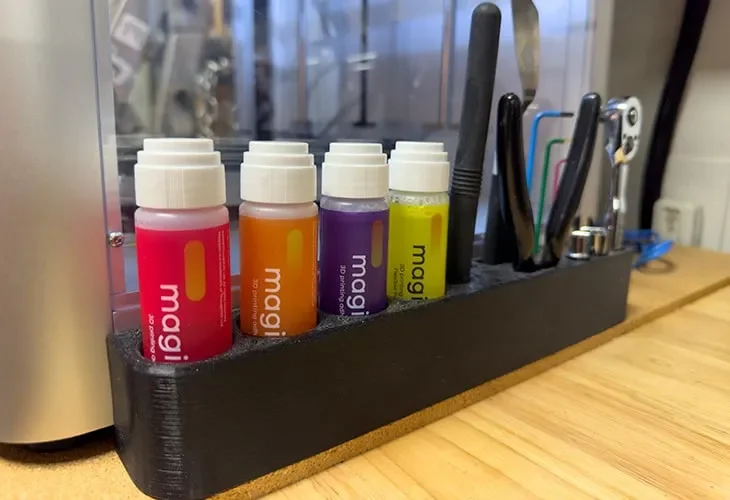
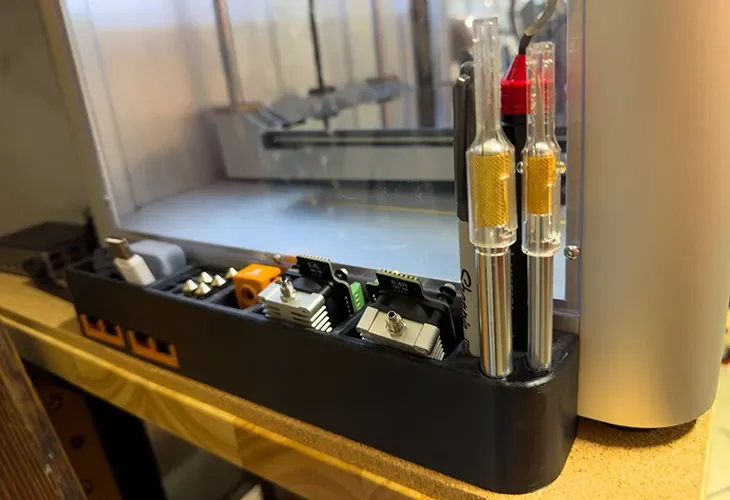
This saddlebag-style tool holder set for the Snapmaker J1 will keep your tools and accessories for 3D printing organized and in easy reach.
The Left Tool Holder has dedicated space for:
An extra recess is available to store extras such as a USB stick or Nozzle torque tool.
The Right Tool Holder has dedicated space for:
The printer rests upon a flange on the side of the tool holders, keeping them stationary even at high print speeds. If desired, this flange has a recess for a piece of 3M VHB tape, but I have not found the use of the tape necessary.
Printer:
Snapmaker J1
Rafts:
No
Supports:
Yes
Resolution:
0.2mm
Infill:
25
Filament:
Polymaker / 3DXTech PC / Support Material
Any
Notes:
I printed this using Polymaker Polymax PC-FR, but feel free to use your filament of choice.
To fit these pieces on the J1 print bed, you will need to place it an angle.
I suggest printing with at least 5 lines of brim to ensure the corners do not lift due to the natural properties of cooling plastic. I also always suggest the usage of Magigoo to promote proper bed adhesion and easy print removal.
The left tool holder will require supports due to the recesses for the X/Y belt tensioning tools. I strongly suggest 3DXTech Aquatek X1 dissolvable support material. This material leaves a flawless surface and is easily removable in a one-hour dip in an ultrasonic bath at 48C.
The right tool holder does not require any supports.
This was designed in Fusion 360. I have included the STEP and Fusion 360 formats of the model in case you would like to make alterations for own usage.
NOTICE: If you post remixes online --- Thingiverse, Printables, Cults, etc. -- you must include attribution and link back to this original design. Do not claim the original design as your own.
Category: 3D Printer Accessories
Bytinx_1344834Likes1.2KDownloads6K

 BydalleLikes0Downloads147

 ByBrokentooth_designsLikes23Downloads410

 Bybloblis67Likes0Downloads318

 Byarhi_585078Likes64Downloads543

 ByHanzo3dLikes155Downloads415

 ByGeek5DLikes147Downloads488

 Bycrawler-3903250Likes0Downloads907

 Byartme-3dLikes0Downloads335

 By3DSourcererLikes48Downloads377

 Bymateusz-tokarzLikes0Downloads165

 BydarienLikes0Downloads1K