

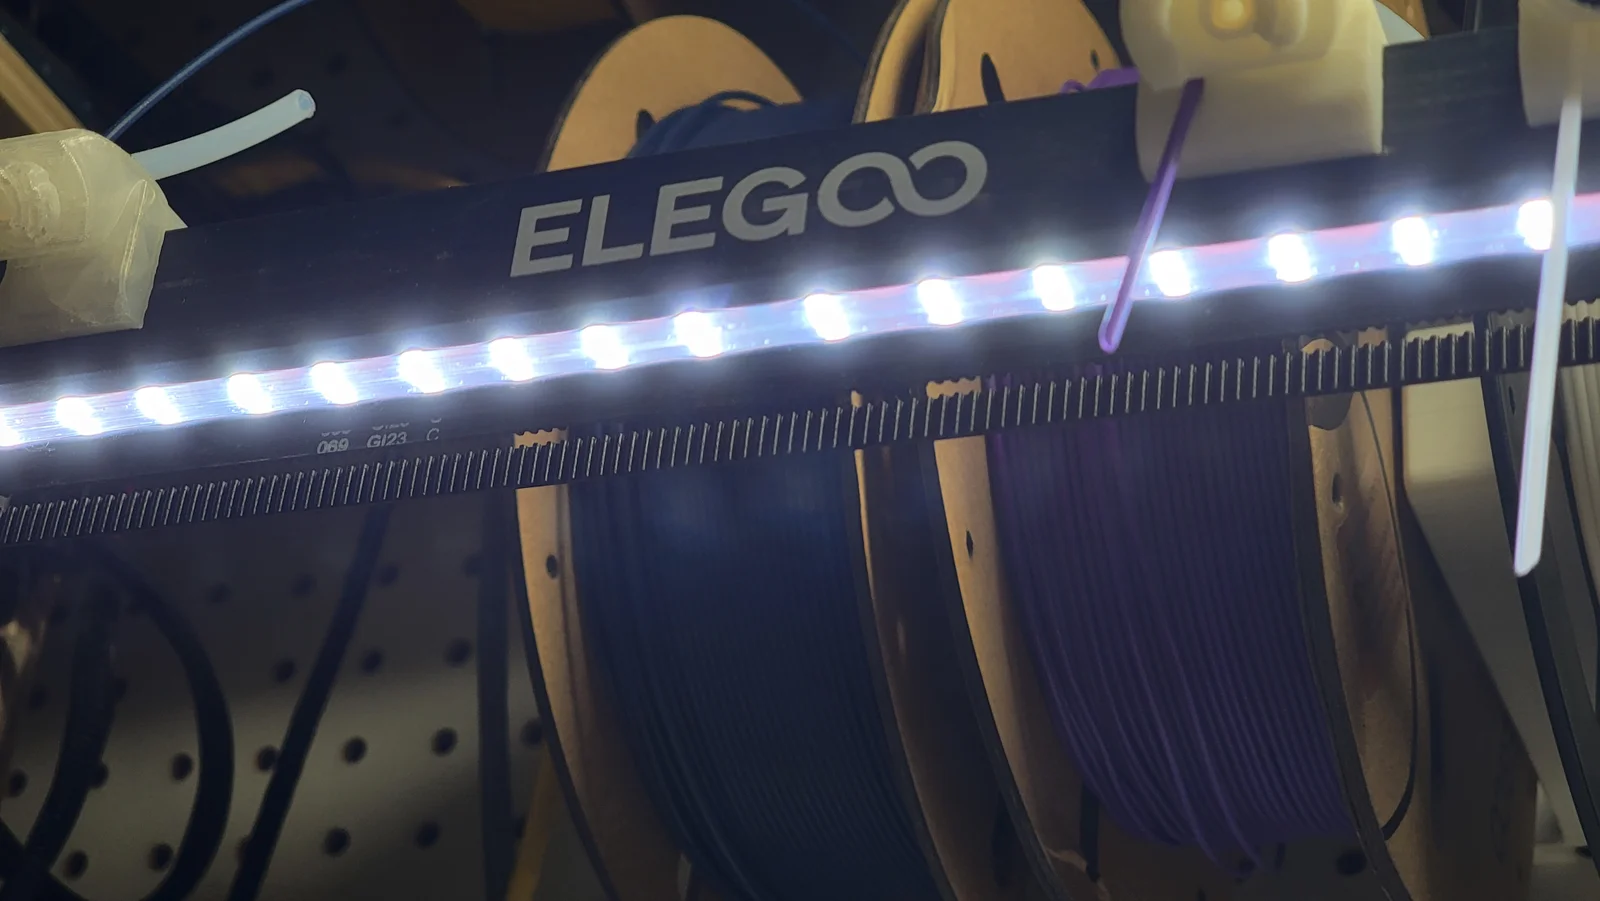
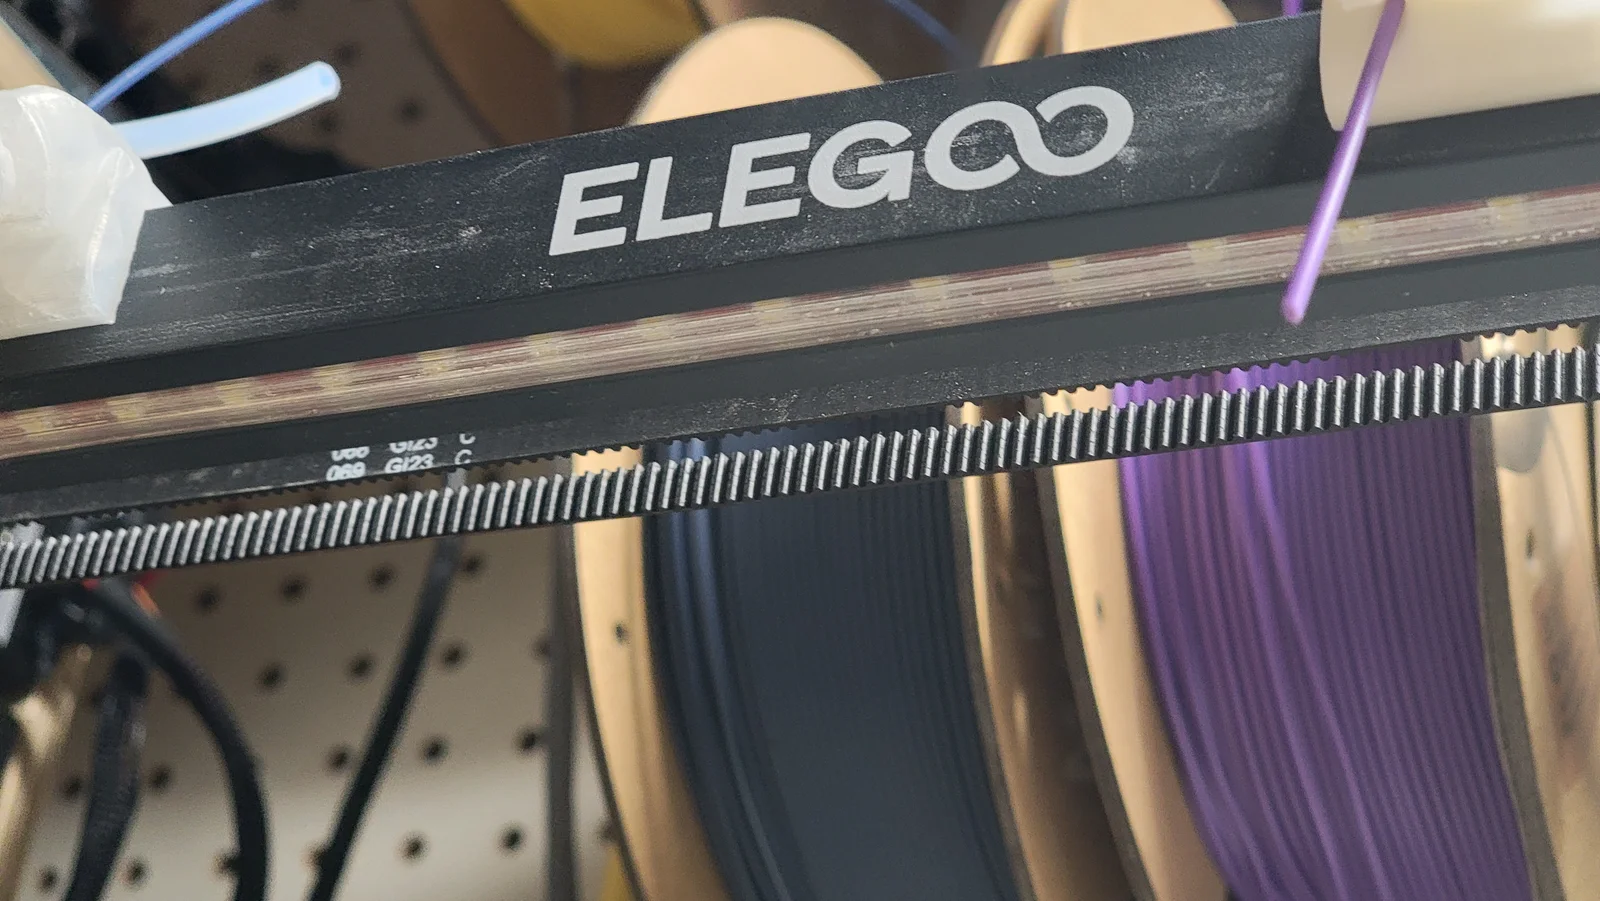



Kẹp giữ sợi Filament
 Bytinx_1344834Likes1.2KDownloads6K
Remix of Nắp che thanh đèn LED cho máy in 3D ELEGOO Neptune 4 và 4 Pro By BartN_334420
Build another version of this model.
The original design was for the 4 Pro and I could NOT insert it into the extrusion bar, it was too wide by a fair bit.
Print this using translucent, transparent, or maybe white PLA to soften the headlights on the Neptune 4 Plus. I assume it will fit the Max as well. If you print in white - maybe only do 1 bottom layer.
One trick I noticed is to definitely let your print cool before trying to manipulate it or insert it. The PLA has to “cure”, if you will. This will also let it shrink as it cools, just a bit.
My print settings were non-standard, to say the least. I tried uploading the gcode file from Orcaslicer but the website didn't like it - said there was an error in it.
My Settings (orcaslicer):
I printed it laying front-to-back (lots of y-axis movement on the print). This gave nice straight lines. You could increase the length to 32mm if you'd like but I wanted to avoid the very edge of the bed and if you center it over the LEDs this 31mm will fit nicely.
Bytinx_1344834Likes1.2KDownloads6K

 Byprusa-researchLikes0Downloads777

 Byarhi_585078Likes64Downloads540

 ByHanzo3dLikes155Downloads413

 ByGeek5DLikes147Downloads484

 ByBrokentooth_designsLikes23Downloads405

 By3DSourcererLikes48Downloads376

 ByWyomingWolf_261196Likes52Downloads428

 Byartme-3dLikes0Downloads331

 Bytopronix_2170418Likes41Downloads295

 Bybloblis67Likes0Downloads314

 ByBlackky98Likes25Downloads207