



Giá Đỡ 3 Nút Nhấn Gắn Dưới Bàn
 ByBrokentooth_designsLikes30Downloads227
Build another version of this model.
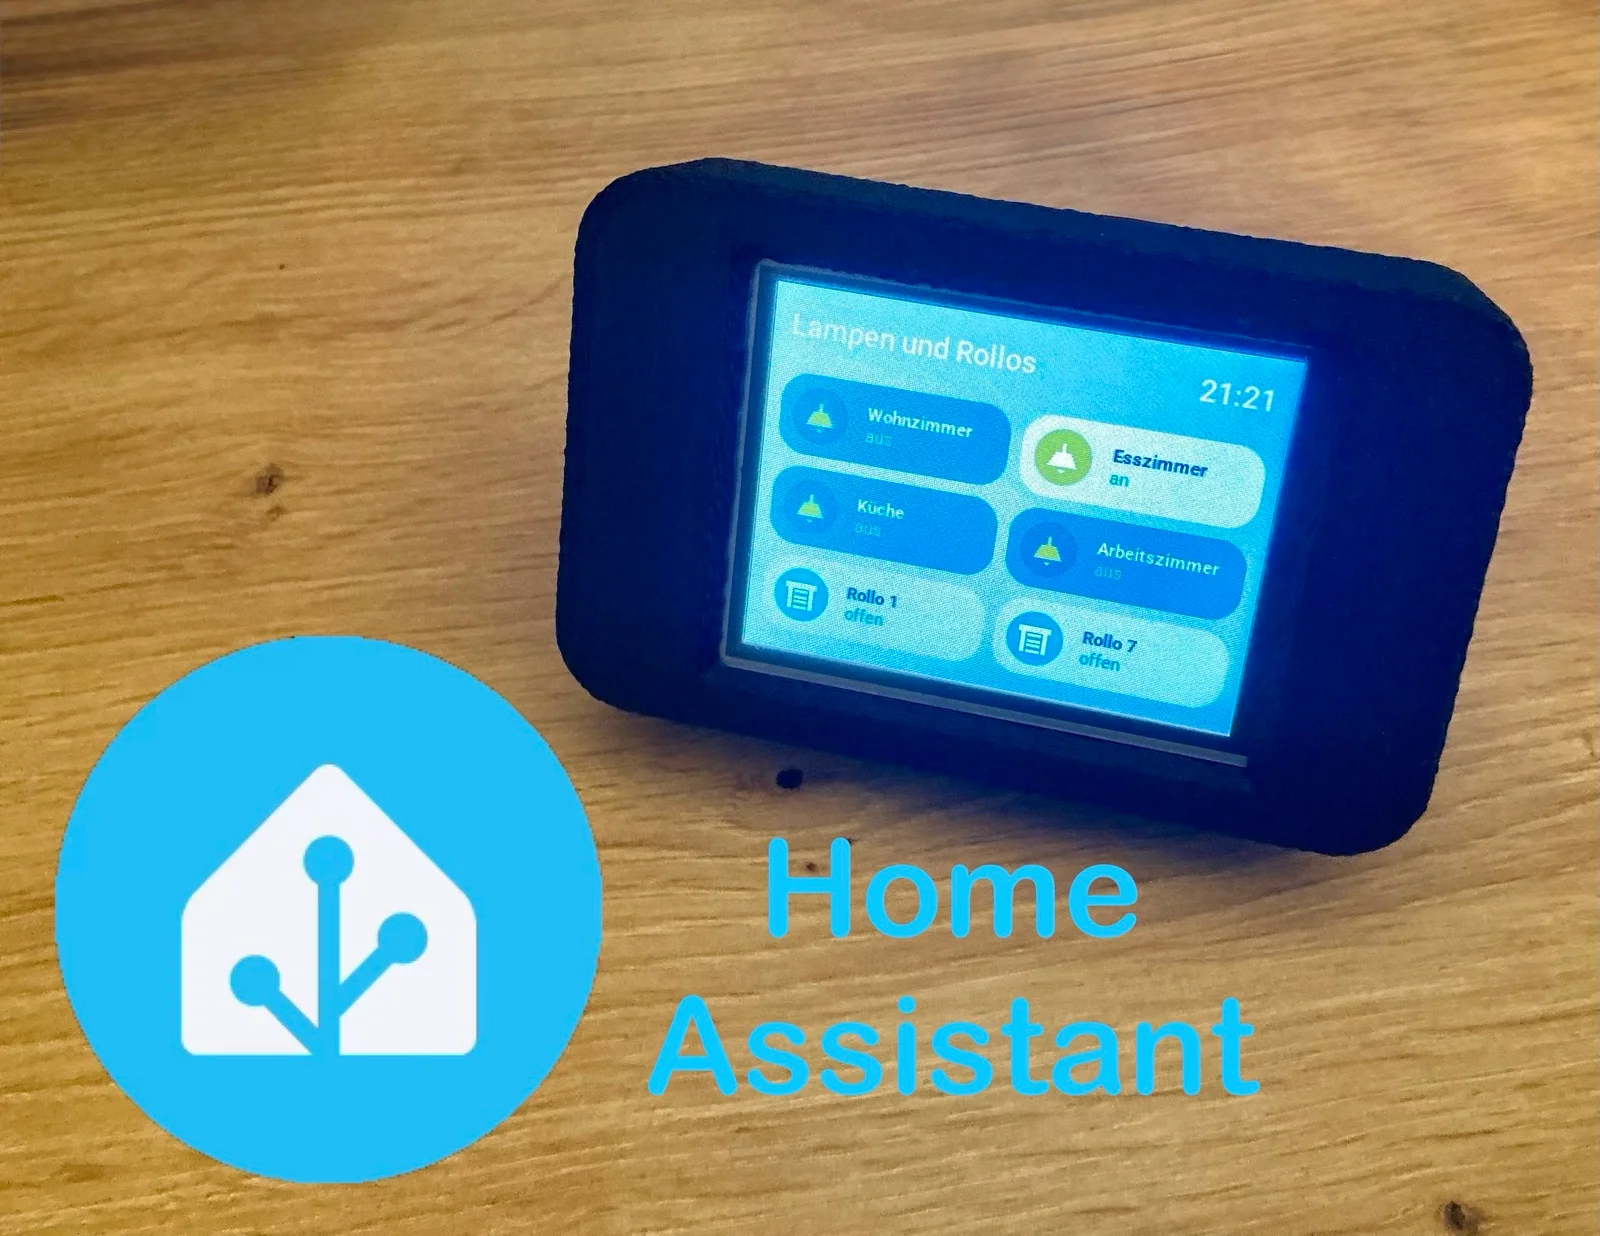
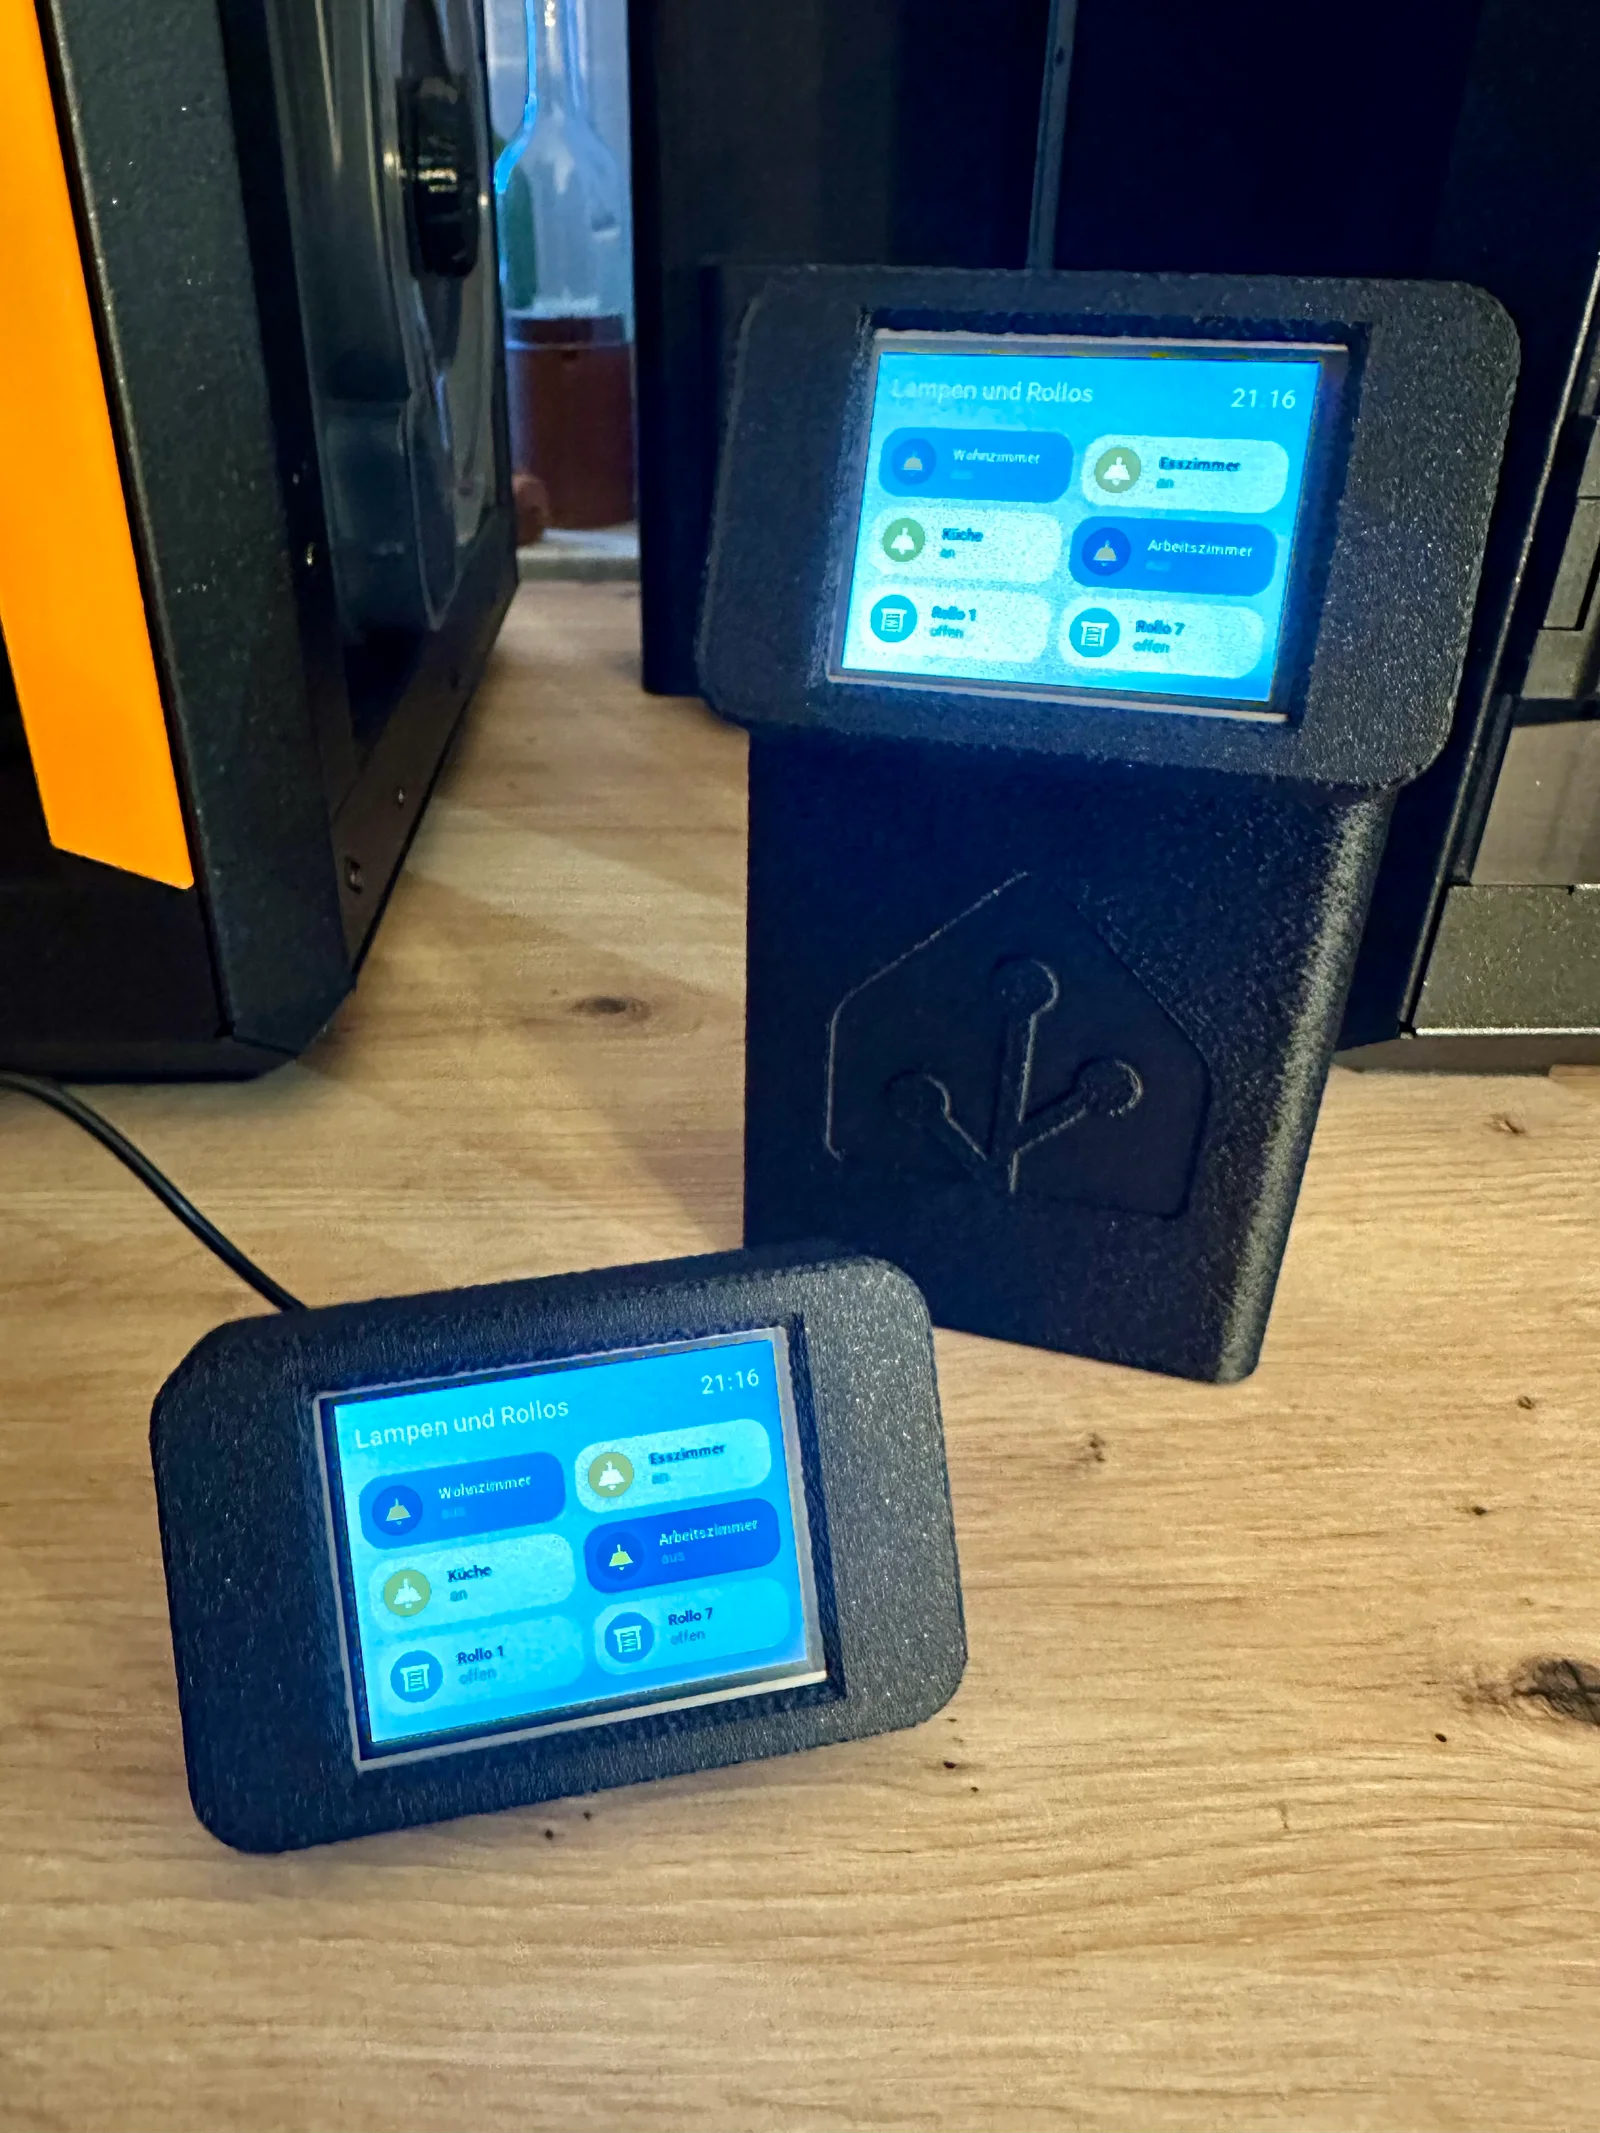
Home Assistant compatible 2.8“ touch display to control and monitor up to 6 devices.
The code can be used from this source by akuehlewind which also gives a lot of really good information about problems and the installation process of this nice project.
I will add my code changes in the attachments, because I had a few problems too setting this device up. I hope this will give you some help to get faster through the setup process. For details consult the above named link of the source code.
I plan to add more lid parts to be able to mount the display e.g. to a standing desk and on a wall etc… I am still thinking about solutions to this… So if you have good ideas, let me know.
The taken pictures do not show the real clarity and resolution of the touch display. The camera was struggling to take the fotos during the build.
Alternative stand with 2x 18650 batteries holder for mobile usage:
Use the red and black wire of the with the display delivered 4 wire cable to power the display connected to the VIN and GND pin.
Use the crimp clamps to connect the 2 red and the 2 black wires of the 4 wire cable and USB-C cables together.
4x M3x4mm screw (to hold the display in the front part)
8x M3x10mm screw (to add the feet to the lid and fix the lid to the front part)
8x M3 nut (4x in the front part and 4 in the lid part)
2.8“ display (Use this one. The case and code is exactly for this touch display only!)
Speed profile 0.2 used
Textured sheet used
No supports needed for Lid1
Organic supports needed for Lid2 from the print bed
No brim needed
Optional: Fuzzy skin active
Optional: Sequential output of print files active
During printing of the front part the first 4 M3 nuts must be added. See pictures below:
Alternative stand with 2x 18650 batteries holder for mobile usage:
Happy printing =)
ByBrokentooth_designsLikes30Downloads227

 By3dwakeLikes0Downloads362

 BylclabLikes0Downloads290


 BynasikLikes0Downloads224

 Byrorys3DLikes0Downloads326

 ByAustin Wolt WoltLikes162Downloads382

 ByLecso_113752Likes76Downloads337

 Bytovelaermans_3355197Likes63Downloads429

 ByAlexMuLikes41Downloads333

 ByckthLikes148Downloads2.4K

 ByTangoOscarMik_505113Likes31Downloads253