


Kẹp giữ sợi Filament
 Bytinx_1344834Likes1.2KDownloads6K
Remix of Quản lý dây cho Original Prusa Enclosure (Cablemanagement) By GiantBrain
Build another version of this model.
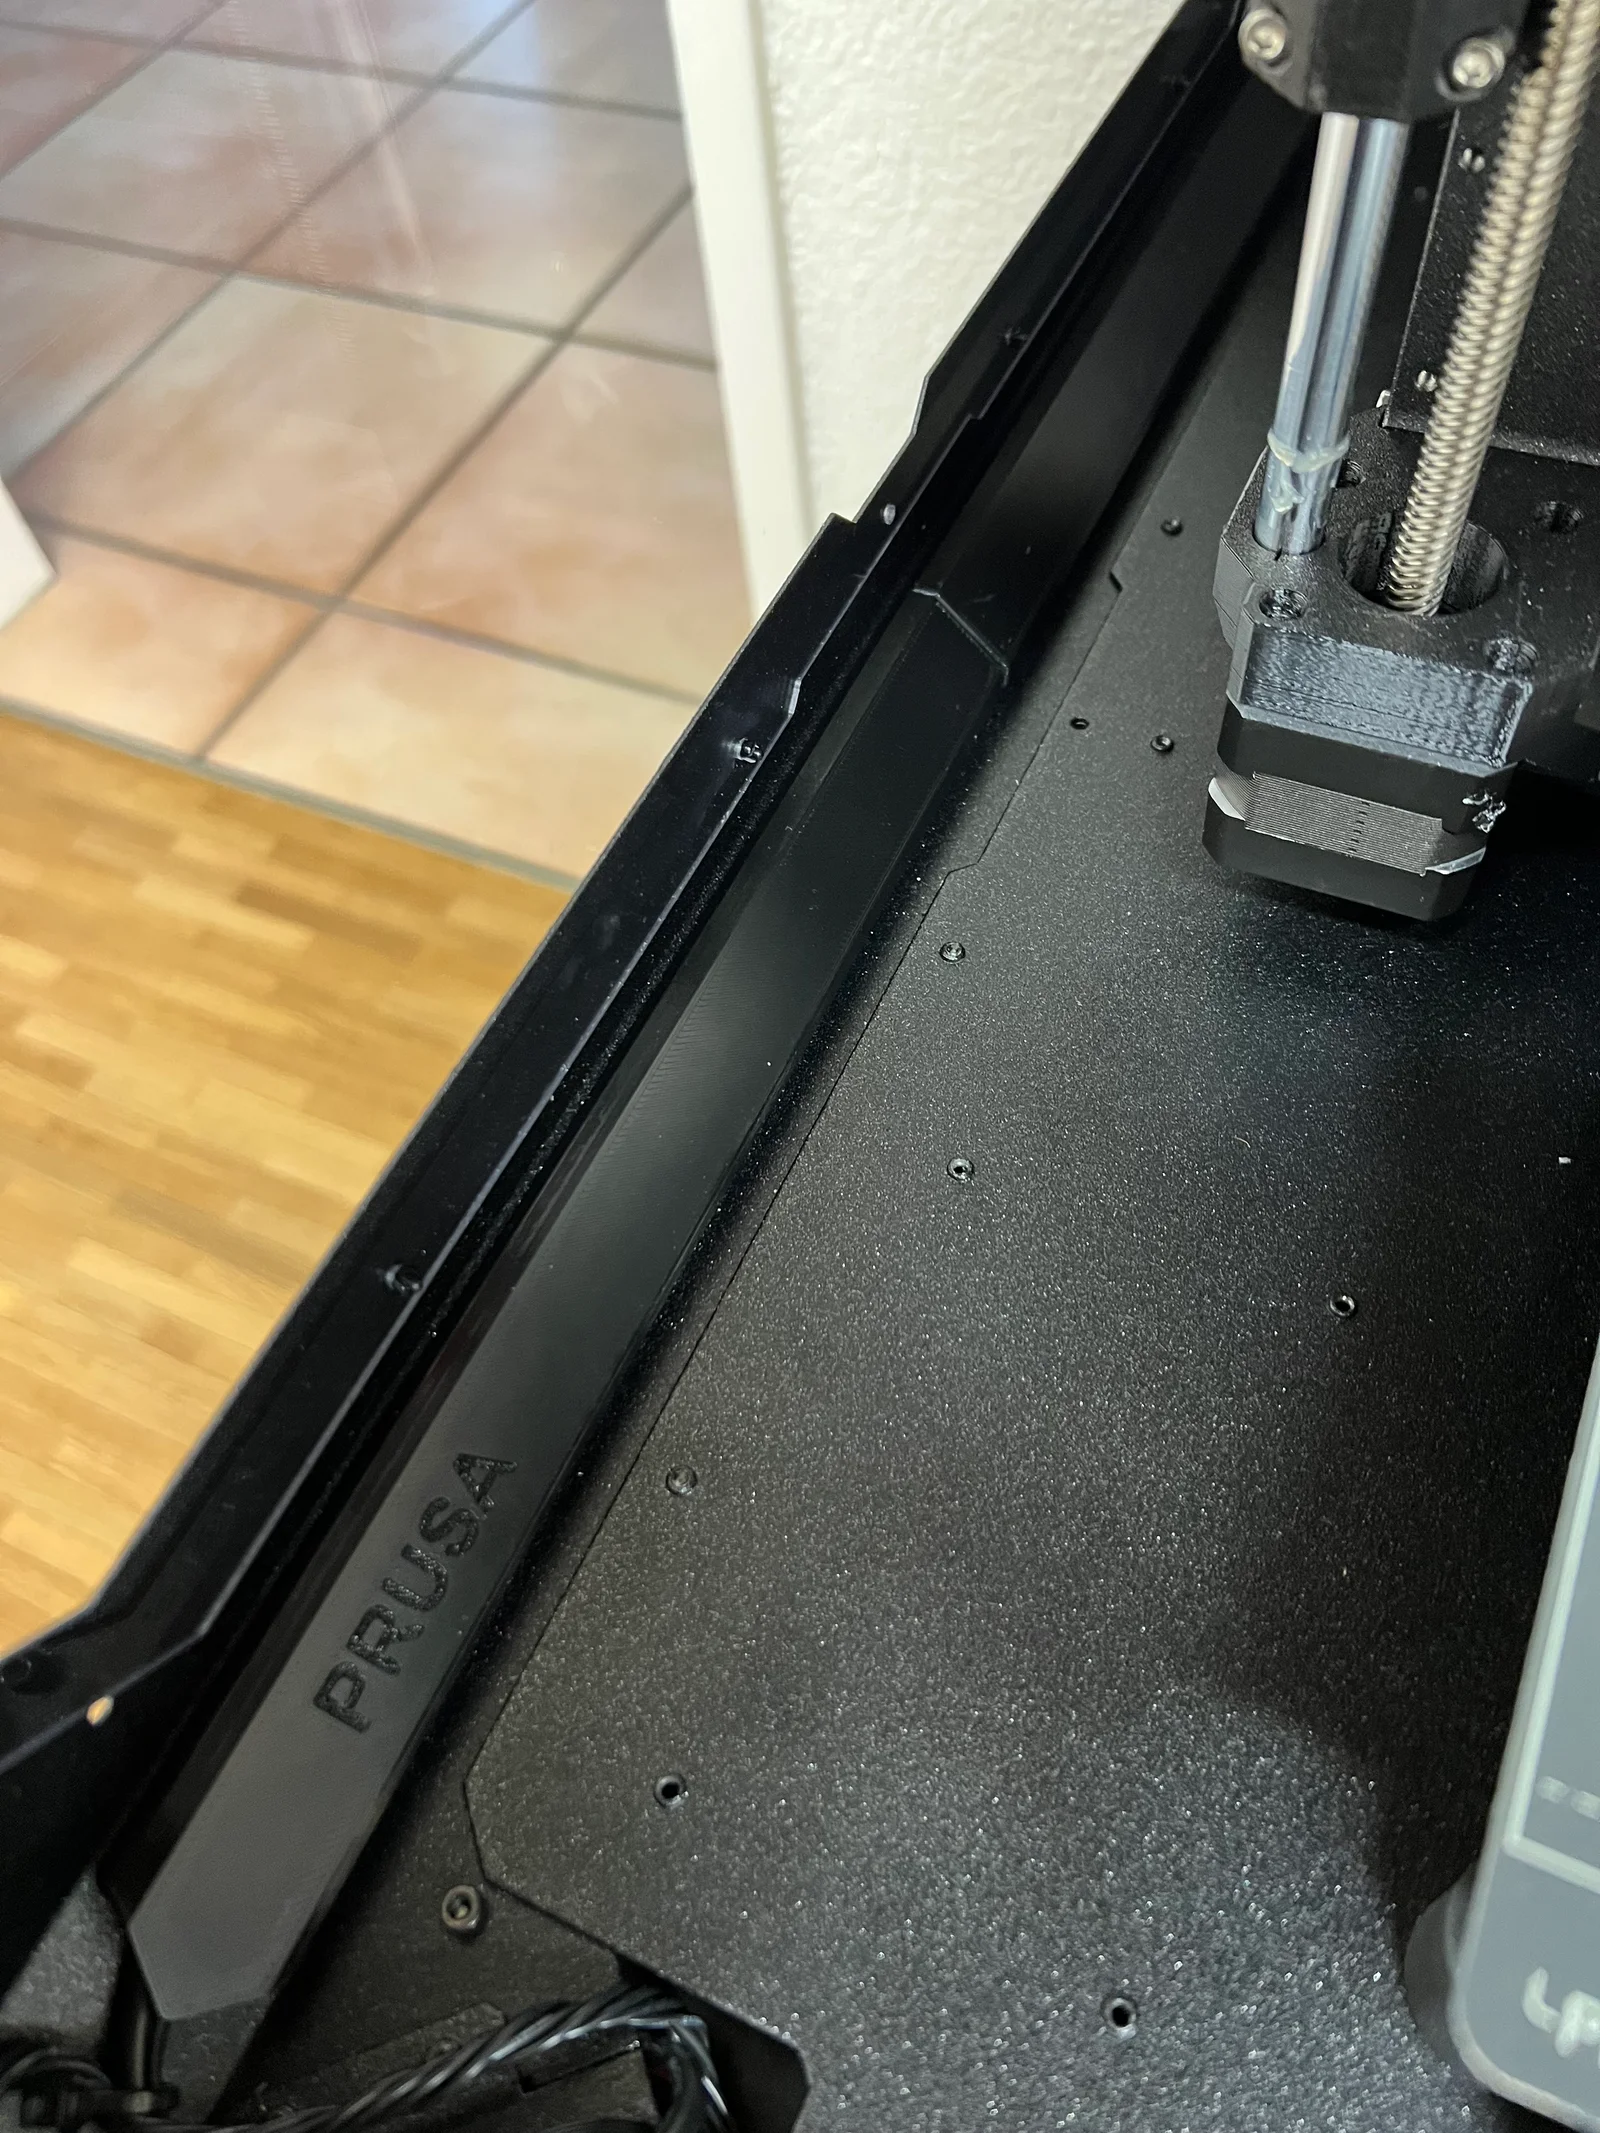
I absolutely wanted to have GiantBrain cable management but found it impossible to install without having to risk pinching the air filter cable.
This remix makes installation a breeze without any risk for pinching, additionally it uses only 3 M3x8 screws and nuts (one fixing part per pair), 4 M3x4 screws for fixing the long and vertical covers, and 2 M3x12 for the air filter + top hatch combo. All screws comes from the rest of the enclosure build.
Since I do not expect people to take this covers up and down daily, I went for a screw-into-plastic design. If a hole gets too big after installing and removing the part many times, just print another one! :D
[UPDATE 28-11-23]
What to print:
How to install
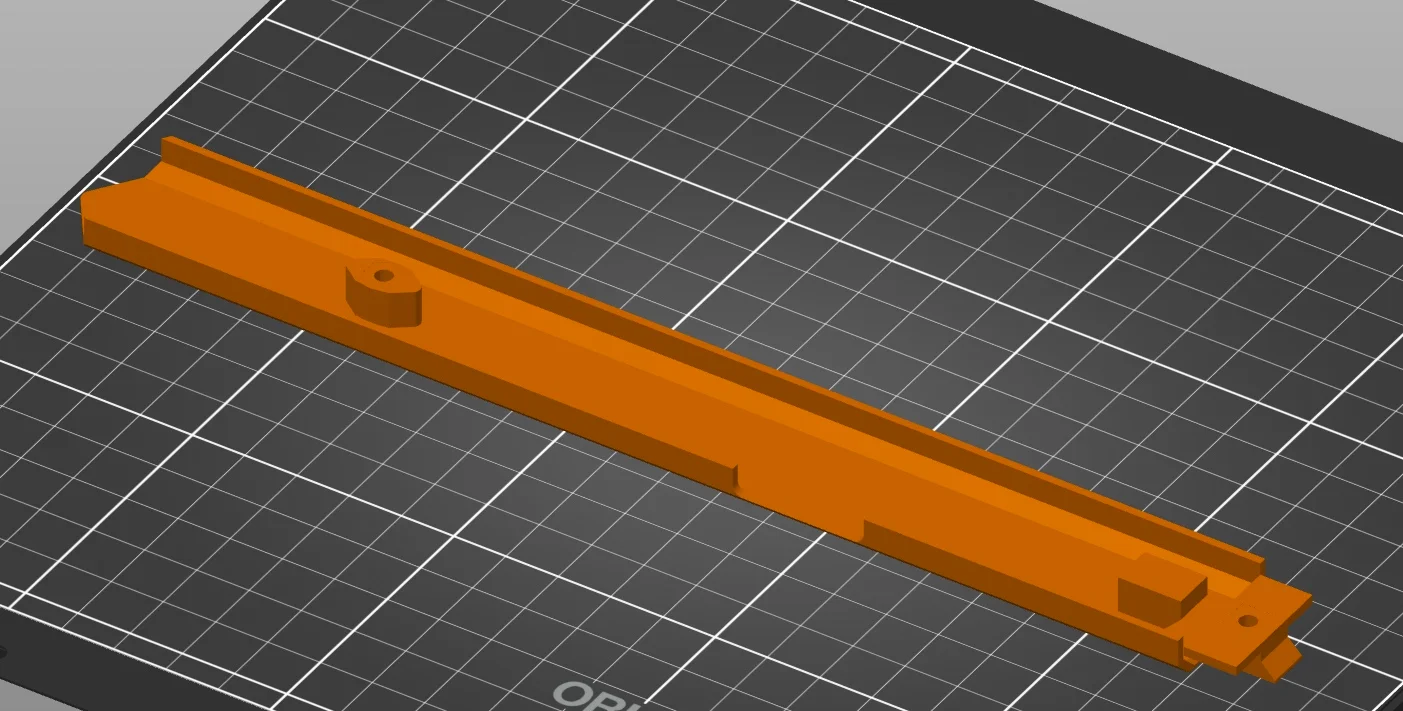
The screen shot in slicer shows how the support element and the cover mechanically fits together.
Bytinx_1344834Likes1.2KDownloads6K

 By3DSourcererLikes48Downloads377

 Byarhi_585078Likes64Downloads542

 ByHanzo3dLikes155Downloads415

 ByGeek5DLikes147Downloads486

 ByBrokentooth_designsLikes23Downloads409

 Bycrawler-3903250Likes0Downloads907

 Byartme-3dLikes0Downloads334

 ByKP_659Likes9Downloads88

 Bybloblis67Likes0Downloads318

 Byprusa-researchLikes0Downloads2.7K

 ByPetr Žídek ŽídekLikes10Downloads46