
F3D
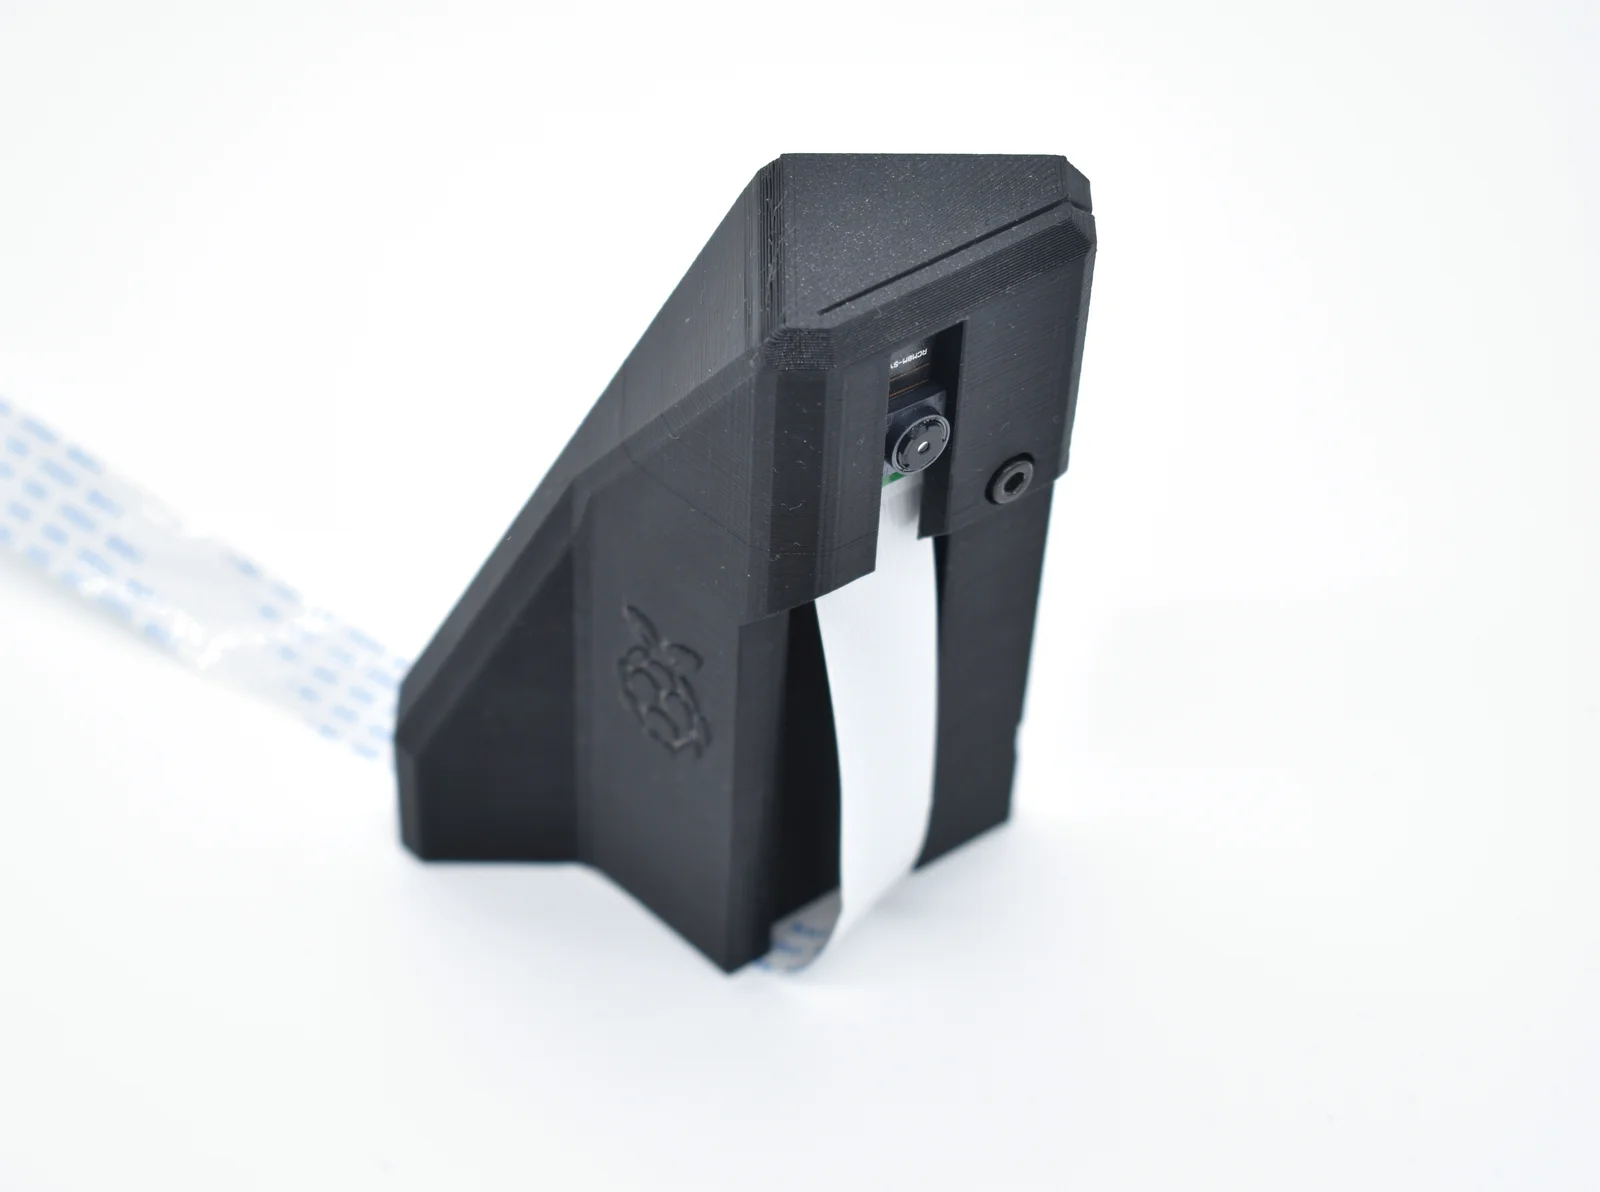
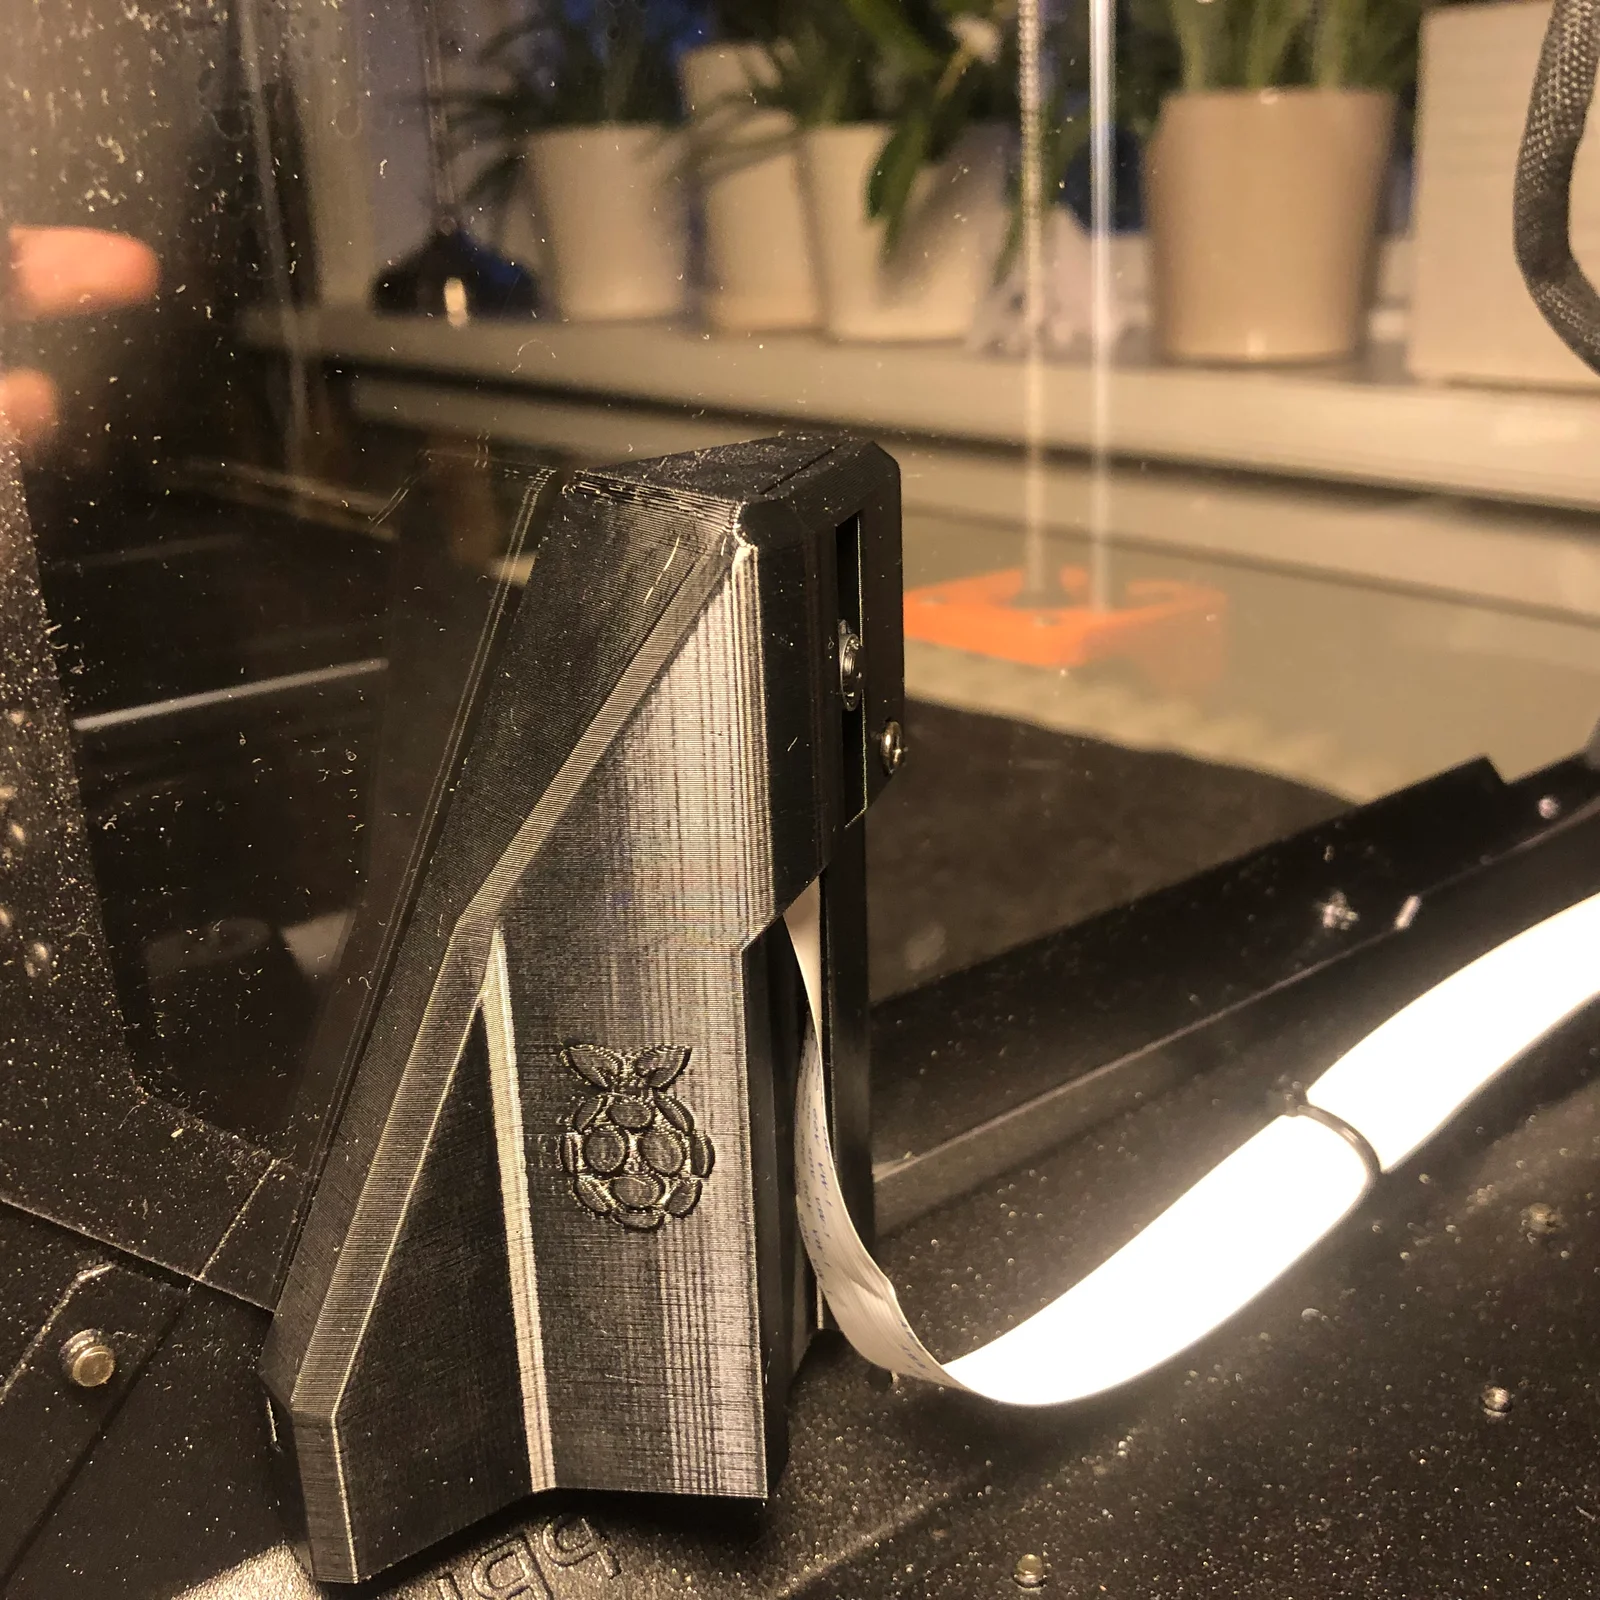
Giá đỡ Raspberry Pi Camera cho Original Prusa Enclosure 1

6 images

Máy In 3D

Giá đỡ Raspberry Pi Camera cho Original Prusa Enclosure

By LudvigBroome

Downloads
286
Likes
62
Views
2,126

Files 4 7.3 MB

  • PiCameraMount_1777790083.stpSTP · 237 KB
  • picameramount_1777790084.stlSTL · 1 MB
  • PiCameraMount_0.2mm_PETG_MK3SMMU2S_3h10m_1777790085.gcodeGCODE · 3 MB
  • PiCameraMount_0.2mm_PLA_MK3SMMU2S_3h10m_1777790087.gcodeGCODE · 3 MB

Make a variant with AI

Build another version of this model.

Open Studio

Description

Perfect camera angle! 

Doesn't block the light from the LED-addon and supports all the official prusa add-ons.

Fits the Raspberry Pi Camera V2

Part list

  • PiCameraMount
  • Raspberry Pi Camera V2 (and the cable)
  • M3nS nut (2x) - (Prusa spare parts)
  • M3x8 screw (3x) - (Included with the enclosure)

Assembly Instructions

Step 1 Nut insertion

  • Insert the two M3nS nuts in the PiCameraMount.
  • Using an Allen wrench, push the nuts through the slots to insure proper nut insertion. 

Step 2 Camera preparation

  • Connect the Raspberry Pi Camera with the cable.

Step 3 Camera installation

  • Slide the camera inside the PiCameraMount.
  • Secure the camera with a M3x8 screw in the highlighted hole.

Step 4 Enclosure Preparation

  • Remove the nylon rivet located highlighted in the picture.

Step 5 PiCameraMount installation

  • Align the holes on the PiCameraMount with the ones on the Enclosure. 
  • Secure the mount with two M3x8 screws.

Well done! Please post a make of your mount!

Read more Show less

Print spec

Formats
gcodestlstp
Model files
4
Total size
7.3 MB
Largest file
3 MB

0 comments

See all