

Còi Tàu Hơi Nước Mini
 ByfifindrLikes500Downloads4K
Build another version of this model.
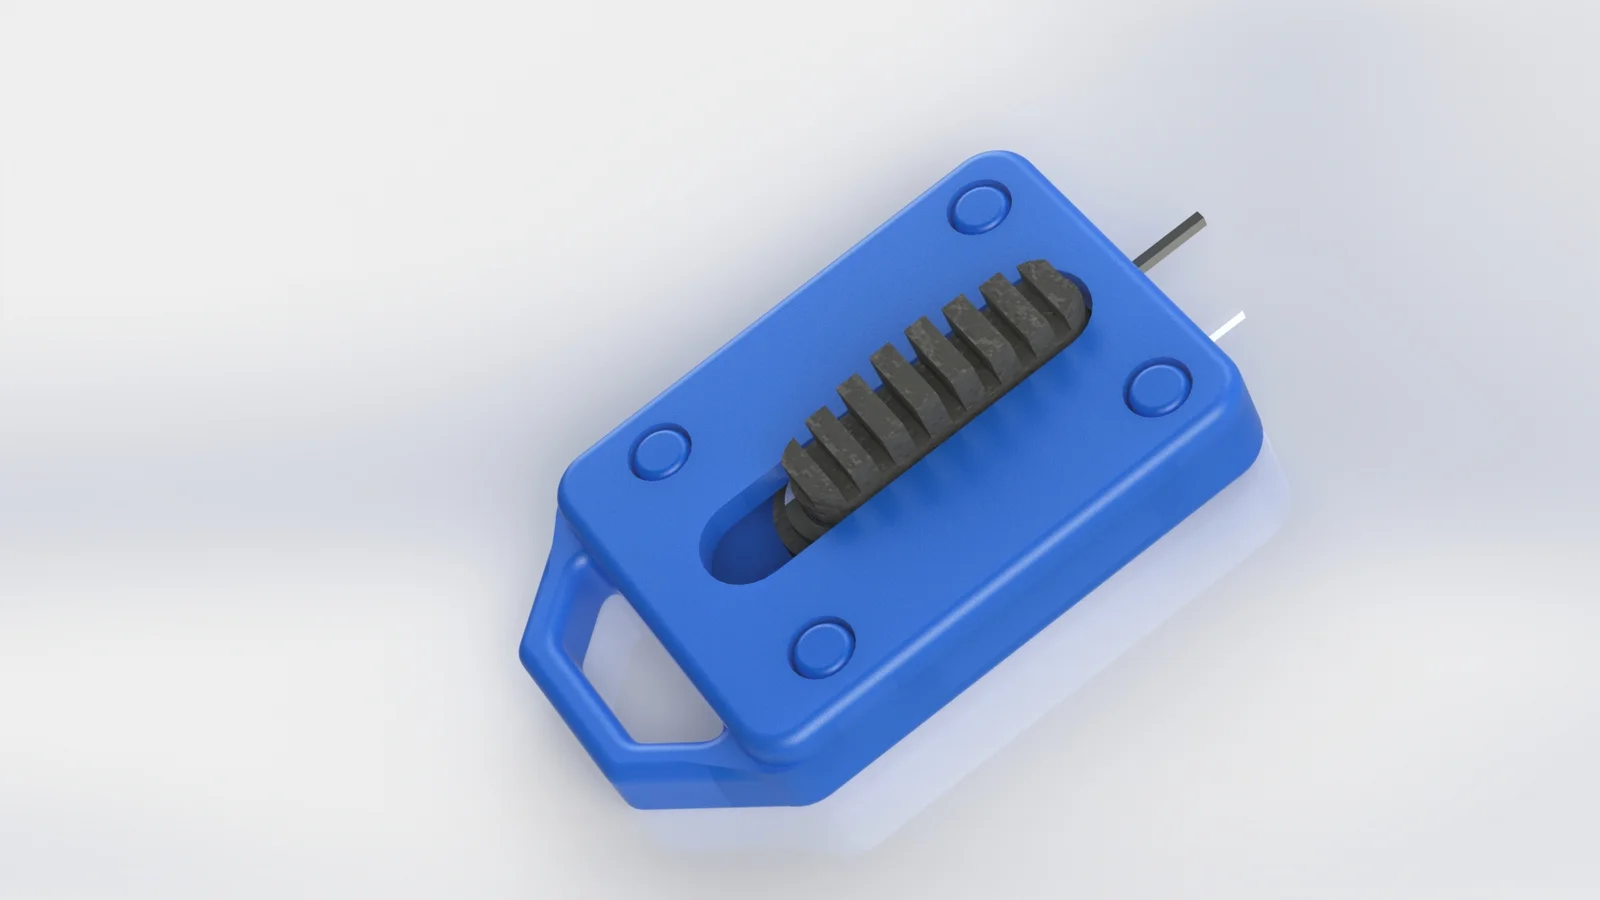
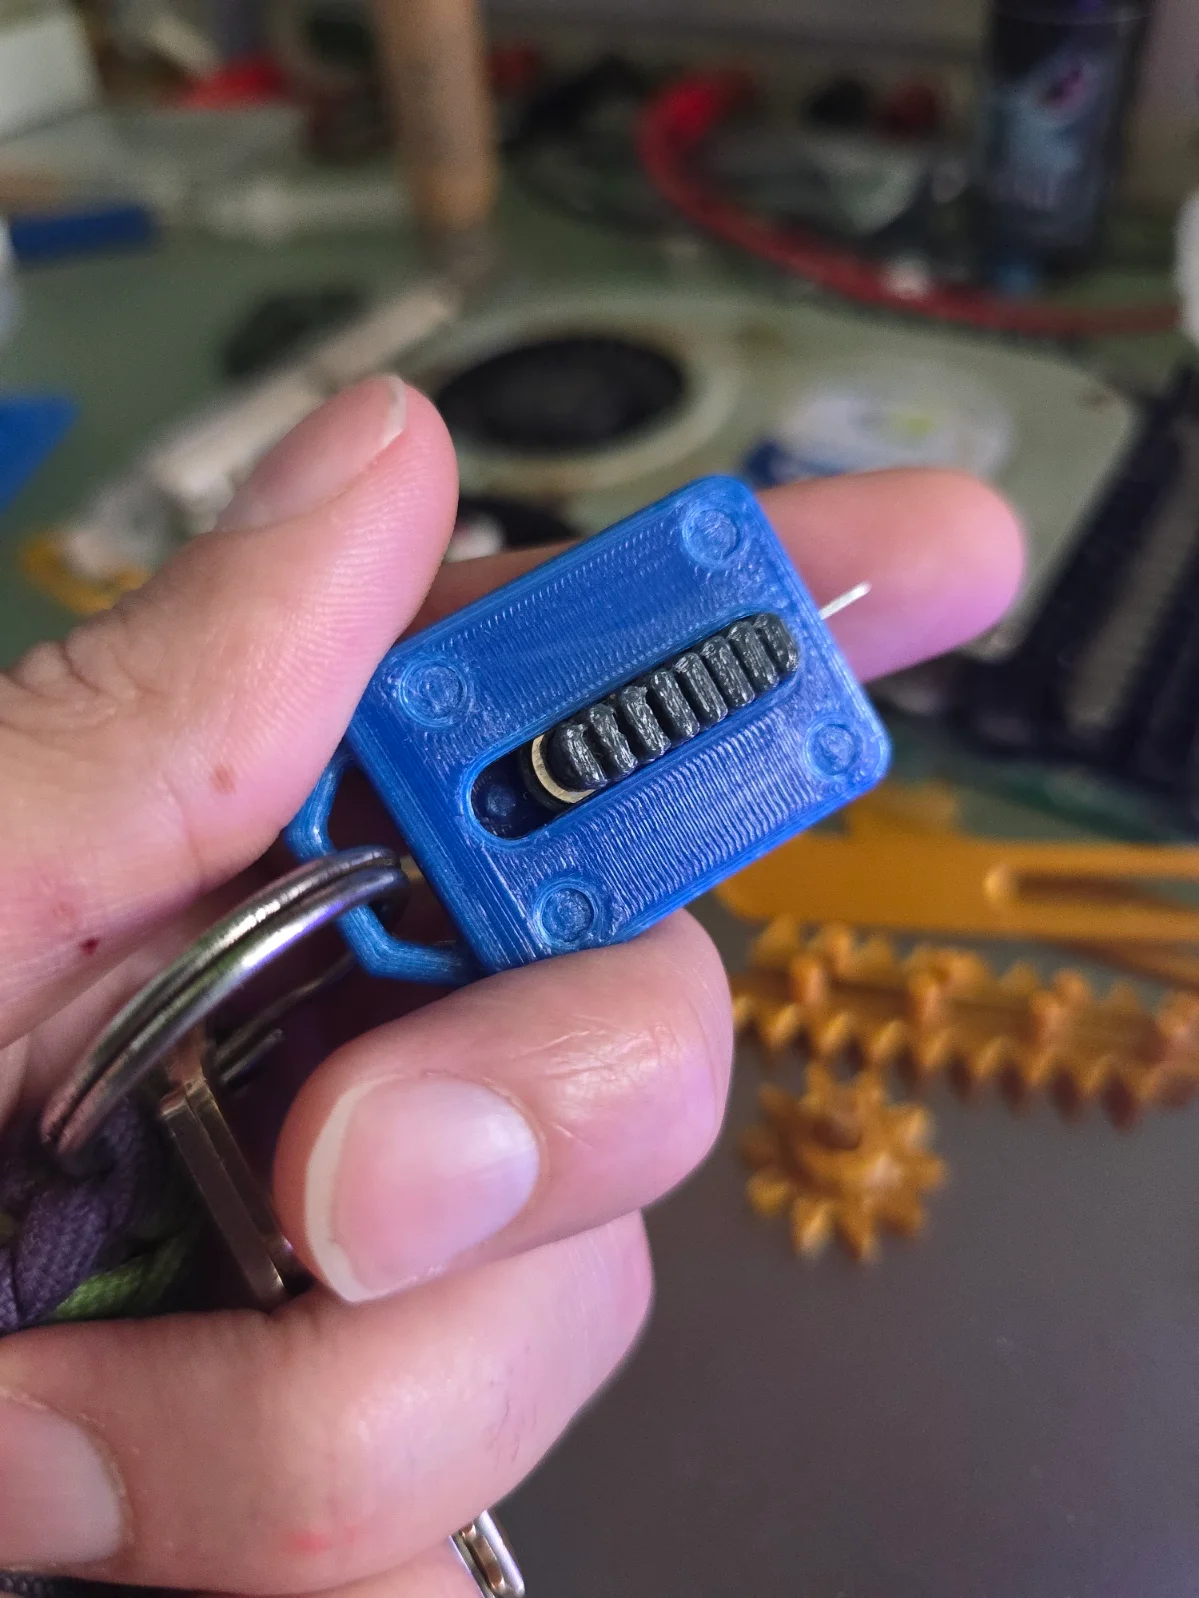
A simple switch-blade esc sim tool keychain holder designed for use with an apple sim tool. This sim tool holder fits on a split ring with a strong loop to the main housing, and is designed to give a nice satisfying snap when opening/closing the tool. The tactile switch mechanism also provides enough static friction to allow for not having to push the switch with your finger while using the tool to pop open a sim tray slot!
Hope you enjoy the model and find it handy for those of you who know you need one! Please leave a like if you find my model useful, and feel free to leave your feedback from your makes, happy to make improvements!
TPU part should be printed with a 0.25mm path width and a 0.25mm layer height. Designed using 95A hardness TPU, using a softer TPU would probably make it have a better feel to your finger, but would likely result in less tactility of the friction switch.
PETG/PLA parts should be printed at 0.25mm layer height and between 0.25mm-0.5mm path width depending on desired outer surface finish / impatience. ( I printed the one in the IRL print photo at 0.3mm path width and 0.25mm layer height on my printer )
Take your apple SIM tool and start by aligning the back part of the sim tool loop with the back of the TPU sim tool slider mount.
You can determine which side is the back by looking at the bottom of the slider mount and finding the ramp cut out that allows the locking hemispheres to slide in on a ramp though a cutout at the rear.
Once finished, hold the rear of the sim tool down with your finger and push the front of the sim tool down with your thumb over the front, note that it will take some force as it's designed to be very snug to prevent the sim tool from having much play. THANKS FLEXIBLE TPU :)
Once you have the SIM tool all the way at the base of the slider mount, align it in the base of the bottom keychain housing in the fully extended position, then use a bit of super glue around the edges on the flat surfaces of the bottom tray at the same level as the connection pins, be careful not to get any on the internal surfaces, or on the slider mechanism, and remember, a little goes a long way!
After the Super glue is applied take the top cover piece and snap it in place on the connector pins taking care to ensure the fillet edges are facing up.
Let the super glue dry, I like to move it back and fourth one every couple of minutes as the superglue is initially hardening just to ensure any excess super glue doesn't get a good bond on the internal TPU slider piece.
Now go forth and throw your SIM Tool keychain Holder on any split ring, Lanyard, etc. where you need one!, and no more getting poked in your pocket by a bare sim tool on your key chain.
ByfifindrLikes500Downloads4K

 Byvc-designLikes0Downloads536

 Bythorin-oakenshieldLikes0Downloads532

 Byquibeck_3353173Likes965Downloads1.9K

 ByleonicLikes0Downloads1.4K

 ByVC_DesignLikes679Downloads3.6K

 ByDan Schwartz SchwartzLikes744Downloads3.4K


 ByelitailLikes0Downloads132

 Bytorii-creative-studioLikes0Downloads450

 Bychubbs8697_2027893Likes585Downloads1.7K

 BywurthLikes0Downloads195