

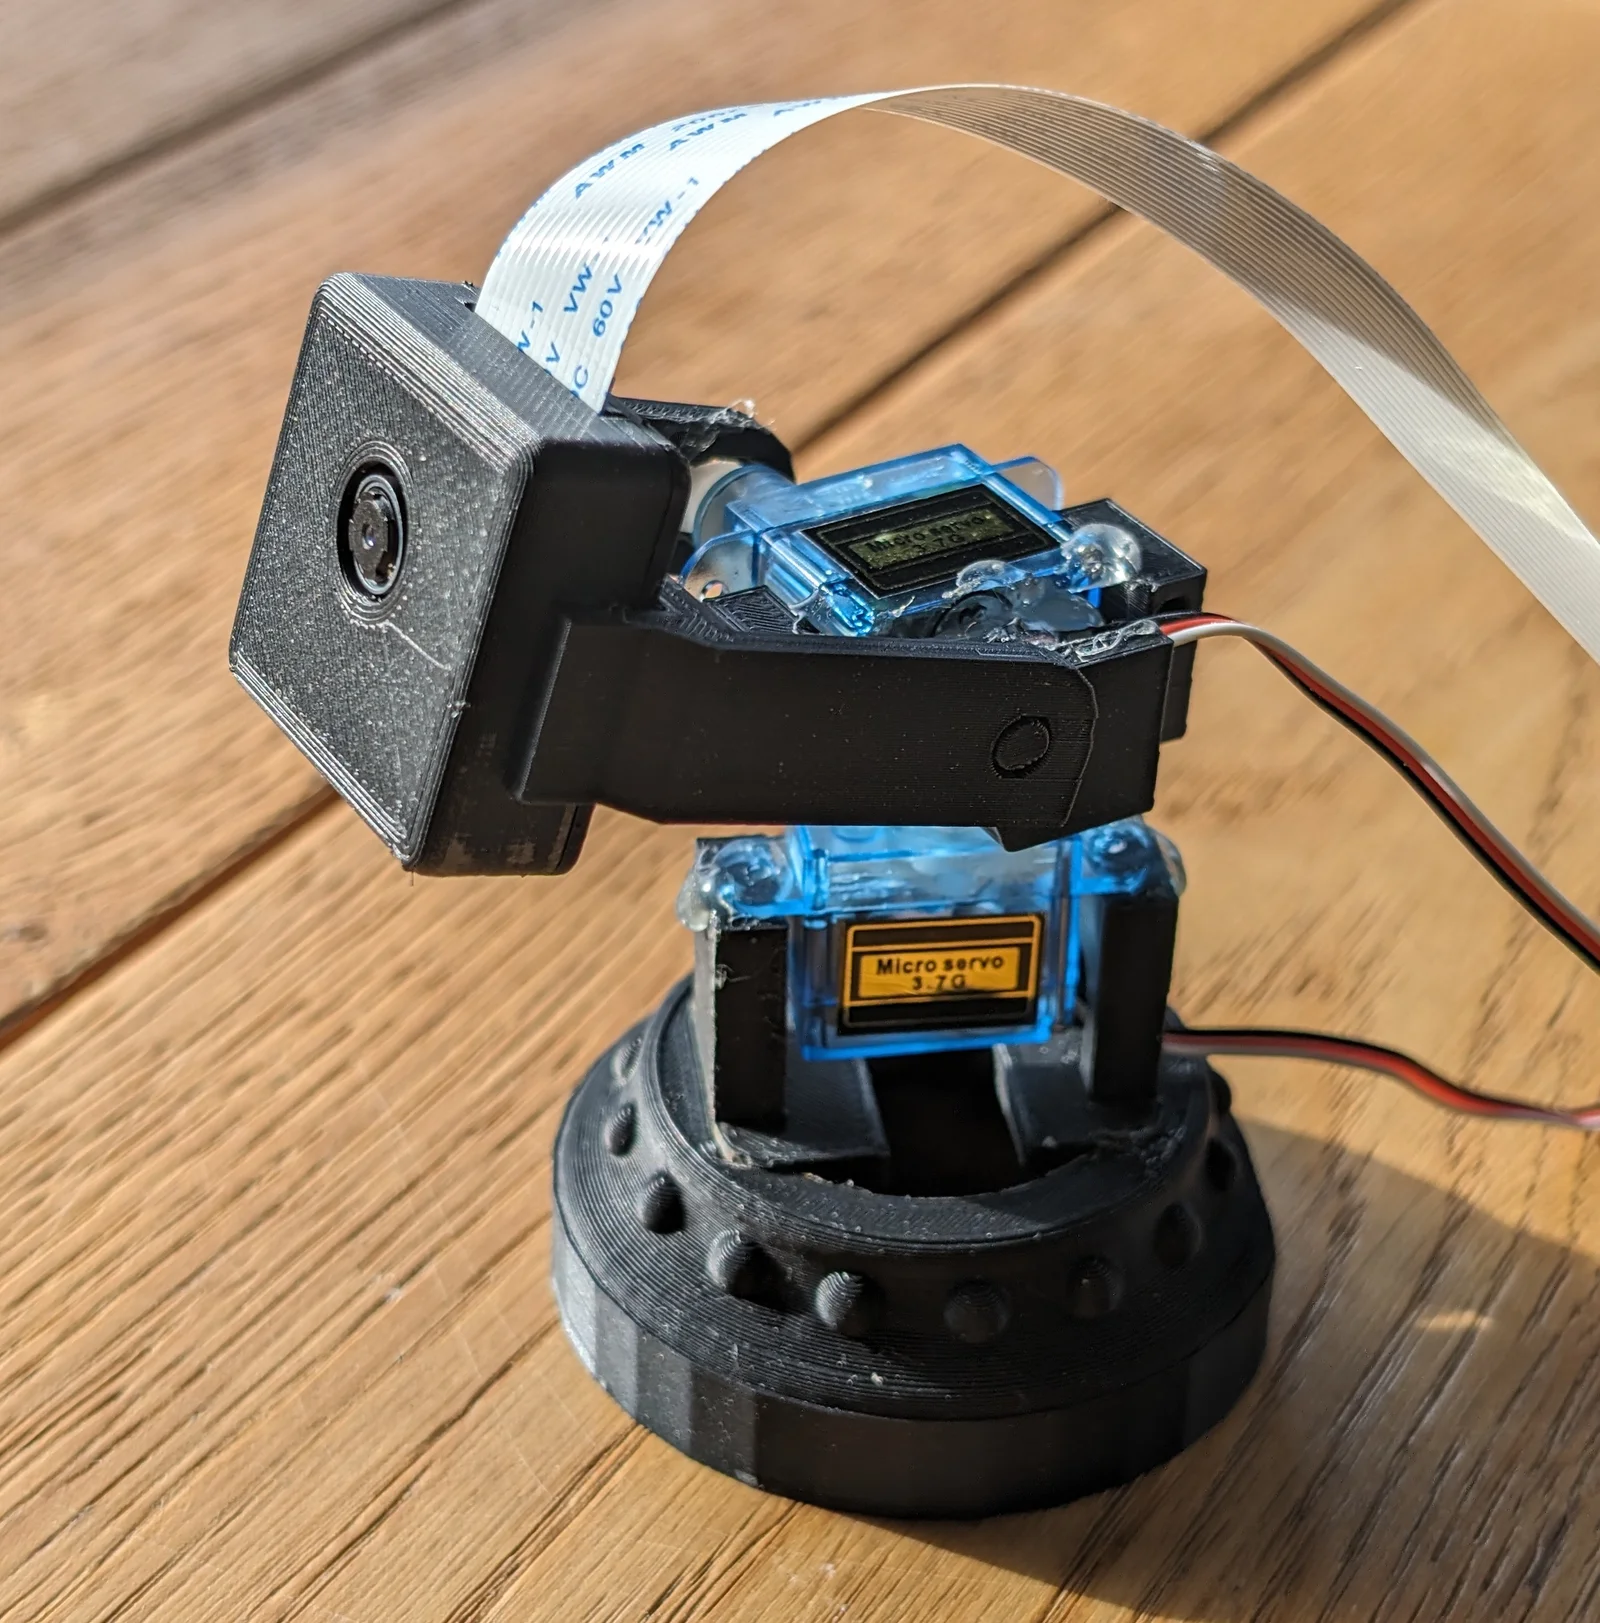
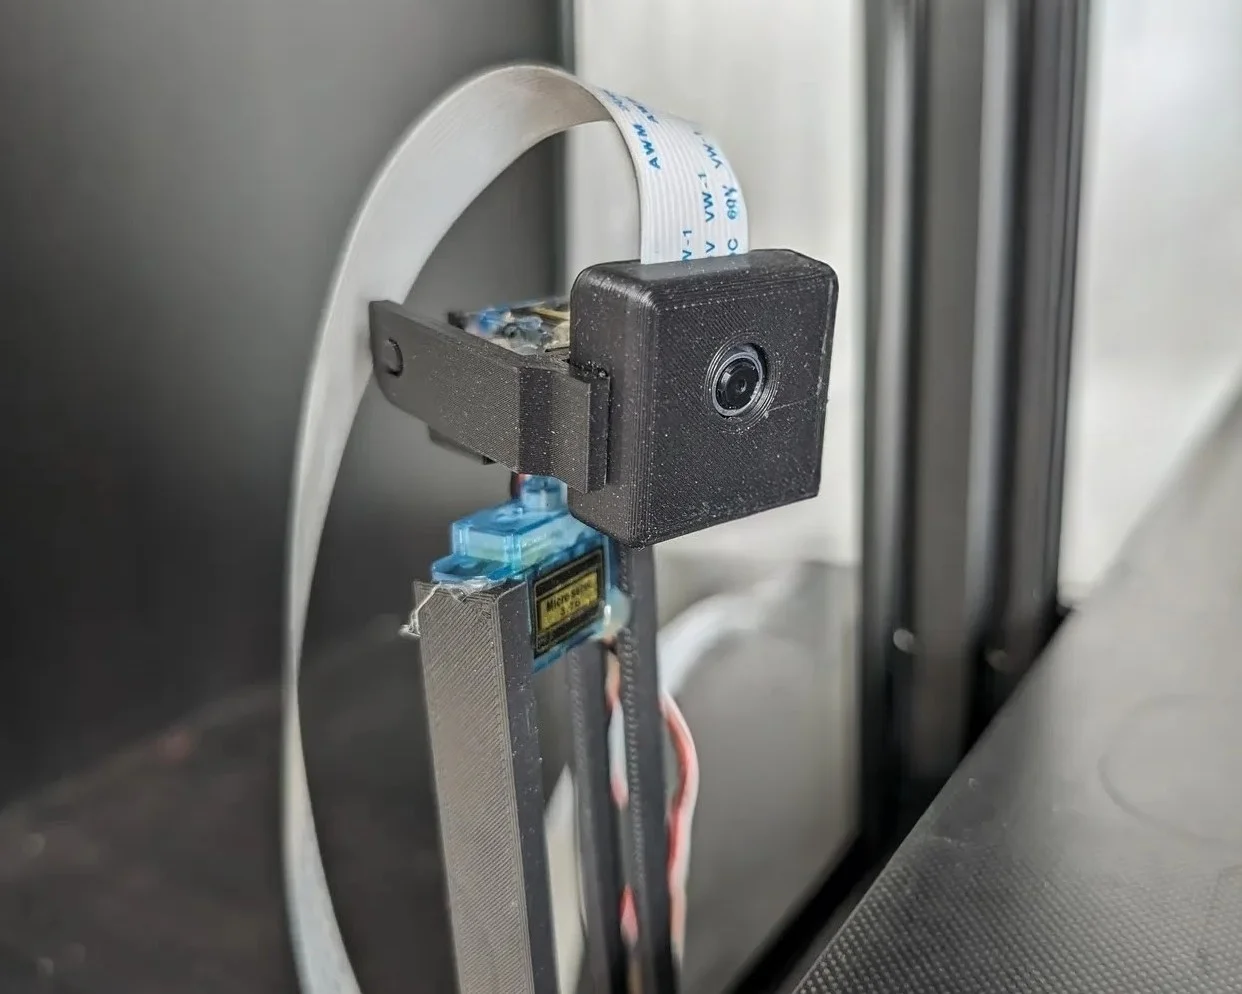


Kẹp giữ sợi Filament
 Bytinx_1344834Likes1.2KDownloads6K
Remix of Nắp QR Code cho Ender 3 V2 dùng CR-Touch By Mylez__18192
Build another version of this model.
Notice: it's not only for the ender 3 v2
Model descriptions:
Credit for all the models used in the renders:
I use:
a Modular Snap Together Raspberry Pi @Sneaks with a Ender 3 V2 Mounts rail @ryanba, with the model 1 Arm rail mount for a aluminum extrusion. and I use a raspberry pi with octoprint. And for the servos I use the Micro servo 3.9g. with the Easy servos plugin on octoprint. And on the pi i connecter the gpio 22 for the x and 27 for the y
IMPORTANT for octoprint
You can use a octoprint plugin to control the servos. the plugin called easy servos made by mledan, iFrostizz and jneilliii.
In the image below, you can see the controls and my settings.
how to set-up is described on the Plugin Repo “LINK”
^^ these are my settings for easy servo
Thanks to @Erer for the original model.
Bytinx_1344834Likes1.2KDownloads6K

 Bygummiegecko8477Likes0Downloads164

 BydalleLikes0Downloads149

 Byarhi_585078Likes64Downloads545

 ByHanzo3dLikes155Downloads417

 ByGeek5DLikes147Downloads490

 ByBrokentooth_designsLikes23Downloads412

 Bycrawler-3903250Likes0Downloads909

 Byartme-3dLikes0Downloads336

 By3DSourcererLikes48Downloads379

 Bybloblis67Likes0Downloads319

 Byprusa-researchLikes0Downloads2.7K