

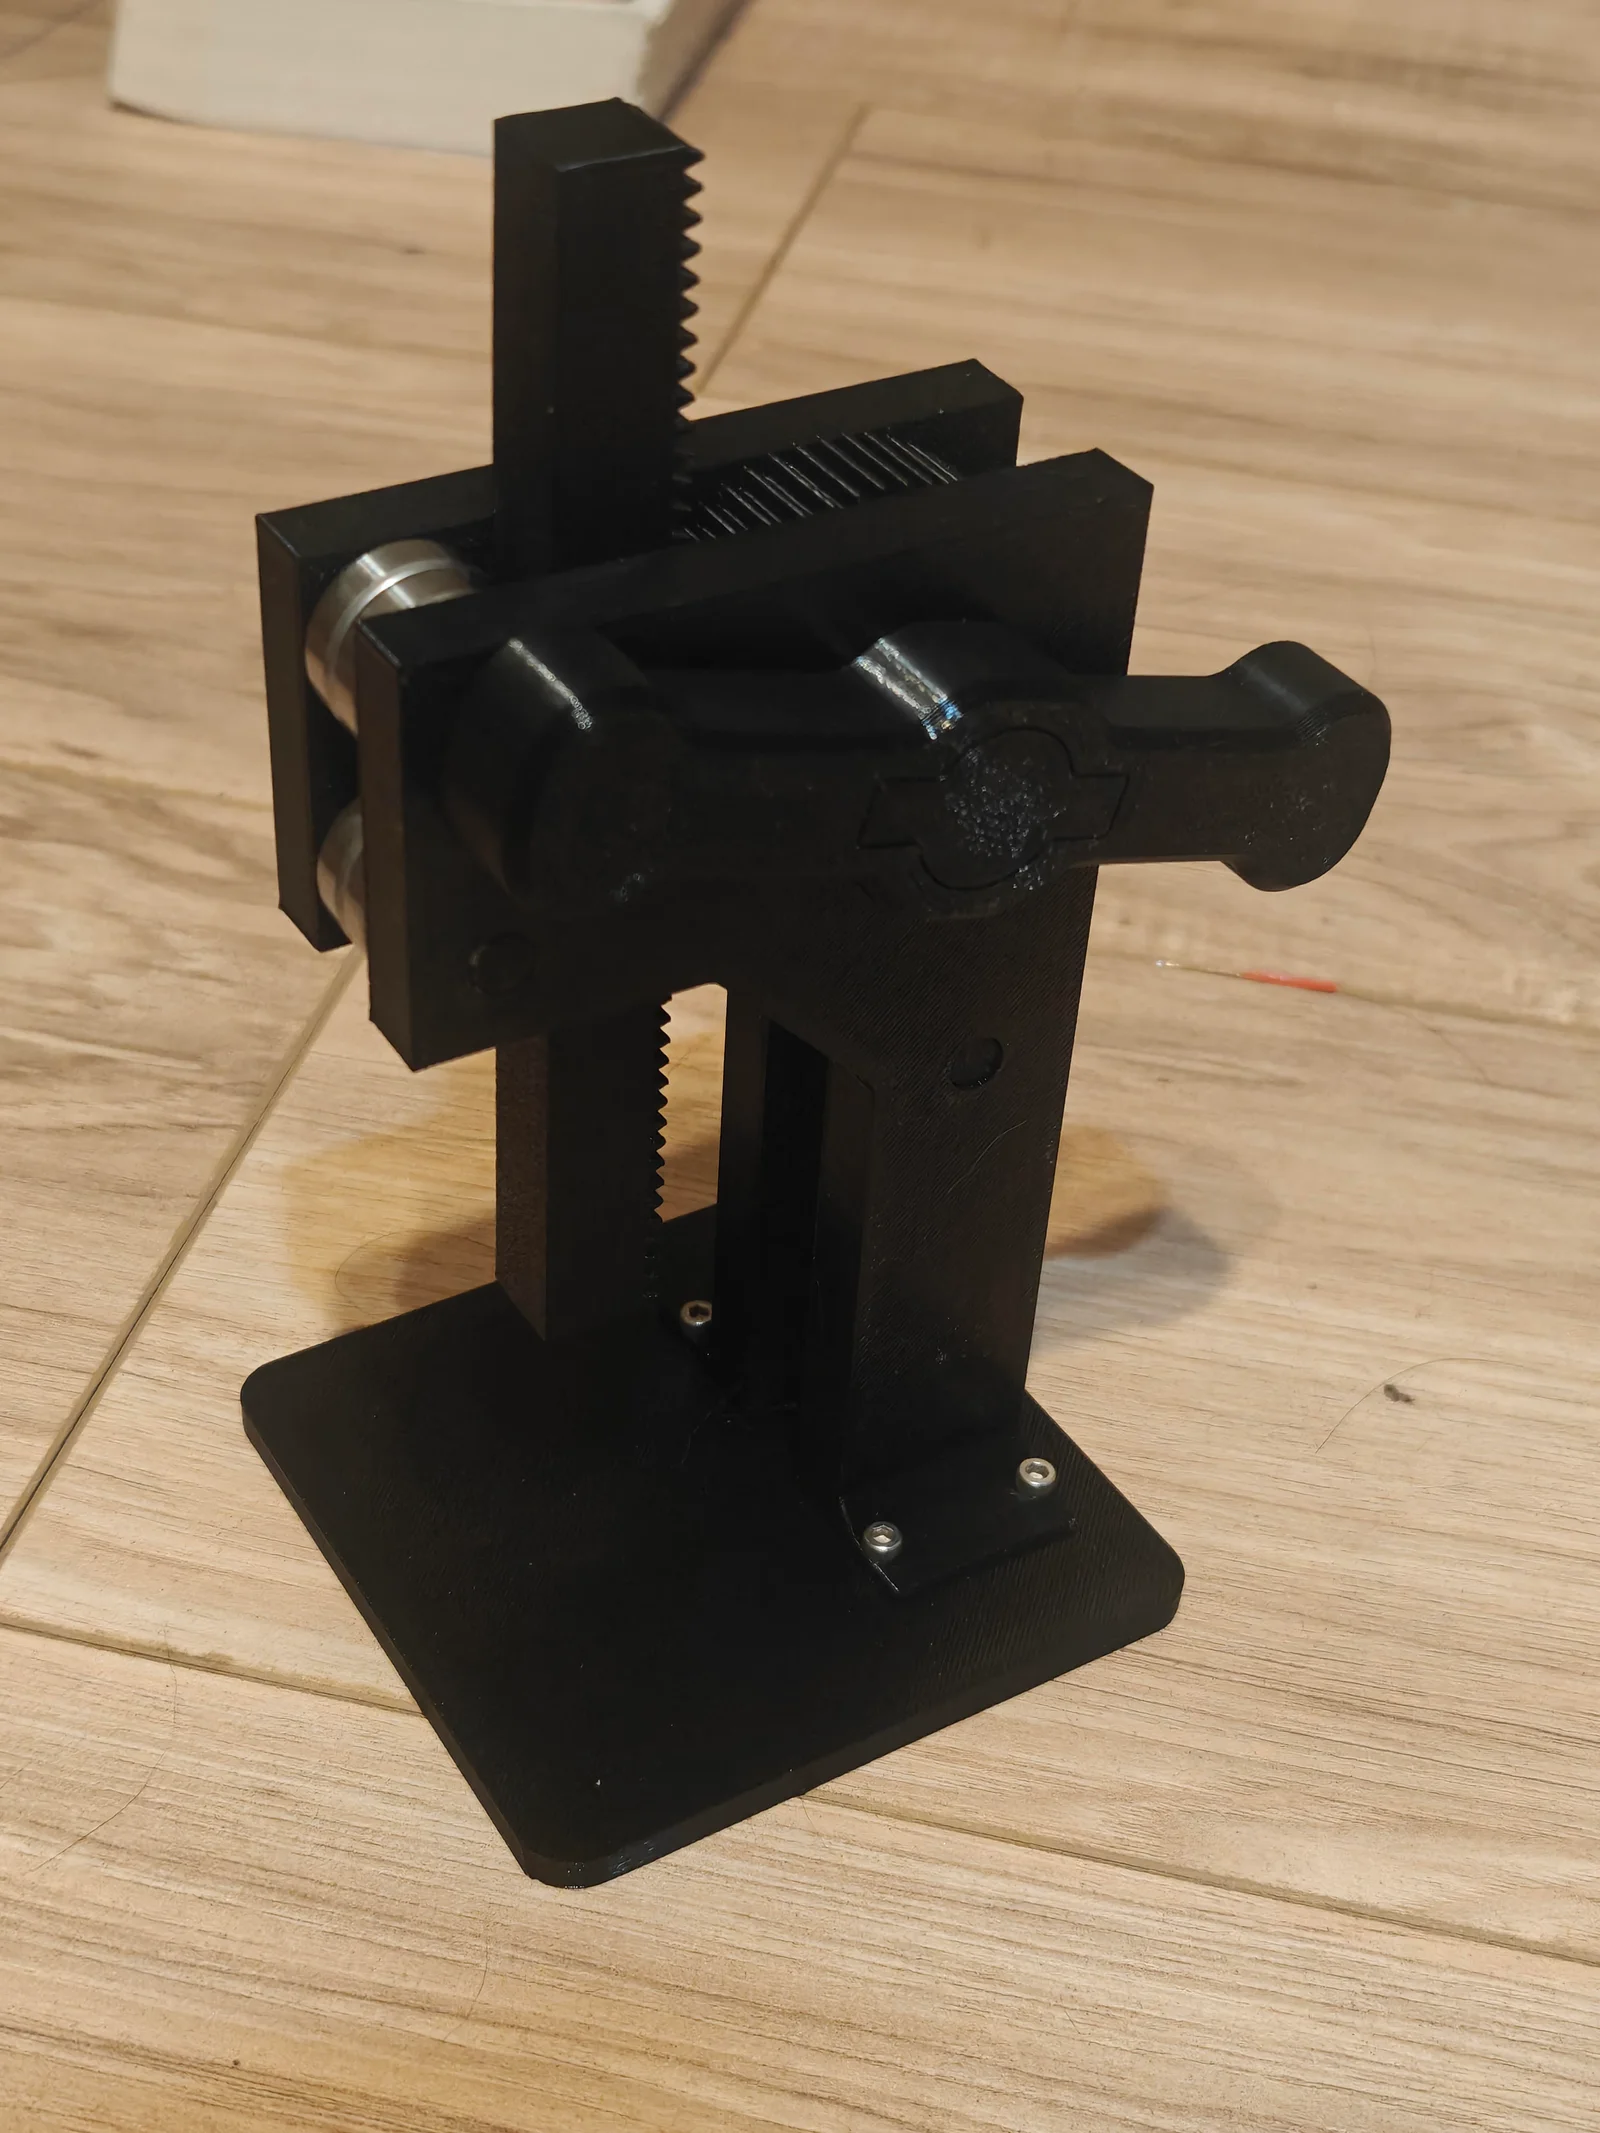


SolderMate - Fully 3D Printed Desk Soldering Companion
 ByleonicLikes0Downloads1.4K
Build another version of this model.
Everything is already oriented correctly for printing for both strength and no supports required. Took me ¼ roll of filament and 4 hours to print. Make sure you have good xy contour compensation values. With 0.2 layer height and 0.42 line width, I used 5 walls, 5 top, and 5 bottom layers with 50% adaptive cubic infill. I printed in PETG.
BOM:
Print 1 of each part except for the BearingAxels, print 3 of those, and only 1 of the racks. One rack is just plastic and the other can take a 10mmx100mm metal rod if you want a metal pressing tip. And it reinforces the strength of the rack.
4x 608 bearings
4x m3 heat set inserts
4x m3x6 screws
Build guide:
Everthing is a tight press fit and should remain that way! For every step I used a hammer to tap things into place. It doesn't matter much if you accidently put too much pressure on the bearings. They don't need to rotate for this to work well.
UPDATES:
Changed sharp corners to be rounded for better strength + aesthetics.
ByleonicLikes0Downloads1.4K

 ByfifindrLikes500Downloads4K

 ByVC_DesignLikes679Downloads3.6K

 ByDan Schwartz SchwartzLikes744Downloads3.4K

 Byvc-designLikes0Downloads535

 Bythorin-oakenshieldLikes0Downloads532

 Bytorii-creative-studioLikes0Downloads450

 Bychubbs8697_2027893Likes585Downloads1.7K

 Byquibeck_3353173Likes965Downloads1.9K

 Bydenis-3dLikes0Downloads266

 ByRungeKuttaLikes229Downloads1.2K

 Bydelloo2008Likes0Downloads245