



Kẹp giữ sợi Filament
 Bytinx_1344834Likes1.2KDownloads6K
Remix of Insert tùy biến cho SOVOL SH01/Comgrow Filament Dryer + hướng dẫn mod tổng hợp By anselor_557733
Build another version of this model.
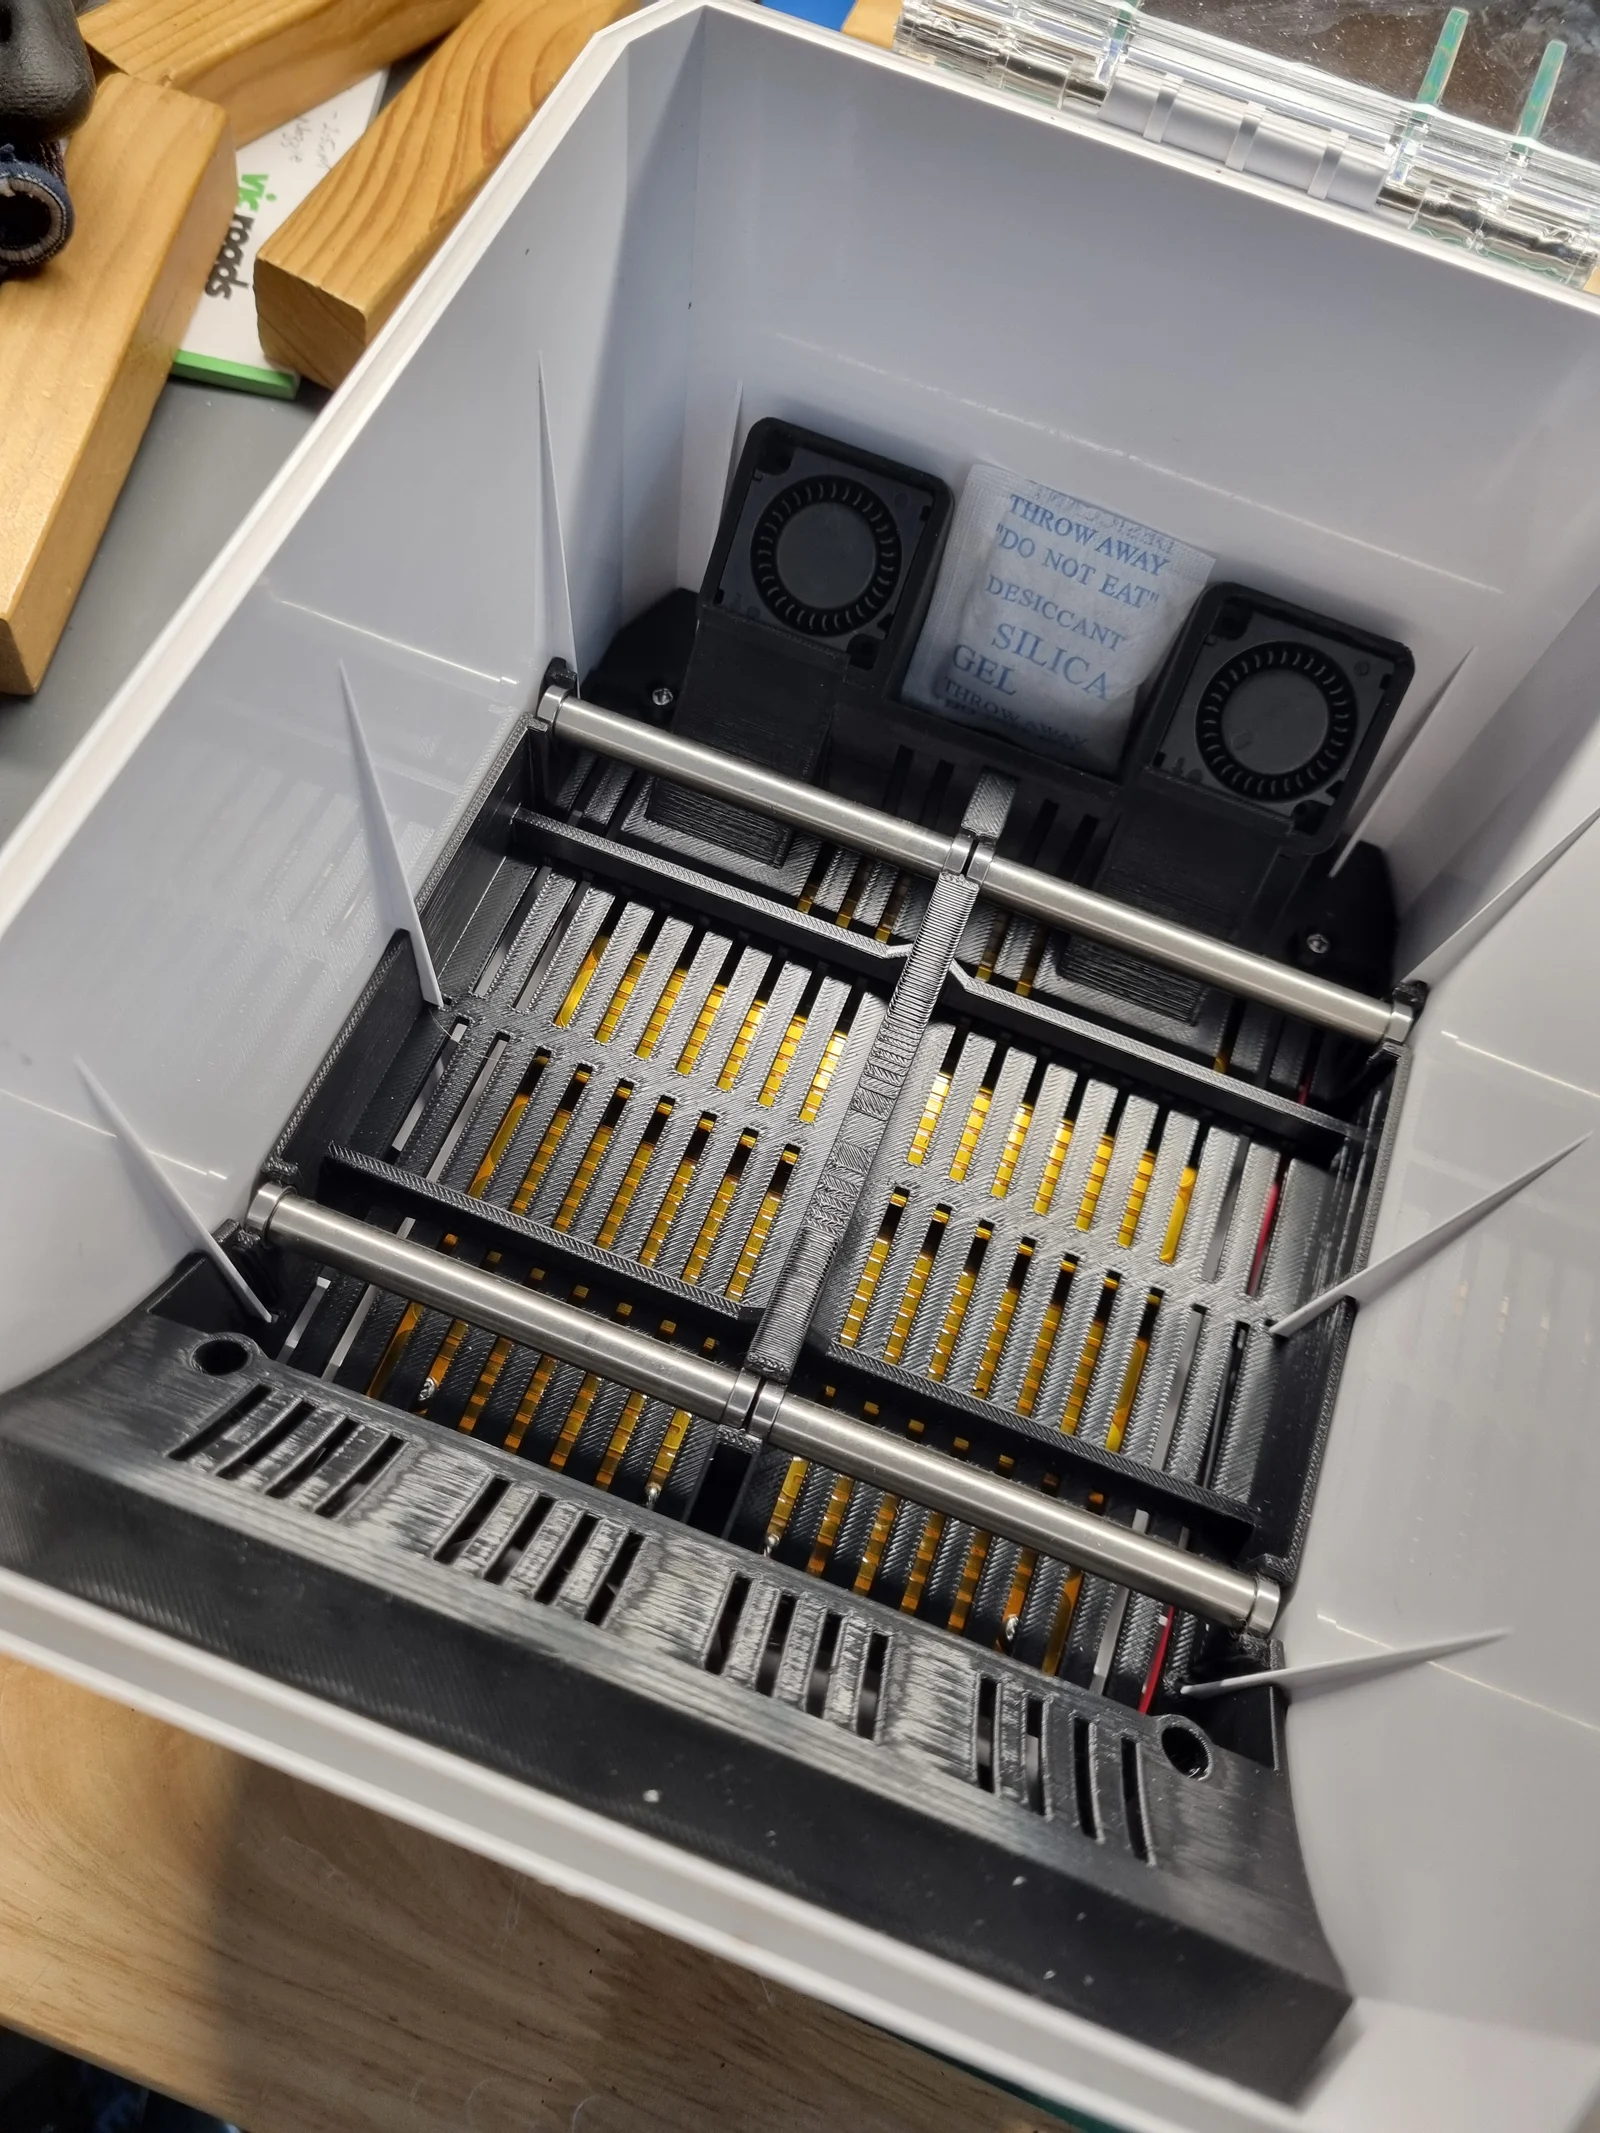
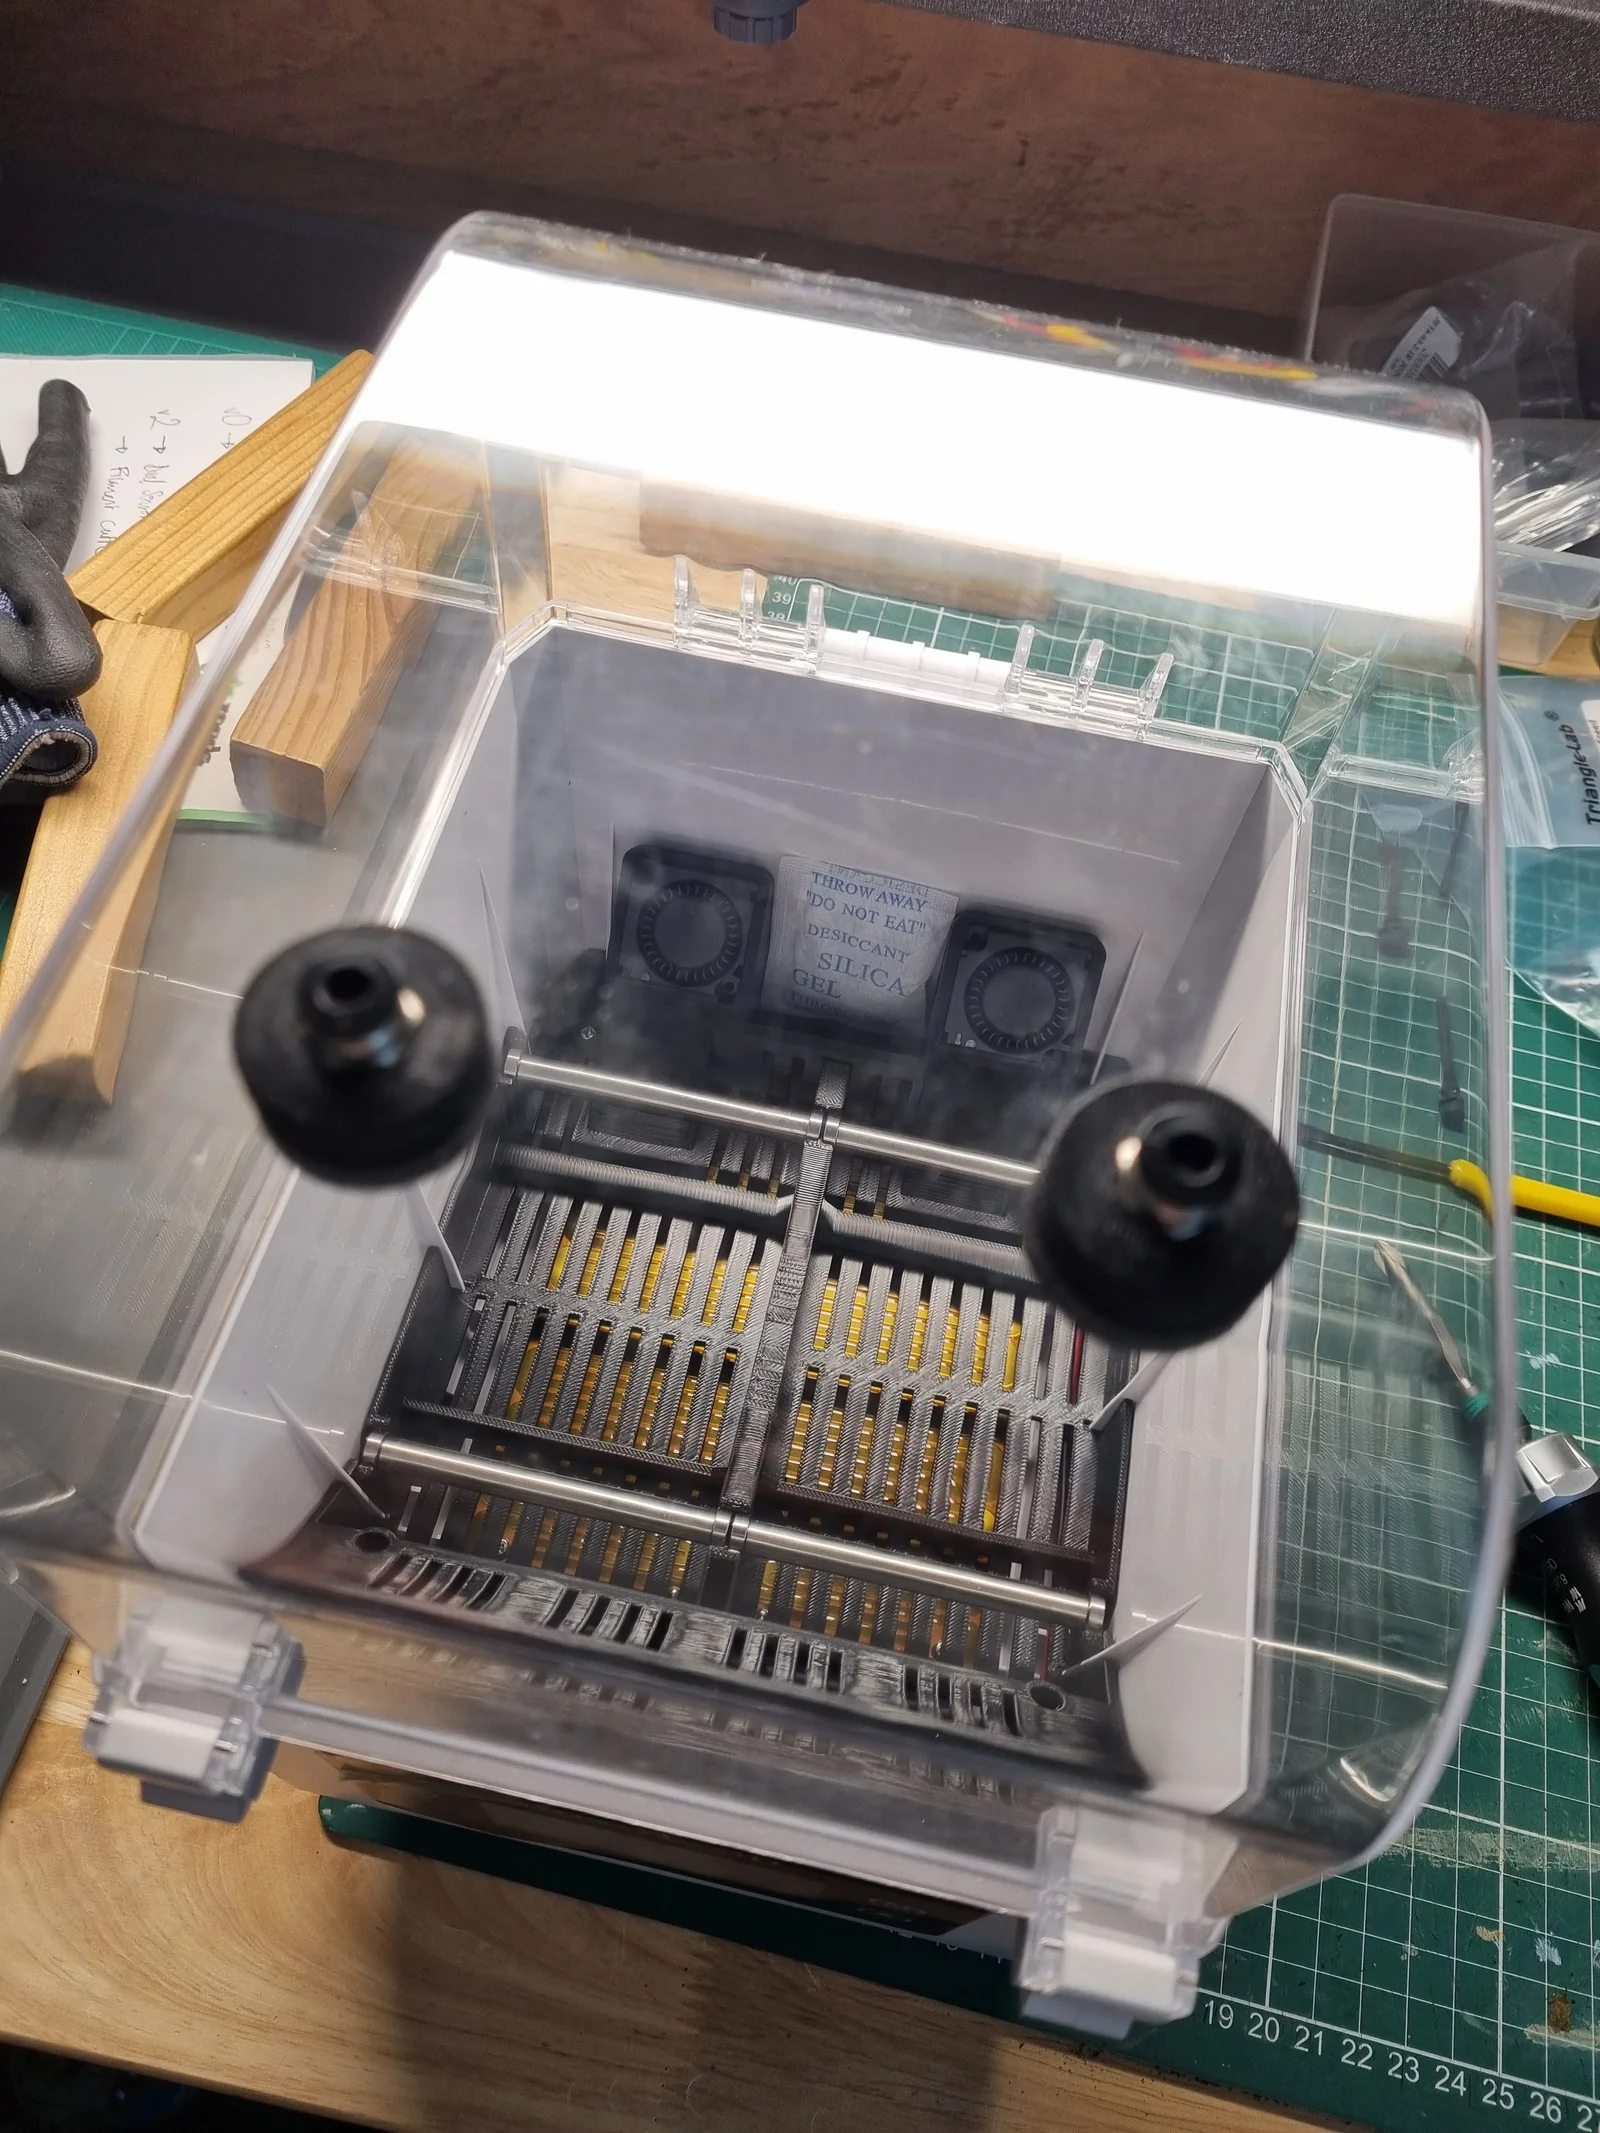
This is an insert for the Sovol SH01 that works with 3010 blower fans directed through ducts directly at the source of heat for significantly better air distribution and improved heating. The result is faster heating, less hot spots in the dryer and if you pick the right fans - less noise!
2 x 3010 blower fans that operate at 12V (i.e. GDS time dual ball bearing - I did put a 47 Ohm 10W wire wound resistor on the positive line to reduce speed to 85% as my fans are overkill - noctua uses a similar 51 Ohm resistor in their fan silencer). I had these fans on hand and so you might want to try the Winsinn Dual Bearing (note: choose 12V dual bearing and not hydraulic!). You will need to connect all wires to the single original fan connector.
If you hate wiring… You could buy a 20cm 2 pin JST-XH extension and then a JST-XH splitter (i.e. this)
This model has been improved so the supports are integrated. I printed in ABS for heat resistance. If you print in ABS you will need to ensure your slicer accounts for ABS shrinkage as the model is designed without shrinkage incorporated (I used Califlower to tune for ABS shrinkage). My suggestion is: 20% infill, min 3 perimeters, min 4 top / bottom layers.
Unfortunately there are 12 errors detected in the original model. Your slicer will usually fix these, but it isn't necessary as it will print fine without them being corrected.
If your SH01 doesn't let you set it for 48 hours, you should try the firmware flash. It requires some technical skill, but it has made life much easier for me. I put the details of how it works here. You may also want to look at the top post there to see all the mods the author did as there is some great options. I've created a collection of mods here on printables.
Bytinx_1344834Likes1.2KDownloads6K

 Byarhi_585078Likes64Downloads542

 ByHanzo3dLikes155Downloads415

 ByGeek5DLikes147Downloads485

 ByBrokentooth_designsLikes23Downloads408

 Bycrawler-3903250Likes0Downloads906

 By3DSourcererLikes48Downloads377

 Byartme-3dLikes0Downloads334

 Bybloblis67Likes0Downloads318

 Byprusa-researchLikes0Downloads2.7K

 Byzachstofko_3956201Likes88Downloads160

 ByzooppLikes7Downloads164