

Mini Miter Box (Khuôn cắt góc 90°, 45°, 30°, 22.5°)
 ByfifindrLikes355Downloads858
Build another version of this model.
I work in a small metal fabrication workshop. We often have a lot of metal wire offcuts falling on the floor. Previously, we cleaned them up with a broom or a simple magnet on a long rod, but it was inconvenient.
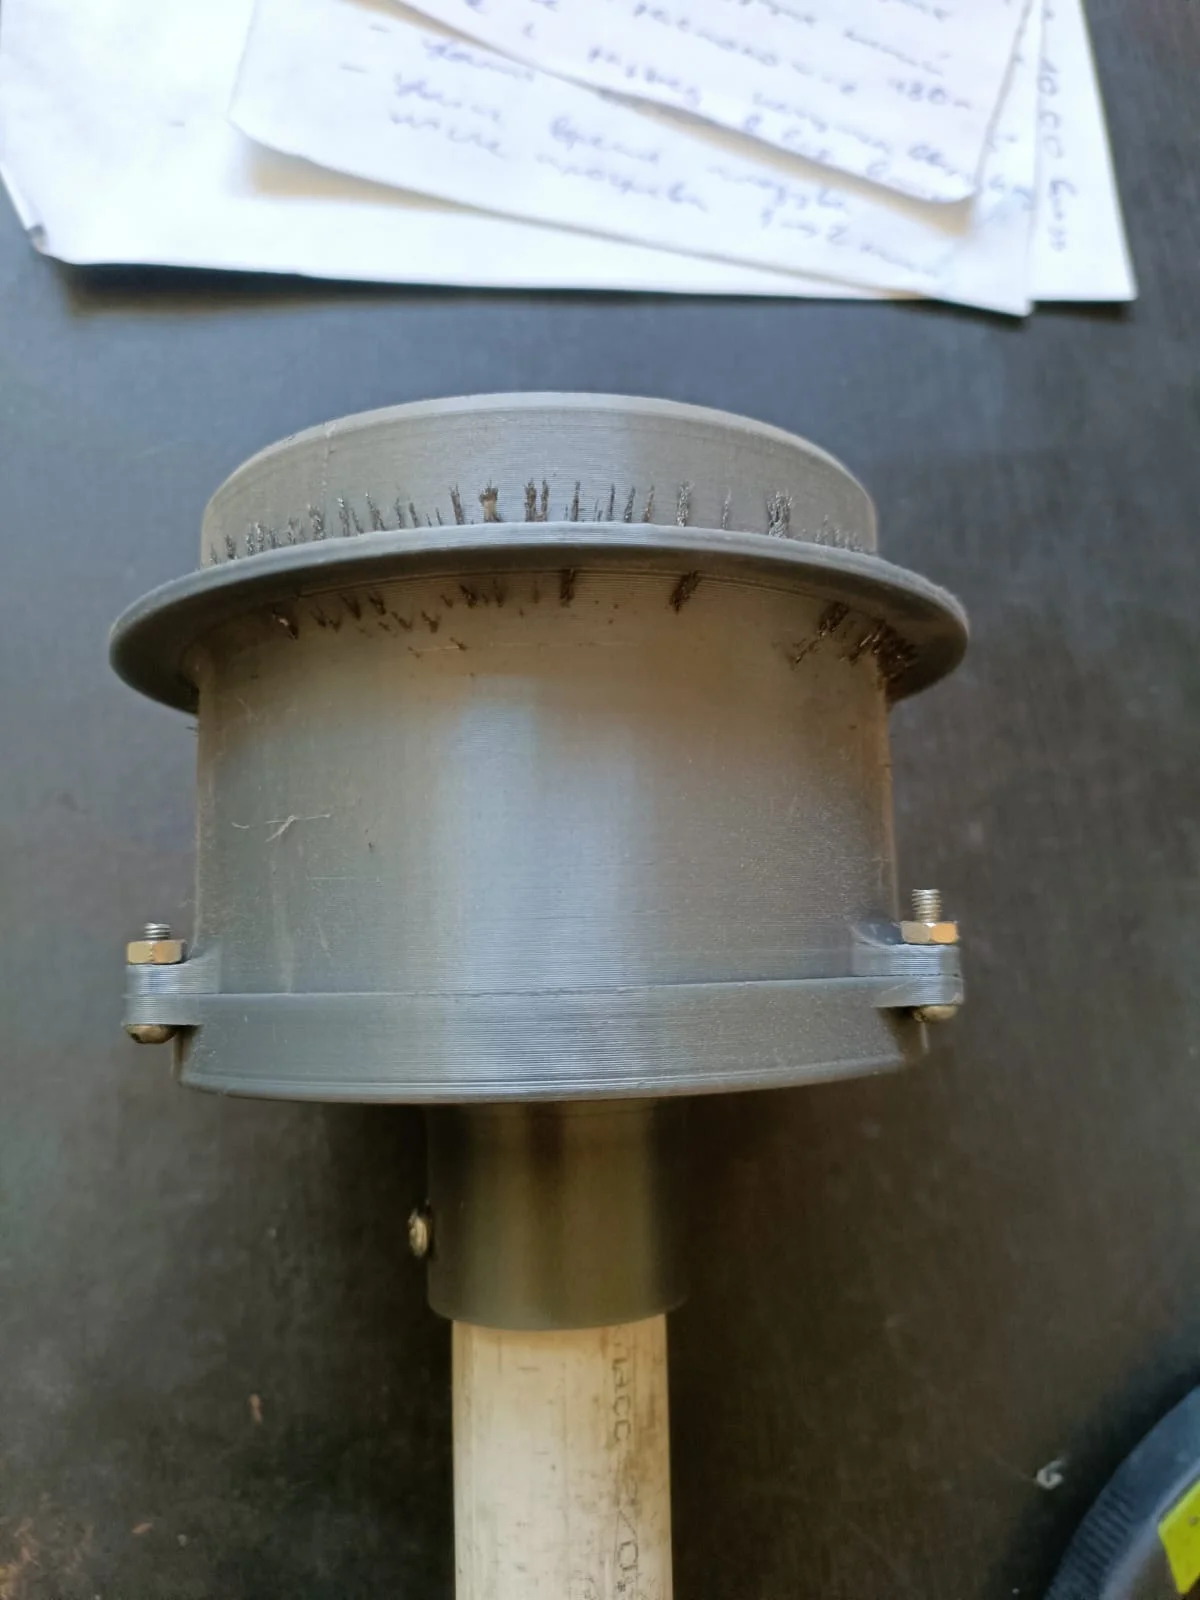
I decided to make a collector with a moving magnet inside. First, I made it using ten small neodymium magnets, but it was too weak. Then I bought a large cylindrical neodymium magnet (50 mm diameter, 30 mm height). It was far too strong — it stuck to every metal surface, and it was difficult to clean.
So the final and best choice was a cylindrical neodymium magnet, 50 mm diameter and 10 mm height.
Neodymium magnet, 50 mm diameter, 10 mm height (I use N42 grade. N38 may be too weak, N52 may be too strong and difficult to clean).
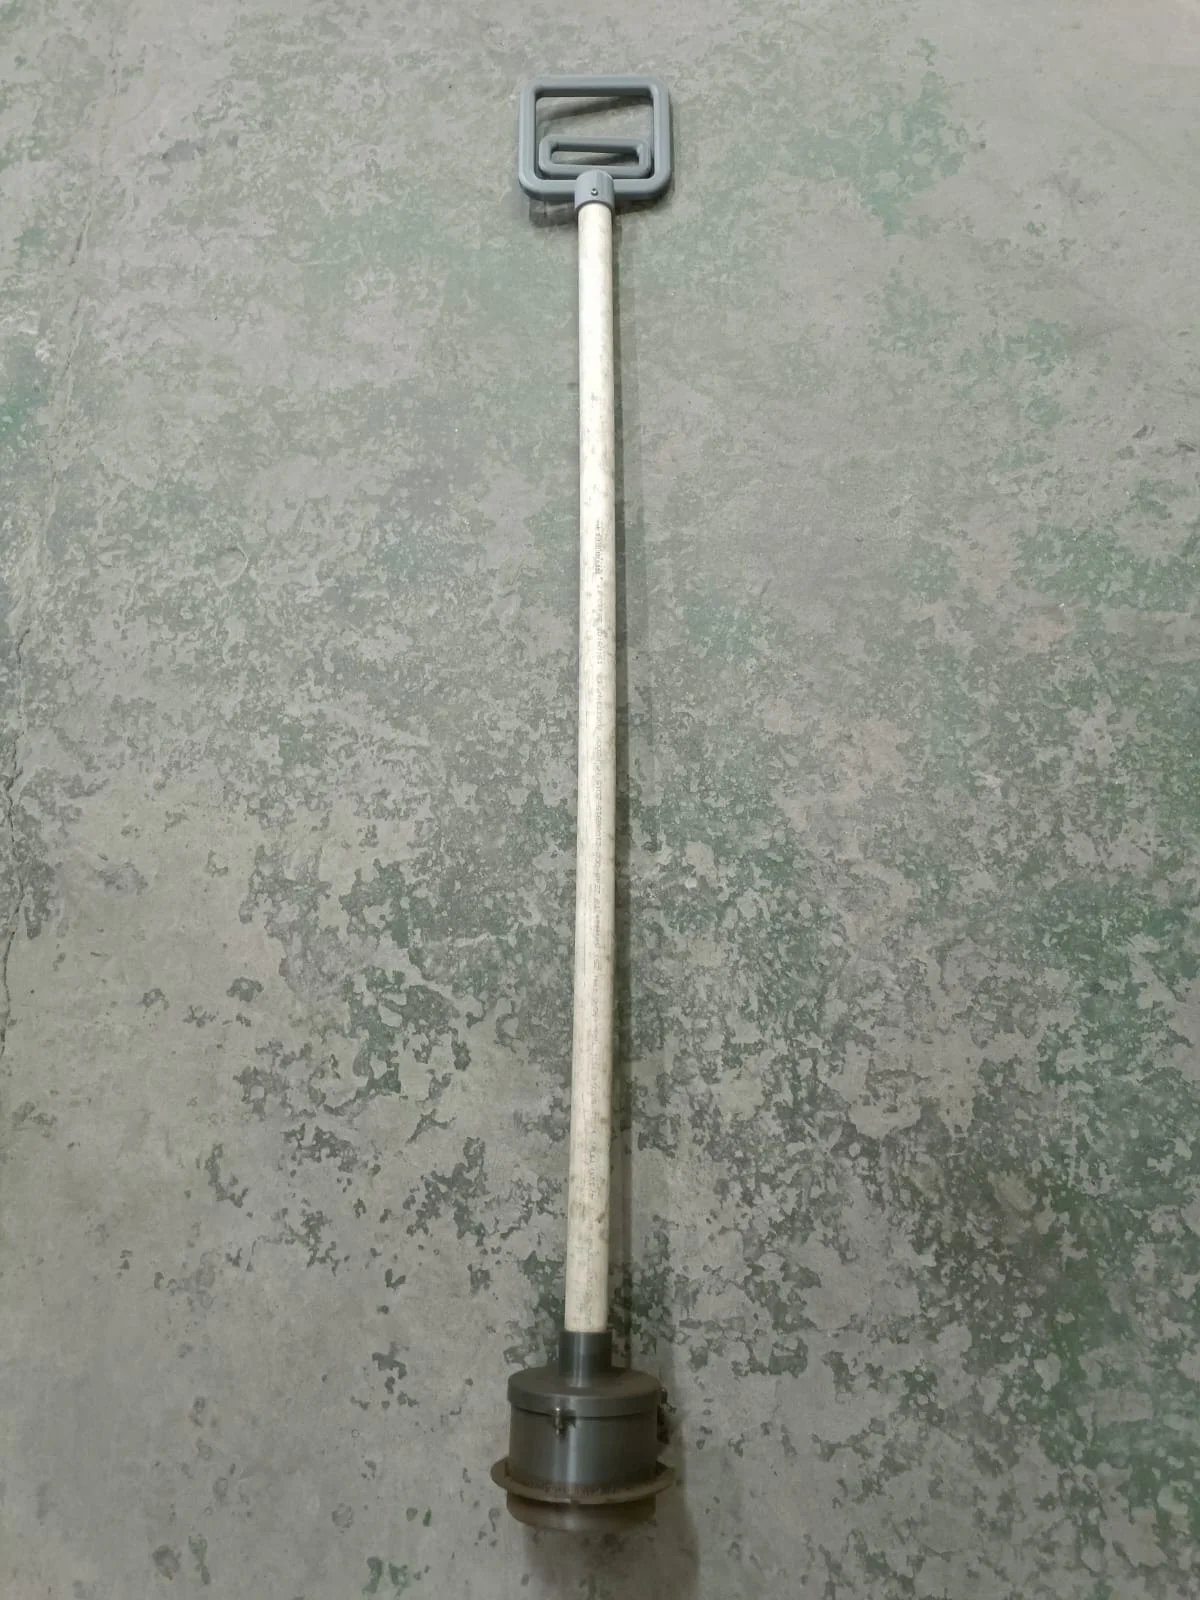
Fiberglass-reinforced plastic pipe, 25 × 3.5 mm, about 84 cm long.
Metal wire, 5 mm diameter, about 89 cm long.
Metal plate, 2 mm thick, 50 × 50 mm.
Aluminum rivets, 4 pcs., 3.2 × 7 (or 8) mm.
Screws M3 × 10 (or 12), 3 pcs.
Nuts M3, 3 pcs.
Self-tapping screws 3 × 8 (or 10), 2–4 pcs.
Metal wire, 2 mm diameter, 11 mm long.
Cyanoacrylate glue.
Print all 5 parts.
Drill holes in the metal plate using the magnet holder as a pattern.
Weld the 5 mm metal wire to the center of the metal plate.
Use rivets to attach the magnet holder to the metal plate. Make sure the flat side of the rivets faces the magnet.
Glue the magnet into the holder. Apply glue to both the plastic and the magnet.
Install the base cover on one side of the plastic pipe and the handle on the other side. You may need to adjust the length of the pipe and the 5 mm wire later on.
(Tricky) Drill a hole in the free end of the 5 mm wire. Distance from center to edge: 14 mm, diameter 2.5–3 mm. It’s easy to break the drill bit, so take your time.
Insert the 5 mm wire into the plastic pipe. Connect the inner part of the handle to the end. Align the holes in the wire and the handle, then insert the 2 mm metal pin.
Align the base with the cover and install the screws and nuts.
After some use, I realized that the base and cover should be printed with nearly 100% infill, as they need to be strong and durable.
ByfifindrLikes355Downloads858

 Byvc-designLikes0Downloads534

 Bythorin-oakenshieldLikes0Downloads531

 ByleonicLikes0Downloads1.4K

 Bydenis-3dLikes0Downloads266

 Bydelloo2008Likes0Downloads245

 ByVC_DesignLikes679Downloads3.6K

 ByDan Schwartz SchwartzLikes744Downloads3.4K


 ByelitailLikes0Downloads132

 Bytorii-creative-studioLikes0Downloads449

 Bychubbs8697_2027893Likes585Downloads1.7K