

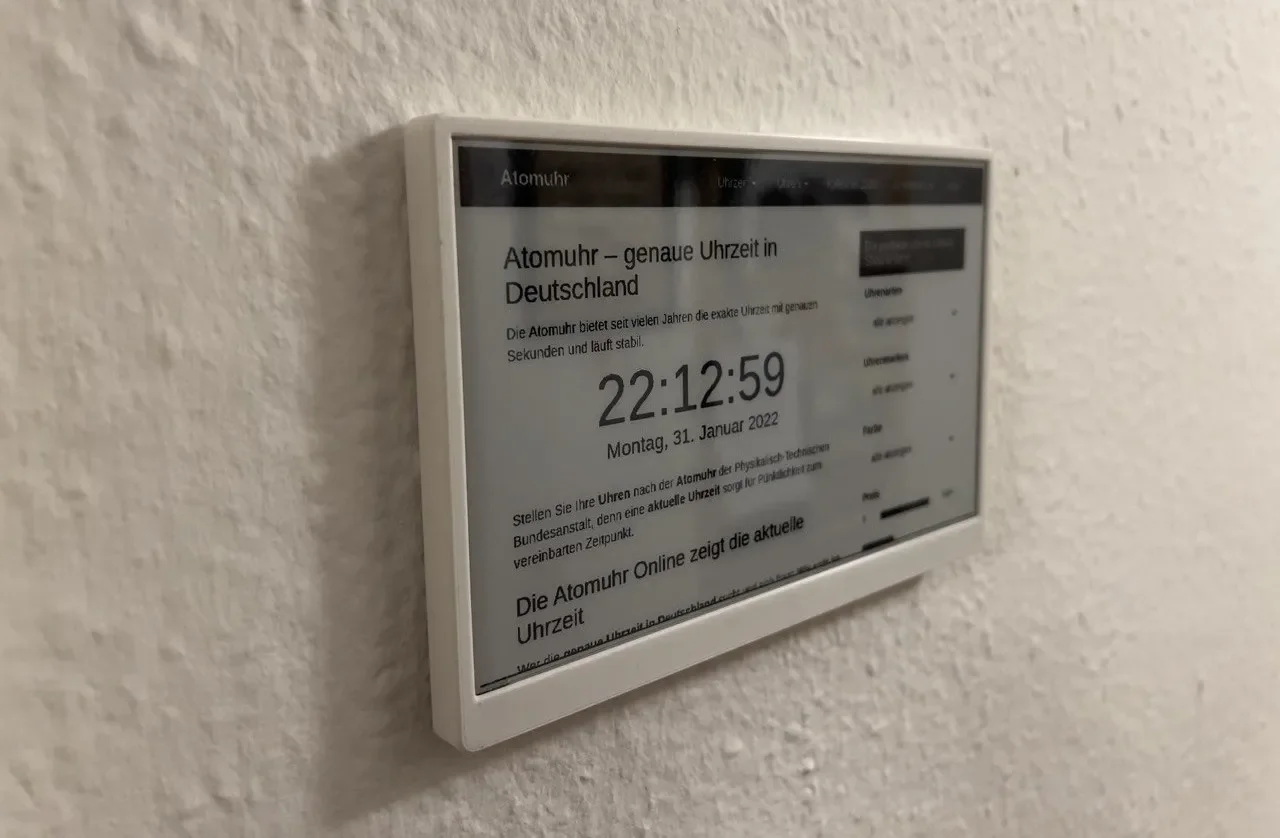

Case for ESP8266MOD
 BymiceciczeLikes0Downloads599
Build another version of this model.
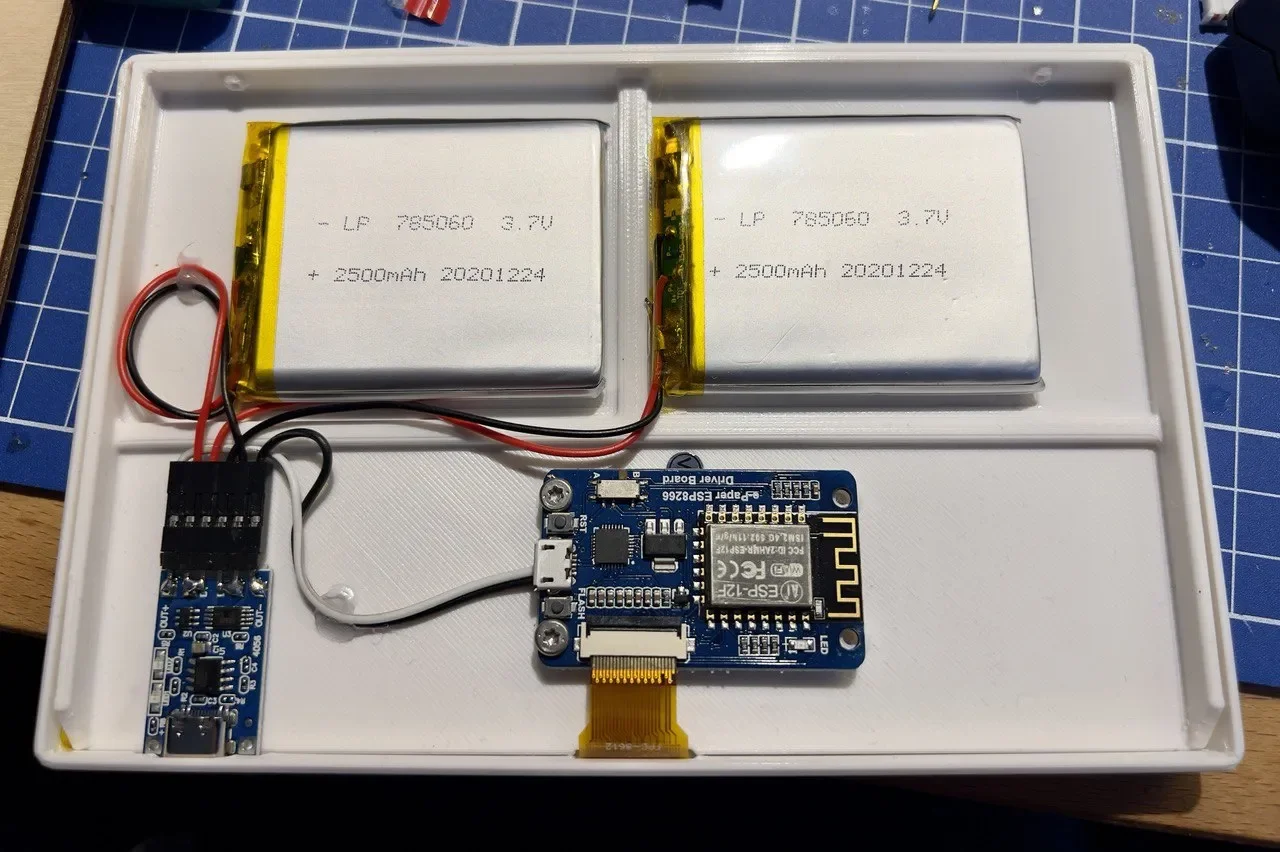
To close the two halves, push a piece of filament through the holes on top. The small slot in the top middle is for gripping to a nail.
The driver board has NO PROTECTION DIODE between Vin and Vusb!!! Always disconnect the battery before plugging in usb on the driver board!
It's using 24mA when idle, ~70mA when refreshing and 1.4mA when in deepsleep. With hourly refresh I get about two months of runtime.
This is what I used:
BymiceciczeLikes0Downloads599

 Bylab-96Likes0Downloads110

 BymoonyxLikes0Downloads519

 ByrjunLikes0Downloads307

 ByhonkLikes0Downloads261

 ByleonicLikes0Downloads1.4K

 ByZED4EverLikes313Downloads5.2K

 Byreinvent3dLikes0Downloads137

 ByfifindrLikes500Downloads4K

 Bymrfixit_324954Likes65Downloads478

 ByVC_DesignLikes679Downloads3.6K
