



Kẹp giữ sợi Filament
 Bytinx_1344834Likes1.2KDownloads6K
Build another version of this model.
*Update:
I designed a easy to print design that fits inside the container without having to do any modifications.
Just Print it and place it in. the link for that is *HERE*
-----------------------
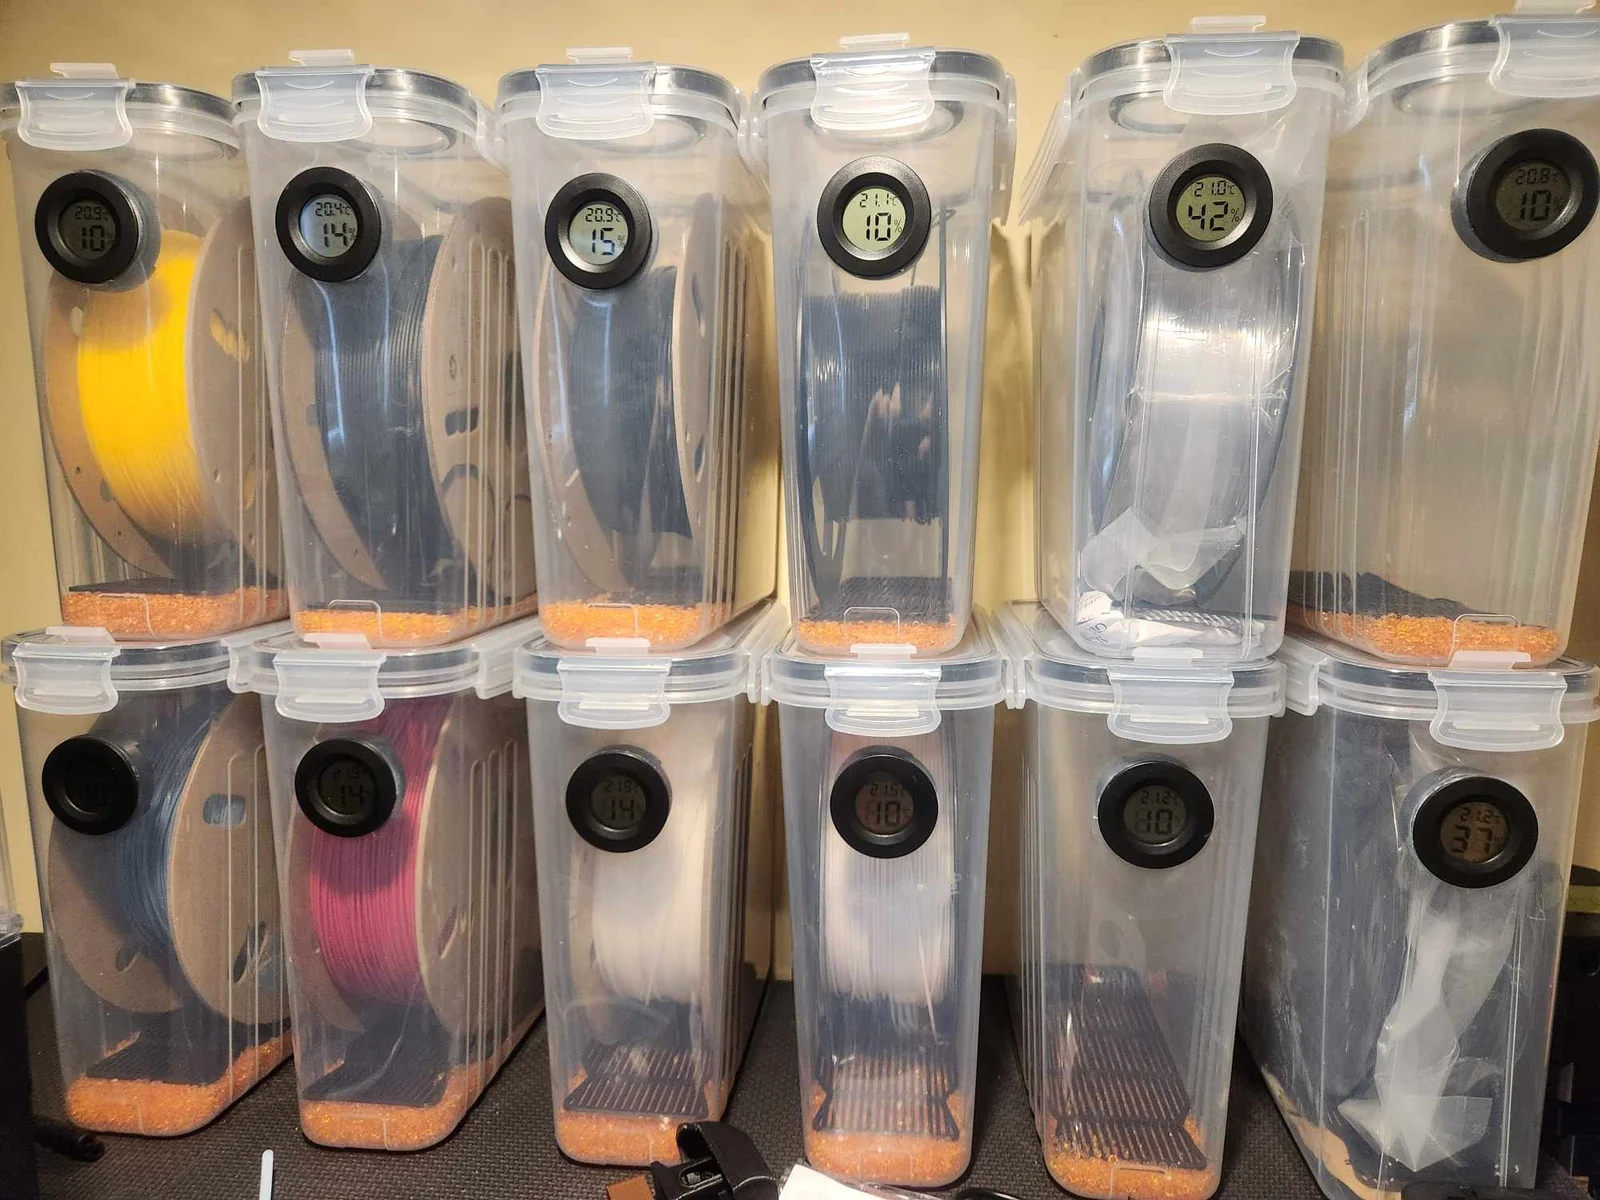
I was looking for something to store my filament in to make organization a lot better.
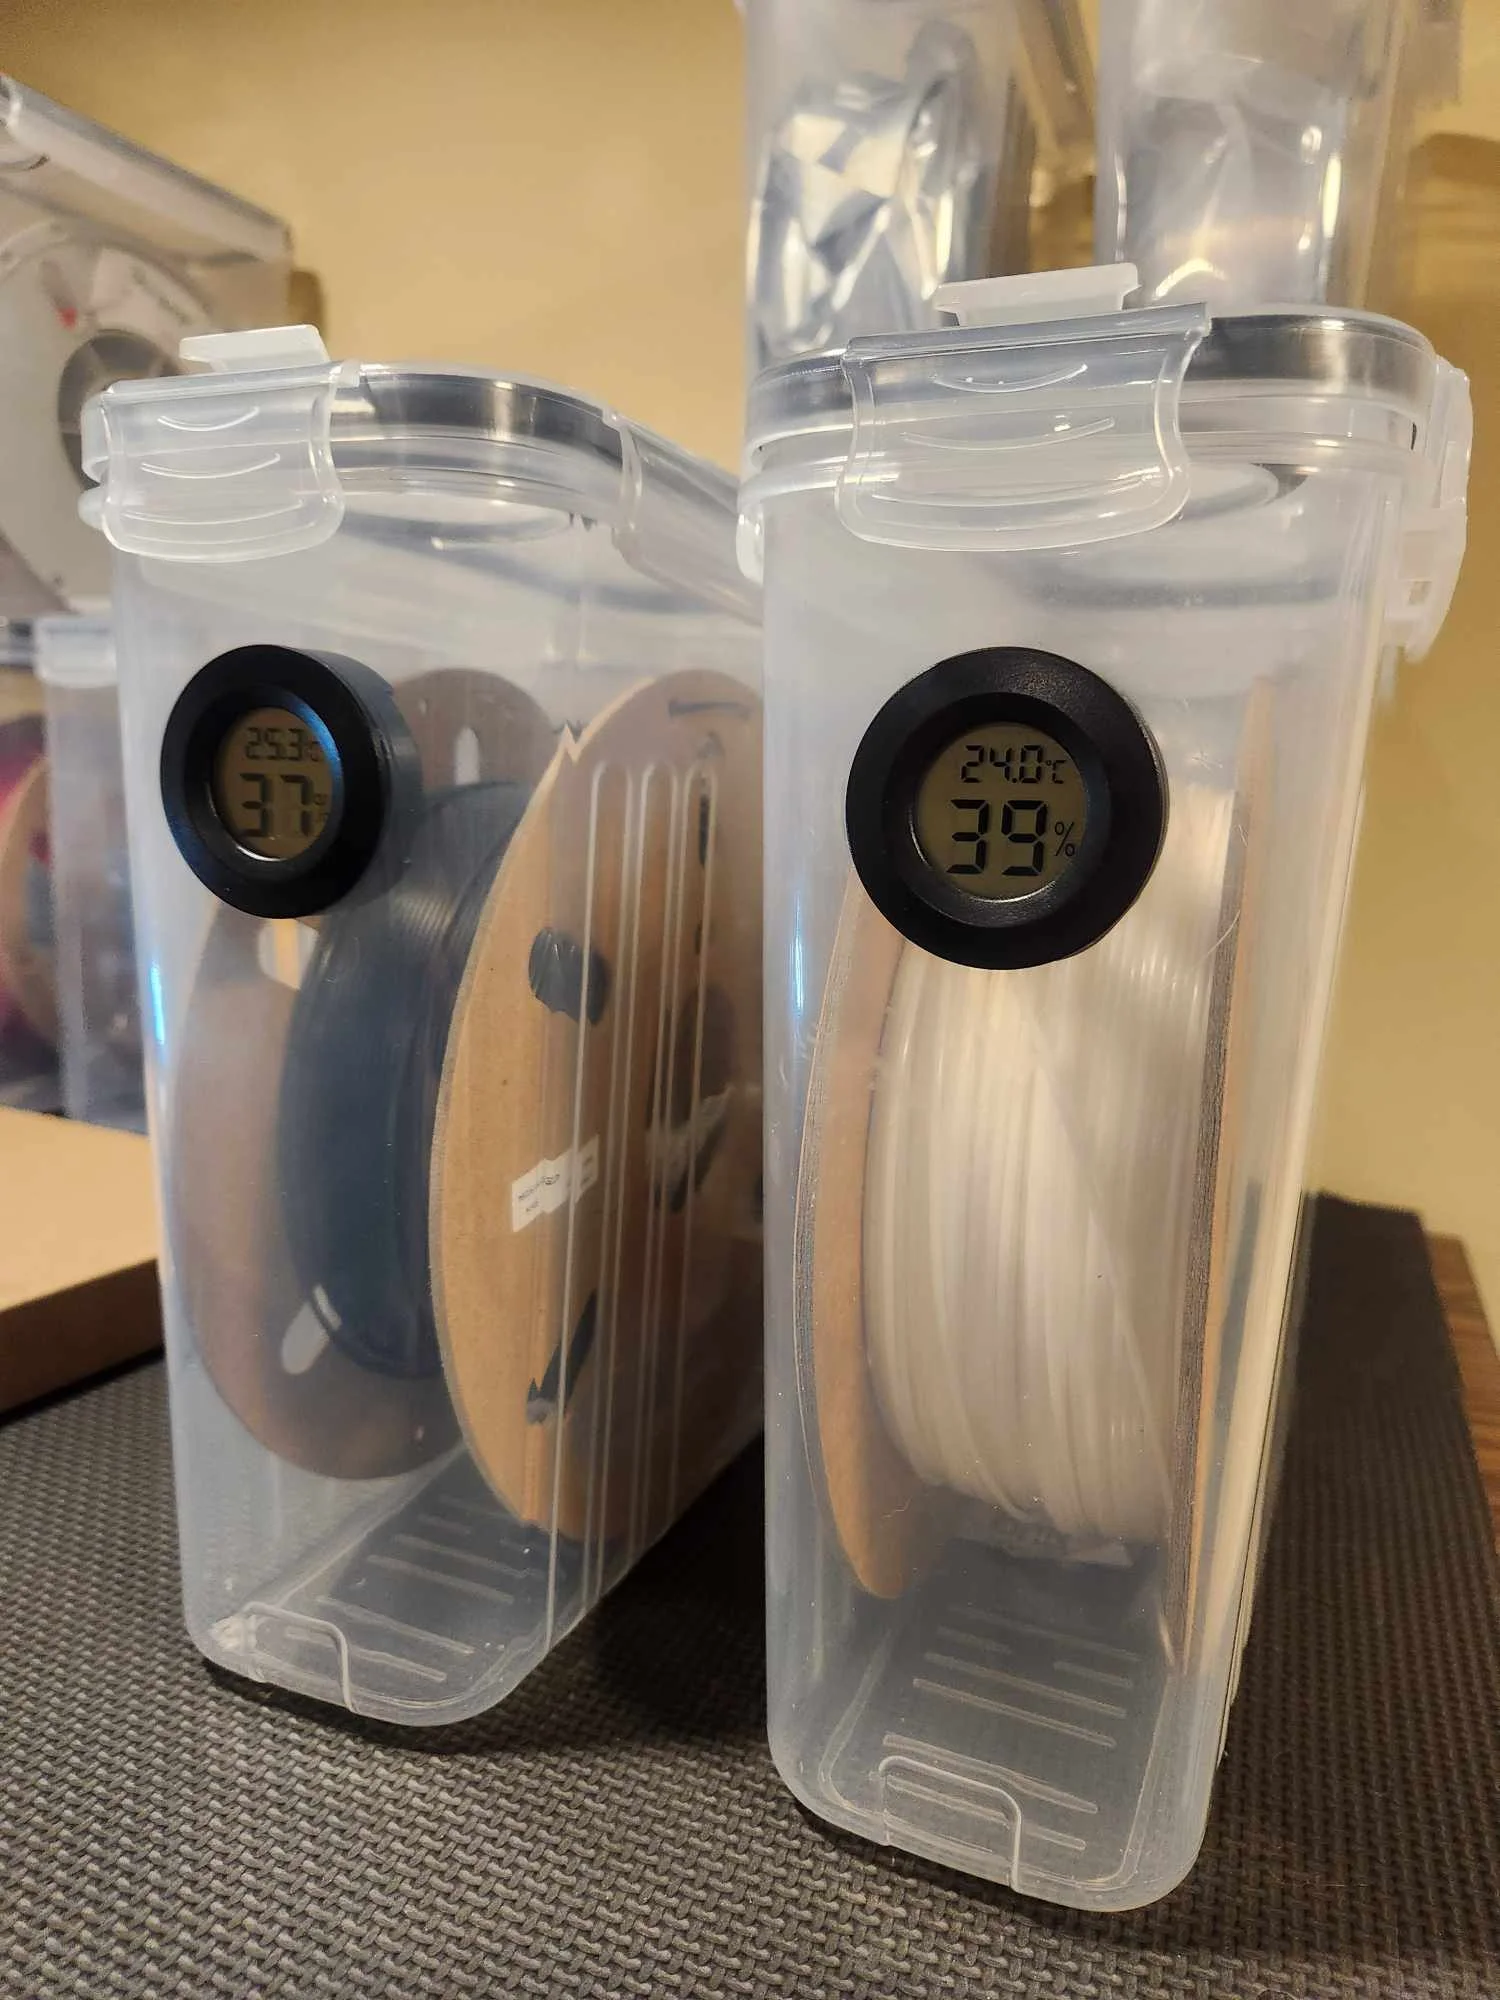
I came up with this simple design and I am very happy with it. It looks awesome and you can see what the temperate, and humidity is of each stored filament roll.
the process is very very simple
2. Print the adapter:
3. Unpack containers and grab a drill with a Hole saw arbor, Take these measurements (shown in pictures): 7" off the floor make a mark, lay the container on its side and measure 1 ¾" and make a mark, grab the drill with hole saw and "slowly" drill through the center mark. (GO SLOW! as fast drilling can catch the teeth and ruin the plastic)
4. Deburr the hole with a deburring tool or razer blade. Unpack the O-rings and meters.
5. Insert the meter into the hole, it will snap into place, on the inside of the container, insert the O-Ring over top of the meter backing.
6. Grab the 3D printed Ring of your application and line up the cutout for the battery door, firmly press into the backing as get it as tight as you can. The o-ring should be pressed tight to make a nice air tight seal.
7. Add a bunch of silica packs to the bottom or you can purchase these silica beads: https://amzn.to/49FolCA and print the bottom piece for the filament to sit on.
NOTE: I personally added some super glue to the front inside lip of the meter and a little on the inside of the Meter Ring as I never plan to take them out. This makes it more permanent and can help to ensure the seal. *THIS IS OPTIONAL AND NOT NEEDED* or use silicone
Thanks for viewing, and let me know any feedback!
Bytinx_1344834Likes1.2KDownloads6K

 ByBrokentooth_designsLikes23Downloads412

 Byarhi_585078Likes64Downloads546

 Bygummiegecko8477Likes0Downloads168

 BydalleLikes0Downloads150

 ByHanzo3dLikes155Downloads417

 ByGeek5DLikes147Downloads490

 Bycrawler-3903250Likes0Downloads909

 By3DSourcererLikes48Downloads382

 Byartme-3dLikes0Downloads338

 Byds-printsLikes0Downloads354

 Bybloblis67Likes0Downloads320