


Canvas bypass for TPU & Spool Holder - Elegoo Centauri Carbon 2 (CC2)
 Byla-cave-au-chatLikes0Downloads967
Remix of Thanh cản bảo vệ printhead Elegoo Centauri Carbon (bumper bar) By not_much_here
Build another version of this model.
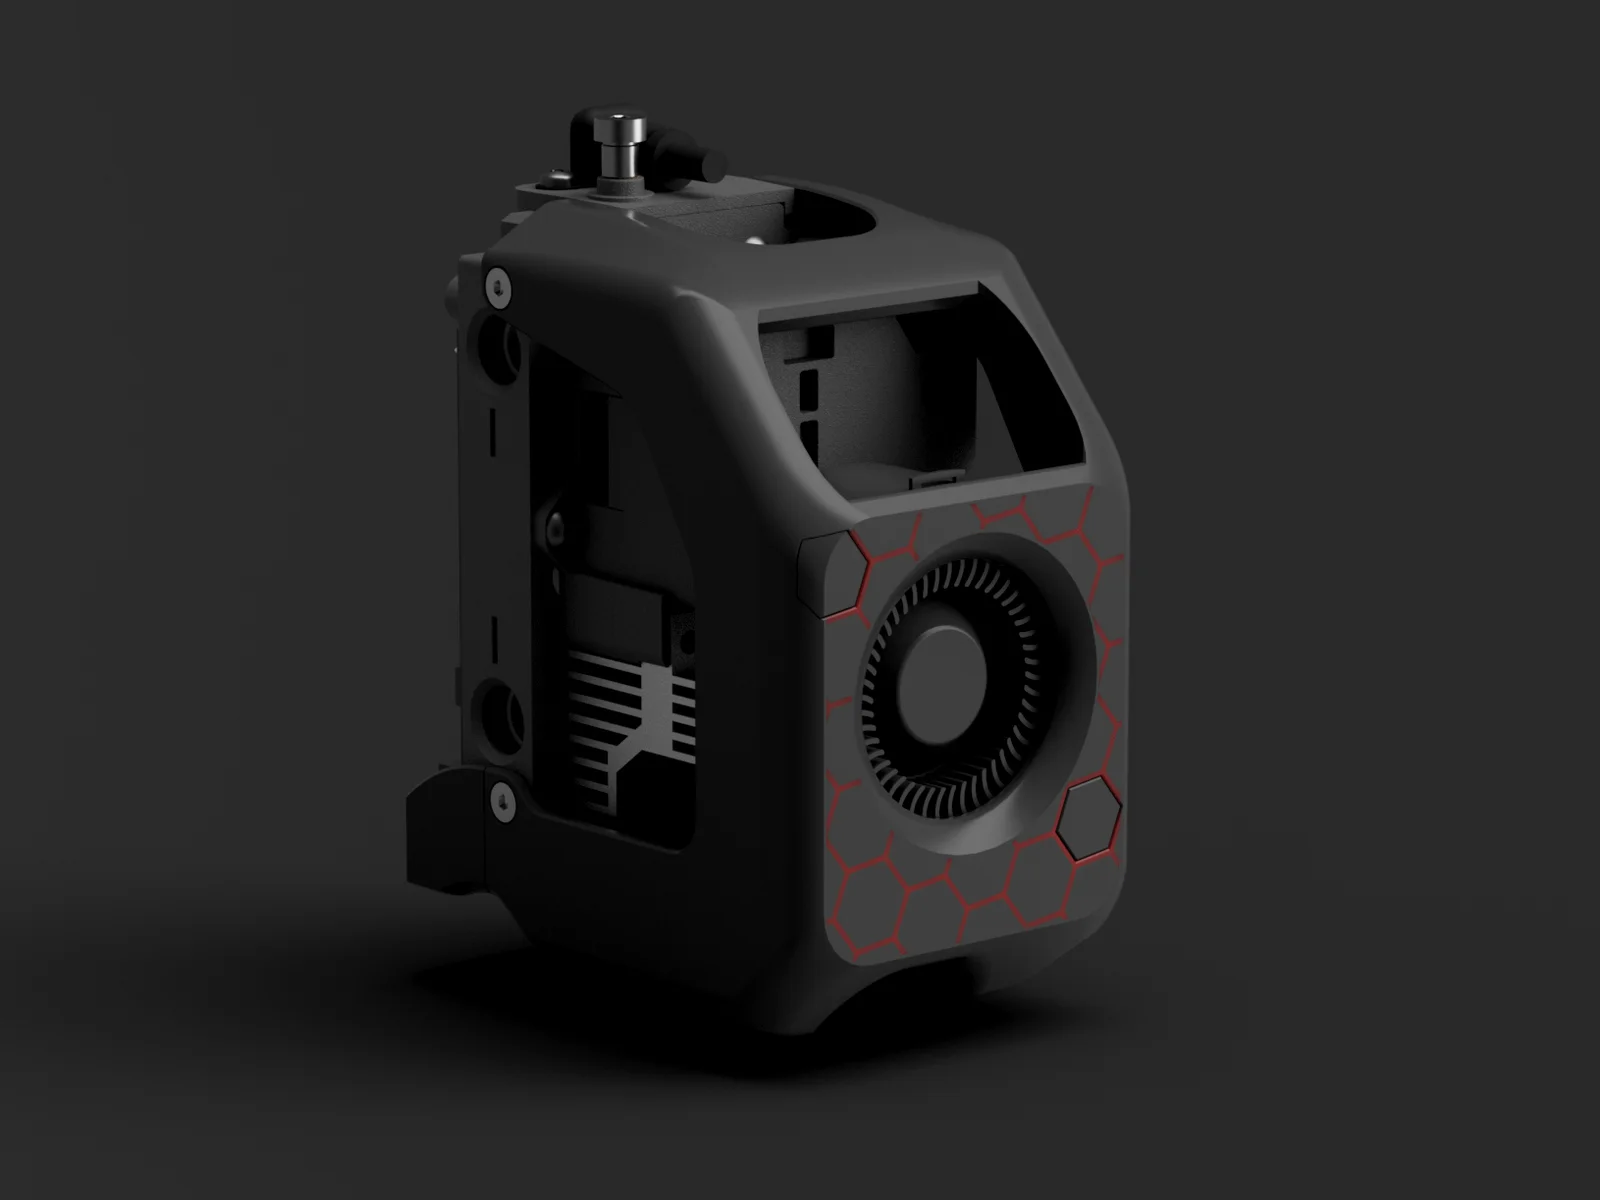
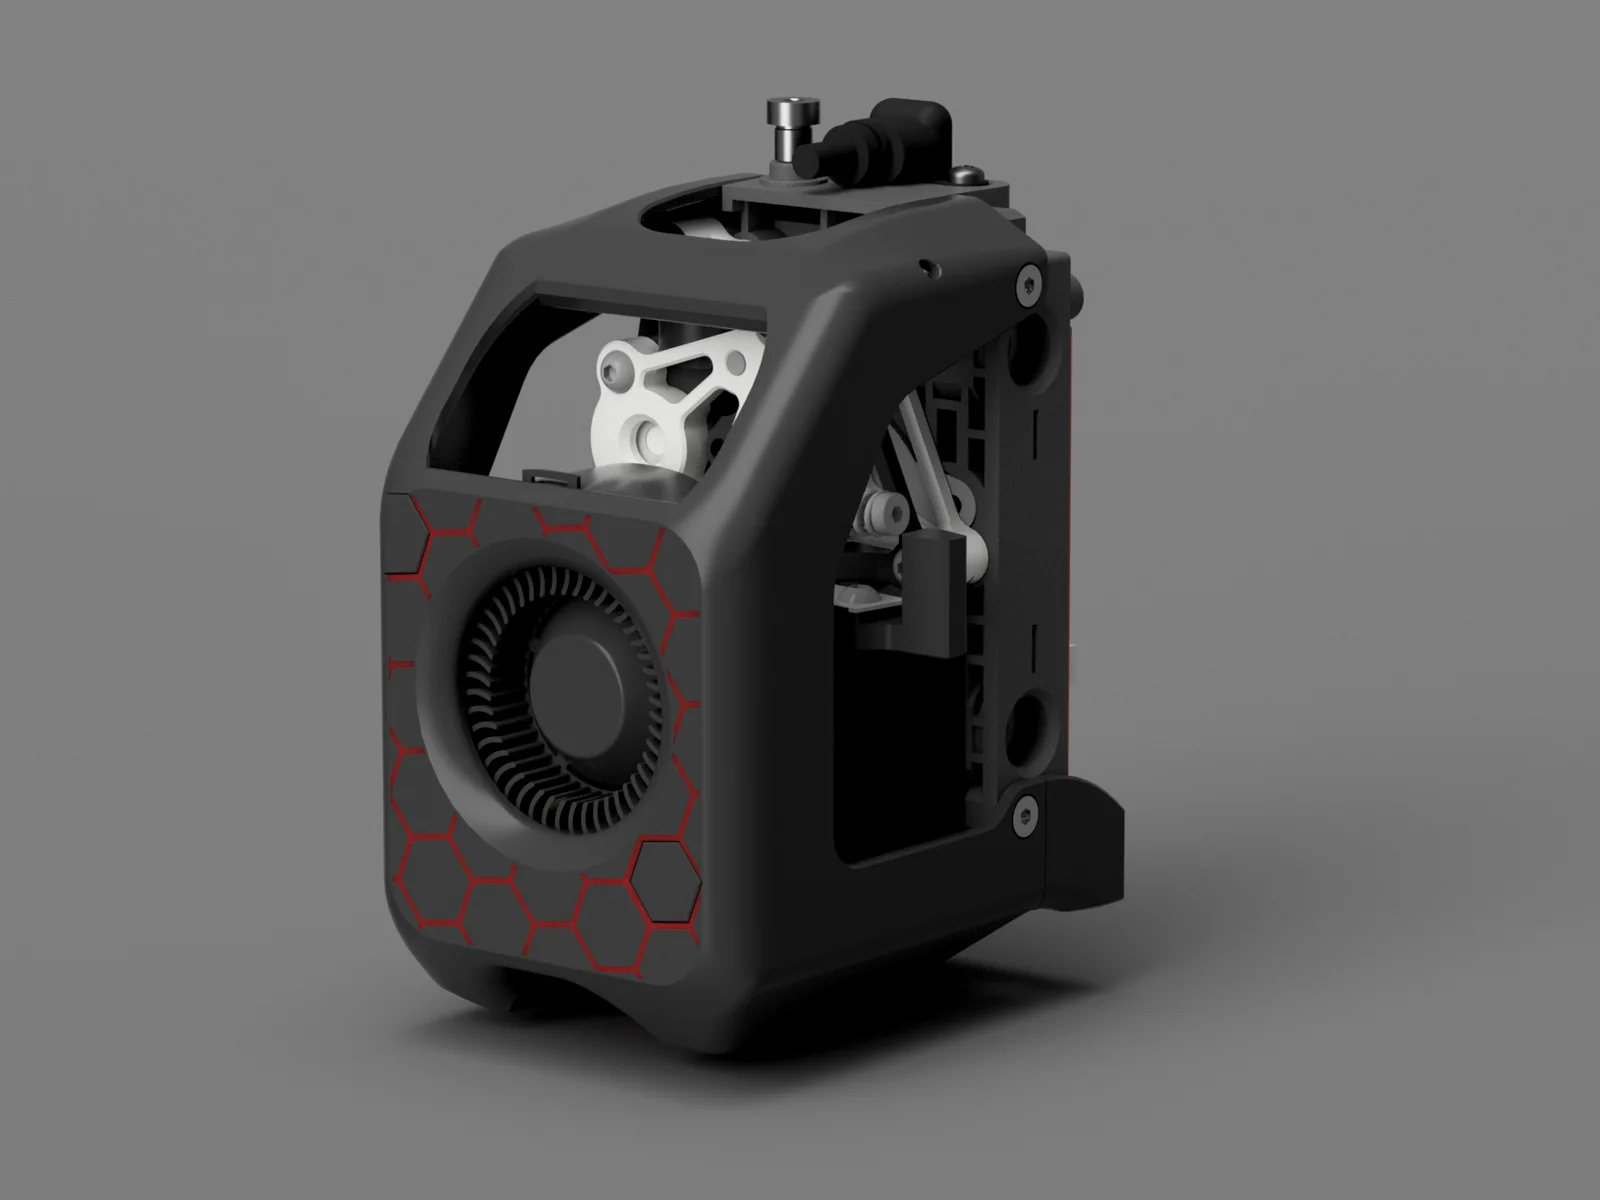
This toolhead cover favours strength and low weight over easy access and magnets.
If you install the constellation extruder you won't need to access the hotend often since you can simply change the nozzle from the bottom. It also doesn't cover the toolhead LED pads
The fanshroud might also be compatible with other hotend mods
One of the lightest toolheads: 34g of printed parts, 30g fan and 2g of screws for 62g in total. compared to 95g of the gamma toolhead, 99g SE3D and over 120g for the stock toolhead. As of now (from my knowledge) the lightest toolhead, in part due to minimal hardware.
Big thanks to Robert Samples for making the gamma toolhead step available and providing the idea of the replacable fan mounts!
BOM
2 M3x6 BHCS
1 M3x12 FHCS
4 countersunk screws from the stock cowling (M3x6mm FHCS)
Print settings
0.12 mm layer height
2 walls
Print as oriented
no supports
Print out of PETG, ASA or better
Precise wall
Precise z height
Ensure vertical shell thickness All
Bottom/Top shell thickness = 1mm
10% gyroid infill (or other just has to be low density)
set the honeycomb modifier part to be a modifier or remove it
Installation
Remove elephants foot from the hexagonal holes if necessary, and remove the included supports that are beige colour in the picture below. For the top left edge you will need to carefully cut it with a knife.
Cut the threads in the pegs with a M3 screw while making sure to not go too far, to make this easier you can hold it with a towel or similar.
Insert the fan into the cowling.
Insert the pegs into the cowling and fan, this is a tight fit and might require a bit of sanding or scraping to get working.
screw in the fan with 2 M3x6mm BHCS, DO NOT OVERTIGHTEN IT. The pegs and printed threads are quite weak so it doesn't take much. If you break one you can just replace it.
Attach the cowling to the toolhead using the 4 M3x6mm FHCS, don't forget to plug in the fan.
Attach the back bumper to the toolhead using the M3x12mm FHCS.
Let it rip
Submit feature requests here!
V2 - 01/02/26 Major visual redesign, different fan mounting solution, shrinkage gaps
V2 - 05/02/26 Added Hex duct version
Byla-cave-au-chatLikes0Downloads967

 BynozeLikes0Downloads133

 Bytinx_1344834Likes1.2KDownloads6K


 ByjoncruzLikes0Downloads588

 Bynamida-verascheLikes0Downloads149

 Byduo3dprintLikes0Downloads154

 ByBrokentooth_designsLikes23Downloads411

 ByStavdahlLikes0Downloads429

 Bymateusz-tokarzLikes0Downloads165

 Byprusa-researchLikes0Downloads2.7K

 Bybloblis67Likes0Downloads318