



Dụng cụ mở hộp nhỏ gọn | Dao cắt thùng carton an toàn in 3D
 ByDan Schwartz SchwartzLikes744Downloads3.4K
Build another version of this model.
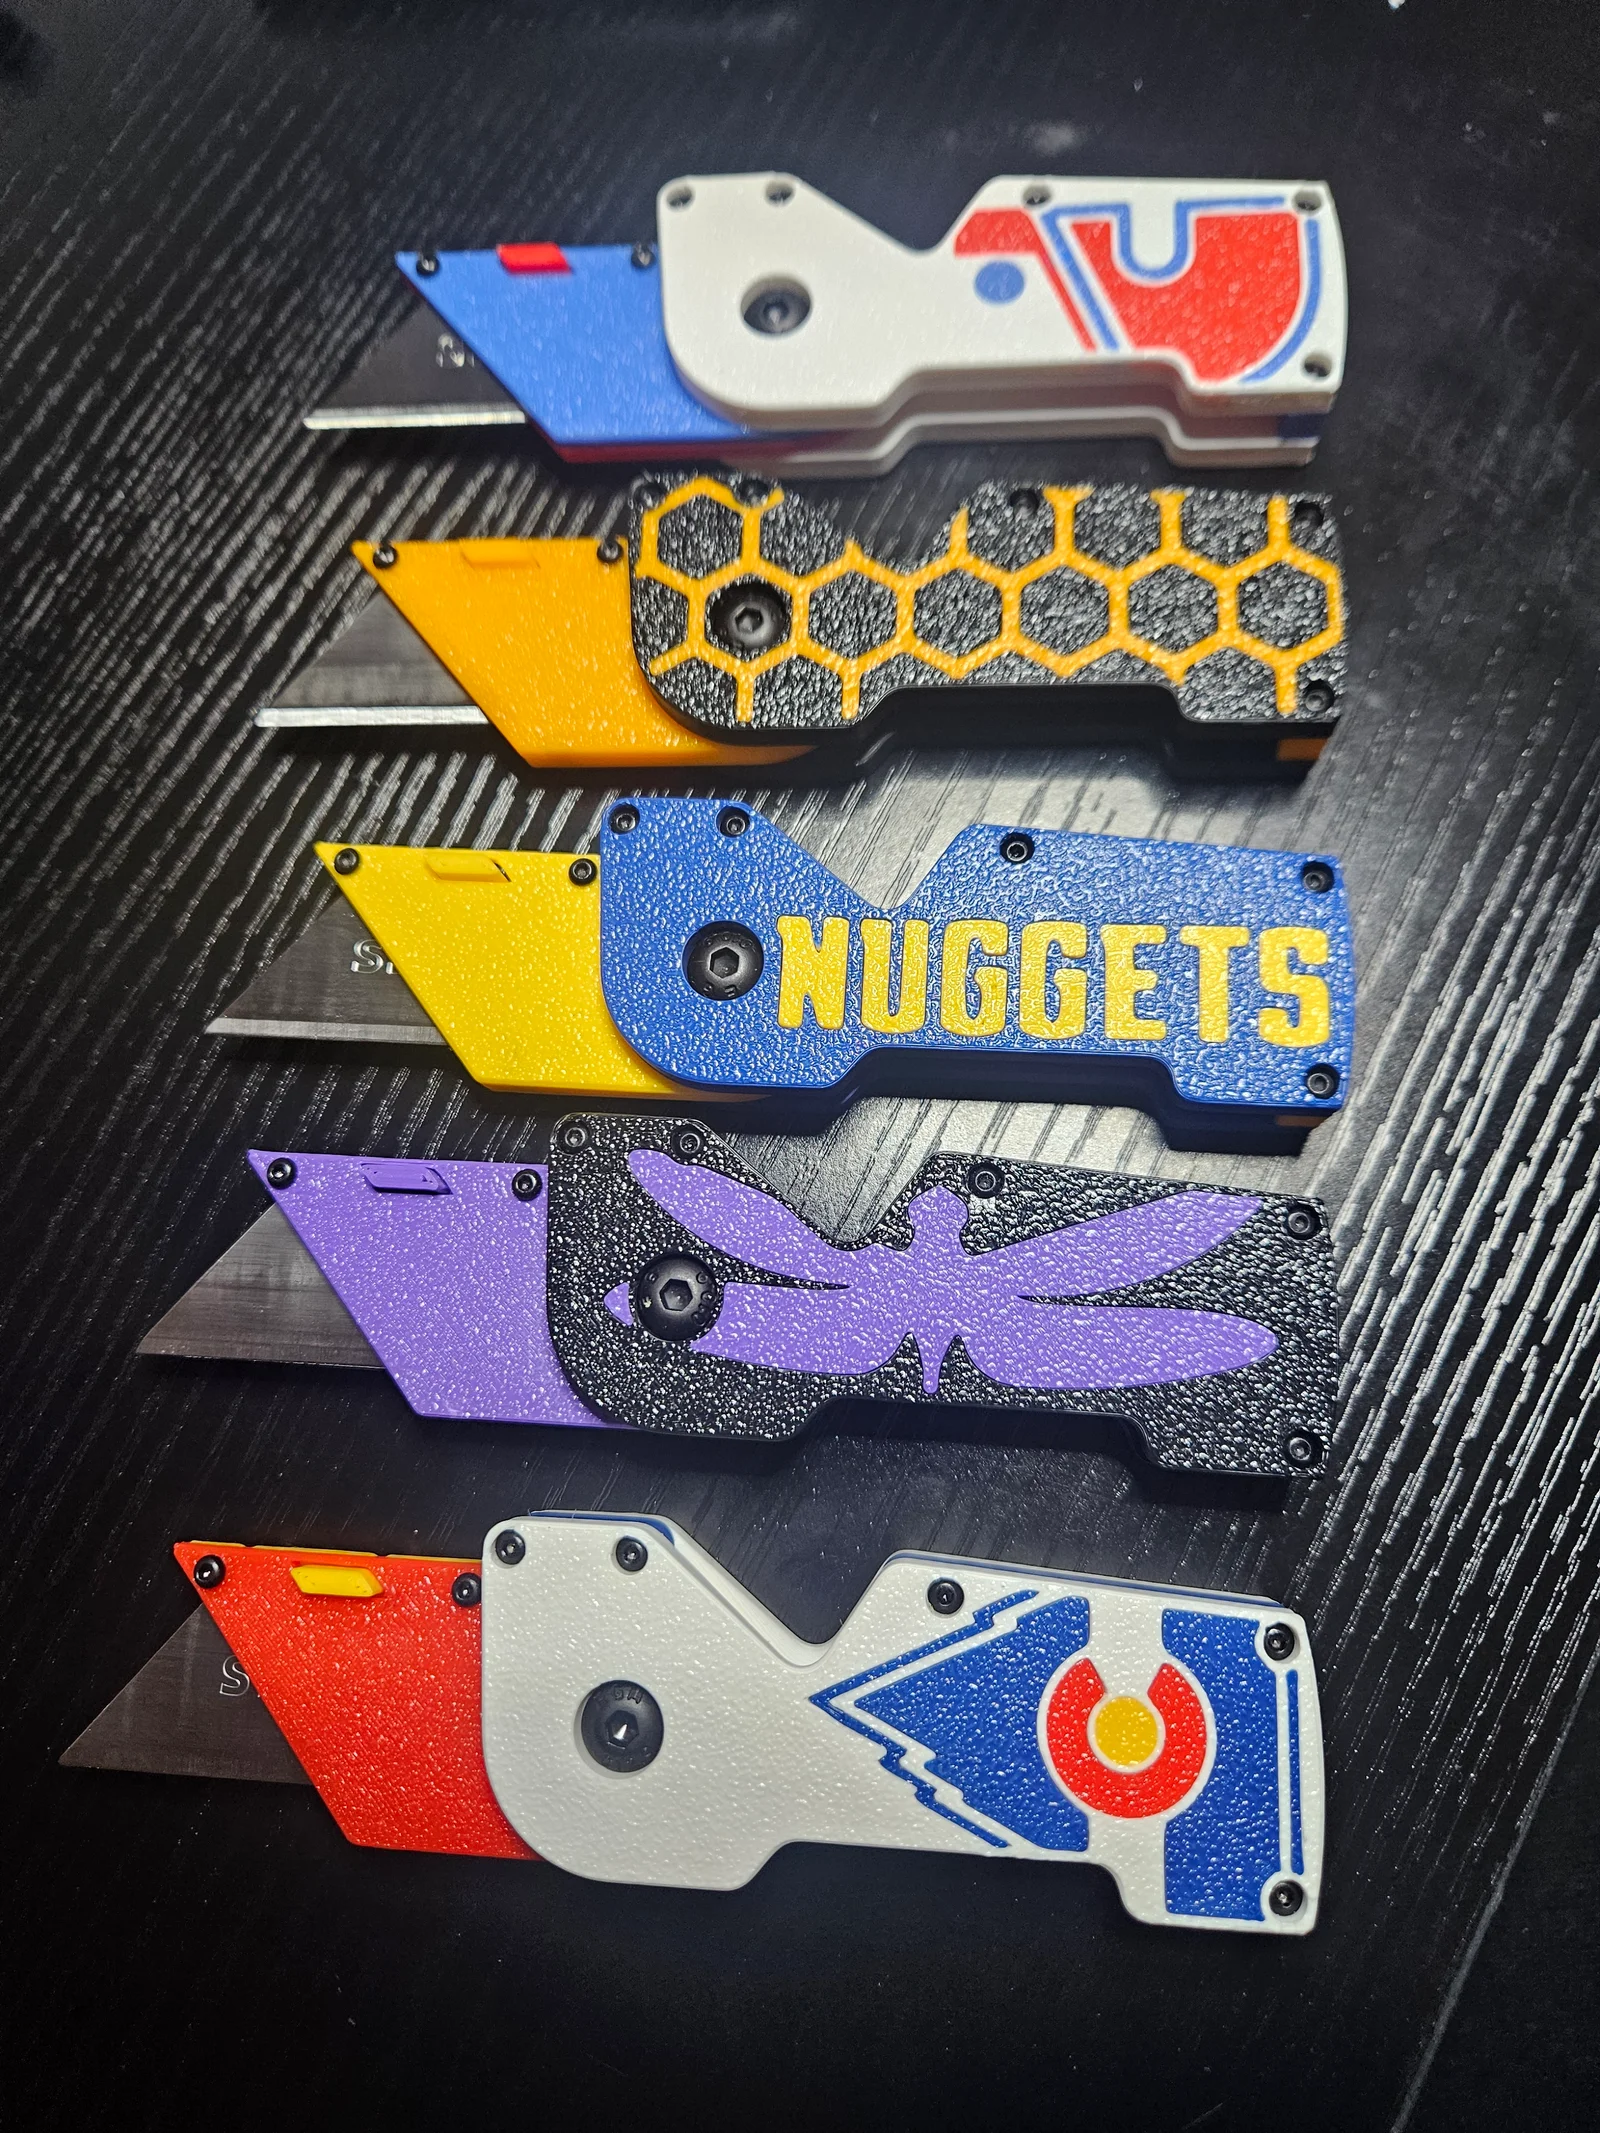
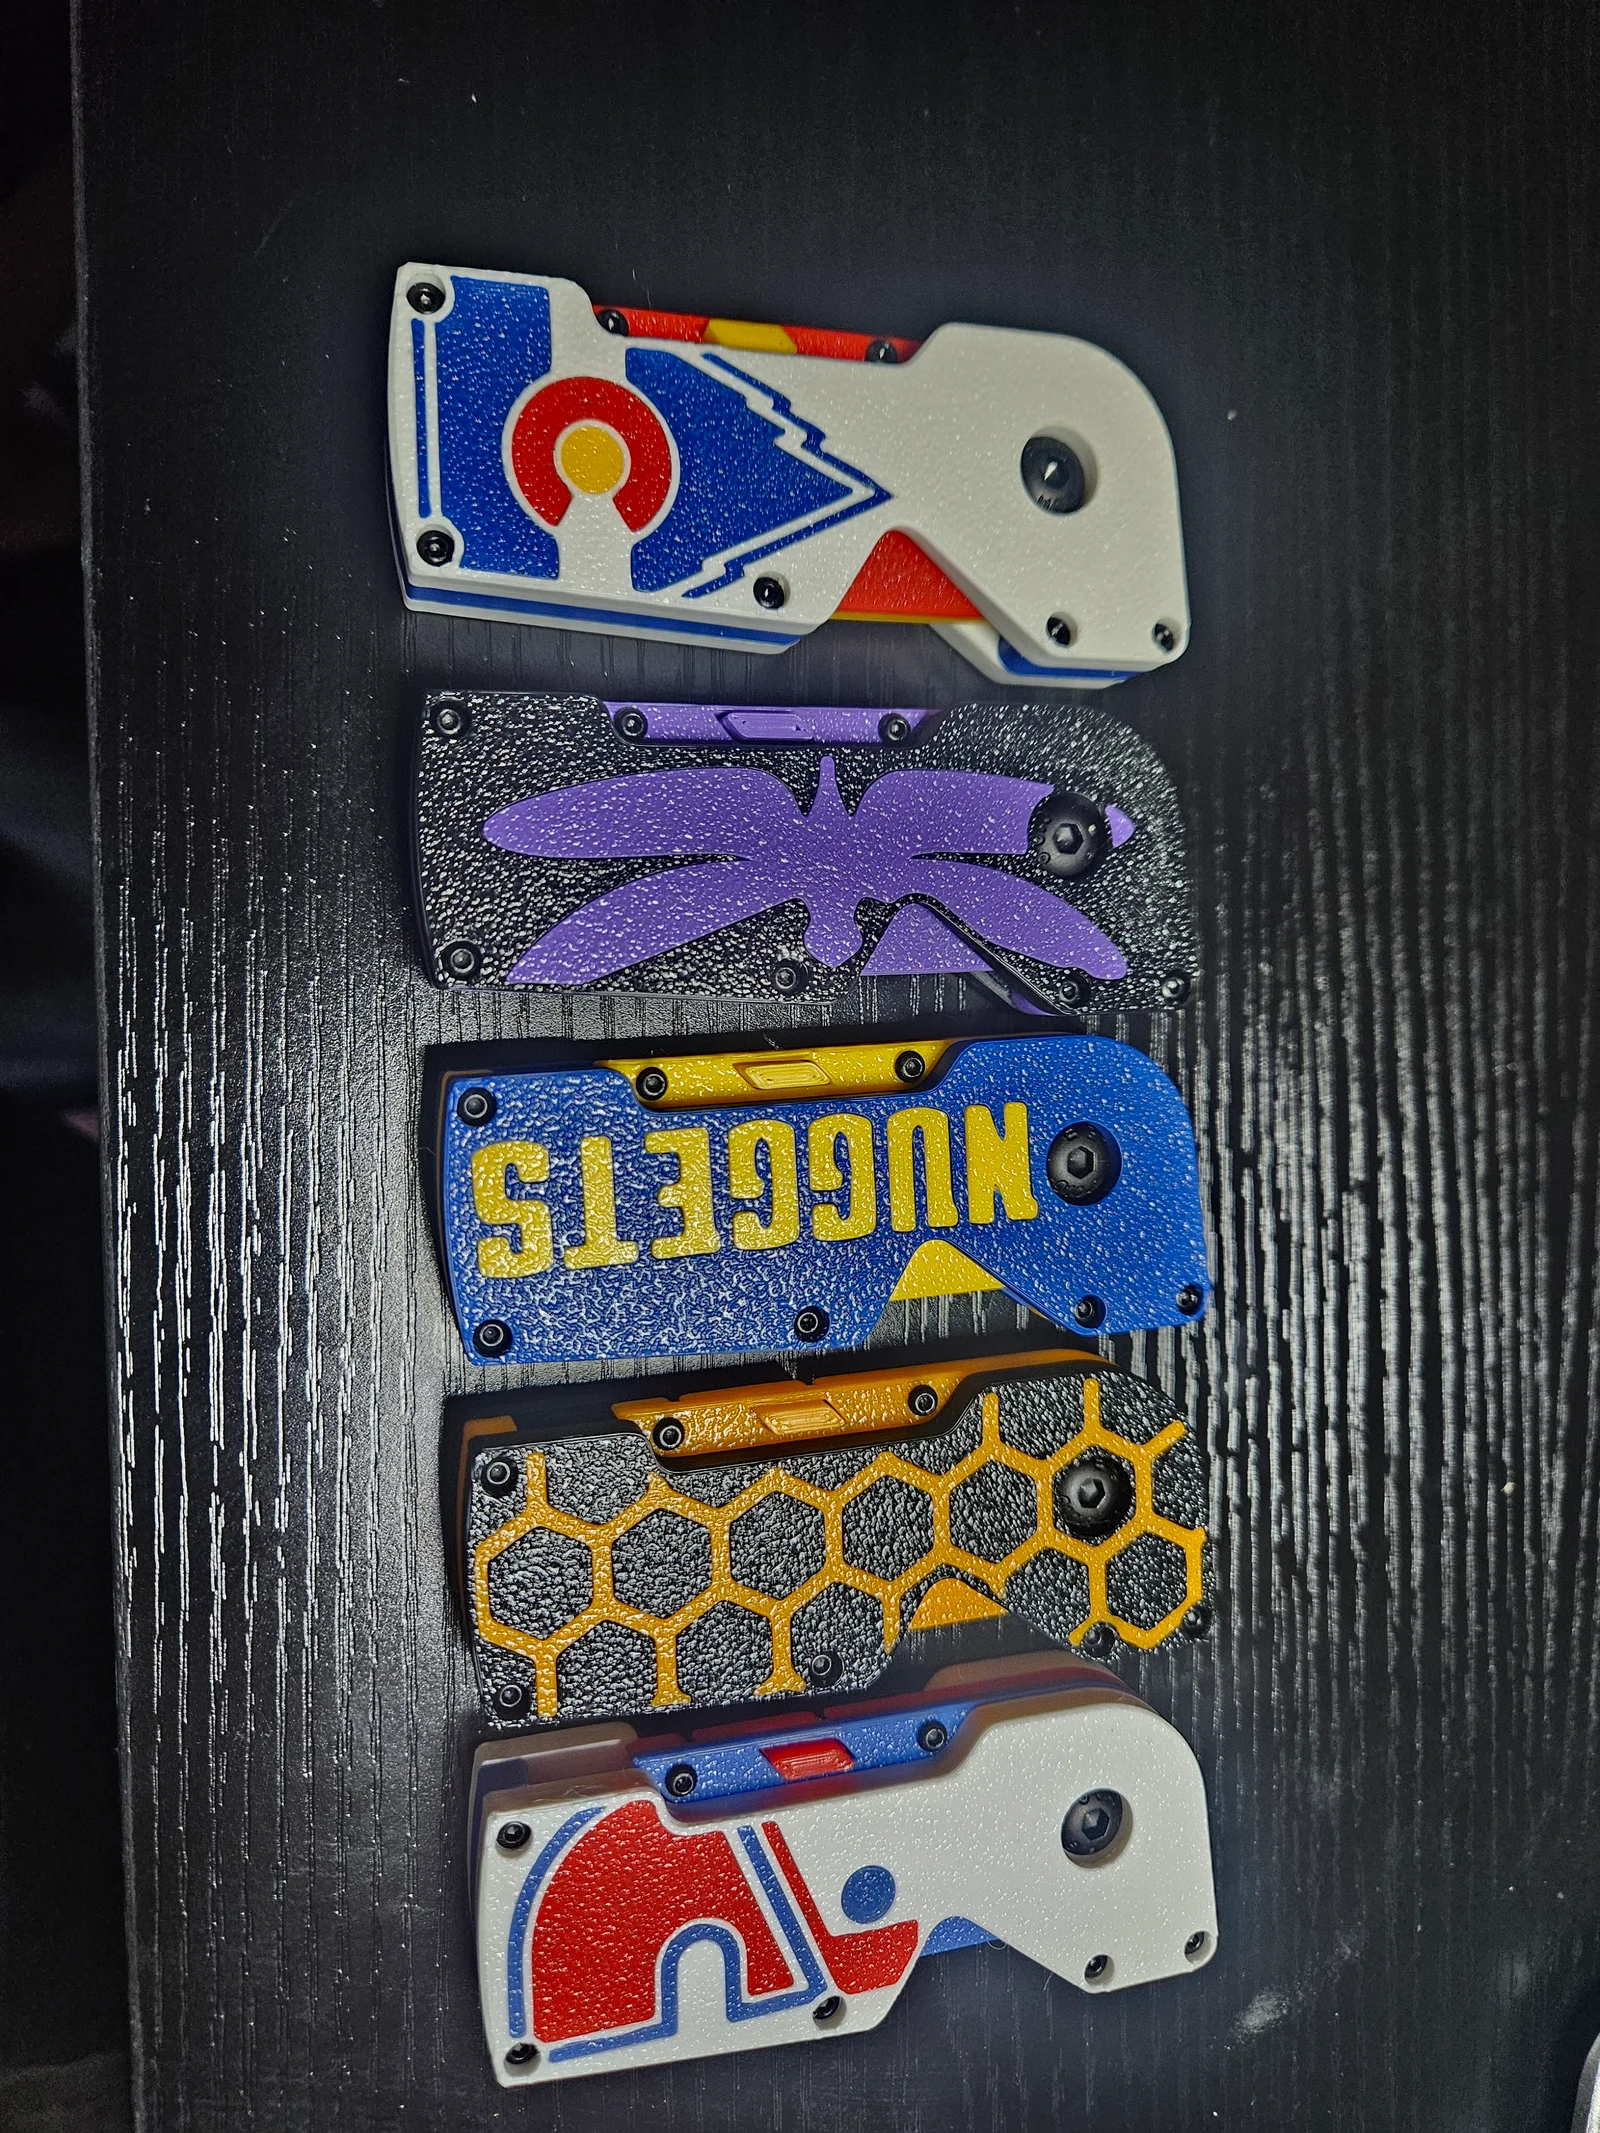
The knives I have shown are ones printed with custom inlays, and the models on this page are free of inlays. I have designed it to show the texture of the print bed when assembled, and to not require supports when printed that way. I have printed all of my knives in PLA and found that they are a useful light duty tool and a stronger filament would probably be even better. I have also included the box model for the cases you see in the last picture.
Materials Needed:
Five M2x12 hex socket button head screws
Two M2x4 hex socket button head screws
One M5x10 hex socket button head screw
One M5x4x7 threaded insert (can be a longer insert that is sanded or cut down if you don't have these short ones)
Seven M2x2x3.2 threaded inserts
Four cylindrical magnets 3mm diameter 2mm depth
If you are making the box/case it is held shut with four cylindrical magnets 6mm diameter 2mm depth
Printing Instructions:
These are just the settings I have been using with standard PLA.
Top and Bottom Blade Holders: Printed flat sides down, 4 wall loops, 100% infill. These pieces are very thin and need to be very strong.
Top and Bottom Scales: Printed flat sides down, 3 wall loops, 40% grid infill.
Small and Big Midpieces: Can be printed on either flat side, 3 wall loops, 30% grid infill.
Box Bottom and Box Top: Printed flat sides down, 15% infill.
Assembly:
Take the Bottom Scale (one with all flat side and no through holes) and Bottom Holder (one without through holes and big tower on it) and prepare all the threaded inserts. Melt the large threaded insert into the large hole on the scale and five small inserts into the small holes. Melt the last two inserts into the small holes on the Bottom Scale. These holes are on either side of the tall tower section and will align with the through holes when the holders are put together.
You can now press your small magnets into the remaining three holes. The direction of these magnets does not matter here. Your last magnet can be pressed in the hole on the Top Holder to hold the holders together. To make sure I have them aligned correctly, I like to set the loose magnet onto the magnet already pressed into the bottom holder that it will mate with, and press the Top Holder onto the Bottom holder. These two magnets help keep that side of the blade holders shut and the other two magnets will be attracted to the blade itself, pulling the two locking lugs into the slots on the blade. I also like to bend the piece with the locking lugs and the two magnets inwards while holding the parts with the threaded inserts out. This gives the locking area more spring pressure to hold the blade firmly.
Now you can assemble the scales together with the midpieces between them. My preferred method is to insert one M2x12 screw through the Top Scale and press a midpiece onto the screw. You can then push screws through the rest of the holes. You will notice that the Small Midpiece is not symmetrical, one end is rounded and one has a corner.
This flat edge that leads to the corner is to support the blade holders when the knife is open. Have the corner facing up towards the blade. Once you have the five M2x12 screws inserted through the midpieces, you can screw them into the Bottom Scale. After that you can slide the blade holders between the scales and screw the M5x10 screw through them. The stiffness of the folding will be determined by this screw. Now you can hold the open knife with your right hand and press down the "button" sticking out of the blade holder. This will flex the locking lugs out of the way and allow you to insert a blade. The locking part will eventually snap shut and capture the blade. It will get easier to change blades as the mechanism gets worn in.
If you are also printing the box, it simply needs four 6mmx2mm magnets pressed into the holes. I like to use a similar method to the blade holder to ensure the magnets are facing the correct direction. Press two magnets into the bottom, lay your last two magnets onto their mates, then press the top of the box onto the bottom.
ByDan Schwartz SchwartzLikes744Downloads3.4K

 ByleonicLikes0Downloads1.4K

 ByRungeKuttaLikes229Downloads1.2K

 ByfifindrLikes500Downloads4K

 ByVC_DesignLikes679Downloads3.6K

 Byvc-designLikes0Downloads535

 Bythorin-oakenshieldLikes0Downloads532

 Bytorii-creative-studioLikes0Downloads449

 Bychubbs8697_2027893Likes585Downloads1.7K

 Byquibeck_3353173Likes965Downloads1.9K

 Bykrenn-designLikes0Downloads182

 Bydenis-3dLikes0Downloads266