



SolderMate - Fully 3D Printed Desk Soldering Companion
 ByleonicLikes0Downloads1.4K
Remix of "AIRSUCK 2000" - Quạt ly tâm lớn cho buồng phun sơn By bvogl
Build another version of this model.
Updated 05/2024: Some fixes, new rotor for extruder feeder as coupler. Also added part variants for a half height version.
All Parts are interchangeable with the old version.
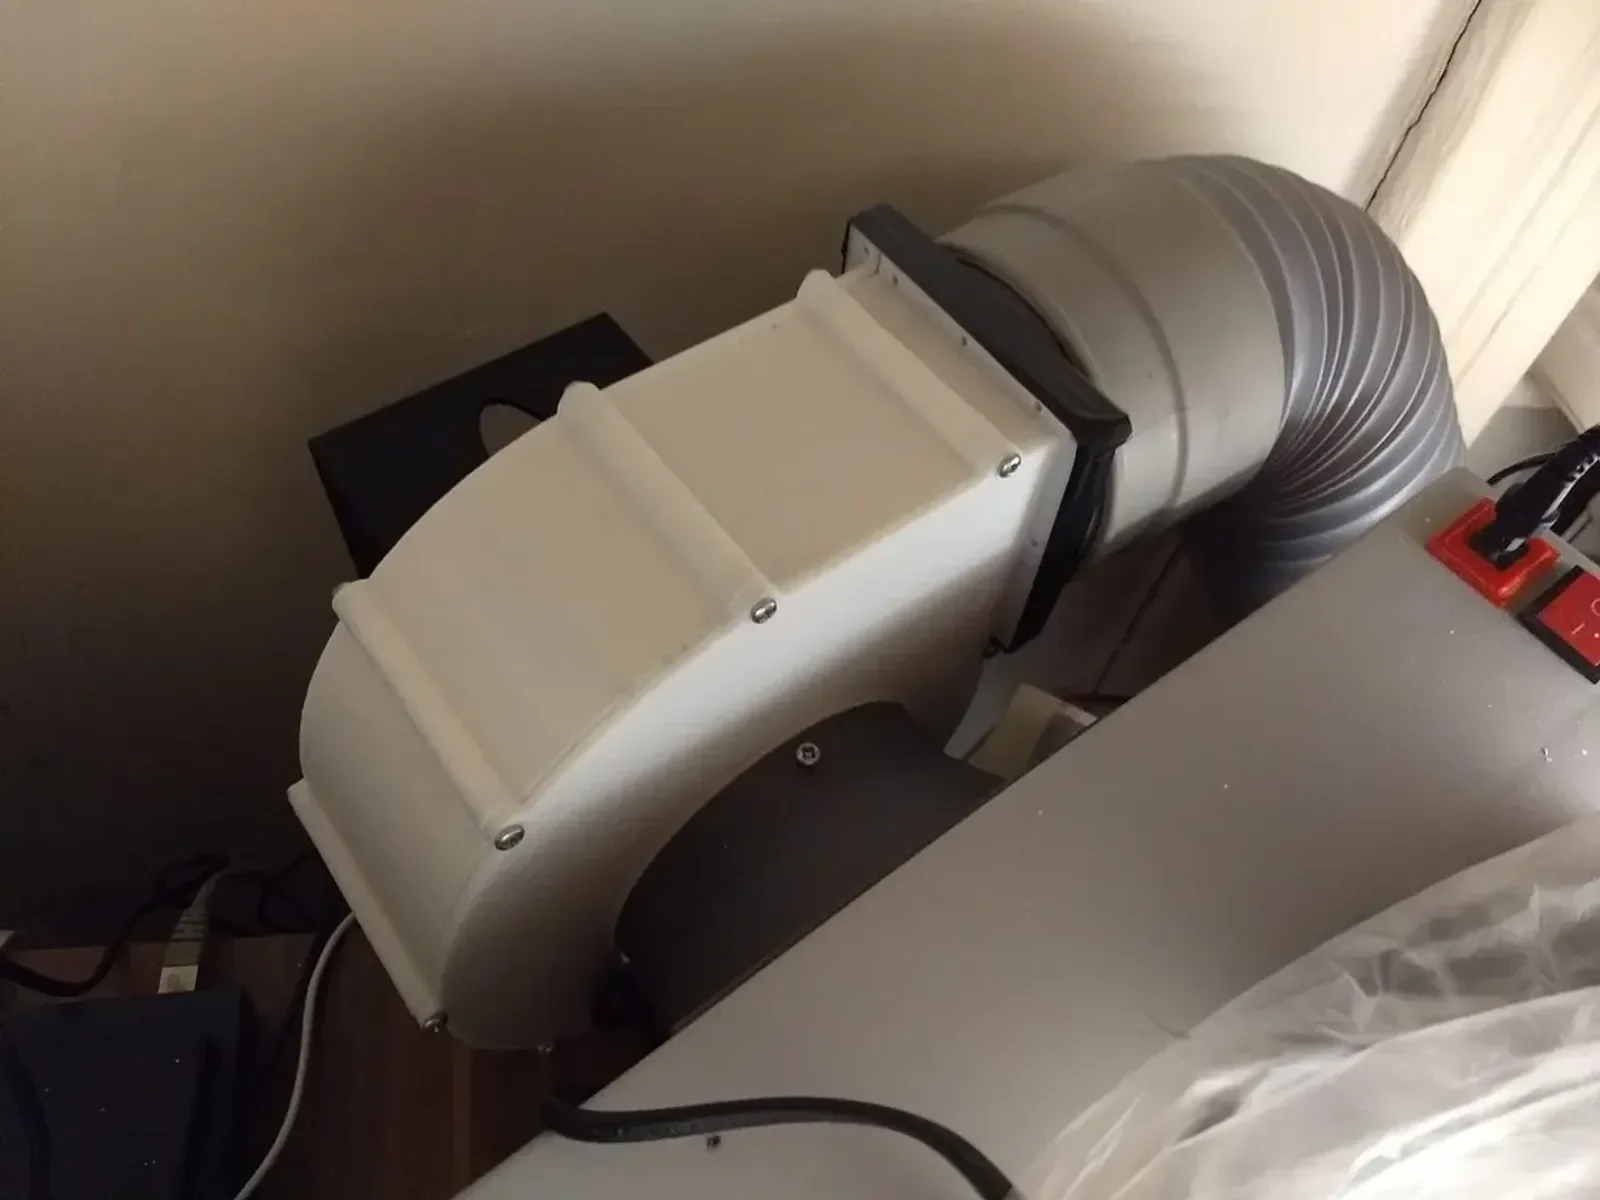
This is a standardized version of my previous “Airsuck 2000” fan. Inlet and outlet outer diameter are now both 100mm. The motor is now moved a inside the fan so the footprint of the ventilator is a little smaller. Also, various mounting points and aids are added for your convenience.
Although the motor is inside the fan, dust and dirt should be no issue as the cooling air is drawn from outside through the motor into the ventilator housing.
With the speed controller set at half speed and a filter in front of the fan, i measured approx. 47dB at a distance of 1m with an airflow of 130m³/h. Maximum airflow with a 60W power supply was at 250m³/h. Please take the numbers as a rough orientation with a grain of salt as i have no real experience in this field!
Assembly:
Bill of material:
A word about print settings:
ByleonicLikes0Downloads1.4K

 ByfifindrLikes500Downloads4K

 ByVC_DesignLikes679Downloads3.6K

 ByDan Schwartz SchwartzLikes744Downloads3.4K

 ByZED4EverLikes313Downloads5.2K

 Byvc-designLikes0Downloads535

 Bythorin-oakenshieldLikes0Downloads532

 Bytorii-creative-studioLikes0Downloads450

 Bychubbs8697_2027893Likes585Downloads1.7K

 Byquibeck_3353173Likes965Downloads1.9K

 Bydenis-3dLikes0Downloads266

 ByRungeKuttaLikes229Downloads1.2K