



Kẹp giữ sợi Filament
 Bytinx_1344834Likes1.2KDownloads6K
Build another version of this model.
"Wet filament is the enemy. An enemy deserves no mercy." - Cobra Dri
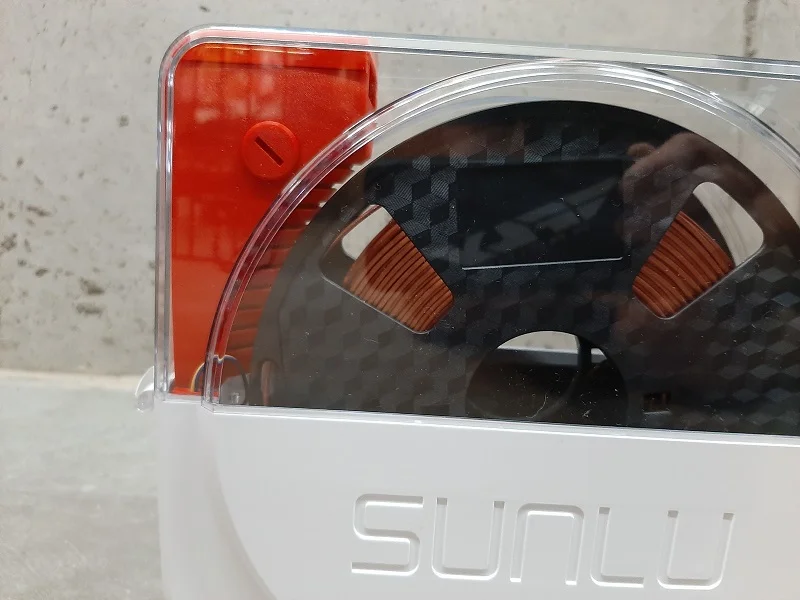
Karate chop moisture from your filament by combining the heat from your SUNLU FilaDryer S1 and the air circulation and desiccant storage provided by the Cobra Dri! The Cobra Dri fits inside the FilaDryer like chop sticks in Mr. Miyagi's hands. Banzai, Daniel-san!
Okay, enough of the cheesy Karate Kid references. I thought my design kinda looked like a cobra snake and it helps dry, so....
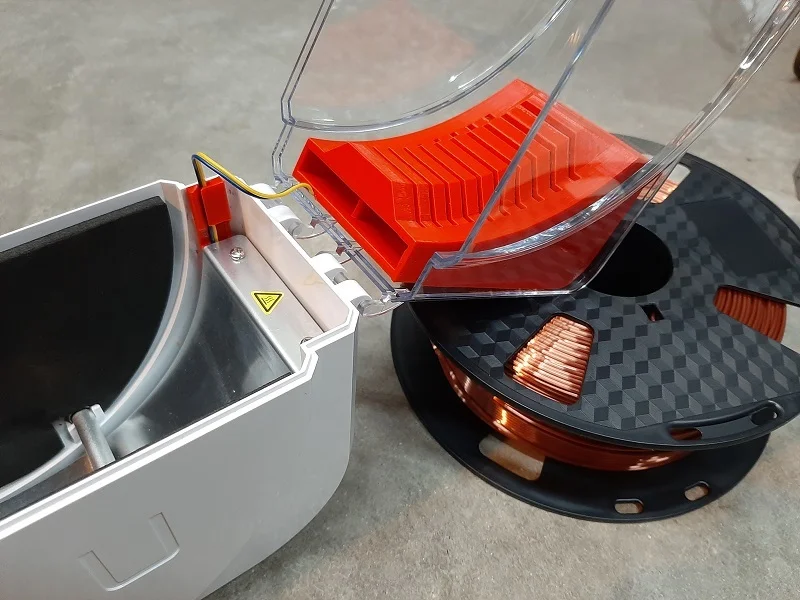
Anyway, this design uses a quiet 24V 40mm blower that is common on the Creality Ender series of printers and is pretty inexpensive. The FilaDryer also runs on 24V, so the fan works easily without any voltage conversion needed. I soldered in a 40°C temperature switch in between the fan and the 24V socket inside the FilaDryer so you can leave everything plugged in and the fan will only spin when the FilaDryer is running. Make sure to leave the high temp silicon sleeve on the temperature switch as it needs to be kept isolated from the FilaDryer's metal heat plate (see pictures).
This model consists of 4 parts. The sliding bracket (CD Brkt.stl) that is fastened to the lid of the FilaDryer with strong, Scotch-Mount double-sided tape (411H), no screws or drilling required. The Cobra Dri (Cobra Dri.stl) slides on and off this bracket to make replacing/refreshing the desiccant possible. The plug (CD Plug.stl) screws into the side of the Cobra Dri to keep the desiccant from spilling out. Fasten the clip (CD Clip.stl) to the side of the FilaDryer using double-sided tape and route wires through it to keep them from touching the FilaDryer's heat plate.
Make sure the wires are long enough that you can slide the Cobra Dri on and off the bracket!
If you're considering my design, you're probably decent with a soldering iron, but see last image for awesome wiring diagram, if you need it.
SUNLU FilaDryer S1: https://www.amazon.com/dp/B08C9RF7R7/
*** Note: the SUNLU FilaDryer S1 PLUS now has a fan but my design still fits if want the option to use desiccant ***
Creality 4010 blower: https://www.amazon.com/gp/product/B07MW1MS8S
Alternative blower: https://www.amazon.com/dp/B0DLKJ7WDJ (thanks @MatyB_3362211)
40°C temperature switch: https://www.amazon.com/gp/product/B07PFV4CFG
Scotch-Mount double-sided tape (411H): https://www.amazon.com/gp/product/B0083K36KA
Printer Brand:
Creality
Printer:
Ender 3 Pro
Rafts:
No
Supports:
No
Resolution:
0.16mm
Infill:
20%
Filament: Duramic PETG
Red
Notes:
I designed_almost_ everything so it can be printed without using supports. Make sure the Cobra Dri is printed with the hole facing the build plate! See the screenshot taken in PrusaSlicer to see how I oriented all the parts for printing (image #9 above). You should only need to add a support enforcer under the part of the cobra_dri that slides onto the cd_brkt as shown in screenshot #10 above.
Because some of these parts are tolerance fit, you may have to adjust the flow of your printer so the Cobra Dri slides on and off with a little effort, but not too easily! I designed in a -0.25mm interference offset for the sliding parts as I error on the side of very slightly over-extruding on my printer.
Category: 3D Printer Accessories
Bytinx_1344834Likes1.2KDownloads6K

 Byarhi_585078Likes64Downloads546

 Bygummiegecko8477Likes0Downloads168

 BydalleLikes0Downloads150

 ByHanzo3dLikes155Downloads417

 ByGeek5DLikes147Downloads490

 ByBrokentooth_designsLikes23Downloads412

 Bycrawler-3903250Likes0Downloads909

 By3DSourcererLikes48Downloads382

 Byartme-3dLikes0Downloads338

 Bybloblis67Likes0Downloads320

 Byprusa-researchLikes0Downloads2.7K