




Würth Sanding Block
 BywurthLikes0Downloads195
Build another version of this model.
found this kind of tool useful sanding rounded and several other shaped surfaces but wasn’t happy with the performance of similar things.
what to know about this
first I just designed versions around some short threaded inserts I had on hand but updated with versions that use regular hex nuts or square nuts so far.
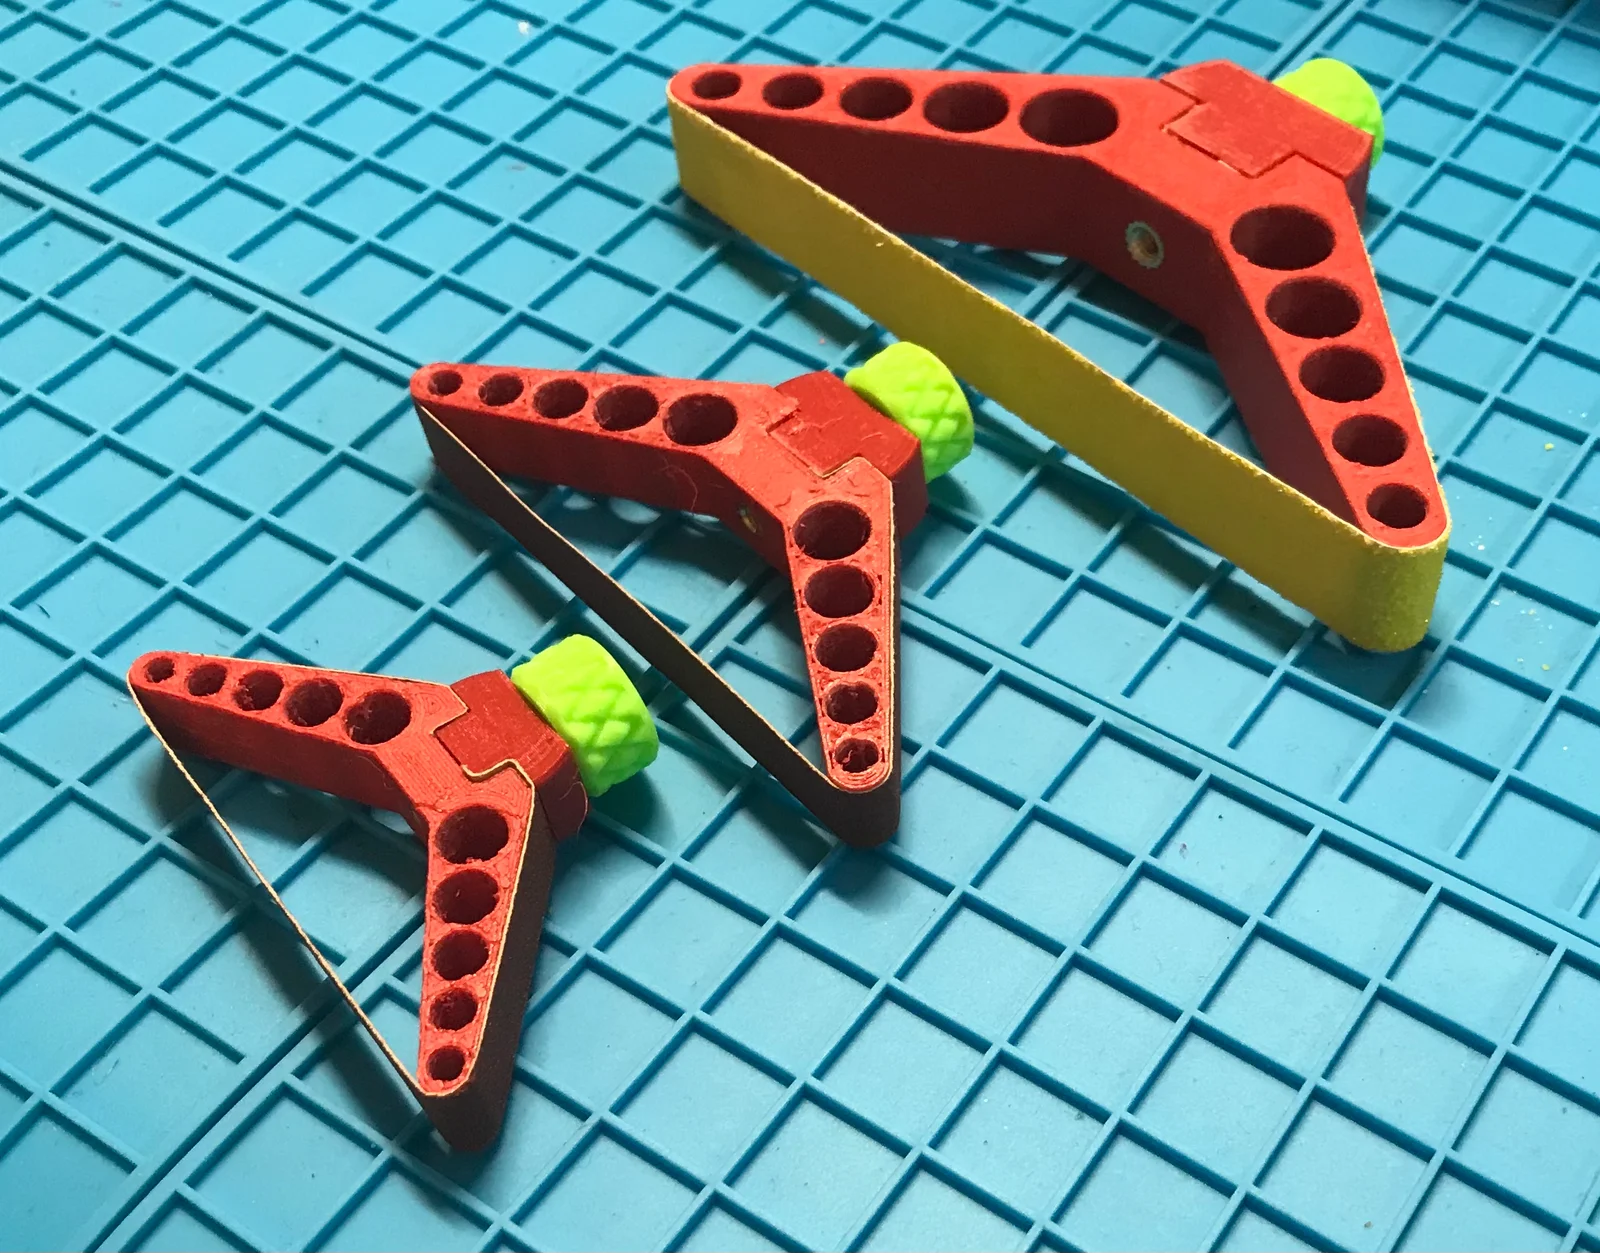
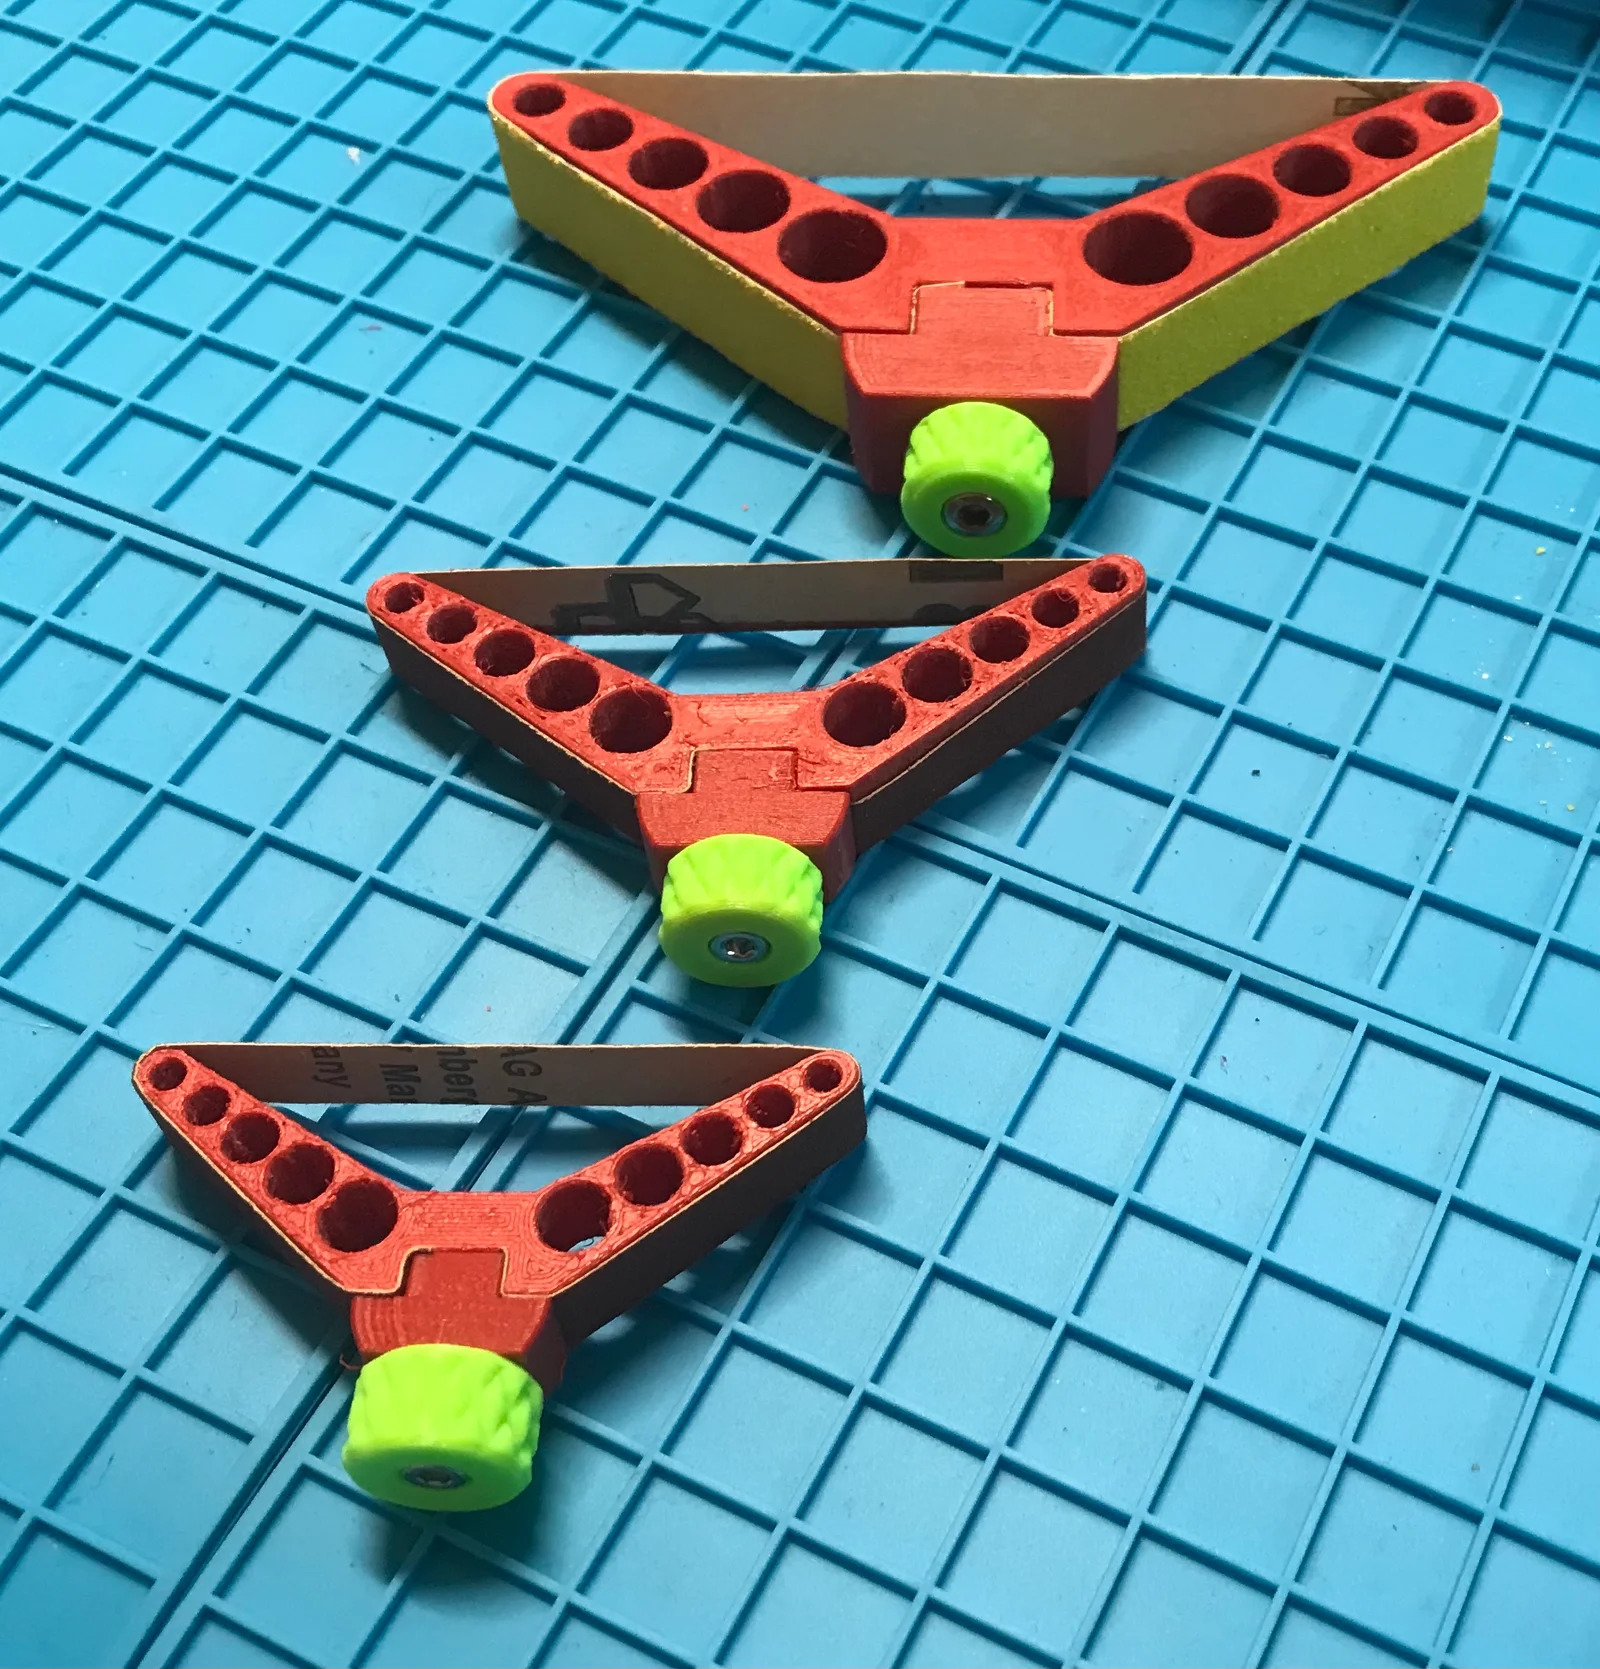
there are six sizes to choose from: S, SW, M, MW, L & XL (pictures show sizes S, M & L)
this construction makes it a lot easier to tighten the sandpaper to your needs, the oversized nut serves as a fingerrest to ensure good grip.
mainly made for fine sandingpapers but successfully testet up to 60 grit.
* appears there is a usage I did not have in mind, a friend printed one (golden one on the pictures) and she is using it for manicure purposes. seems to be quite versatile *
hardware & tools
the lenght of the screw to be used depends on chosen size, used hardware (nuts/inserts) and if you like to use a thumbscrew on top or the sunk version, therefore I cant give you exact dimensions.
bow size
screws
threaded inserts
hex nuts
square nuts
sanding-paper
S
M3 x 12-15mm
M3 x 4mm*
M3
M3 (1.8 x 5.5mm)
10 x 148mm
SW
M3 x 12-15mm
M3 x 4mm*
M3
M3 (1.8 x 5.5mm)
15 x 148mm
M
M3 x 15-18mm
M3 x 4mm*
M3
M3 (1.8 x 5.5mm)
10 x 186mm
MW
M3 x 15-18mm
M3 x 4mm*
M3
M3 (1.8 x 5.5mm)
15 x 186mm
L
M4 x 22-28mm
M4 x 4mm*
M4
M4 (2.2 x 6.9mm)
15 x 278mm
XL
M4 x 30-36mm
M4 x 4mm*
M4
M4 (2.2 x 6.9mm)
20 x 370mm
* M3 x 5.8mm, M4 x 8.1mm will also fit if you remove the excess material by inserting a screw from the bottom while it’s still warm
you will need a soldering iron for the threaded inserts, a sharp knife to cut the sandpaper stripes, a drop of superglue for the hex and square nuts, an allen key if you don’t use a thumbscrew.
for easy cutting of the needed sandpaper stripes I included templates, to fit L and XL on smaller printbeds they have a puzzle-cut that can be glued after printing. (there are a couple mm included to adjust tension to your needs)
my favorite tightening solution is the knurled thumbscrew by Elothan you can see on the pictures.
stop palaver, start printing and making things
these settings are just guidelines, you want to print it fairly strong
material
nozzle
layers
perimeters
infill
top/bottom layers
support
brim
PETG
0.4
0.2
2+
30%+
4+
none*
no**
* only for a cleaner central hole in the bow ** if your bed sticks good
assembly is pretty easy, depending on the chosen version you have to melt the inserts in from bottom side (opposite of nut) or fix the hex/square nuts with a drop of superglue.
it still takes a little practice to hold tension on the sandingpaper with two fingers of one hand and tightening the nut with the other one. (gently folding the cut sandingpaper in the middle or marking it with a pen helps with correct alignement)
update history
—> added hex nut versions
—> added square nut versions
—> added wide versions of sizes S & M called SW & MW
—> added nuts with sunk screw heads for the use without thumbscrew
—> updated description for better overview
what else
if you need versions using other hardware or slimmer/wider sandingpaper stripes let me know!
happy printing! if you like my work I highly appreciate every make and rating, same for likes, remixes & shares.
donations will be forwarded to sea-watch.org
BywurthLikes0Downloads195

 ByleonicLikes0Downloads1.4K

 ByfifindrLikes500Downloads4K

 ByVC_DesignLikes679Downloads3.6K

 ByDan Schwartz SchwartzLikes744Downloads3.4K

 Byvc-designLikes0Downloads538

 Bythorin-oakenshieldLikes0Downloads534

 Bytorii-creative-studioLikes0Downloads451

 Bychubbs8697_2027893Likes585Downloads1.7K

 Byquibeck_3353173Likes965Downloads1.9K

 Bydenis-3dLikes0Downloads268

 ByRungeKuttaLikes229Downloads1.2K