



Kẹp giữ sợi Filament
 Bytinx_1344834Likes1.2KDownloads6K
Remix of Giá đỡ webcam Creative Live! 2020 cho thanh nhôm định hình By lgcproductions
Build another version of this model.
This is my first printable dedicated upload. All others have been transferred across from Thingiverse upon signing up here. I'm no CAD designer, just use Tinkercad and cut, paste, merge etc to get a design that fits my needs.
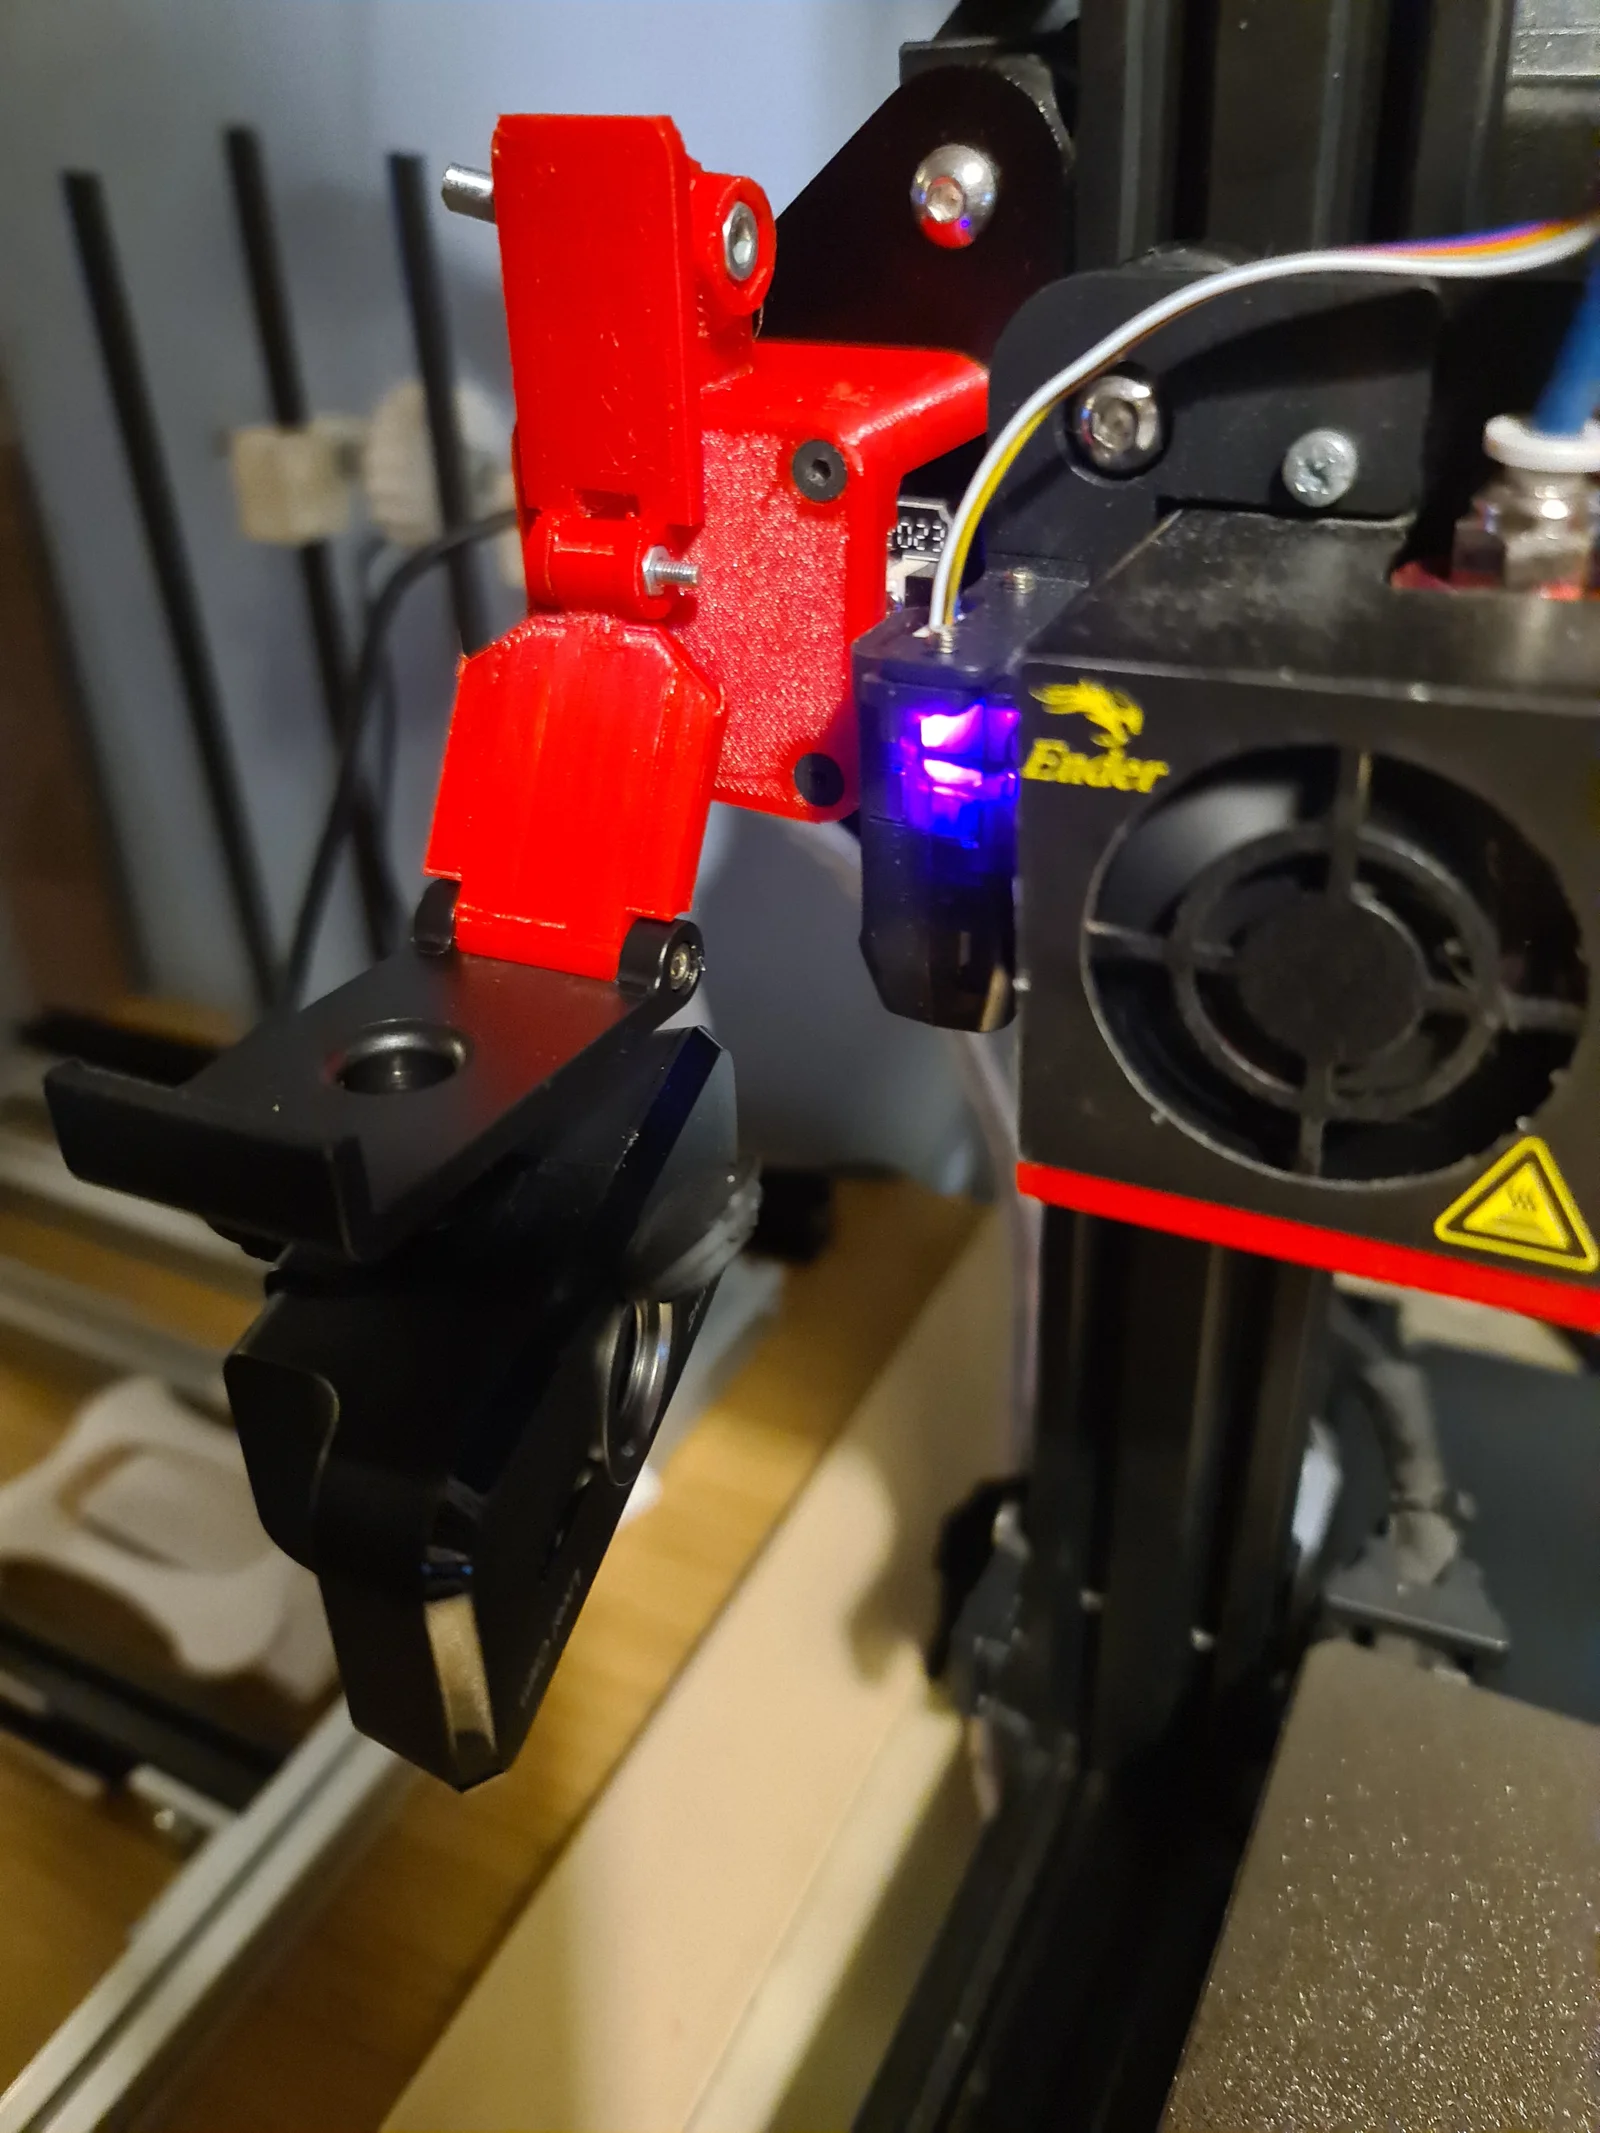
Recently I bought a 2nd hand Ender3 and wanted to transfer the webcam from my (now dismantled, da Vinci jr) old printer. Seeing a good spot to mount it on the X motor cover it was time to look around for an already-created design. Alas to me, there wasn't one.
So grabbing a copy of the Ender 3 X Cover I merged it with my previous design that held the camera onto some 2020 extrusion. This print was done with Creality PETG, think it could be ok in PLA as no heat is generated around the cover.
BOM
All bolt lengths are minimum lengths, if you only have a longer version, go for that.
1 x M4 x 16mm
1 x M4 nut
2 x M4 washers (optional)
1 x M2.5 x 15mm
1 x M2.5 nut
1 x M.2 x 28mm (If you've lost the one that is part of the stock webcam)
Original bolt and nut from the creative live webcam.
Assembly
Remove the Long M3 screw from the webcam mount and keep hold of it as it'll be re-used within the rest of the project.
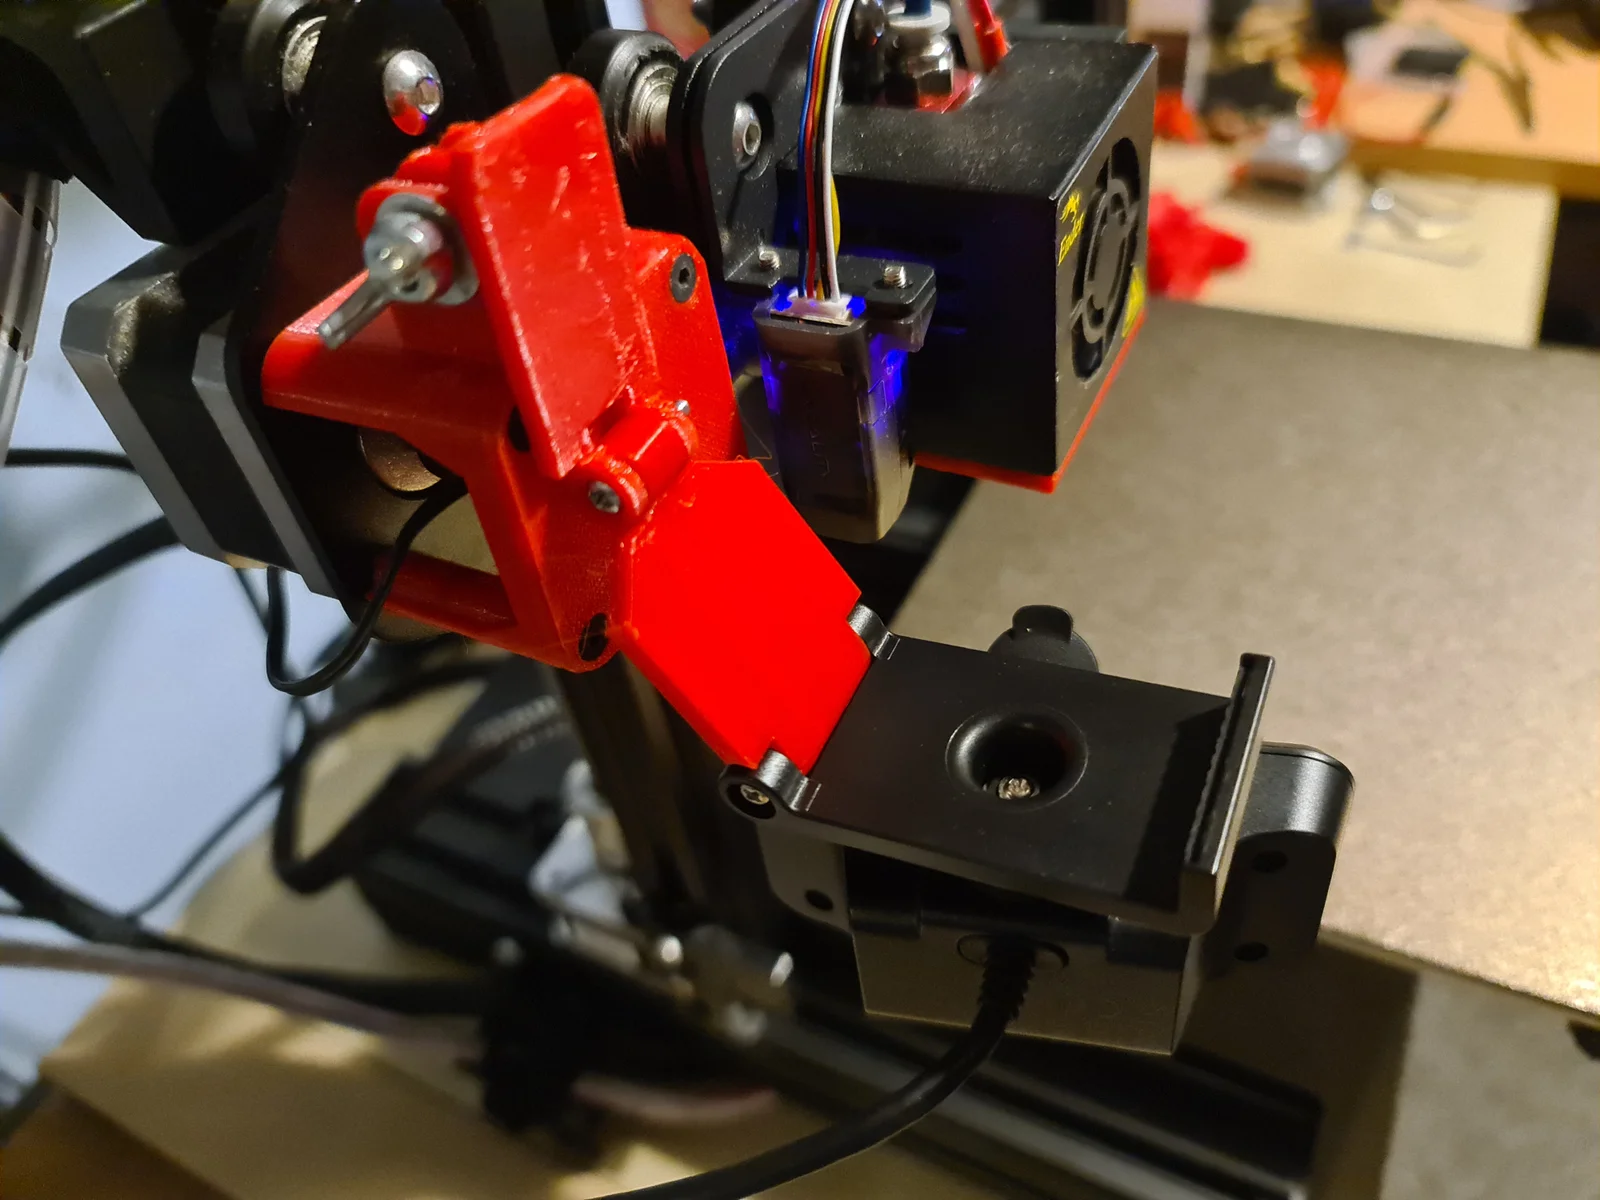
Take off the cover covering the X-end stop switch and motor. Remember when removing the last screw to hold onto the motor otherwise it'll come crashing down to the ground. Replace the stock cover with the printed X Mount cover.
Use the M4 x 16mm bolt and nut to secure the two pieces together. If you find there is some horizontal play, use one or both of the optional washers.
Now use the M2.5 x 15mm bolt and nut to secure the Go Pro Connector piece to the creative live! cam connector piece. Then using the stock bolt and nut from the webcam connect the CLCC connector piece to the black plastic part of the webcam.
I'm trash at explaining stuff and hopefully, with the images, you'll understand how this is put together.
Material
PLA/PETG
X Mount Cover
0.2 Layer Height
15% Infill
Go Pro Connector
0.2 Layer Height
15% Infill
Creative Live! Cam Connector
0.2 Layer Height
15% Infill
Bytinx_1344834Likes1.2KDownloads6K

 Byarhi_585078Likes64Downloads540

 ByHanzo3dLikes155Downloads413

 ByGeek5DLikes147Downloads484

 ByBrokentooth_designsLikes23Downloads407

 By3DSourcererLikes48Downloads377

 Byartme-3dLikes0Downloads333

 Bygafyx3dLikes0Downloads120

 Bybloblis67Likes0Downloads317

 Byprusa-researchLikes0Downloads2.7K

 Byzachstofko_3956201Likes88Downloads160

 ByzooppLikes7Downloads164