



New
SolderMate - Fully 3D Printed Desk Soldering Companion
 ByleonicLikes0Downloads1.4K
Build another version of this model.
// Update May 23
I added two new (shorter) sleds, while cutting larger circles I noticed the old one wasn't always practical. You can also turn it 180°, but don't stick it out of the body too far for stability.
Also, I opened up the top-part of the jig for faster sled-swapping. As it is screwed to the base it's more than stable enough anyway.
_______________
This circle-cutting jig is installed instead of the original plastic-base of the plunge base of Katsu routers; you can use the original M4 screws or use others (10mm length).
It may fit other plunge bases of similar routers (Makita, Anesty, Vevo...), but I can't tell.
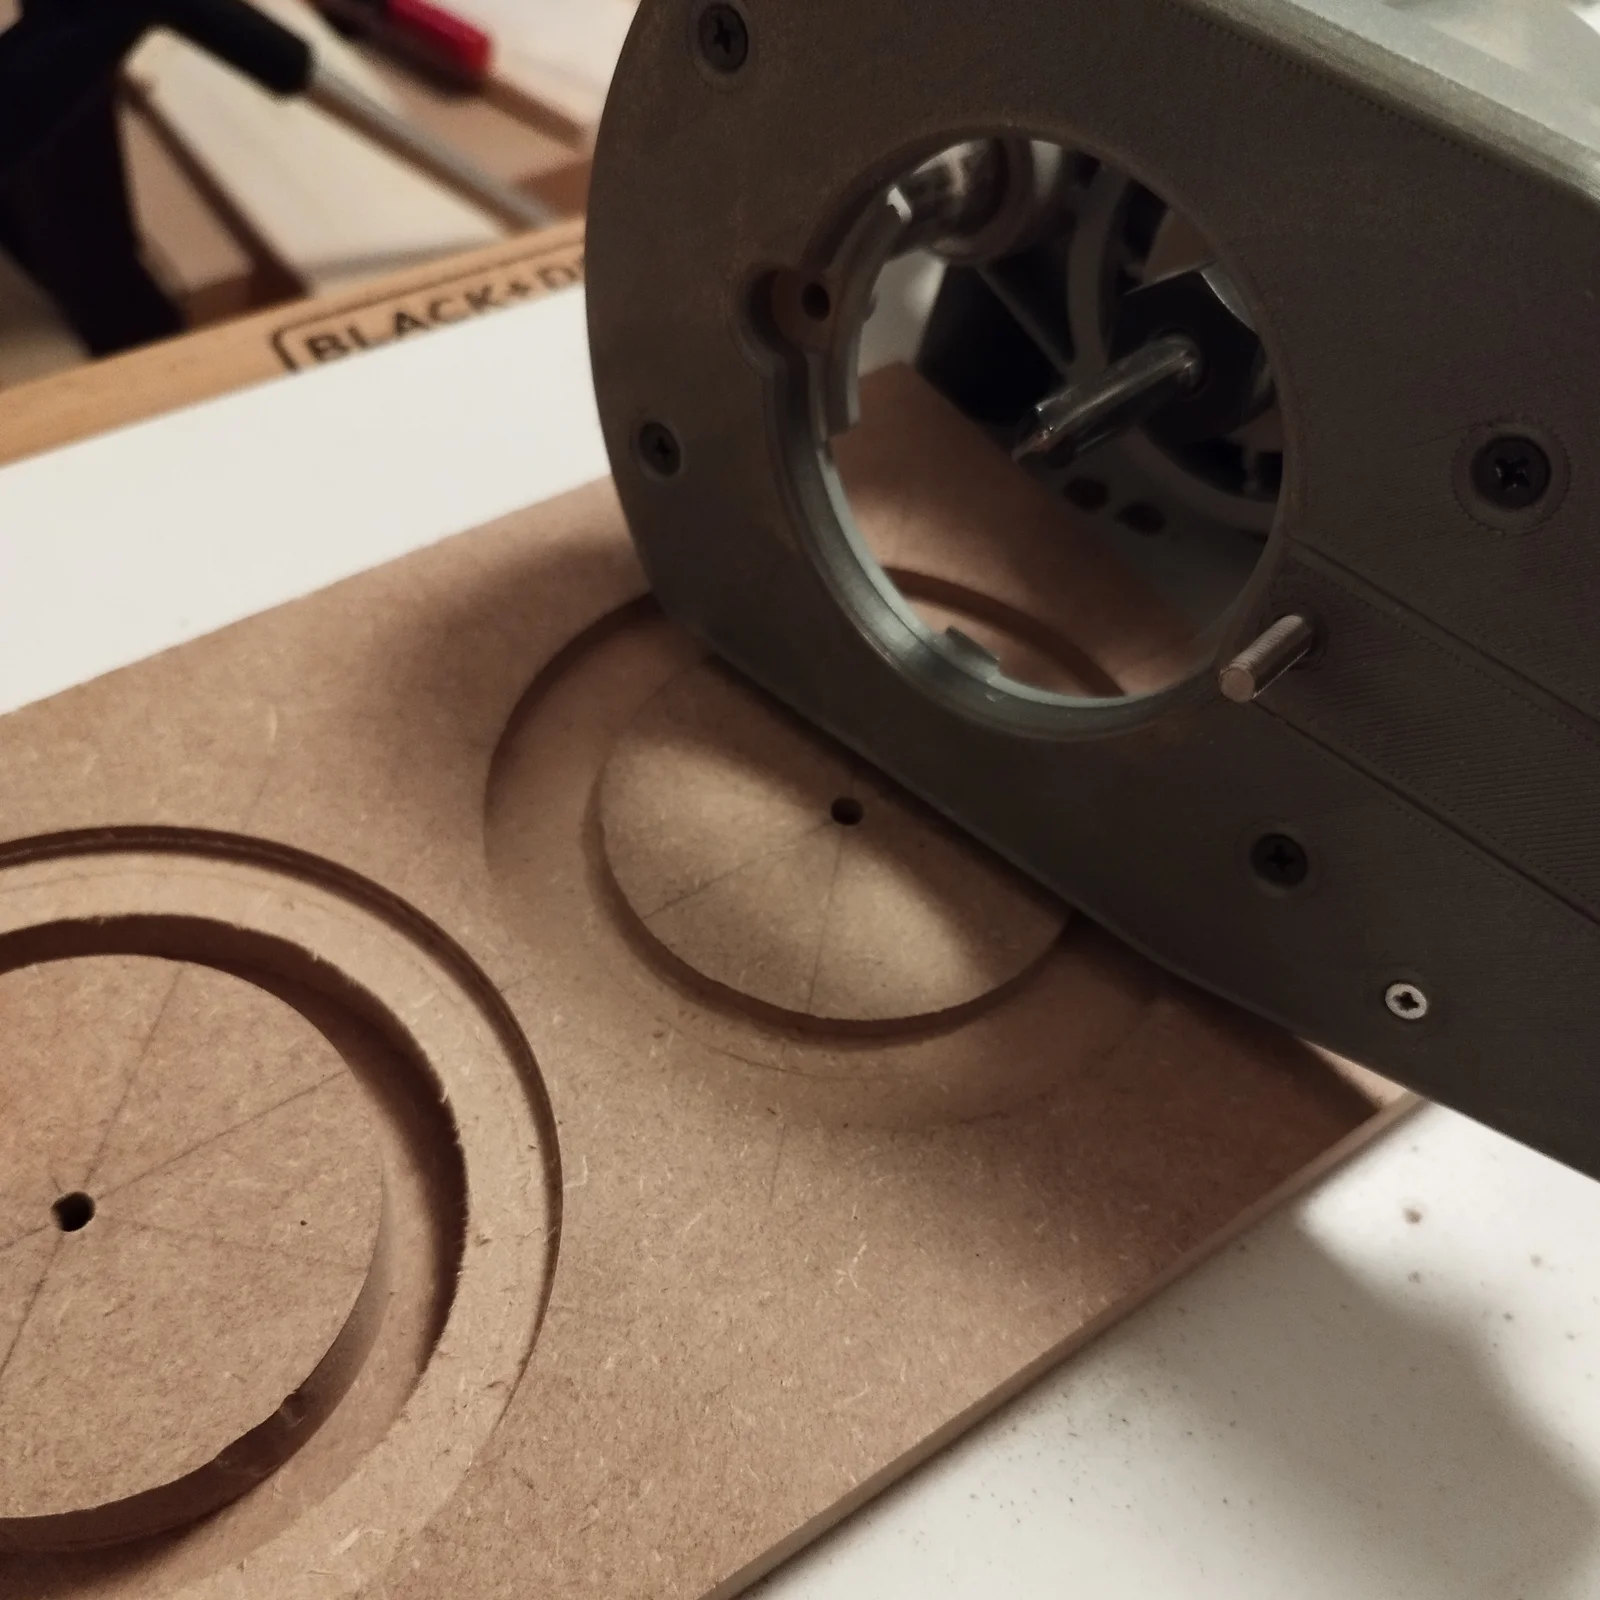
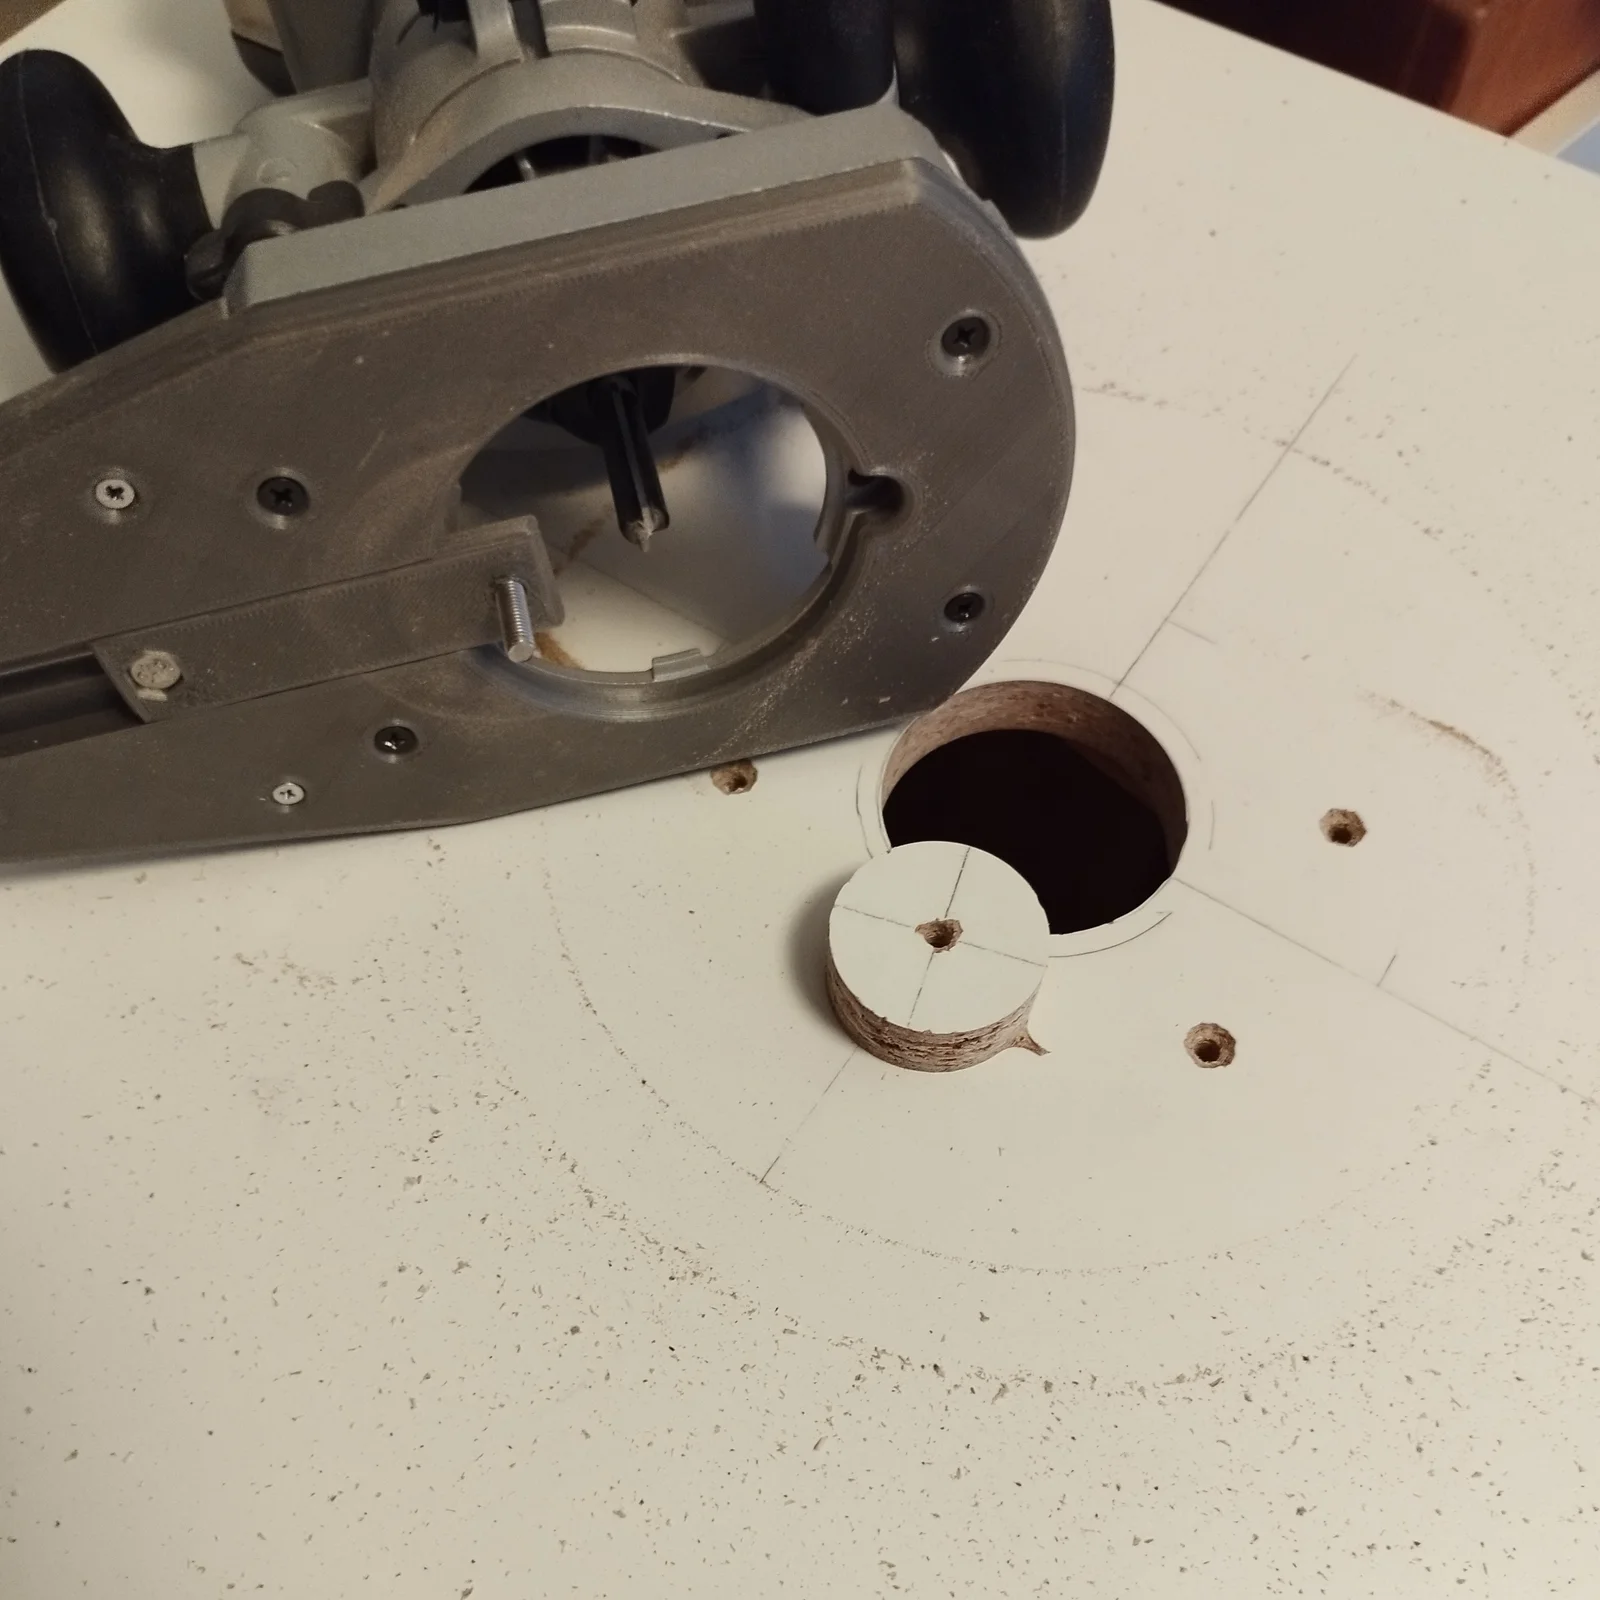
I made this jig to cut holes/recesses for loudspeakers, as I found I couldn't get clean cuts with commonly available circle-jigs for the trimmer-base. This jig can do relatively small circles, but I was also able to easily cut 300mm circles as well. I'd have loved to make it longer, but I'm limited by the size of my print bed.
Note: unfortunately you can't install the vacuum-attachment for small circles, as the screws will block the little sled.
For assembly, you need
- 2x M5 20mm screws with hex head
- 1x M5 nut
- 1x M5 (or better M6) washer is recommended
- 4x M3 10mm screws with countersunk head
- 4x M3 nuts
The M5 screw sticking into your work piece can also be a bit shorter, depending on your material. The other must be 20mm to get max grip with the locking grip.
To assemble, put the M3 nuts in their little compartments on the top-piece, then push the M3 screws through their holes in the bottom-piece; lay on top of each other and screw them together.
Install the M5 screw going into the work piece into the sled and push it into its rail, then install the M5 screw for the grip. The recommended washer gets between jig and the grip.
Depending on the accuracy of your printer, the sled can be a bit stiff inside the rail. You don't want any play here, but to be able to move you may have to sand it down a bit. This is by design to minimize wiggle; I also had to sand my blocks.
ByleonicLikes0Downloads1.4K

 ByfifindrLikes500Downloads4K

 ByVC_DesignLikes679Downloads3.6K

 ByDan Schwartz SchwartzLikes744Downloads3.4K

 Byvc-designLikes0Downloads534

 Bythorin-oakenshieldLikes0Downloads531

 Bytorii-creative-studioLikes0Downloads448

 Bychubbs8697_2027893Likes585Downloads1.7K

 Byquibeck_3353173Likes965Downloads1.9K

 Bydenis-3dLikes0Downloads266

 ByRungeKuttaLikes229Downloads1.2K

 Bydelloo2008Likes0Downloads243