



Vải In 3D Cấu Trúc Hình Bát Giác (Octagon Fabric)
 ByDrewmundLikes833Downloads4.6K
Remix of Tên lửa "Friede" từ phim "Người phụ nữ trên mặt trăng" của ... By kaje
Build another version of this model.
Note : For a simpler version of this model, see this link :
https://www.printables.com/model/542539-rocket-friede-from-frau-in-mond-woman-in-the-moon-
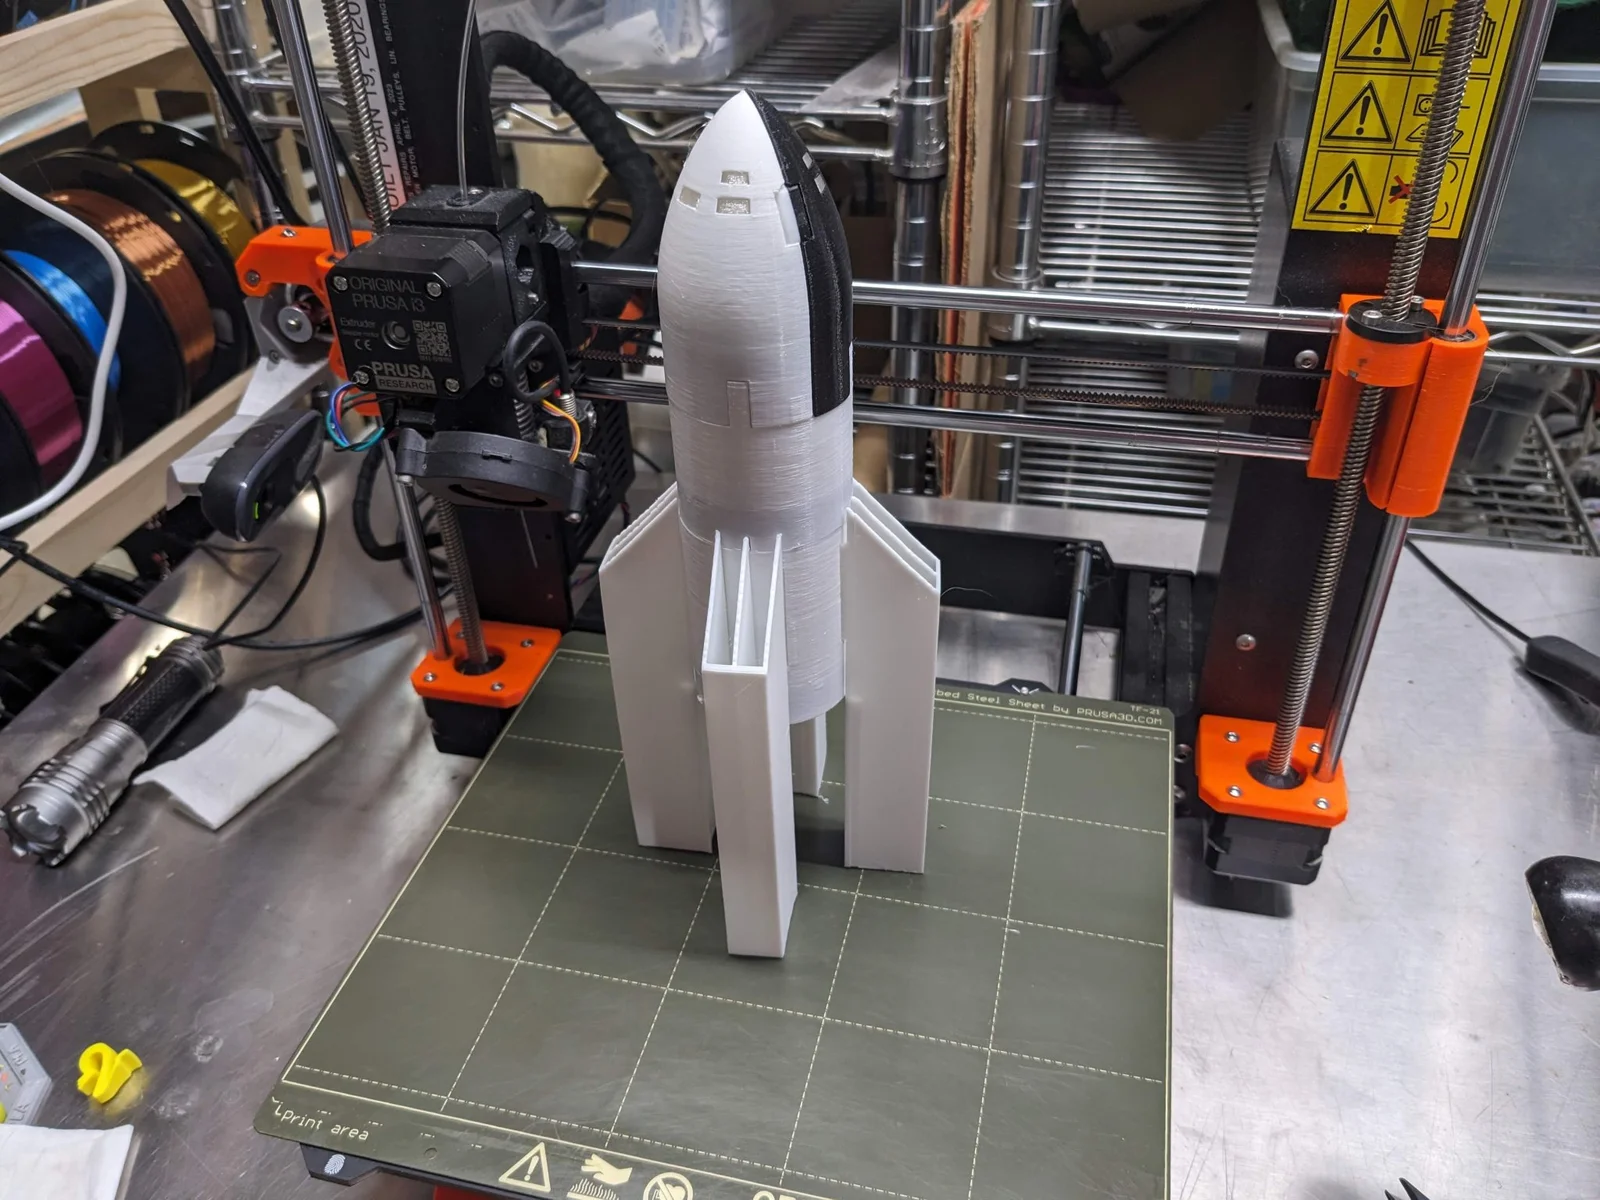
This is a model of the rocket “Friede” from the famous movie by Fritz Lang :
https://en.wikipedia.org/wiki/Woman_in_the_Moon :
This model is designed to print in black and white filament, in order to reproduce the color scheme of the original.
I have tried to make this model as faithful to the film as possible (with some exceptions, as noted below), with the limited amount of information available, and the limited amount of exterior detail in the film. I searched for details on the original movie model, hoping to find photographs or drawings from the production set, but I was not successful; if anyone reading this has a source for more detailed information please make a note in the comments.
As noted in the addendum below, I did find more information on Hermann Oberth's Model E rocket, on which the Friede model in the movie is based. I opted to eliminate the hexagonal grid at the bottom of the rocket in order to show the rocket nozzles. The rocket nozzles are an approximation of the nozzles shown in the movie model. Similarly, most of the interior detail of the model was eliminated due to the practical considerations of making the 3D print.
The rocket has three stages; I estimated the size of the second stage based on frame captures I made from the movie. As I could not find any information on the how the second stage was attached, I simply invented an attachment method for my model.
Notes :
You can find other related designs in my rocket collection here :
https://www.printables.com/@kaje/collections/608986
Addendum
[Aug. 5, 2023] Since I first published this print, I have done some additional research. I learned that the rocket Friede was based on the Model E rocket in the Hermann Oberth book Wege zur Raumschiffarhrt (Ways to Space Flight) published in 1929. I reviewed this fascinating book in both the original German version, and in an English translation. While the book does provide some useful clarification, the illustrations in the book are not very detailed. As near as I can tell, much more detailed drawings were prepared for the Fritz Lang movie, and while there are photos floating around the Internet which I suspect are some of these drawings, I have not yet located an original source.
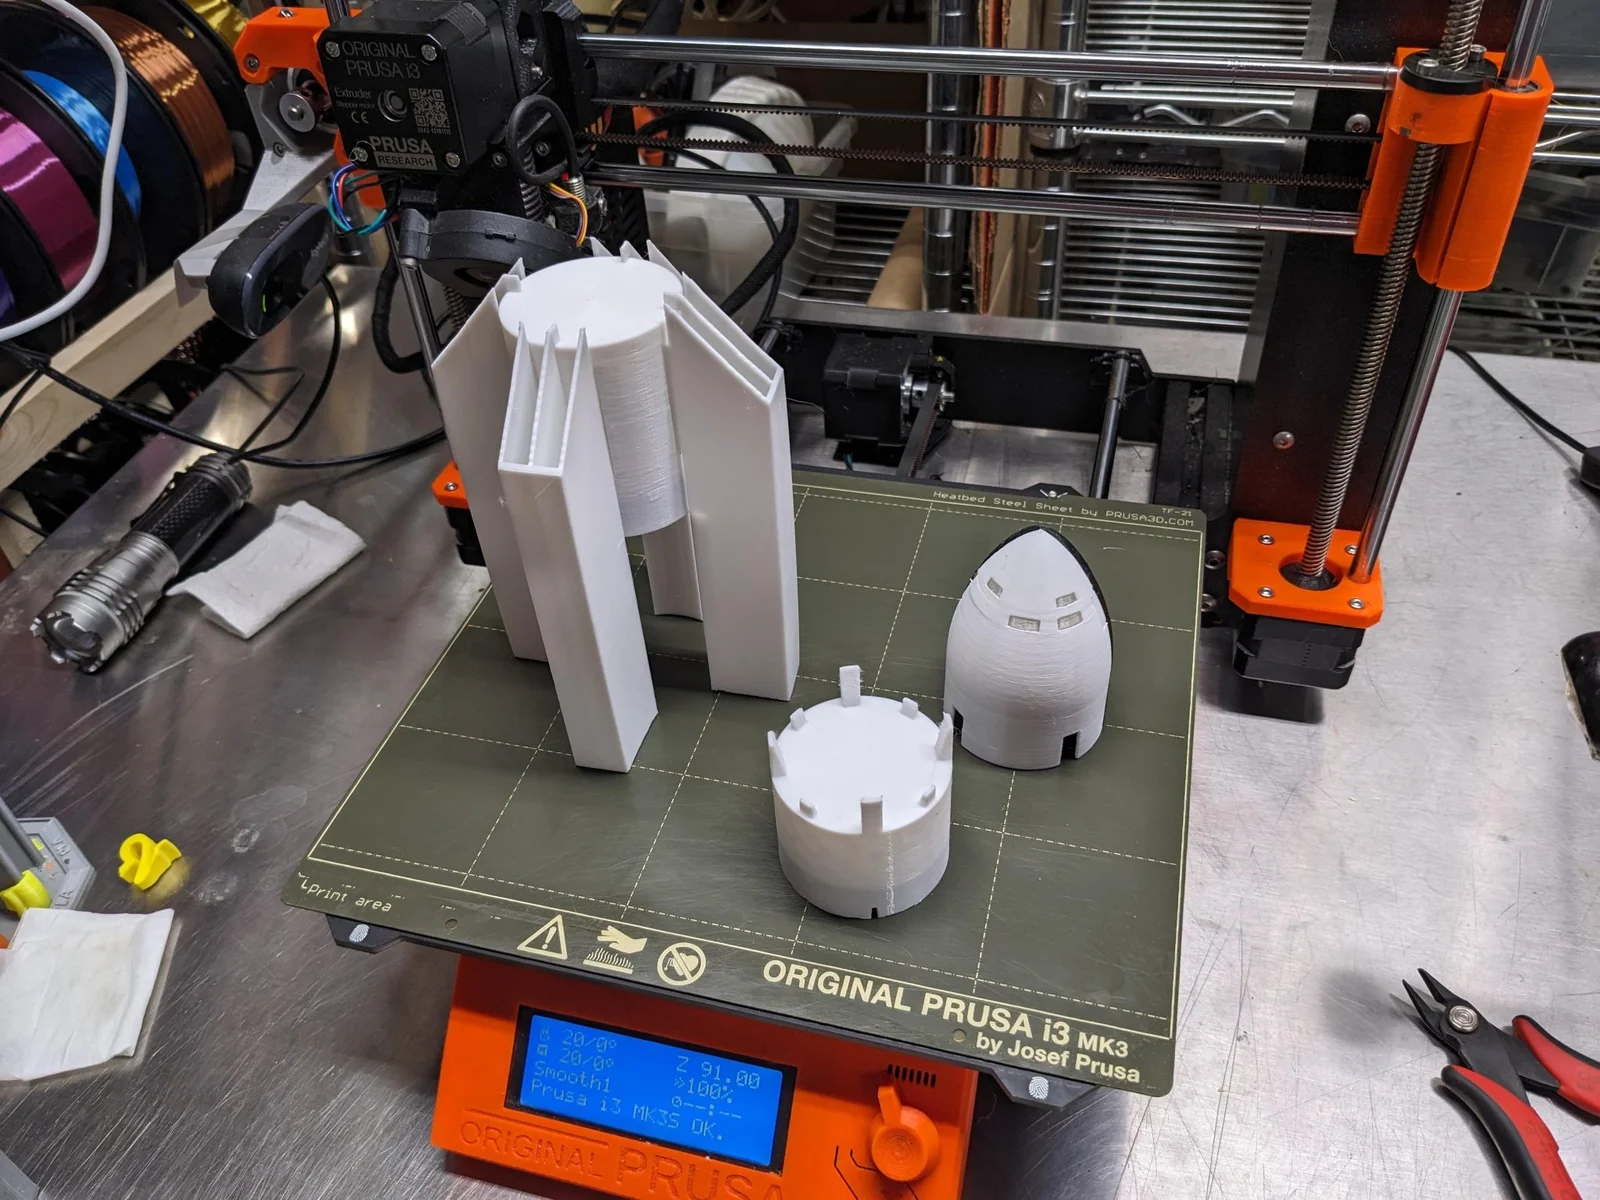
Note : The main sections of the rocket are as follows :
I did not use glue for any part of the assembly, but you may wish to add glue for a more permanent assembly.
Begin by inserting the Nozzle assembly into Stage3. Note that the Nozzle assemblies are notall identical, so be sure to use the correct one. The Nozzle assembly has a “key” to make sure it is oriented correctly. Next, insert each of the four Fin pieces by inserting one side of the fin first, followed by the other side (I found it useful to insert each side individually first, into order to “free up” the slot). The fins will be a firm fit, but should insert fully.
Next, complete Stage2 assembly by inserting the correct Nozzle assembly. Note again that he Nozzle assembly has a “key” to make sure it is oriented correctly.
Begin the Stage3 assembly by inserting the Door piece into the Windows piece; then insert this assembly into the Stage3White half. Note that there are two “hooks” on either side of the Stage3White piece (located on the upper part of the inner wall) - these help to hold the Windows assembly in place. Make sure all of the windows are pressed firmly into their respective openings. Next insert the NozzlesUpper assembly into the groove in the inner wall of the Stage3White half. Finally, add the Stage3Black half by pressing it firmly onto the Windows assembly.
Each of the upper stages simply sits on top of the stage below.
Note : The main sections of the rocket are as follows :
Print in PLA with 0.2mm layer height. I used white and black for the rocket body and fins, gray for the nozzles, white and black for the door fill, and transparent for the windows fill.
I printed all pieces on a smooth build plate, with a bit of glue stick.
I experienced significant issues with stringing, so you may wish to adjust my recommendations accordingly. I reduced the filament print temperature to 195°C - this helped somewhat but did not eliminate the problem completely.
* These pieces have built-in brims which must be removed after printing.
The OnShape 3D CAD files for this are at the link below. The model is fully parametric, and allow for varying the over size and the wall thickness independently.
ByDrewmundLikes833Downloads4.6K

 ByFastRaccoon_718321Likes461Downloads1.5K

 ByvexanixLikes168Downloads1.3K

 ByIvoLikes196Downloads1.1K

 Bynonoobybut_3307010Likes364Downloads1K

 ByvojtagrecLikes289Downloads902

 ByCodyMeyer_2545340Likes163Downloads728

 Bykarma-artLikes0Downloads156

 Byelizabeth3dLikes0Downloads151

 ByPexPeppers Hot Sauce Hot SauceLikes114Downloads562

 Bymartin-schneiderLikes0Downloads402

 ByFotisMintLikes71Downloads416