

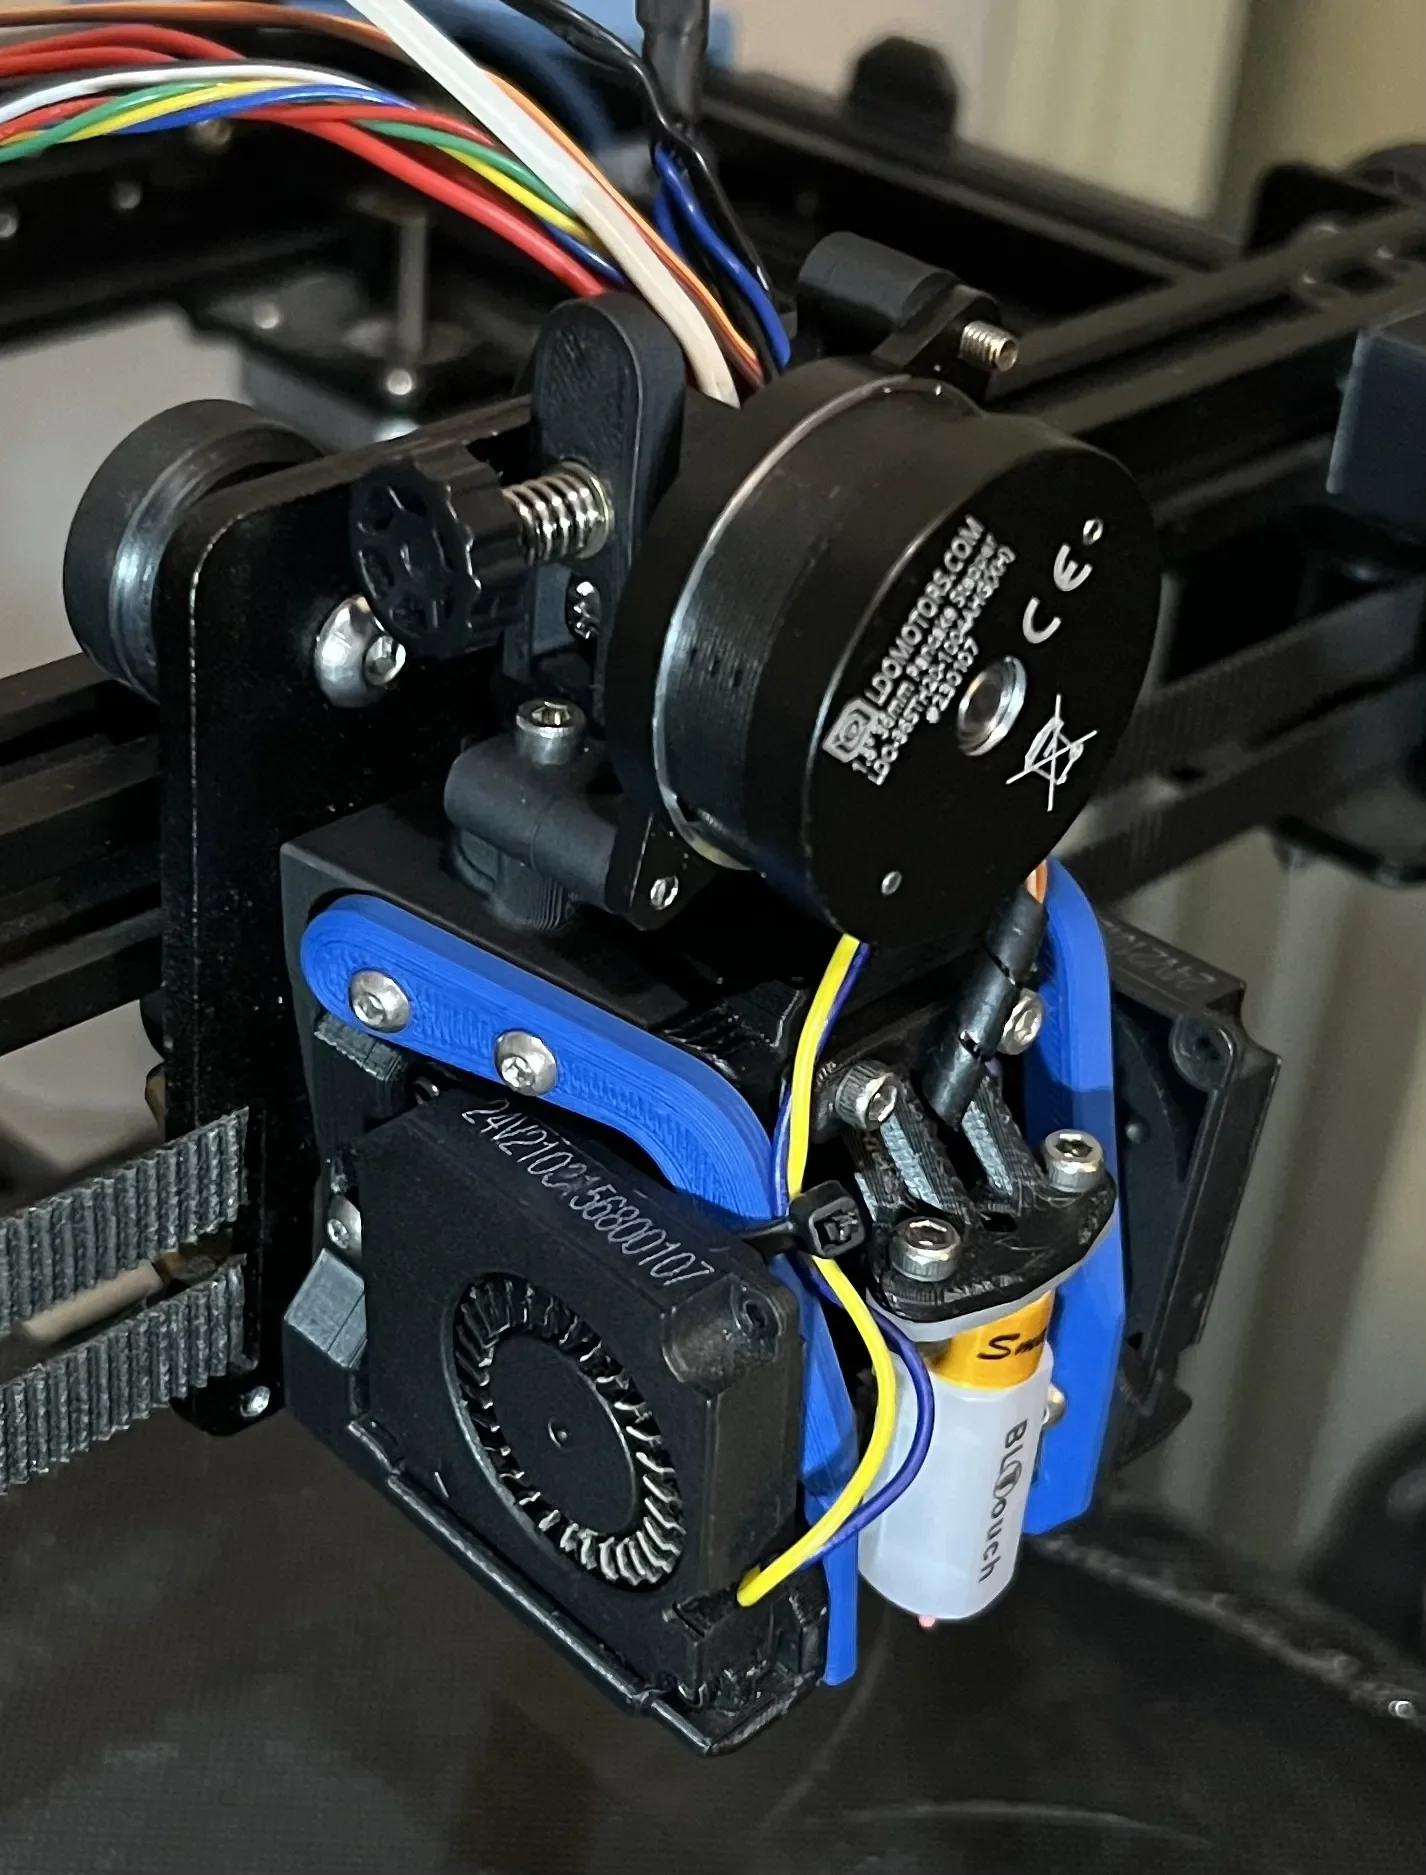
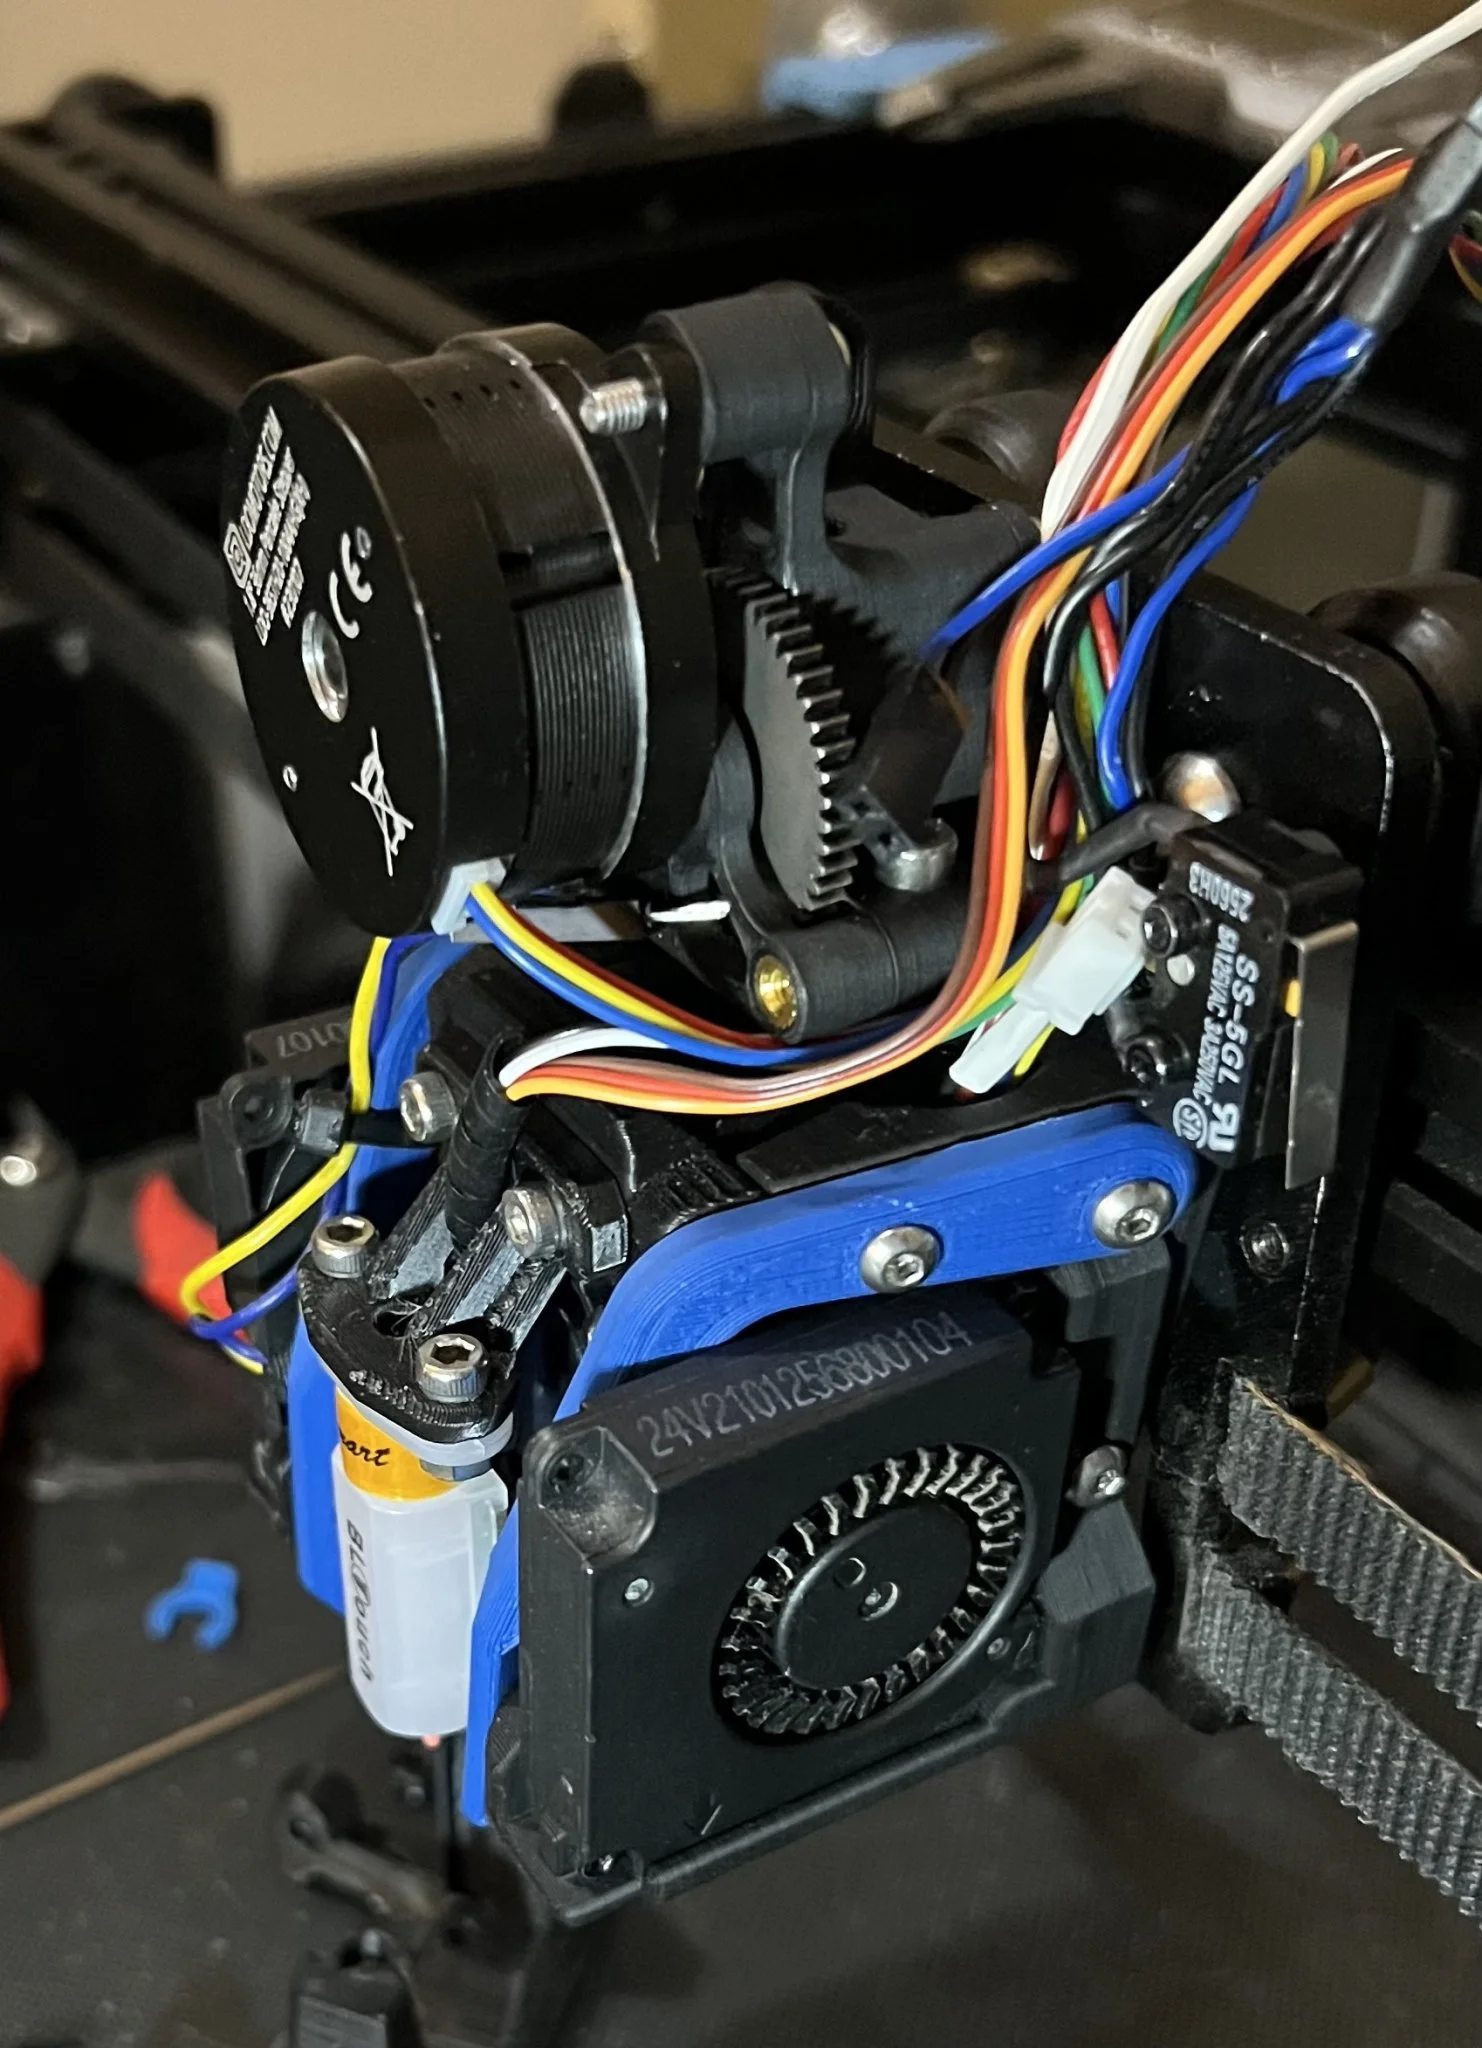


CORE One/+ INDX printed parts
 Byprusa-researchLikes0Downloads2.7K
Remix of Hệ thống đầu ống dẫn và công cụ Manta MK2 cho máy in Ender 5 By boothyboothy
Build another version of this model.
As always if you feel so inclined please Buy Me A Coffee or drop a small donation so I can keep making these designs and mods! Thanks!
Update: 08/12/23
Notes:
Recommended to use Support from build plate
----------------------------------------------------------------------------------------------------------------
Release Notes: (July 2/23)
If you find an issue with the design please send me a message so I can fix it!
Please note these are beta files for testing. Assembly is as the same as V2 however you will need to install 2 more M3 Knurled inserts into the top to mount the Sherpa Mini.
Make sure you Print the right Hot end Duct Plate for You!
Orbiter 2.0 support and fixed Y axis EndStop Coming Soon!!
----------------------------------------------------------------------------------------------------------------
Version 2.0
Release Notes: (Jan 8/23)
----------------------------------------------------------------------------------------------------------------
This is a remix of the Manta MK2 printhead for the Ender 5 By BoothBoothy that i have taken and modified to fit the Ender 6.
The Goal:
I selected the Manta Mk2 as the base for this project due to its compact and versatile design for the Creality machines.
Requirements:
Print List;
Print all parts included here using support from the build plate
Align the Support Arm RH flat with the build plate, no support required
NOTE if using a BL Touch - you can only use the mount I have included here, others will cause the BL Touch Sensor to contact the belts at the front of the Machine when traversing to Y axis 0 position
The rest of the parts and instructions can be found here:
https://www.printables.com/model/169136-manta-mk2-duct-tool-head-system-ender-5-version
From there you will need to print the following parts to complete the print head;
4010_Duct_RH_V1_1 (x1)
4010_Duct_LH_V1_1 (x1)
Fascia_Plate_BL_Touch_Mount_V1_1 (x1)
OR
Fascia_Plate_Manta_V1_1 (x1) [ if not using a BL Touch ]
4010 Blower Fans (x2)
3030 Fan (x1)
Various M3 bolts, nuts and T nuts
Assembly:
1) Insert two M3 nuts into the back of the Duct Back Plate
2) slide Duct Back over Hotend mounting posts on the X carriage plate
3) install M3 x 10mm bolt into back plate to secure to carriage
4) install hotend on carriage
5) install x axis endstop onto back plate
6) Install X axis Bump stop bracket on X Axis with (2x) M3x8-10mm and t nuts
6) Remove Y axis Endstop plate in the back right corner of the machine and install the printed bracket in its place with the ARROW ONTOP AND FACING THE FRONT OF THE MACHINE with original Hardware
7) refer to Original Design instructions for final assembly
Final Notes
To maintain full range of motion of the Ender6 you must use the above configurations for this print Head, use of optional 5015 blower fans will reduce travel on the X and Y axis. If using a BL Touch sensor you will need to update your firmware to the following;
define PROBE_OFFSET ( 0, -36.214, -3.100) // ( x, y, z )
ADJUST Z OFFSET BEFORE FIRST PRINT
Byprusa-researchLikes0Downloads2.7K

 Bytinx_1344834Likes1.2KDownloads6K

 Bydet-manLikes0Downloads173

 BydarienLikes0Downloads1K

 Byla-cave-au-chatLikes0Downloads969

 ByvertigomakesLikes0Downloads564

 By3DPrintDemonLikes0Downloads330

 Bypeter-van-der-waalLikes0Downloads258

 Bychris-hillLikes0Downloads264

 ByhumebeamLikes0Downloads130


 BykingnothingLikes0Downloads183