


Grippy Broom Holder
 Byvc-designLikes0Downloads3.2K
Build another version of this model.
PARTS LIST:
Hardware Kit #2: https://www.amazon.com/AvrestYPT-Stainless-Assortment-Phillips-Electronics/dp/B0F8V7G8T8/ref
Hardware Kit #3https://www.amazon.com/Machine-Assorted-Stainless-Assortment-Threaded/dp/B0DFWXRM21/ref
M2 Inserts: https://www.amazon.com/ruthex-Threaded-Insert-pieces-ultrasound/dp/B088QJG676/ref
Rotor Shaft Couplers: https://www.amazon.com/MECCANIXITY-Coupling-Connector-Flexible-Airplane/dp/B0F3HNS1KW/ref
Solenoids (FOR 1003): https://www.amazon.com/dp/B0F3366FPQ?ref
INSTRUCTIONS:
Hammer the couplers into the rotors with the smaller hole on the bottom of the rotor.
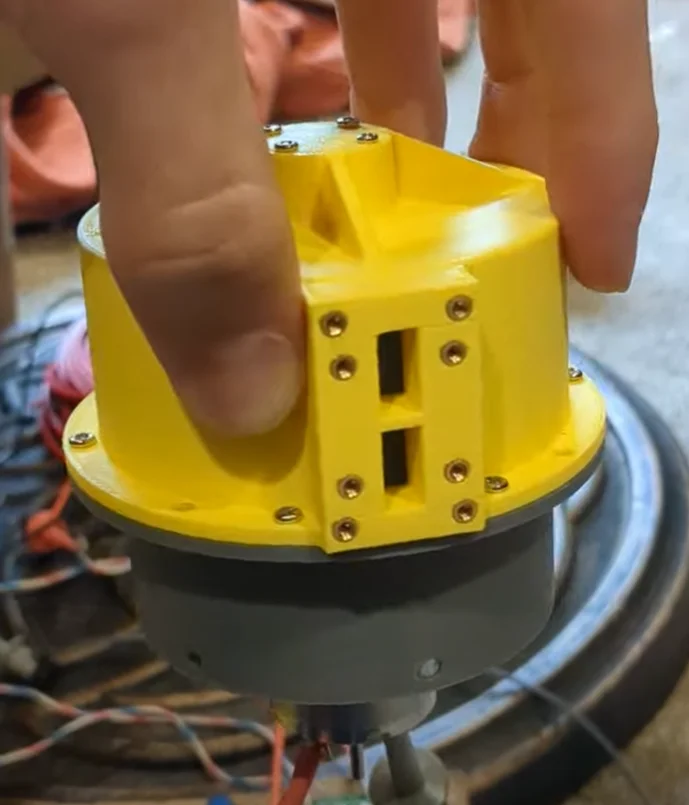
For the motor and motor holder, secure the motor to the holder with M2.5 bolts from the Hardware Kit #2. Slip the rotor onto the shaft and tighten the setscrew(s) on the rotor to lock it onto the shaft!
Make sure you also align the vertical position of the rotor correctly by repeatedly checking the chopper cap height alignment.
Once that's on, place the chopper cap over the rotor and just thread more of the same M2.5 bolts from earlier into (what would be on a real thunderbolt) the alignment pin slots. They don't need nuts on the bottoms and the plastic will grip them very tight. The holes in the chopper cap front are for your M2 inserts!
Byvc-designLikes0Downloads3.2K

 BySeppoTakaloLikes960Downloads1.9K

 ByleonicLikes0Downloads1.4K

 ByZED4EverLikes313Downloads5.2K

 ByharoldhihatLikes0Downloads200

 ByfifindrLikes500Downloads4K

 BymoonyxLikes0Downloads701

 ByVC_DesignLikes679Downloads3.6K

 ByKNIN_CustomLikes112Downloads440

 ByDan Schwartz SchwartzLikes744Downloads3.4K

 Bythorin-oakenshieldLikes0Downloads536

 Bytorii-creative-studioLikes0Downloads453