



Kẹp giữ sợi Filament
 Bytinx_1344834Likes1.2KDownloads6K
Build another version of this model.
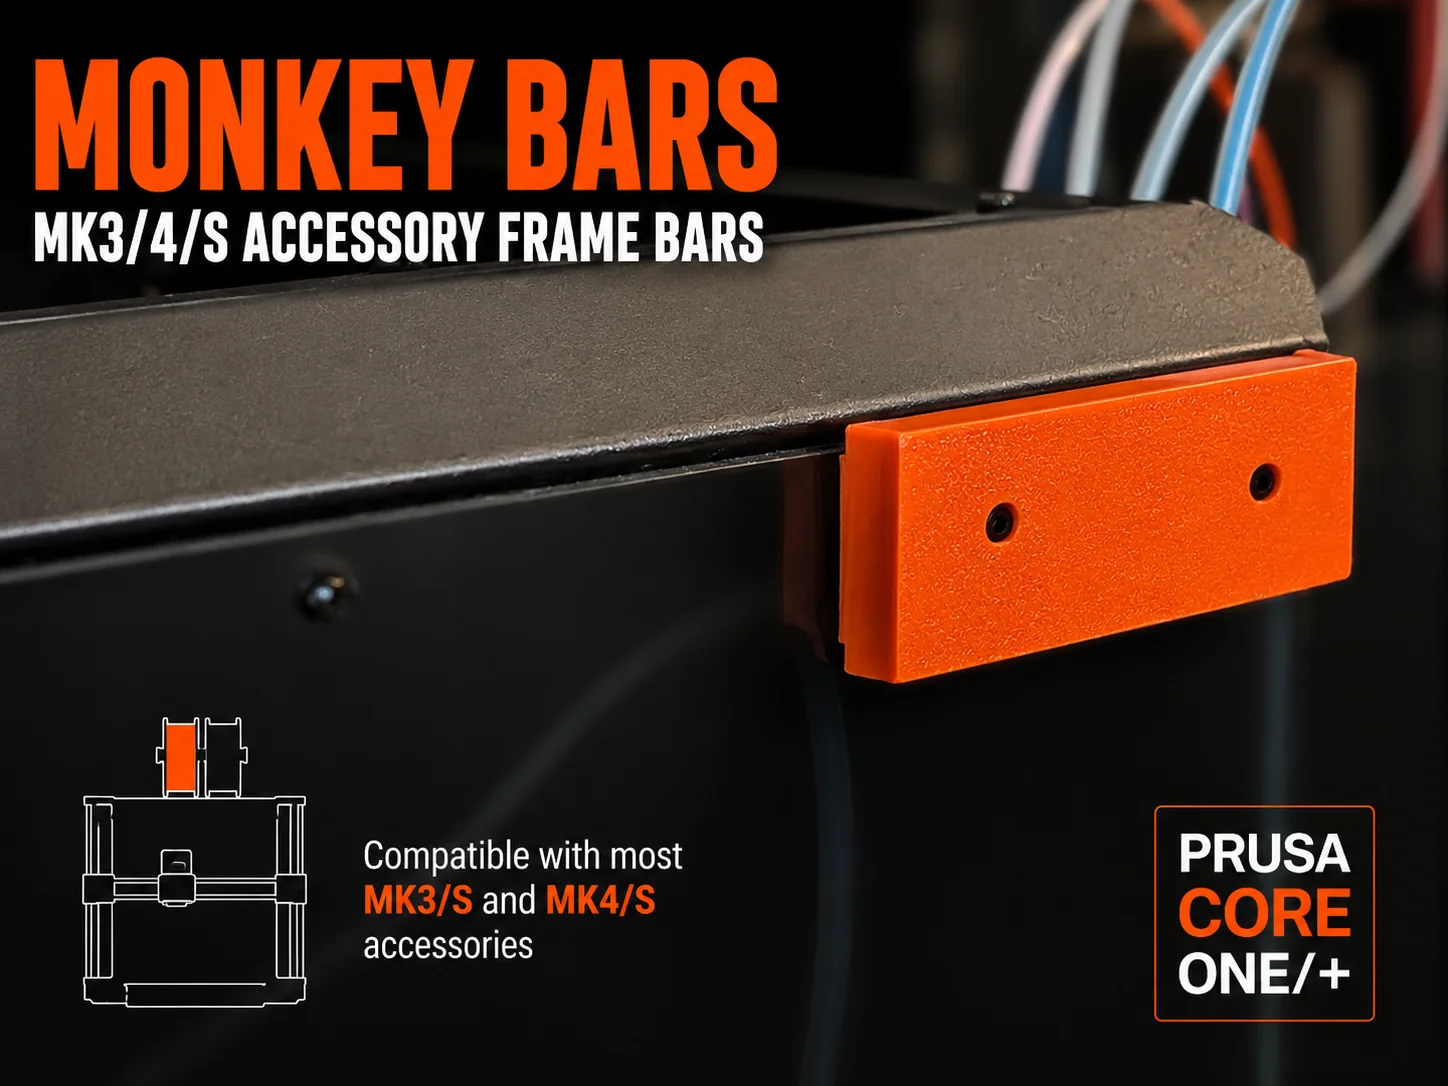
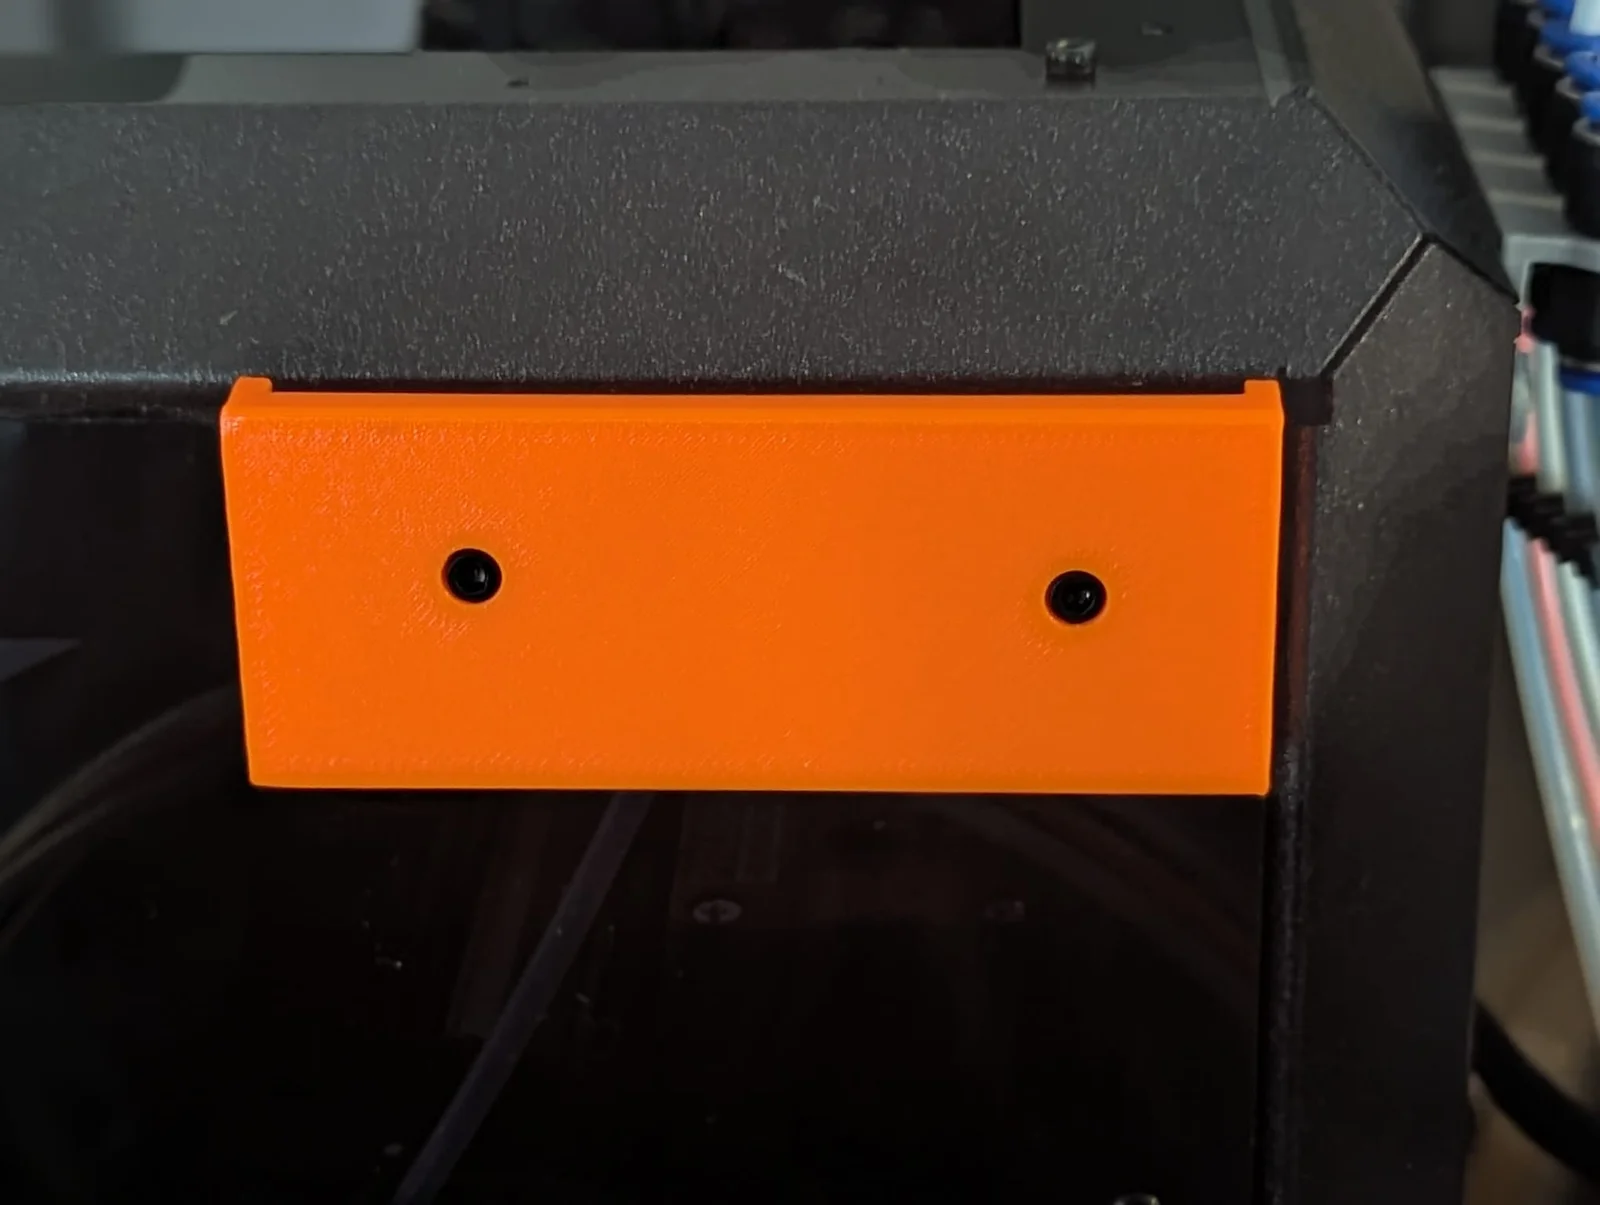
Monkey Bars are accessory frame bars for the Prusa CORE One/+. They bring back the classic external frame-bar concept from the MK3/S/+ and MK4/S printers, making it easier to reuse existing frame-mounted accessories or design new ones for the CORE One/+.
Two standard bar models are included:
Standard Right
Standard Left
Both models can be installed on the back, right, or left side of the CORE One/+.
This gives a total of six possible mounting positions.
For each bar:
2x M3x16 screws
Longer M3x18 screws also work.
1x M3nN nyloc nut
A standard M3n nut may also work, but I prefer nyloc nuts for parts installed inside the enclosure.
Before starting, lower the heatbed using the Move Axis option in the printer control menu. This gives you more room to work inside the enclosure.
It is also a good idea to protect the heatbed while installing the nut from inside the enclosure. I usually place an empty filament box over the bed, since it is close to the size of the heatbed. This helps reduce the risk of damage if a screw, nut, or tool is dropped during installation.
The screw holes in the printed bar are intentionally snug. The screws are meant to be threaded into the printed part, not simply dropped through the holes. This gives a tighter and cleaner installation.
Installation Steps
Remove the black screw from the round insert in the frame.
Remove the adjacent black rivet.
Pre-thread both screws into the Monkey Bar, but do not drive them all the way through.
Place the Monkey Bar on the outside of the panel. Align the small locating cylinder on the back of the bar with the round insert hole. This helps position the bar and makes the installation more stable.
Start with the screw that goes into the round insert hole. Since this hole is already threaded in the frame, it helps hold the bar in place while you install the second screw. Tighten it carefully, but do not force the thread.
Install the second screw through the rivet hole while holding the M3 nut from inside the enclosure. Use the small wrench included with the Prusa toolkit, or another suitable wrench.
Tighten both screws until the bar feels secure. Do not overtighten; the acrylic panel does not need excessive clamping force.
Nozzle: 0.4 mm
Layer height: 0.2 mm
Infill: 20% gyroid or grid
Material: PETG
Perimeters: 3 minimum
Supports: Not required
If you make this model, feel free to leave a comment or share your feedback. I always enjoy seeing how it fits into different setups and how it performs in real use.
Bytinx_1344834Likes1.2KDownloads6K

 Byprusa-researchLikes0Downloads782

 ByltloweLikes26Downloads123

 Bydet-manLikes0Downloads173

 Bygummiegecko8477Likes0Downloads164

 BydalleLikes0Downloads149

 Byarhi_585078Likes64Downloads545

 BykingnothingLikes0Downloads183

 BytimLikes0Downloads528

 ByPengLordLikes32Downloads113

 ByHanzo3dLikes155Downloads417

 BydarienLikes0Downloads1K