



Dụng cụ cạo bàn in / ron (Gasket Scraper) nhỏ gọn
 ByBrokentooth_designsLikes23Downloads412
Remix of Adapter công tắc nguồn - Core One/+ By FDMaker_
Build another version of this model.
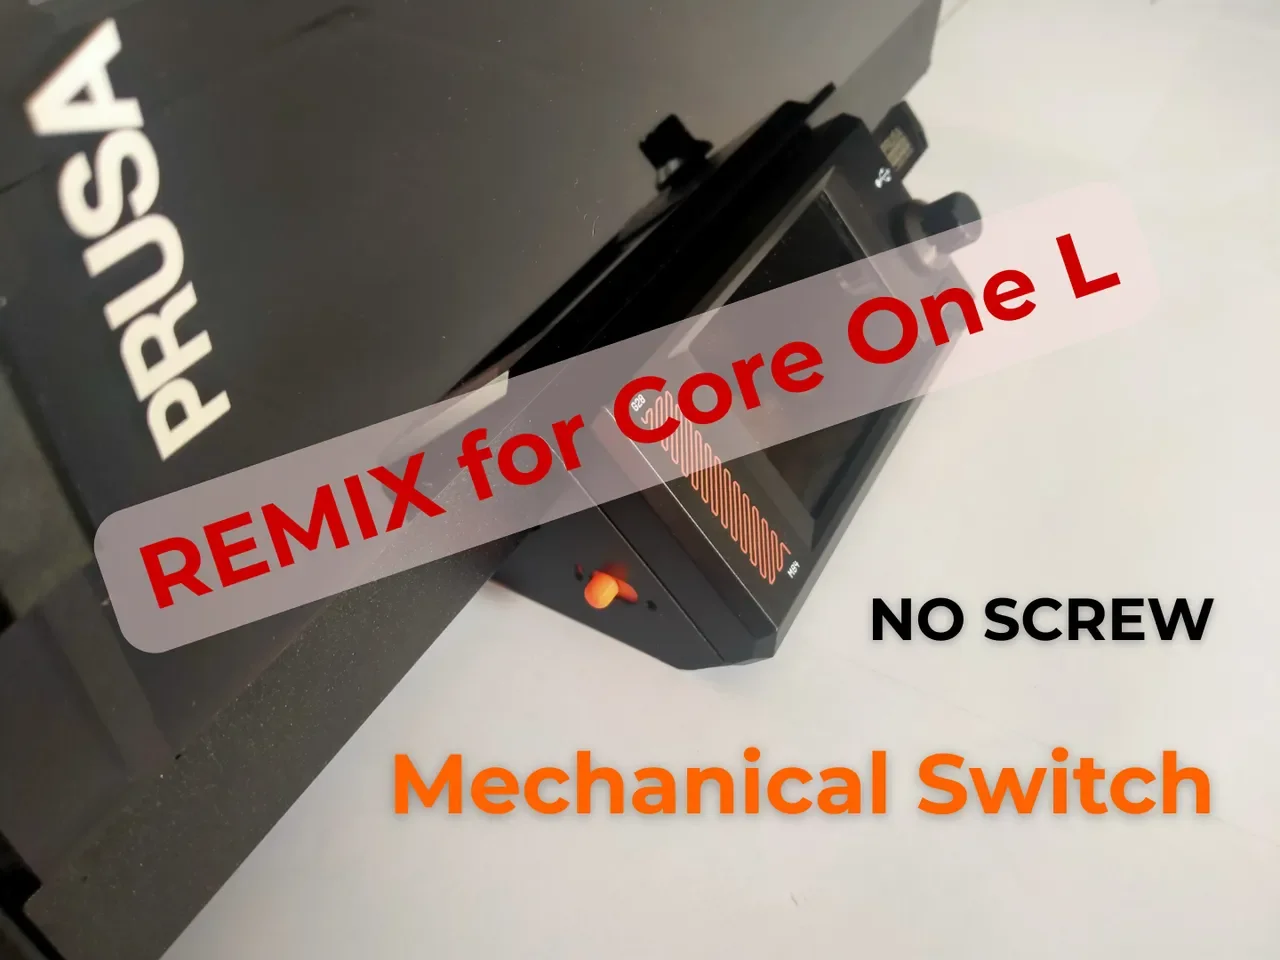
Hope it works for everyone with a Core One L as well!
Saw FDMaker original model and loved how clean and convenient it was to have the power switch at the front, and since no one made a remix yet i made my own with his help.
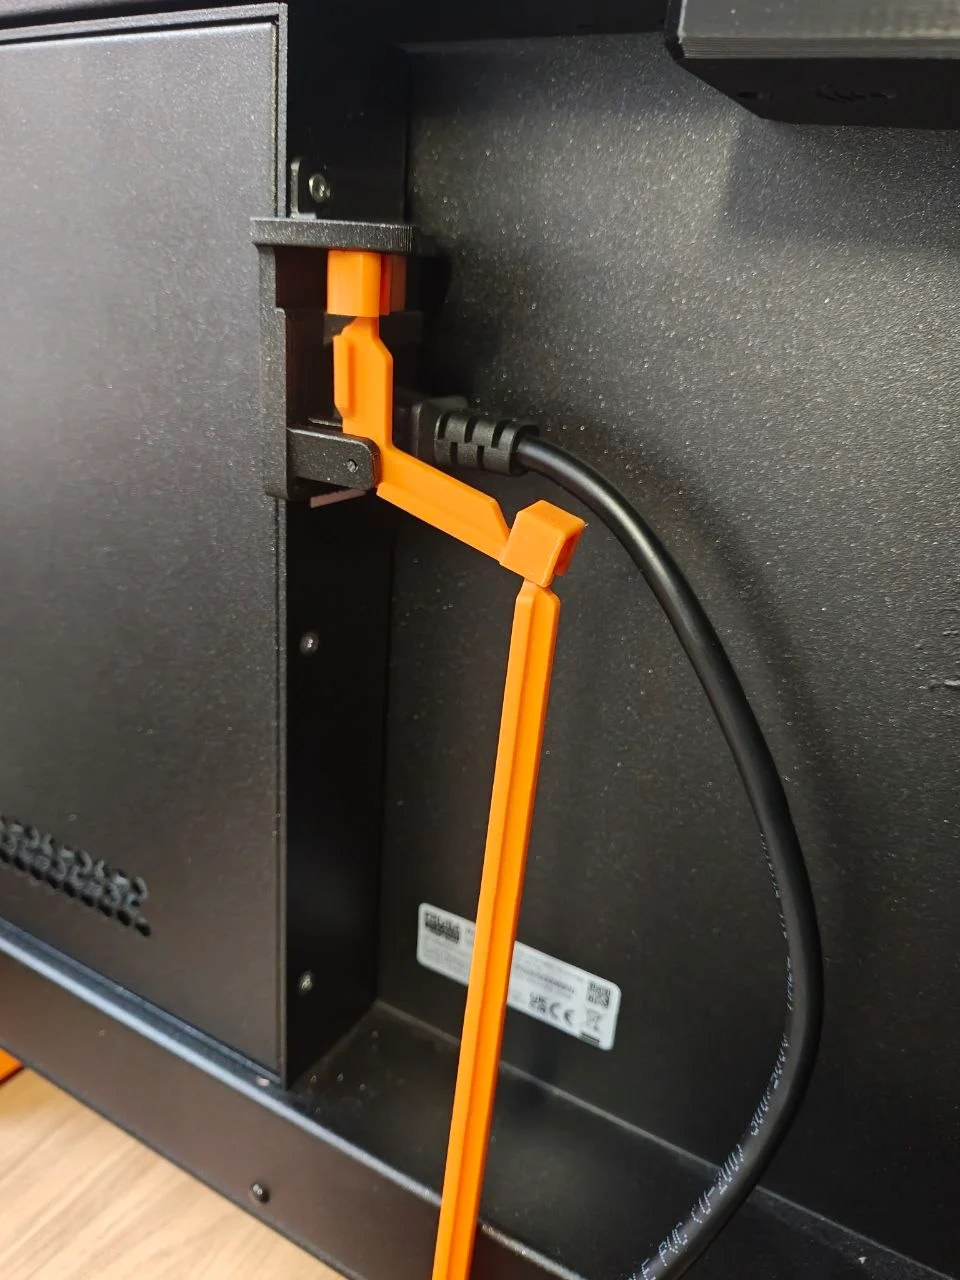
For the most part of the assembly it's the same as the original, where things change are at the printers switch cover, had to make a lever since the dimentions from the C1/+ and C1L are different and the switch it's much higher up had to re think how to make it work.
From the remote switch to the lever arm it just needed to make it larger, things got interesting at the back of the printer.
Tools needed are the same as the original, some cm of filament, pliers and a T10 screw (the one that comes with the printer works).
*Note: Remember to disconnect the printer from the power outlet before installation!
The lever switch bar once lifted up and the cover installed with the screw should look like this before fitting them together
And it's done! Test if the switch from the remote works as expected before connecting it to the power outlet and you should be good to go.
Added 2 3MF projects for parts printed in PLA (Black) and PETG (Orange), you can follow that to see how to print some pieces and supports (most of the original supports where left since those work really nice), do not use the same file to print since i have some modifications for the printer itself.
ByBrokentooth_designsLikes23Downloads412

 Bytinx_1344834Likes1.2KDownloads6K

 Byprusa-researchLikes0Downloads2.7K

 Bydet-manLikes0Downloads176

 Bygummiegecko8477Likes0Downloads168

 BydalleLikes0Downloads150

 BynasikLikes0Downloads122

 Byarhi_585078Likes64Downloads547

 BykingnothingLikes0Downloads188

 BytimLikes0Downloads531

 ByHanzo3dLikes155Downloads417

 BydarienLikes0Downloads1K