



Kẹp giữ sợi Filament
 Bytinx_1344834Likes1.2KDownloads6K
Build another version of this model.
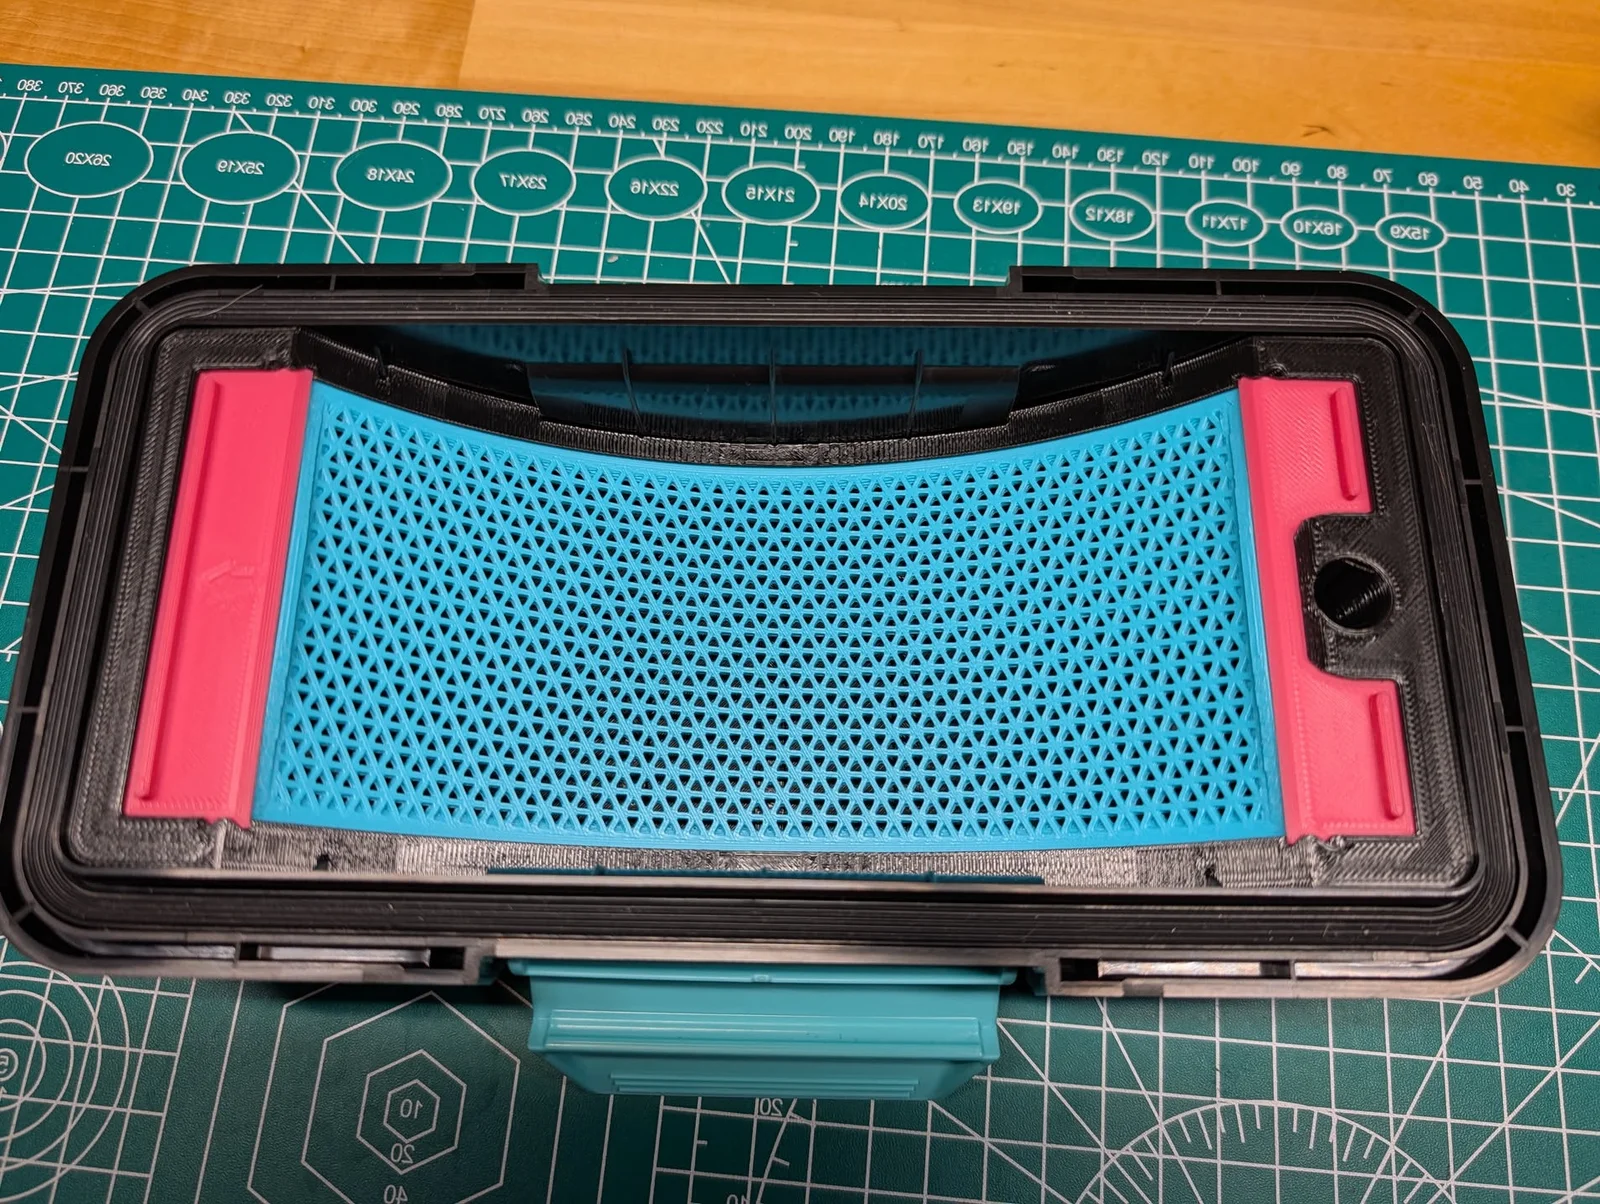
This desiccant container will friction fit directly into the lid of the Polymaker Polydryer dry boxes.
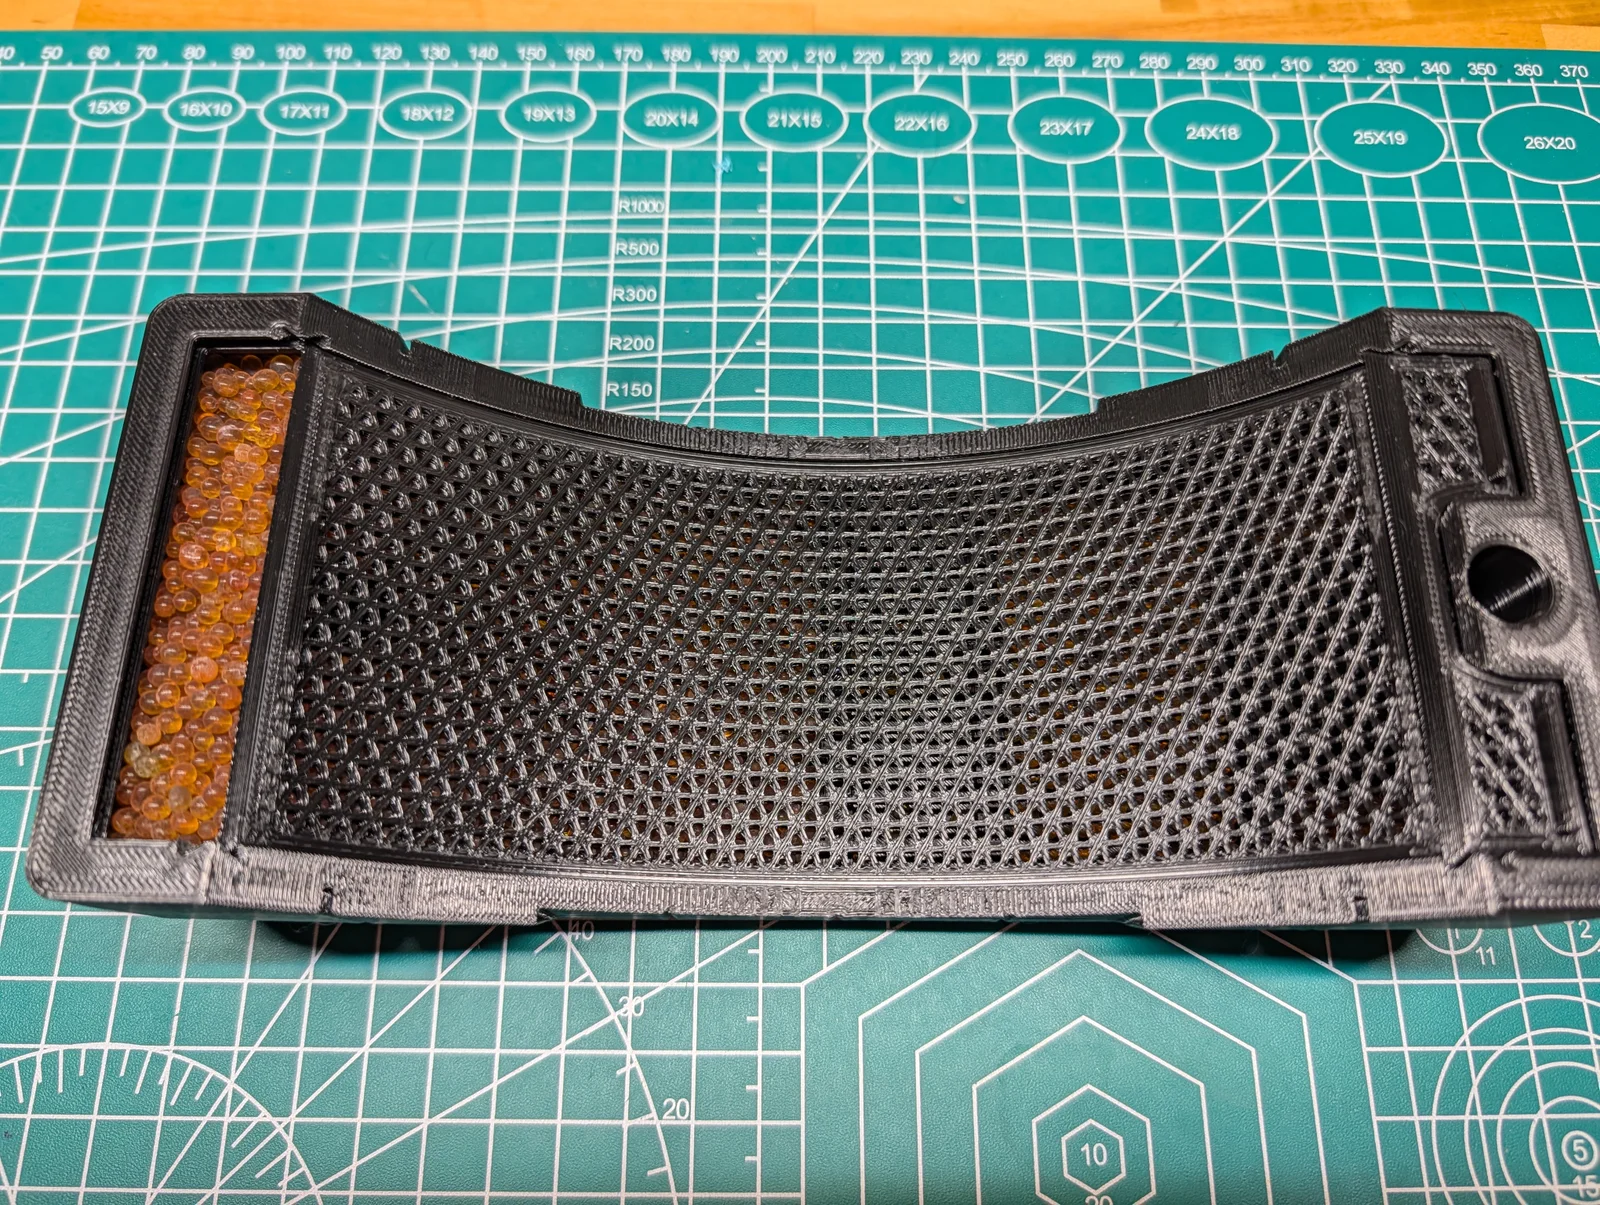
This lets you use significantly more desiccant than the stock containers that come with the Polydryer boxes. The small stock desiccant containers just don't really keep up with the humidity in the boxes very well.
Additionally, I've included some snap-in funnels and spouts to make it easy to fill and empty the container without ending up with a mess of silica beads everywhere.
Ensure you print this with filament that has similar or higher melting temperatures than the filament you will be drying.
This print requires in-slicer modifier blocks with per-object settings
Using the supplied .3MF file with Orca Slicer, these settings should be automatically loaded for you
If you're unable to use the .3MF or your slicer doesn't import the settings properly, you'll need to follow the directions below to manually apply the needed settings
Slide one of the inserts into the horizontal grooves until it clicks into place
Insert the grill into the arced groove, then push it through until it meets the insert from the previous step
Insert the funnel into the horizontal groove on the remaining side and pour in your desiccant
Replace the funnel with the normal insert
If your desiccant is too large to make it through the narrowest part of the arch, repeat the funnel process using the funnel designed for the other side.
Once filled, make sure the outlet hole in the lid is aligned with the pass-through hole in the container and push it firmly into place
If using the .3MF file these settings should be pre-applied and you can skip these steps.
In order to get the effect of an airflow grill, while staying optimized for quickest printing, this design utilizes modifier blocks and slicer settings. This allows you to quickly print the grill as a sparse infill pattern. Modelling the grill directly with tons of tiny holes makes the slicer attempt to put walls around all those tiny hole shapes which makes things slow and much more failure prone.
Import the shapes from the "Container Pieces" folder as you would for any typical piece
Go to Process > Objects
Right click a piece, in the context menu select: Add Modifier > Load
Your file browser will open, select the matching modifier block from the Modifiers folder, then click open
You should see the modifier block load in as a sub-object, centered on it's parent, and it'll display as slightly translucent
Select the modifier in the object list, then go to the Strength tab and make the following changes:
Top Shell Layers: 0
Bottom Shell Layers: 0
Sparse Infill Density: 65
Fill Multiline: 2
Sparse Infill pattern: Triangle
Repeat for the other parts that require modifiers
Bytinx_1344834Likes1.2KDownloads6K

 Byarhi_585078Likes64Downloads545

 ByWatchfulEye_1511114Likes17Downloads50

 Bygummiegecko8477Likes0Downloads167

 BydalleLikes0Downloads149

 ByMelvenXLikes0Downloads7

 ByHanzo3dLikes155Downloads417

 ByGeek5DLikes147Downloads490

 ByBrokentooth_designsLikes23Downloads412

 Bycrawler-3903250Likes0Downloads909

 By3DSourcererLikes48Downloads380

 Byartme-3dLikes0Downloads336