F3D
LED Riser cho BambuLabs X1C 1

11 images

Máy In 3D

LED Riser cho BambuLabs X1C

By SplinterPrinter

Downloads
296
Likes
44
Views
2,291

Files 3 192.3 KB

  • Rahmen_print_1777811677.3mf3MF · 138.6 KB
  • Rahmen_1777811678.3mf3MF · 53.4 KB
  • OnShape_CAD_model_1777811680.txtTXT · 372 B

Make a variant with AI

Build another version of this model.

Open Studio

Description

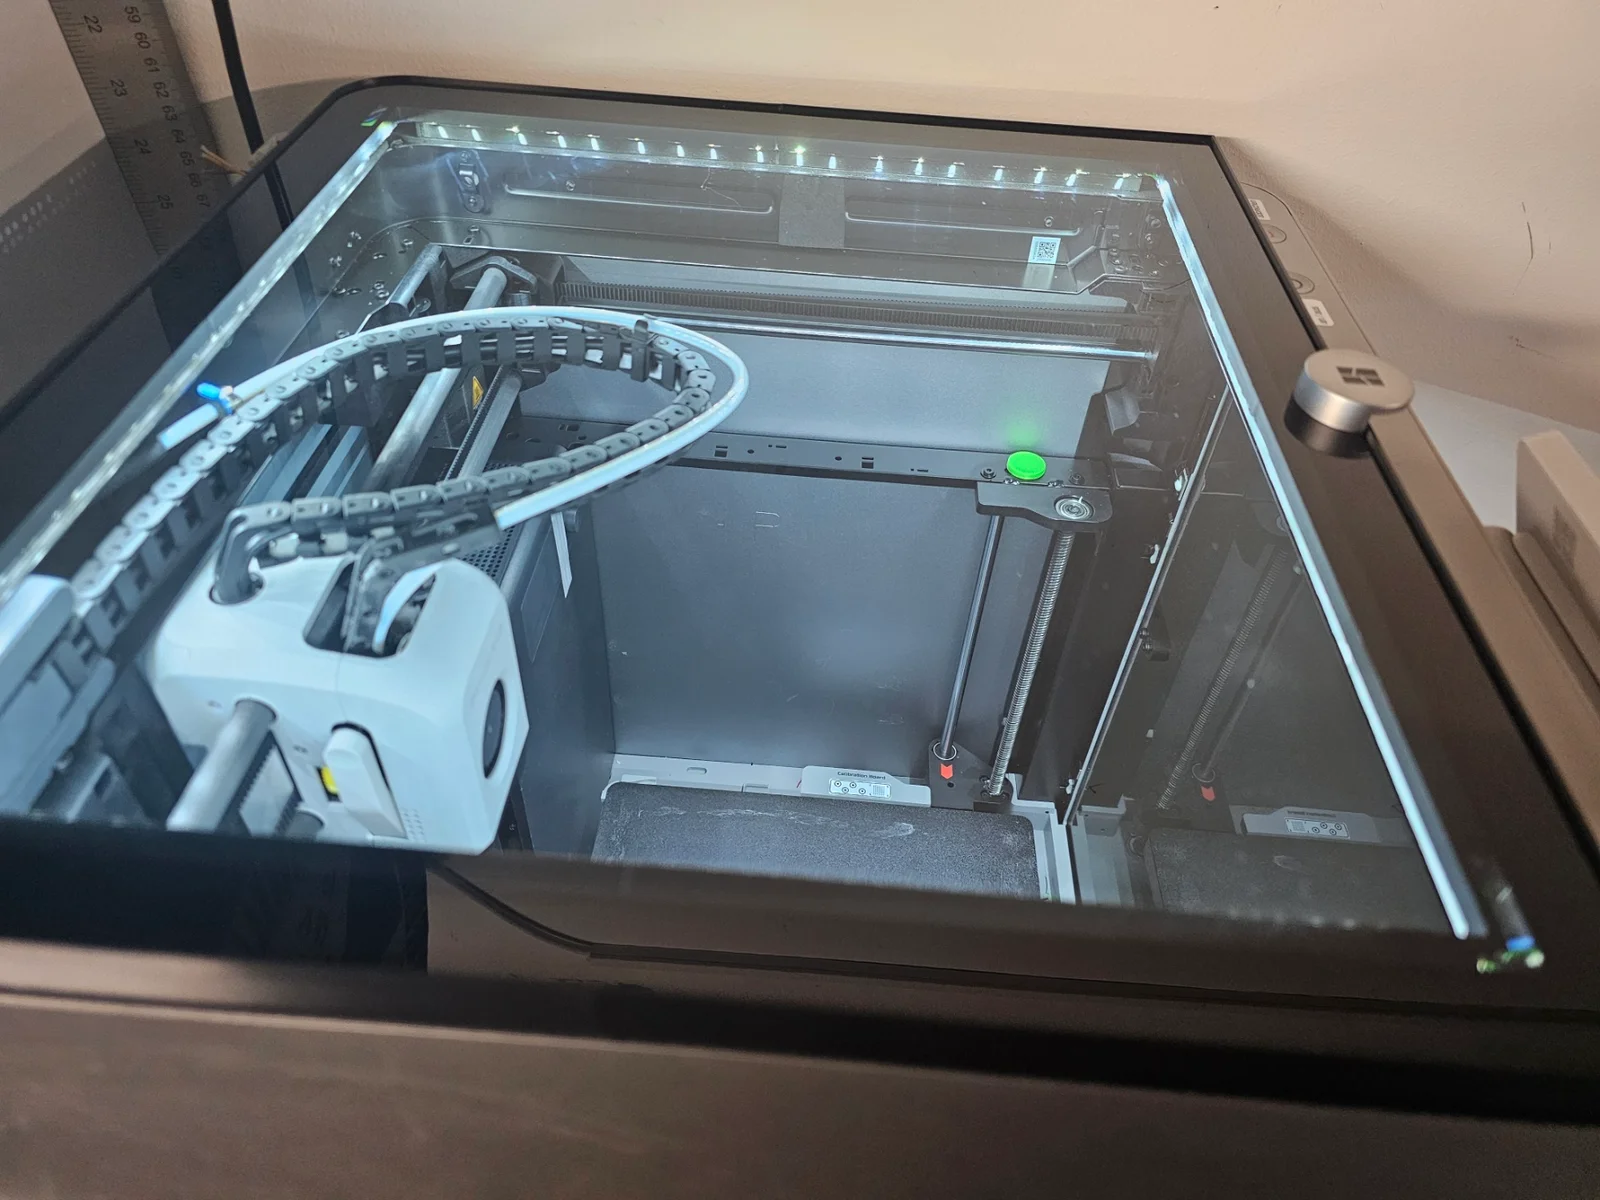
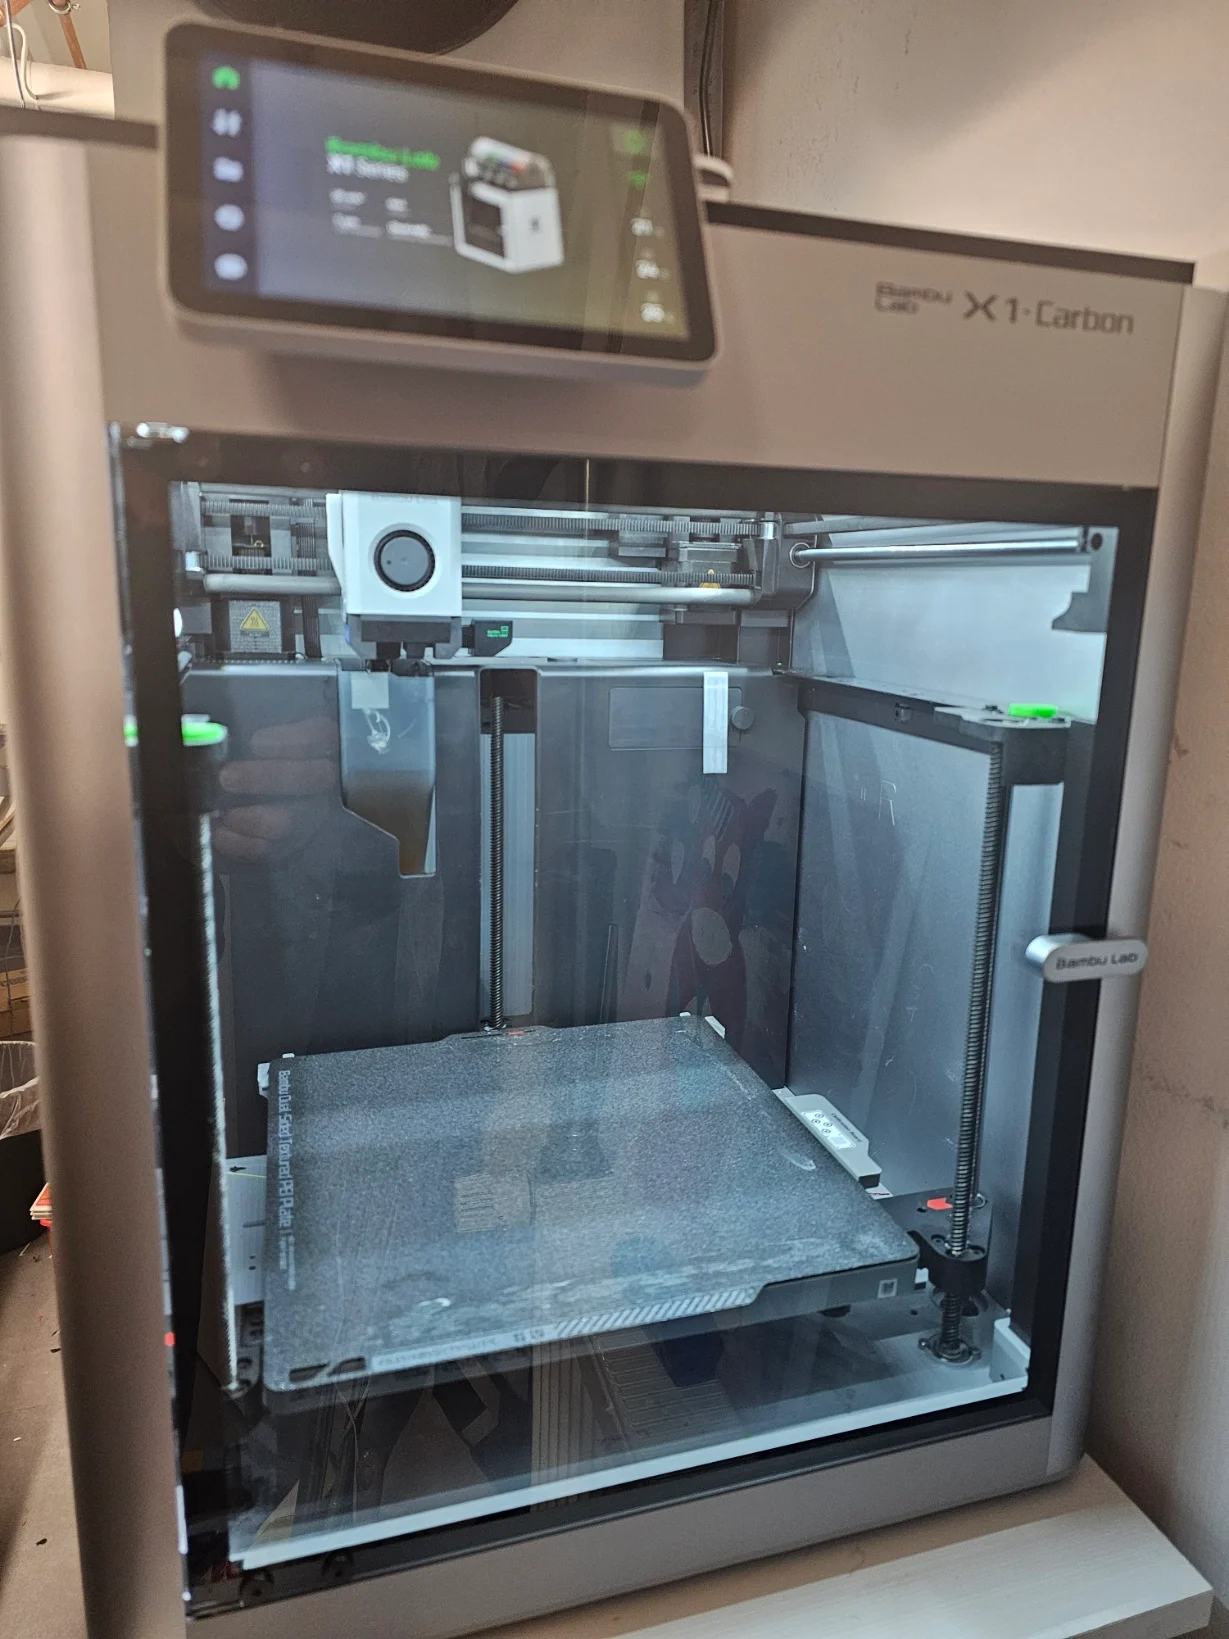
There are already a lot of other LED-Riser frames for the BambuLabs X1C out there. So here is what makes my version special:

  • gives additional headroom for the bowden hose so filament will hopefully never again break at the extruder when pulled back
  • it is for 10 mm LED strips
  • you need 4 pieces of 300 mm long LED strips
  • no bending of the led strips. The corners are connected with cables
  • there is room in the corners to hide the cables
  • there are grooves to slide the led strips in, so no glue is needed. These strips will never fall off.
  • connection of the four frame parts is done with kind of an X-dowel. So if your printer/material is different than mine you just have to make the dowel fit. No need to reprint the whole frame.
  • the leds are mounted in a downward angle so it is more of a indirect lighting
  • optimized for printing. While support is still needed it is very easily  removable.
  • 2 mm foam rubber can be added to give a soft cushion for the top glas
  • I have published the whole model on OnShape, so you can make your own modifications
  • the BLLED-controller connects wireless to your printer and shows colors according to the printers status

You will need:

Printing instructions

Use manual support
with strong tree type like so:

paint manually support on this smal lip all around

after slicing it should look something like this:

I used brim to make sure all parts stayed flat while printing.

Putting all together

  1. Two of the frame parts have an indentation on top. This is the front. Use the short plug to connect them. The top glas does have a handle with screws in this place.
  2. Connect the other 2 frame parts with the 3 other dowels
  3. Check, if it fits on your printer and if the glas fits on top of it
  4. Cut your led strips into 4 pieces of each 300 mm. If you bought the correct 60 LED/meter version, then you should be able to cut every 100 mm. 
  5. Solder small cable strands of around 5 cm length to one end of each LED strip. 
  6. Slide the LED strips into the grooves. 
  7. Connect the strips at the corners with the cable strands to form a loop.
  8. Tuck away the excess cables into the corners.
  9. Glue the covers on the corner cutouts of the frame.
  10. Cut the foam rubber sheet into strips accordingly and glue them on top of the riser.
  11. Setup and connect your BLLED controller to the led strip. Give power via the POWER TAP.
  12. Let there be light!

Please give me a rating in the comments or aks if my instructions are unclear.

Read more Show less

Print spec

Formats
3mftxt
Model files
3
Total size
192.3 KB
Largest file
138.6 KB

0 comments

See all