



Kẹp giữ gậy golf cho túi đựng gậy
 ByCubaLibreee_2869176Likes125Downloads1K
Build another version of this model.
2024-05-20 update: see improved model here
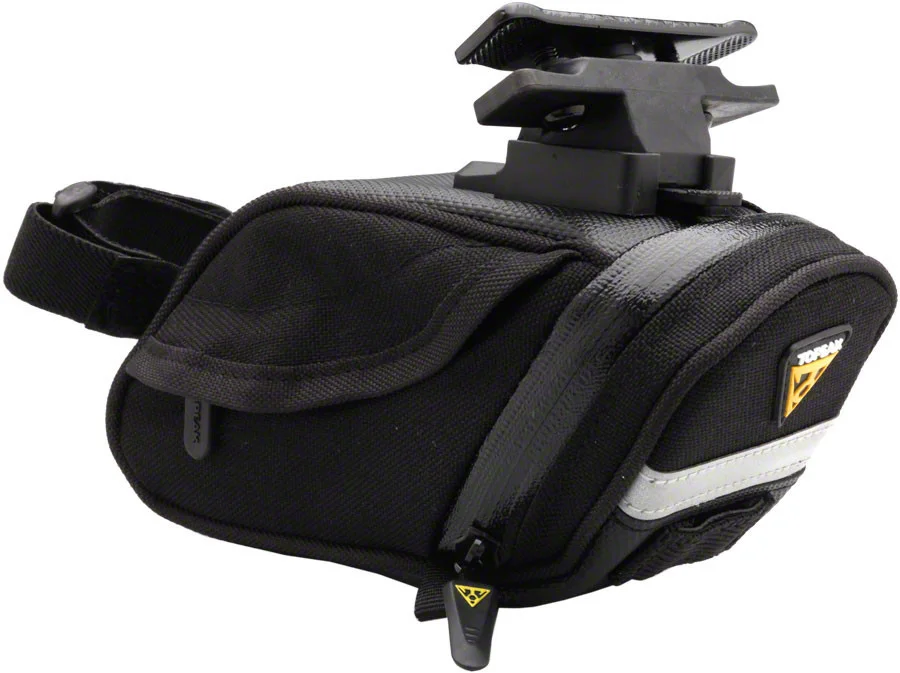
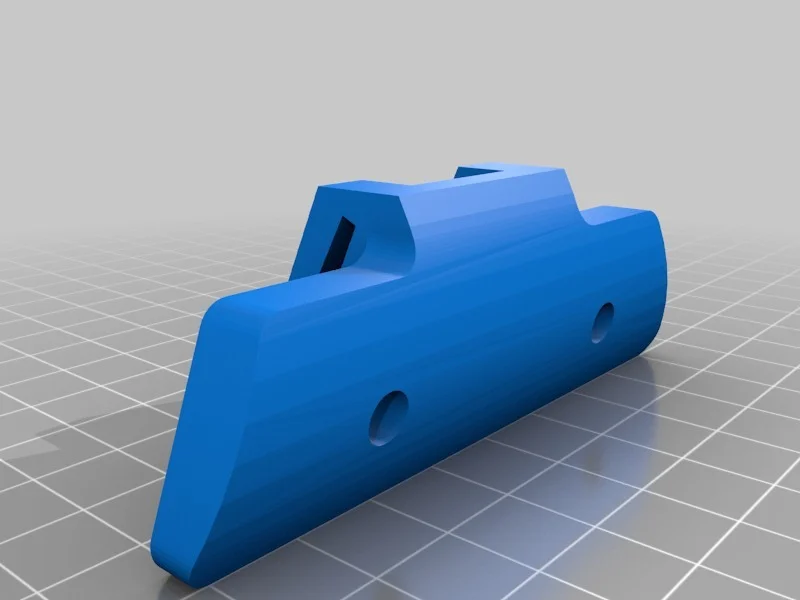
Relatively permanent mount on the rear saddle rails for Topeak QuickClick compatible saddle bags.
I made two versions: one flat (original design), & one round so you can slide the whole mount along the rails to find the ideal position.
I also uploaded the bare Base.sldprt in case anyone wants to customize the 2-bolt plate extrusion.
Critical dimensions:
Scaled these by 115%.
Counterbored holes for the M5 bolts, only half the original depth of 4 mm, since thickness is critical here, to prevent the pieces from breaking under the compression by the bolts. Used only to help locate the bolts really, but it also lets standard 1/4" 5 mm hex bits reach it without hitting the rail body first.
I decided not to add the locating stub on the original part (almost impossible to see in the image below - it's between the two bolts), since the idea is that you print a bunch of these & leave them on your bike(s). So you can suffer the slightly-more-cumbersome one-time installation. This saves you from printing more supports.
I am aware there are at least 2 variants of the mount out there - the flat styled one shown immediately below, & the round styled one in the Compatibility section. I only own the flat styled one, so that's the one I used to model the part in SW. I think they are both called QuickClick. I believe I may have the older version, & that they've been replaced by the round style (see further down).
I can't seem to find the flat style on the Topeak website (21 Feb 17) at all.

Source style.
The original hardware included:
You should add:
You may need longer bolts depending on your saddle rail diameter. I would go longer regardless.
Print either the FLAT pieces or the ROUND pieces. You'll need the base & the plate. The locknuts set inside the plate. Wide wing tips go up.
Your clip (on the bag) should look like this.

I am not positive, but I think bags with this style of mount will also work.
24 Feb 17: Just mounted one. Almost everything was perfect the first time. The slot was perfect, but the wall thickness where the clip actually snaps in place was a little too thick. I used a knife to thin it down a little bit. I would also recommend manually pushing the snapping bit (on the bag) up to further secure it even if you hear the click. I printed both pieces so they didn't need any supports. I needed longer-than-16 mm bolts. Exacerbated by the orientation, there was enough warping that one of the hex insets was too big. I wrapped the locknut in electrical tape & wound the bolt through until it was set in the plate. Tightened fairly tight, with no issue.
Category: Replacement Parts
ByCubaLibreee_2869176Likes125Downloads1K

 ByXDr4g0nXLikes198Downloads831

 By3DGearSupplyLikes23Downloads381

 ByMFTuningLikes153Downloads1.8K

 By3d-finesseLikes0Downloads145

 ByMaverick0197Likes161Downloads1.3K

 ByGerhard_48223Likes240Downloads471

 ByBillRichardsLikes32Downloads390

 ByKorriLikes60Downloads619

 ByTarzLikes28Downloads583

 ByMachaki_1134160Likes36Downloads371

 ByMauroVanDerG_4110408Likes378Downloads2.7K