



Filament Spool Holder #003 (Simply Design)
 BywendigoLikes0Downloads122
Build another version of this model.
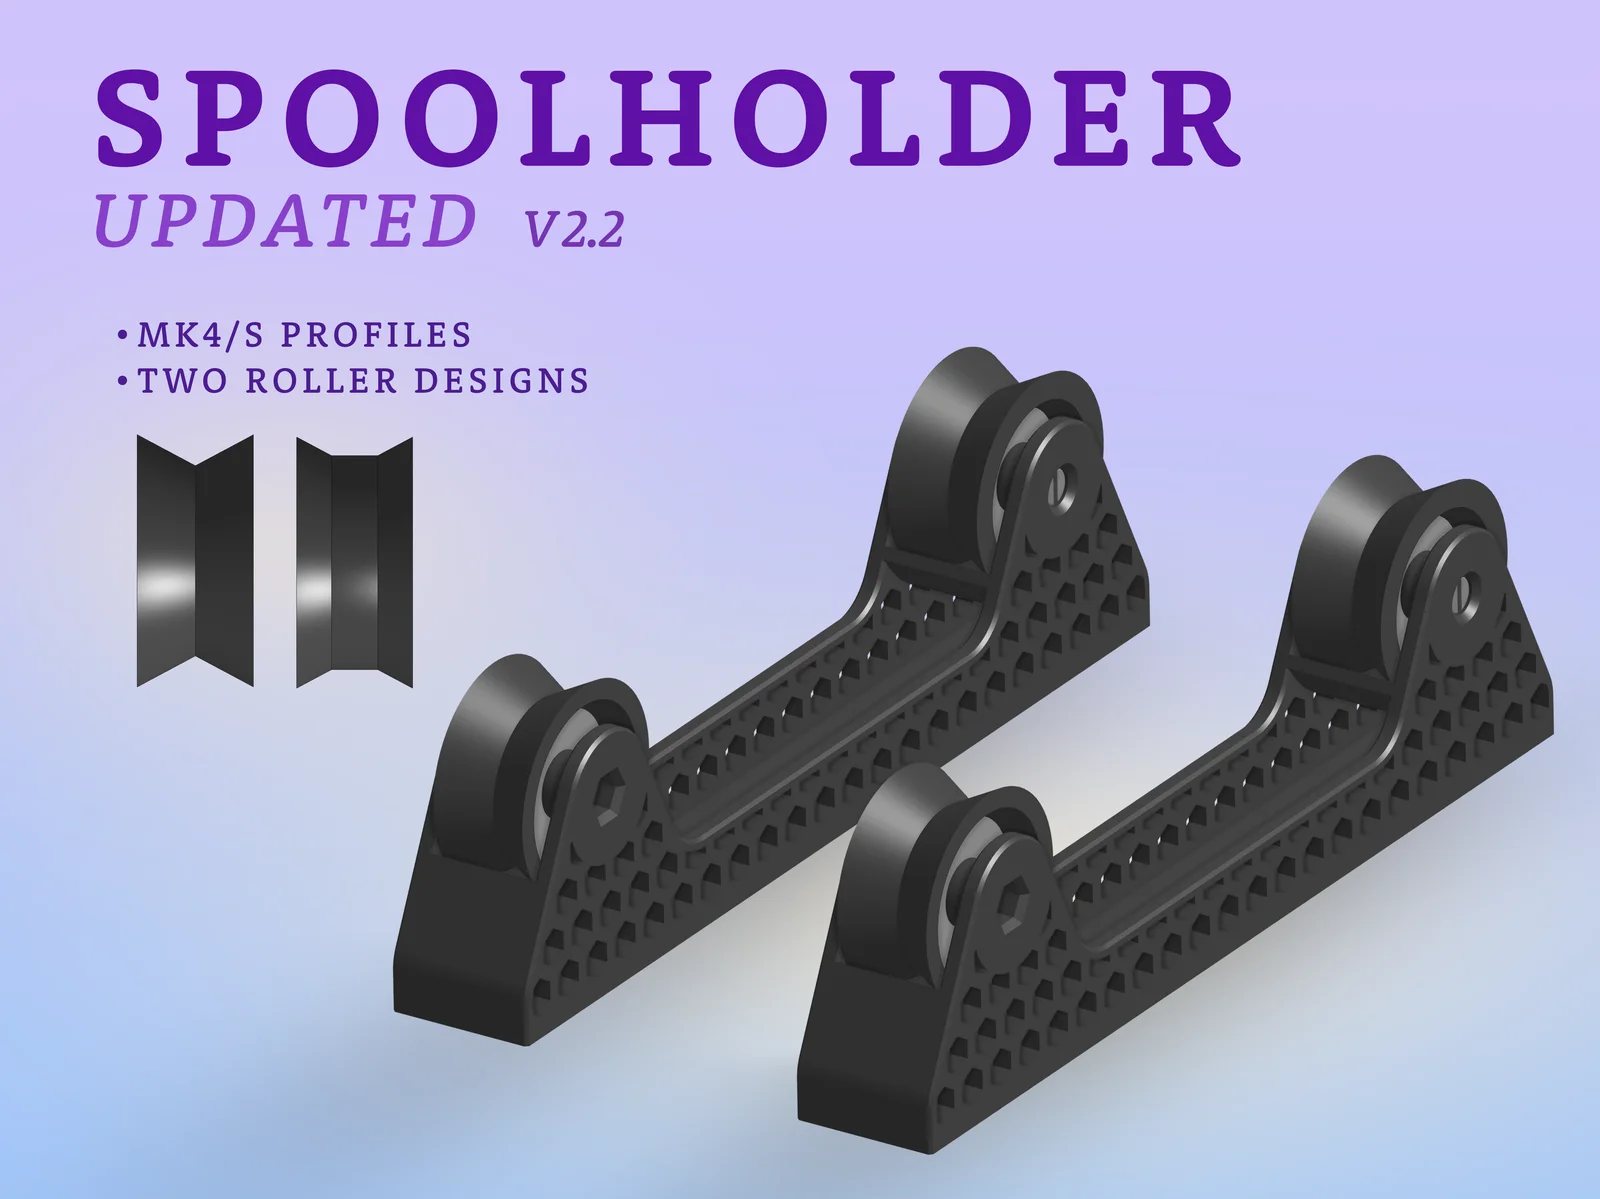
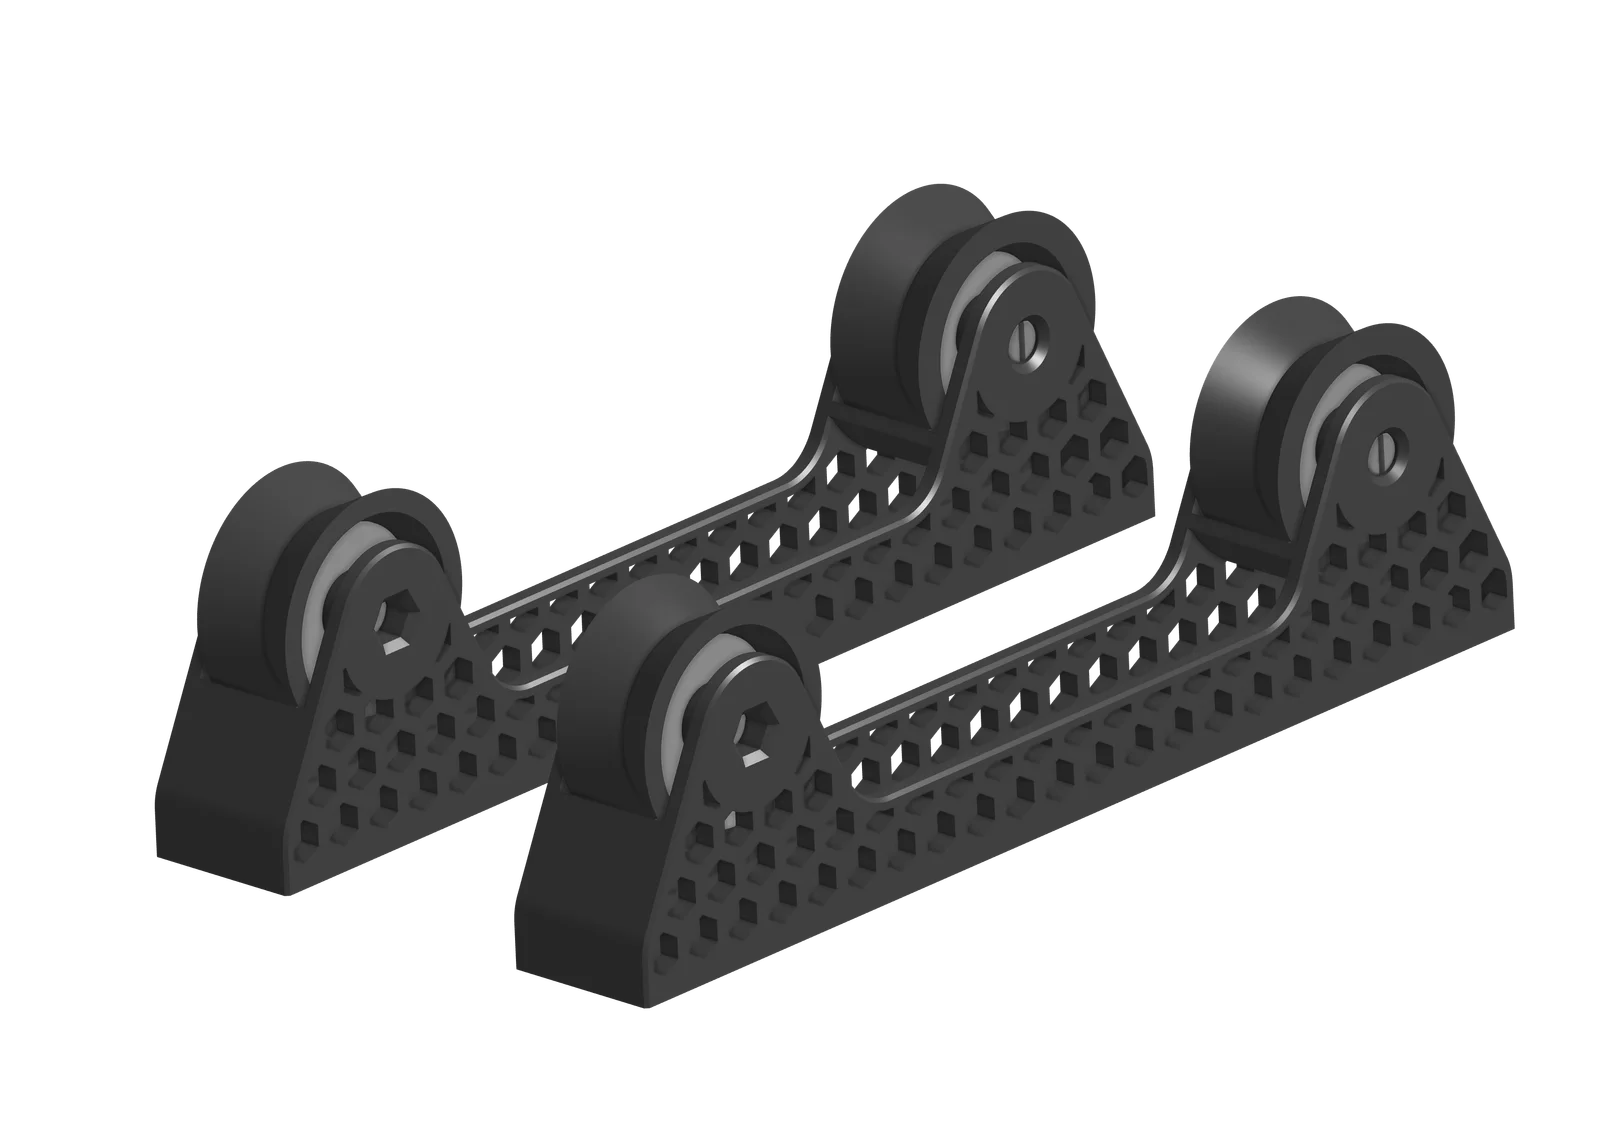
This spoolholder is very efficient and easy to use and print. One side uses only two different 3D-files printed twice, two 608 bearings and two M3 bolts and nuts. The spoolholder is very sturdy, it keeps the bearings in place and aligned and the shape of the rollers helps to center the spoolholder during motion.
I prefer to make the spoolholder a bit more beefy and heavy to make sure it holds up and stays in place.
Layerhight: 0.2 mm
Perimeters: 5
Top: 5
Bottom 5
Infill: 40% Gyroid
4x “part 1” i.e the sides
4x “part 2” i.e the rollers
4x 608 ball bearings
4x M3x15 Screws
4x M3 Nuts
When all the parts are printed you are ready to assemble.
BywendigoLikes0Downloads122

 Bytinx_1344834Likes1.2KDownloads6K

 Byarhi_585078Likes64Downloads544

 Byprusa-researchLikes0Downloads780

 ByBrokentooth_designsLikes23Downloads411

 ByAlex_3996727Likes29Downloads68

 BynozeLikes0Downloads133

 ByArtim_538569Likes2Downloads12

 BydalleLikes0Downloads147

 ByHanzo3dLikes155Downloads416

 ByGeek5DLikes147Downloads489

 ByLeonJiang_576296Likes0Downloads5