



Ốp lưng cho Samsung S22 Ultra
 ByckthLikes148Downloads2.4K
Build another version of this model.
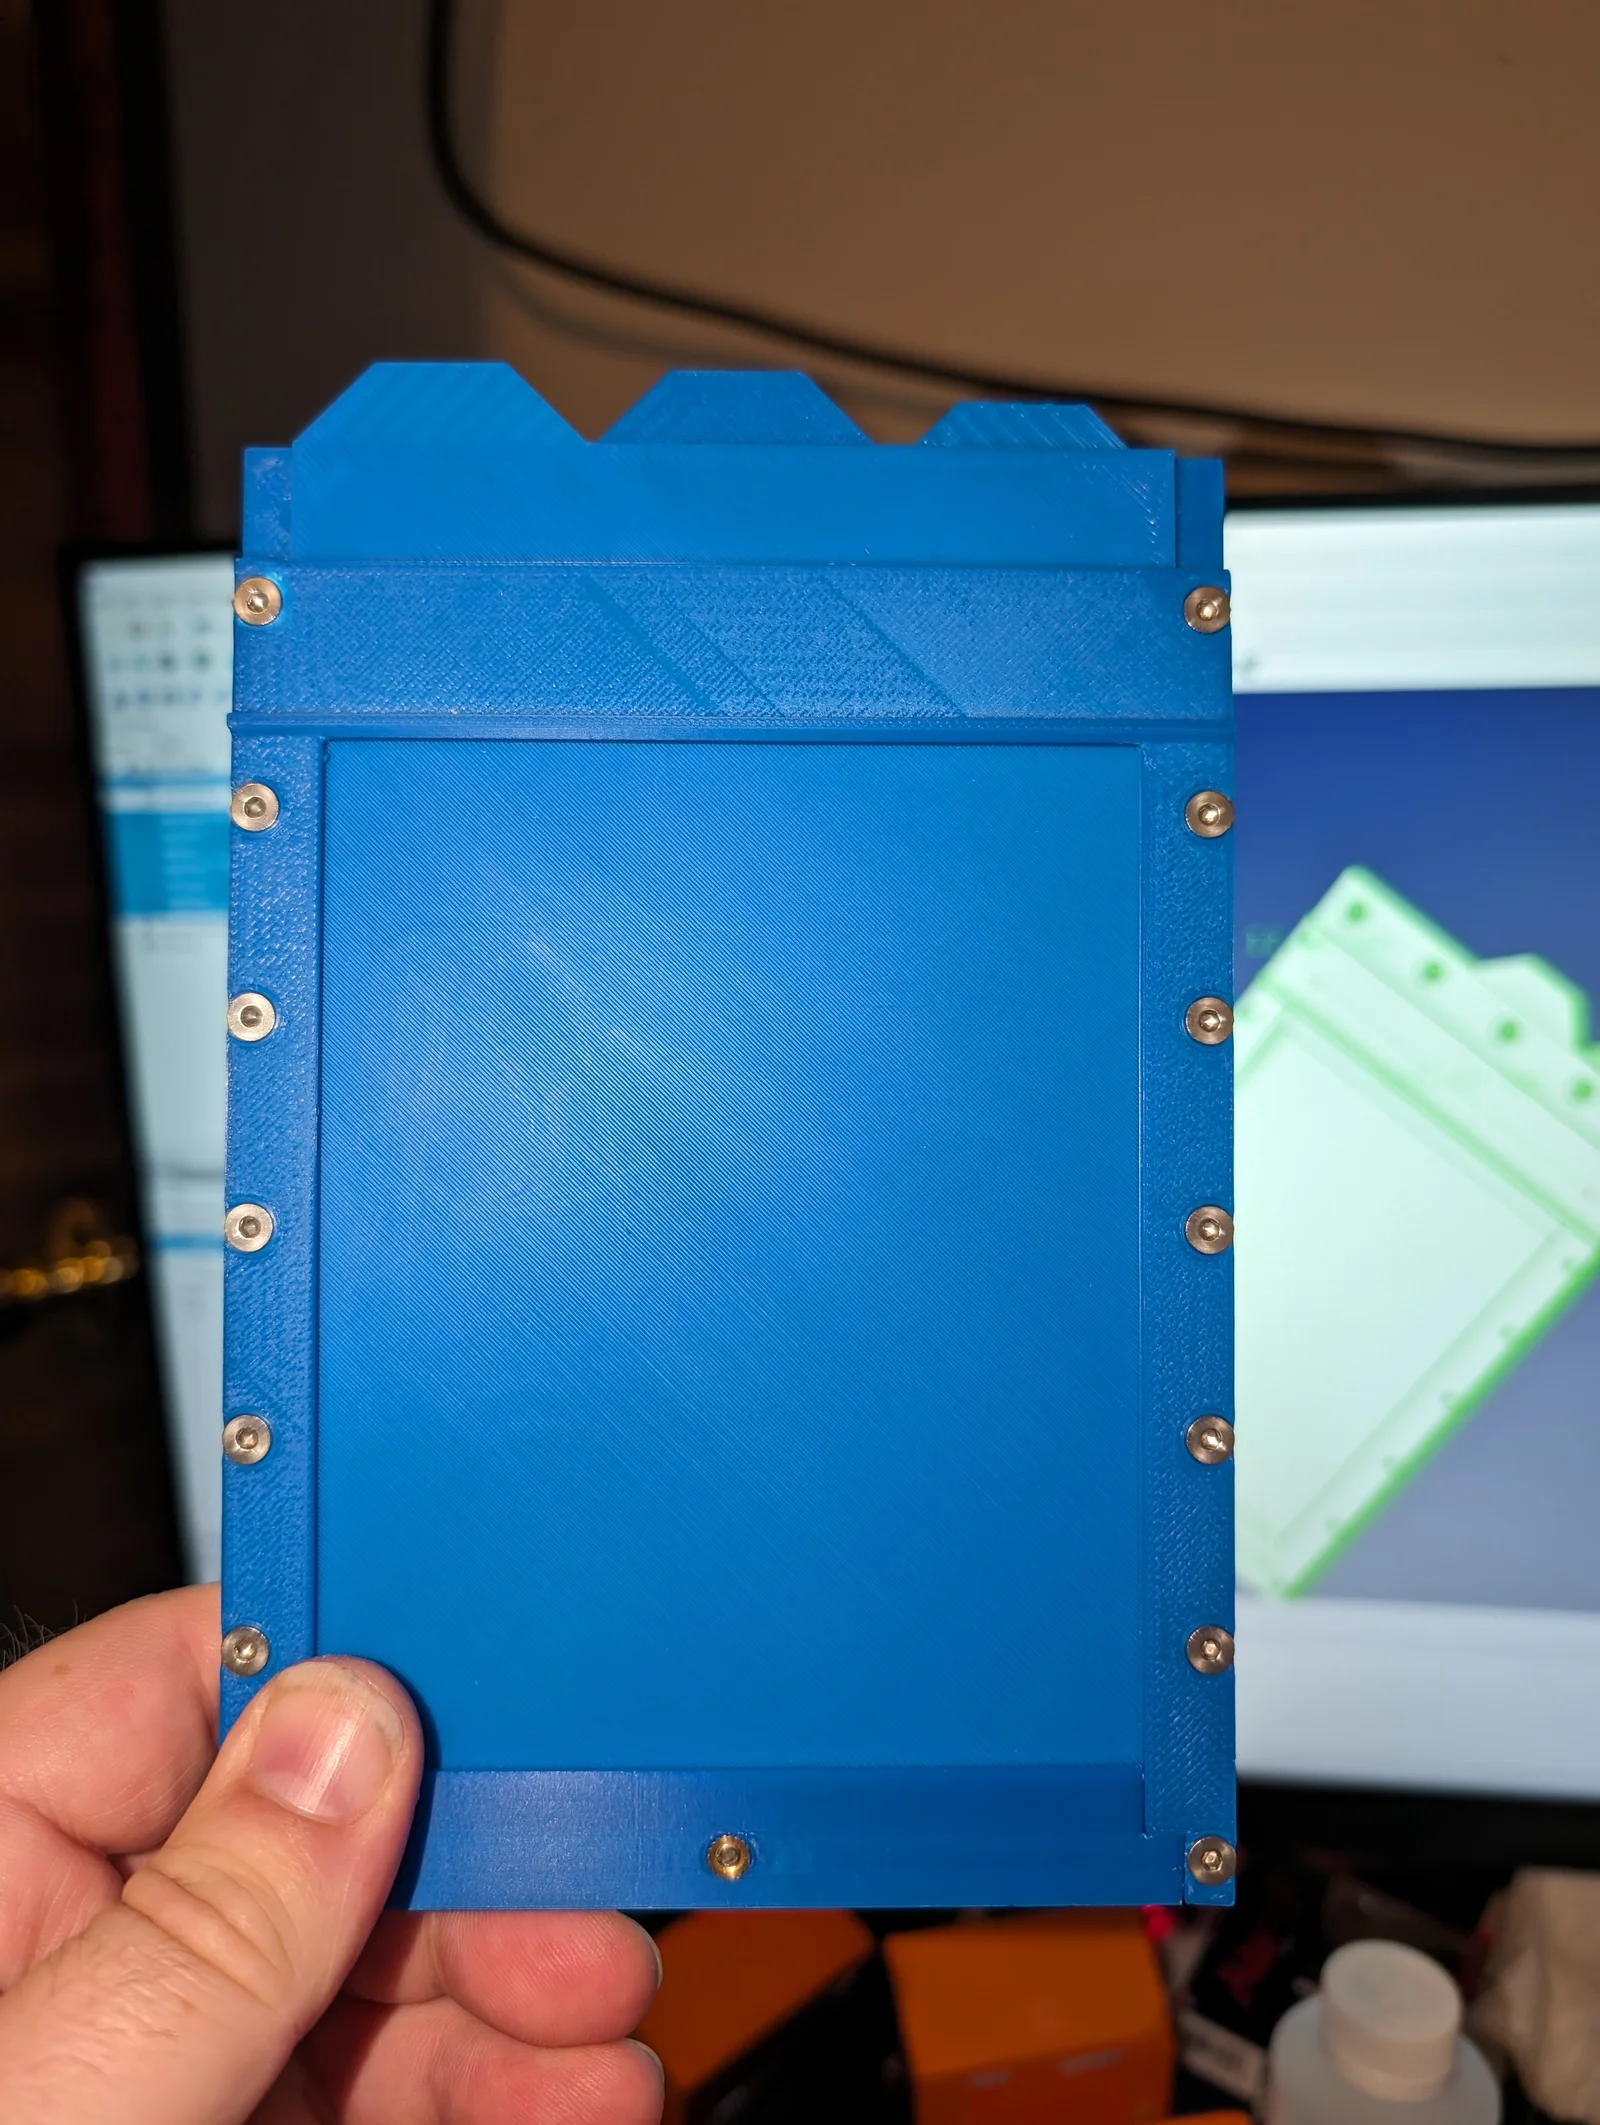
This is a new design of a 4x5 film holder with a more convincing construction. I've printed this with ABS and used a layer of Black 4.0 between each layer as a combination glue and light trap.
This is designed to be printed with a 0.3mm first layer and 0.15mm layers. If you're confident enough to print a 0.15mm first layer, that would work too, but I wasn't willing to risk my bed for it. Print with the most opaque black you have, and paint each piece with Black 4.0 paint. Be sure the flat side of each part is down since I've uploaded the pieces without fixing the orientation first (sorry).
Do not attempt to print the combined model “My Film Holder.stl”.
You will need to print four copies of Dark Slide Spacer, and two copies of Darkslide.
After printing the film plates, it's a great idea to use small files and file a unique series of notches into each film plate so you can identify which side of which holder an exposure came from. I do this on both sides near the handle, but anywhere that doesn't make it too hard to load the film will work.
To assemble, first ream out all the holes except the ones the screws end in (Film Plate, and Base Plate - Threads). The M3 screws should rotate freely in the hole, but be a snug fit. Failure to do this can result in the threads catching in earlier layers and leaving small gaps between the layers.
Next, build the light trap, find a suitable piece of plastic or brass and cut a 108 x 24mm rectangle out of it and fold tightly along the long axis. Slide it through the slot in the Septum and ensure that it doesn't quite reach the end of a Film Plate placed on top of it. On the inside of the fold, place a thin foam to act as a spring, and cover the entire outside in adhesive felt or velvet.
Next, assemble the full stack on the screws. Start with Base Plate - Countersunk, and paint the area that will be covered by the next layer with a thin coating of Black 4.0. Next add two Dark Slide Spacers with the angled corner toward the darkslide slot. Again, add a thin layer of Black 4.0, then add the Film Plate piece with the larger shallow rectangle away from the rest of the stack (ie: toward the next piece). Continue in this manner with the Septum, Film Plate Countersunk, and two more Dark Slide Spacers. Once you're at the Base Plate - Threads, flip the stack over and align the screws with the holes and starting with the middle hole on each side, thread the screws about halfway in in a spiral pattern working out, cutting threads in the Base Plate - Threads plate. On a second pass snug them up until the screw head is flush with the plastic. Be very careful with the bits on the thin end as over-tightening will break the base plate.
Allow the Black 4.0 to dry completely, then add a layer to the outer edges.
Now, screw in the five M3x6 flathead screws to the handle. It's not critical that these be flush, so just snug them.
Finally, sand or file down the ends of the Film Cap, and ensure it fits snugly on the end. You need to be able to install and remove this cap in the dark, so keep working at this until you get it perfect. You may also need to file the inside of the septum slot depending on how accurate your print is.
Now install a “Voron Standard” headset in the Film Cap.
Slide the Film Cap on, and secure with the last M3x12 screws.
Before placing the holder in the dark bag or turning out the lights, be absolutely sure you remove the safety screw from the Film Cap that holds it in place.
Once in the dark, slide out the darkslides, remove the film cap, and you should be able to slide the film in between the septum and the film plate. I generally start with the side opposite the notches and slip it under the bar, then rotate the film to get the whole thing in place. Slide it in the rest of the way, making sure it goes under the flap at the handle end.
Once both sides are filled, slip the Film Cap back on and install the darkslides. One side of the tab is textured so you can install it in the right orientation.
With the lights back on, re-install the film cap screw, tightening enough that it's snug and flush with the surface.
As of this writing, I don't have bellows for my camera so haven't loaded any film to test for light leaks. I have assembled multiple copies of the design though, and testing with a flashlight looks promising.
Assembling these is a lot of work, and honestly, you're better served buying used holders on eBay. The only real reason to do this is for “as 3D printed as possible”.
The photo has an old darkslide design that was too easy to accidentally grab with the handle tab and accidentally expose film. The new darkslide does not extend past the base plate except for the tab.
If I end up wanting a lock for the dark slides, I plan on just adding a notch and a tooth so the slides need to be flexed to remove them.
ByckthLikes148Downloads2.4K

 ByvideograndpaLikes36Downloads286

 By3dwakeLikes0Downloads359

 ByNK01_3850118Likes13Downloads215

 BynasikLikes0Downloads275

 ByBaGooNLikes64Downloads142


 ByjoranLikes0Downloads213

 ByJaronLikes310Downloads1K

 Byw3rN42Likes127Downloads937

 ByMandicReallyLikes0Downloads137

 ByTomDDLikes89Downloads577