
F3D
Ngàm camera Pan & Tilt (Pan & Tilt Camera Mount) cho tripod 1

8 images

Dụng Cụ Tiện Ích

Ngàm camera Pan & Tilt (Pan & Tilt Camera Mount) cho tripod

By Rod_21807

Downloads
316
Likes
70
Views
2,146

Files 17 9.3 MB

  • Pan_Tilt_1_of_2_1776802915.3mf3MF · 472 KB
  • Pan_Tilt_2_of_2_1776802916.3mf3MF · 355 KB
  • Pan_Tilt_Camera_Mount_v8_1776802917.stepSTEP · 4.7 MB
  • Yoke_1776802918.stlSTL · 726.4 KB

Make a variant with AI

Build another version of this model.

Open Studio

Description

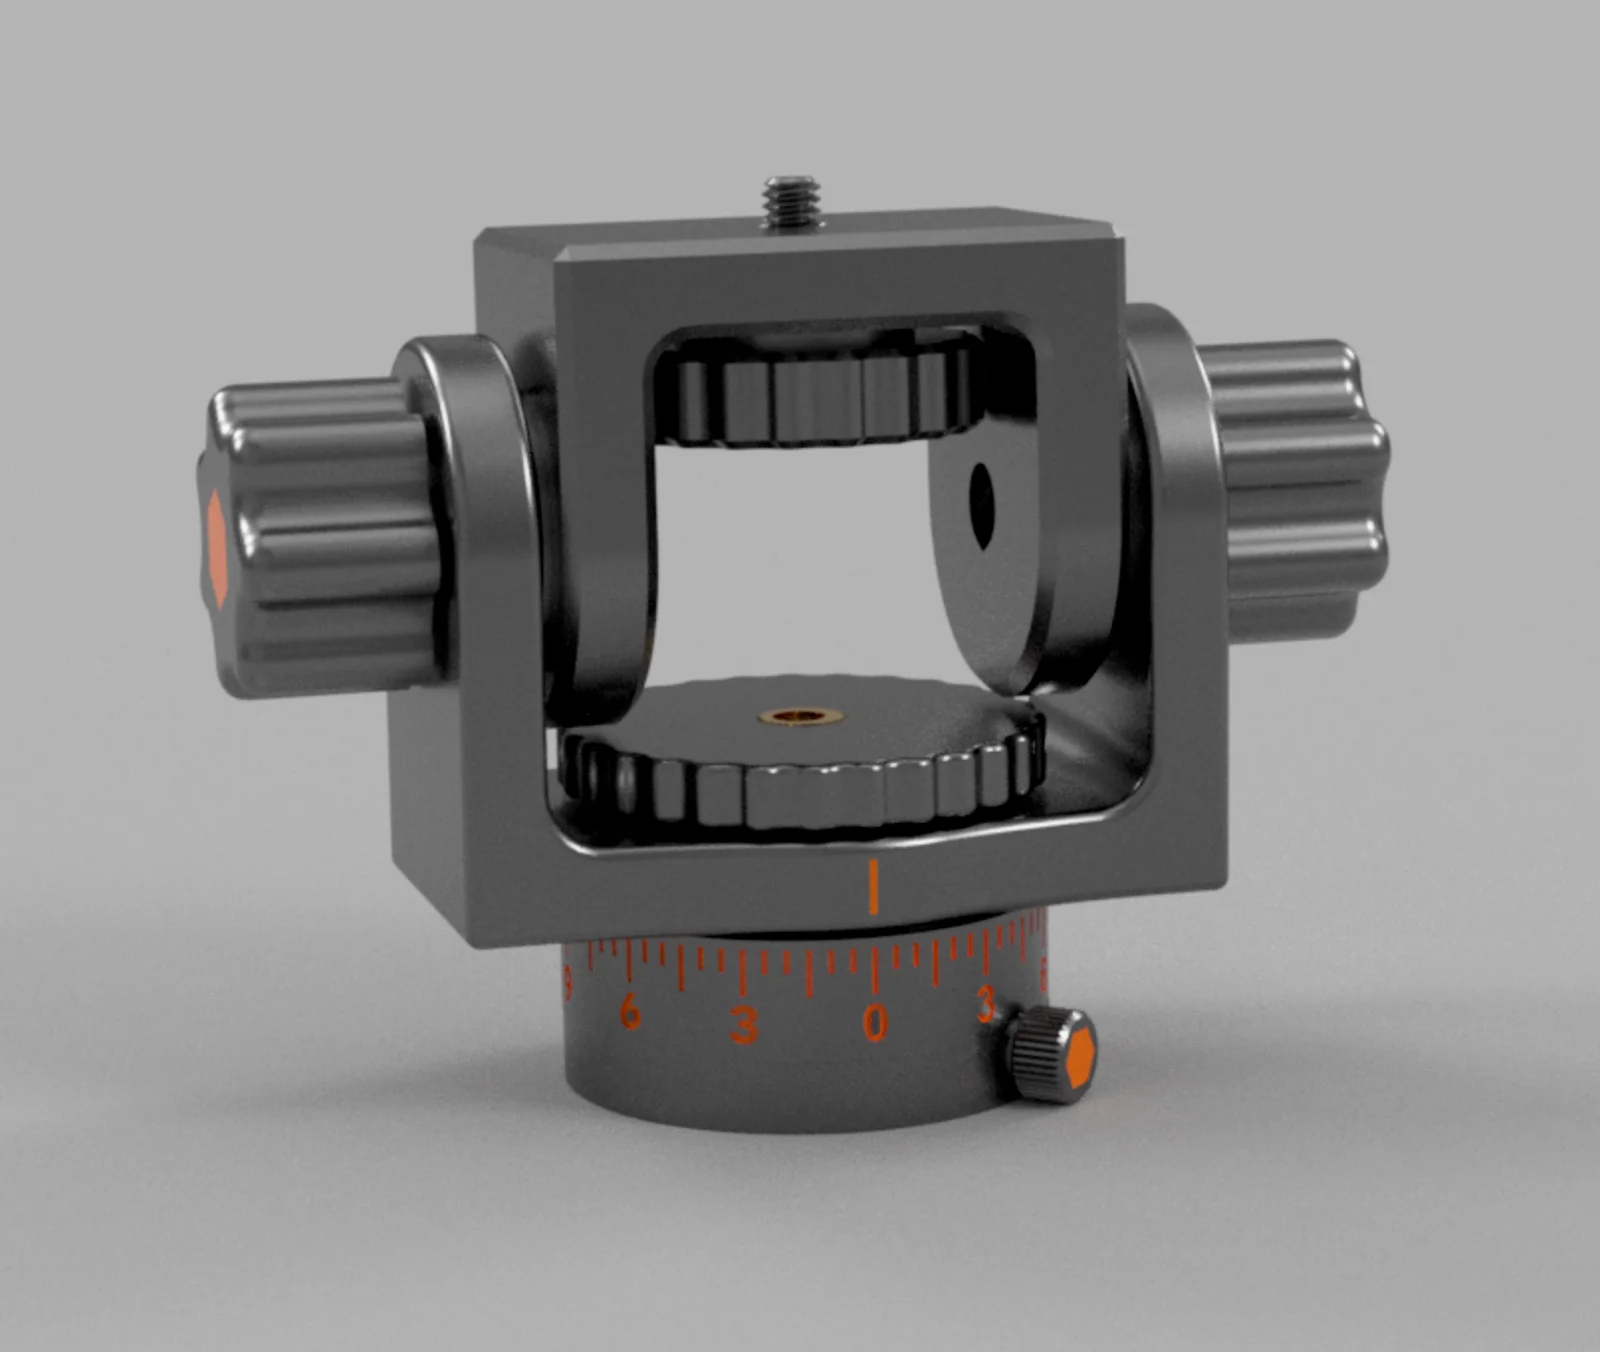
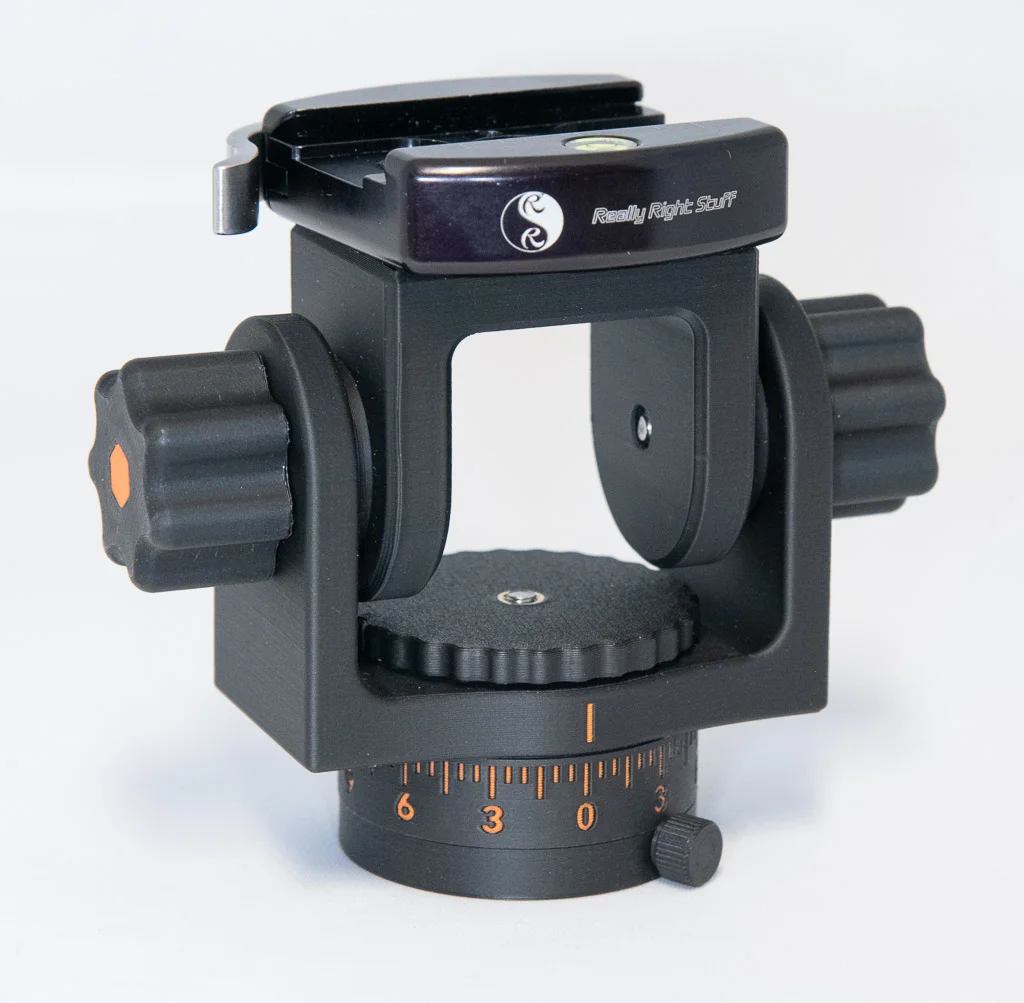
This is a pan and tilt tripod mount for any camera with a 1/4" screw thread.  There are two tripod adapters for either a 1/4" or 3/8".

The pictured model was printed with an MMU to colorize the graduation lines and numbers on the tripod scale.

Printing

  • Filament
    • PETG or PETG CF
    • Prusament PETG Matte Black and Prusament PETG Orange used is this model
       
  • Perimeters
    • 6 for Yoke and Camera Mount
    • 4 for all other parts
       
  • Layer Height
    • .2mm
       
  • Infill
    • 15% Gyroid or Crosshatch
       
  • Nozzle 
    • .4mm
       
  • Washer Notes - The washers are used as a smooth bearing surface for the tilt movement.  Best practice is to print the washers on a smooth surface.
     

Post Processing

  • Remove any built in supports in the knobs and Tripod Mount Center.
  • The ¼" holes are undersized.  Resize with a ¼" drill bit for a close fit with the bolts.

Assembly

  • Heat set the brass inserts flush with the surface of all parts
     
  • Washers - Use a small drop of CA glue to attach the rough side of each washer to the yoke and camera mounts.  
     
  • Tripod Mount
    • Insert a 1/4 -20 x ¾" hex bolt into the Tripod Mount Center.
    • With 2-3 small drops of CA glue, attach the Tripod Mount Center to the Tripod Mount. Ensure no glue gets on the brass insert threads.
       
  • Knobs
    • Scale Locking Knob 
      • The 4-40 pan head screw should tightly thread into the knob without the need of CA glue.  If necessary, a tiny drop of CA glue may be used.  Ensure the CA glue does not get on the threads.
      • Tap the insert, chamfered end down, into the knob flush with the surface.
         
    • Tilt Knobs
      • Insert a ¼-20 x 1" hex bolt
      • Tap the insert, “X” side down, into the knobs flush with the surface.
         
    • Camera Knob
      • Insert a ¼-20 x ¾" hex bolt
      • Tap the insert, chamfered end down, into the knob flush with the surface.
         

Hardware Required

Read more Show less

Print spec

Formats
3mfstepstl
Model files
17
Total size
9.3 MB
Largest file
4.7 MB

0 comments

See all