

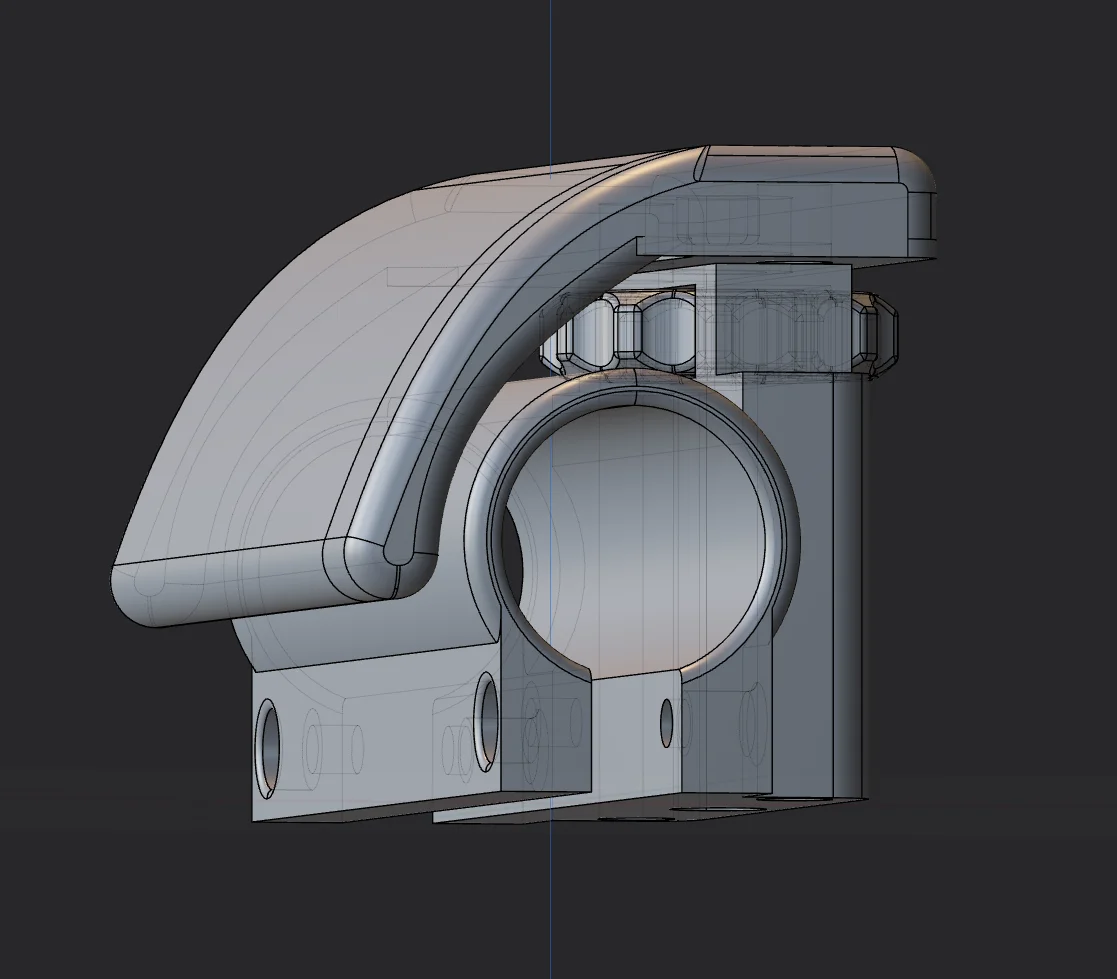


Bộ sưu tập ray Picatinny và kẹp lắp đặt cho mô hình in 3D
 ByMFTuningLikes153Downloads1.8K
Remix of Báng súng MDT cho súng trường Savage B22 Precision By Aquilo
Build another version of this model.
I needed a height adjustable MDT style cheekrest that would fit an AR buffertube to go along with the printed “MDT-like buttstock for Savage B22 Precision” Aquilo created. I used and remixed/resized the thumbwheel they had made to fit the M10 nut I had on hand. I also use the some of the same hardware as required by their buttstock so that if you are printing both there is less different hardware to acquire.
Hardware list:
2x ~140mm sections of 8mm OD, 2mm wall aluminum tubing for the guide rods.
1x 80mm long, M10x1.5mm Thread, Socket Head Screw (fully threaded)
2x M5 Hex Socket Head Cap bolts(length of anywhere from 20-30mm)
2x M5x8mmx7mm Heat Set Threaded Inserts
Prior to final assembly make sure your guide rods slide somewhat easily through their respective holes. My printer wasn't perfectly calibrated so I had to hammer the aluminum tubing through the holes a couple of times before it slid through smoothly. To assemble I placed the M10 nut in the thumbwheel and whacked it with a plastic ended gunsmithing hammer until it forced itself in. I then glued and hammered into place the M10 bolt, put the thumbwheel into the slot on the tube body and threaded the bolt through it all the way down. Now you can glue/hammer in your first piece of aluminum tubing/guide rod. Then spin the thumbwheel until the bolt is almost completely through the top and mark off or just cut off the aluminum tubing from the bottom with a hacksaw or dremel. I smoothed off the cut part with a file and repeated the process of gluing/hammering/cutting on the second piece of tubing.
The M5 heat set inserts should be melted in on the guide rod side of the tube body with a soldering iron.
I printed this in eSun PLA+ at 0.2mm layer height with 6 walls and 35% infill.
ByMFTuningLikes153Downloads1.8K

 ByMaverick0197Likes161Downloads1.3K

 ByMauroVanDerG_4110408Likes378Downloads2.7K

 ByAdamSwintLikes83Downloads330

 ByHassanSalehLikes260Downloads2.1K

 ByCubaLibreee_2869176Likes125Downloads1K

 ByDylanBermejo_3971567Likes12Downloads102

 ByXDr4g0nXLikes198Downloads818

 ByGerhard_48223Likes240Downloads462

 ByBillRichardsLikes32Downloads379

 ByCreativeKari_4457452Likes10Downloads67

 ByKorriLikes60Downloads609