F3D
Creality K1 Max Riser + Top Spool Holder & Runout Sensor +… 1

3 images

Máy In 3D

Creality K1 Max Riser + Top Spool Holder & Runout Sensor + Filament Guide (Glass Plate)

Remix of Giá đỡ cuộn filament kết hợp cho K1 Max By deadsix

By jeloneal

Downloads
109
Likes
21
Views
2,097

Files 9 9.5 MB

  • Workspace_1776572346.3mf3MF · 2.4 MB
  • Side_Right_1776572347.stlSTL · 1.6 MB
  • Side_Left_1776572348.stlSTL · 1.6 MB
  • Front_1776572350.stlSTL · 464.7 KB

Make a variant with AI

Build another version of this model.

Open Studio

Description

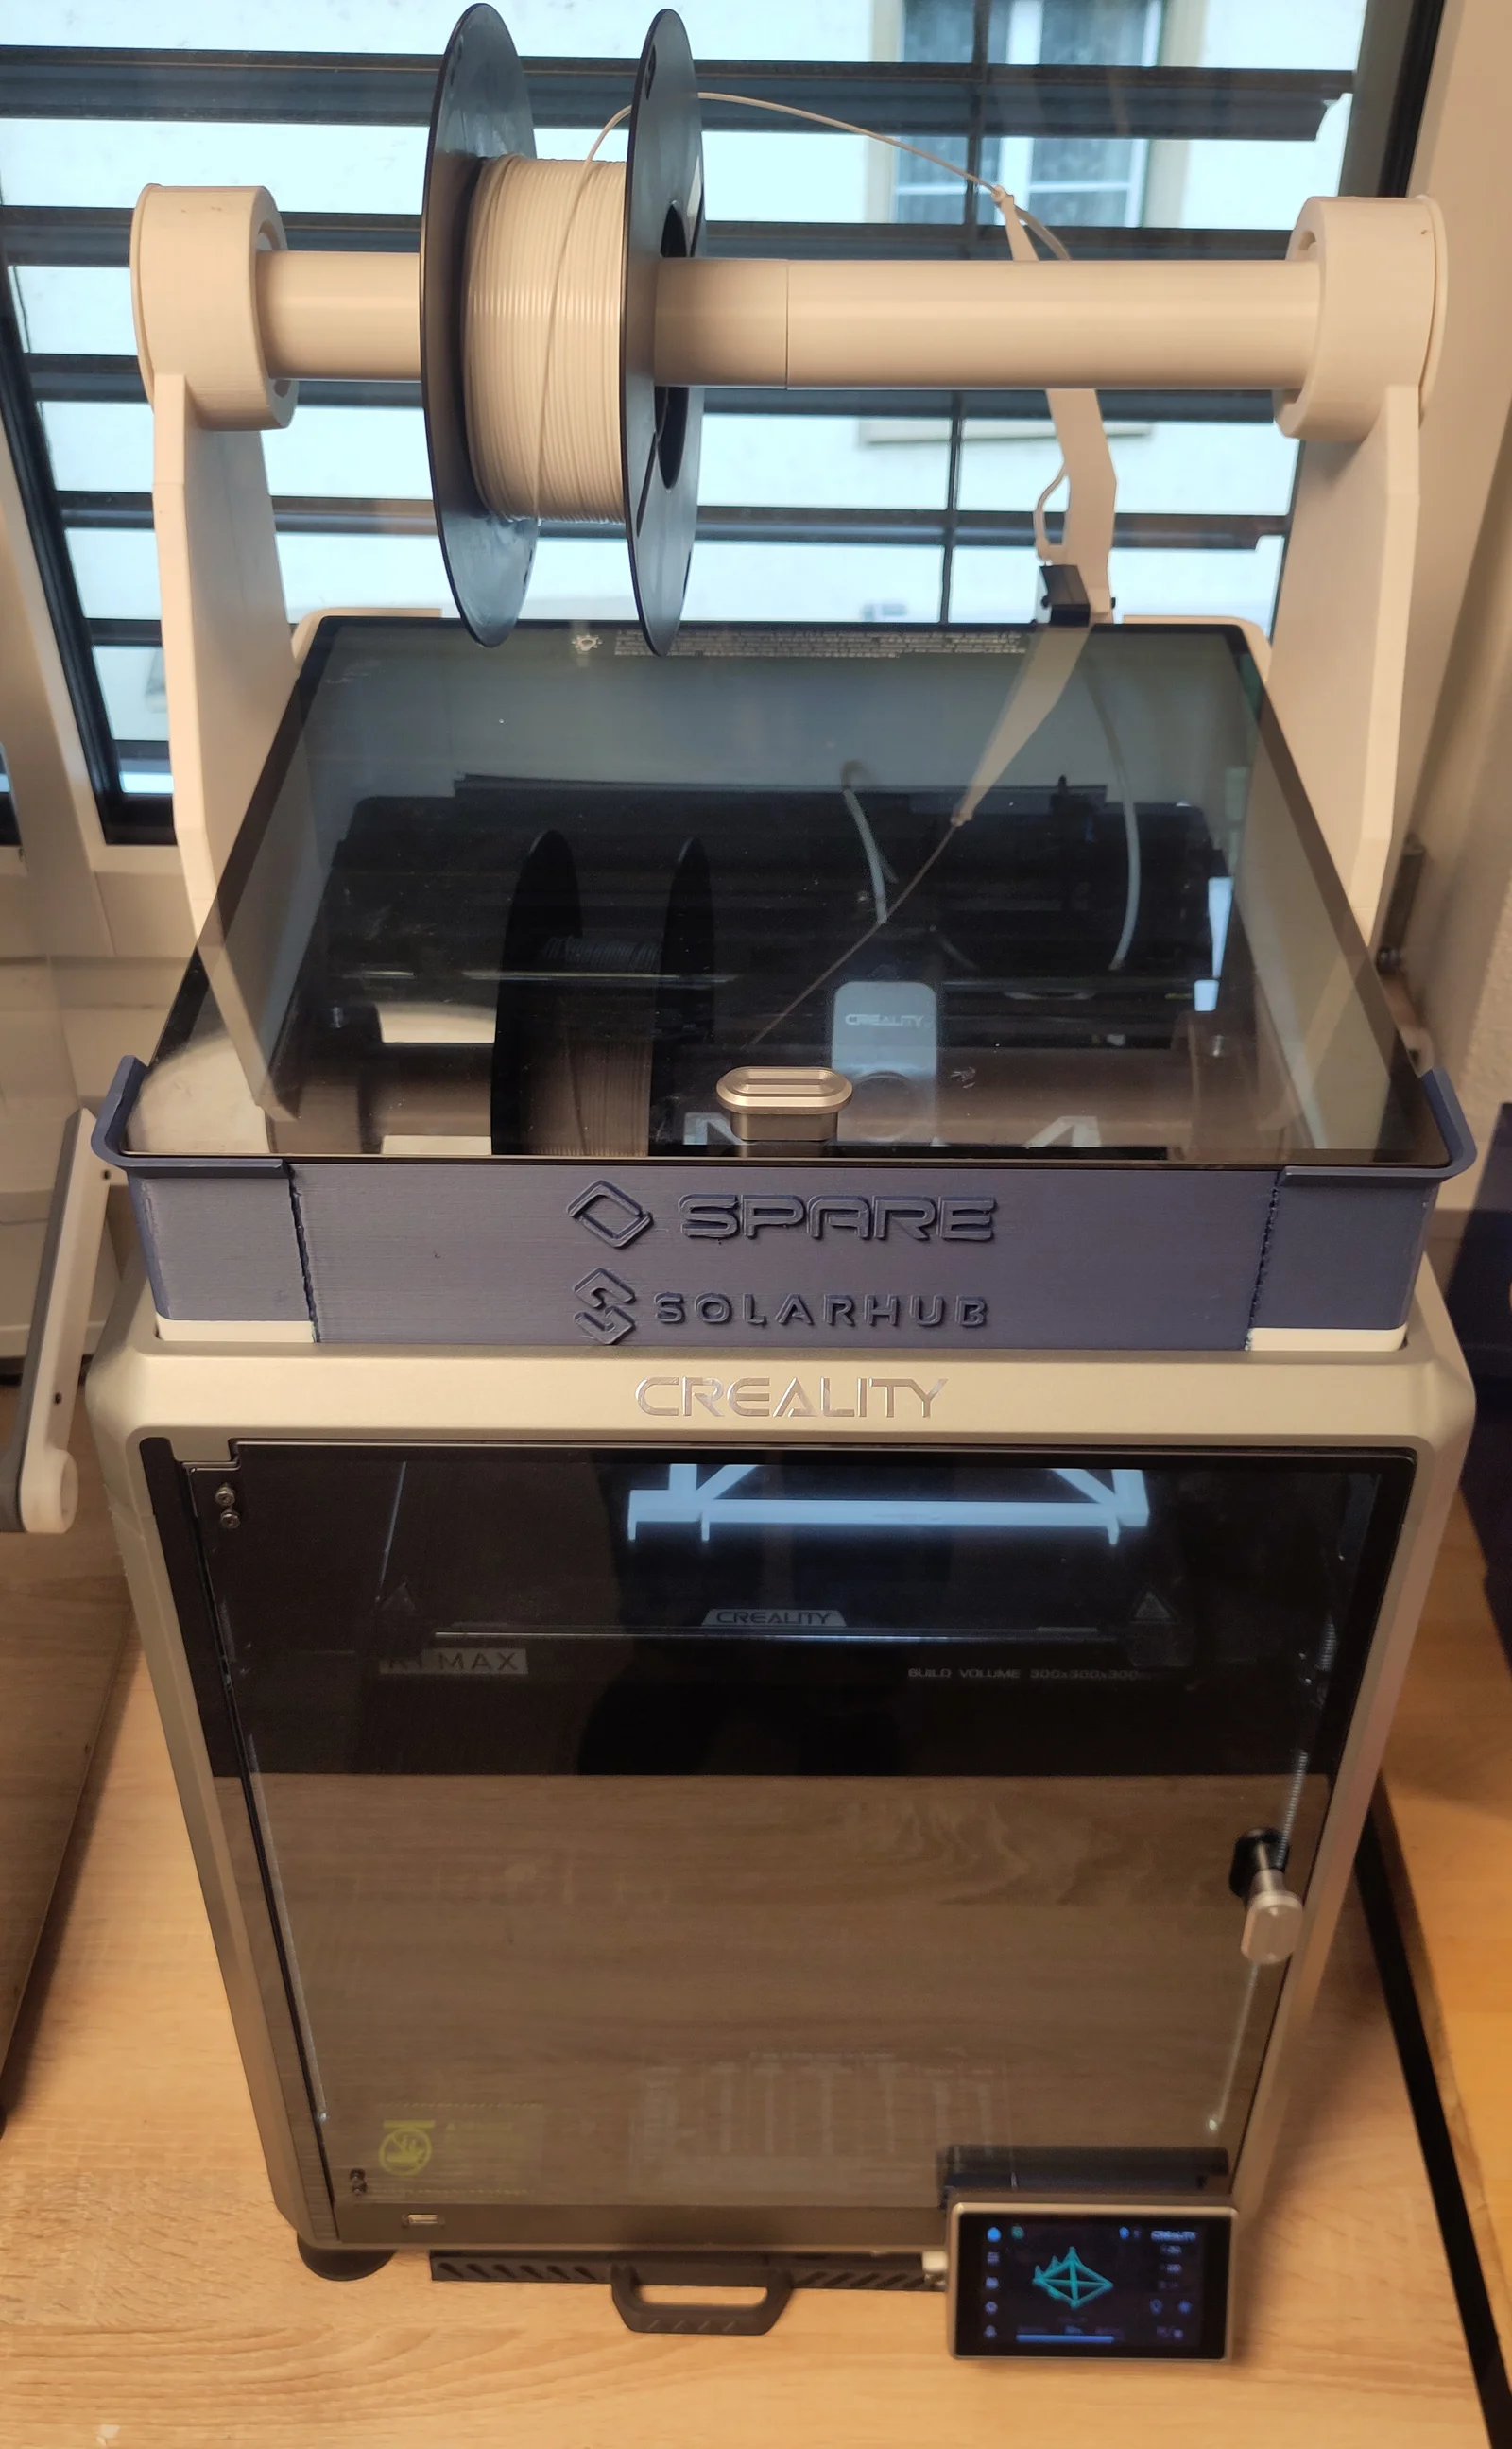
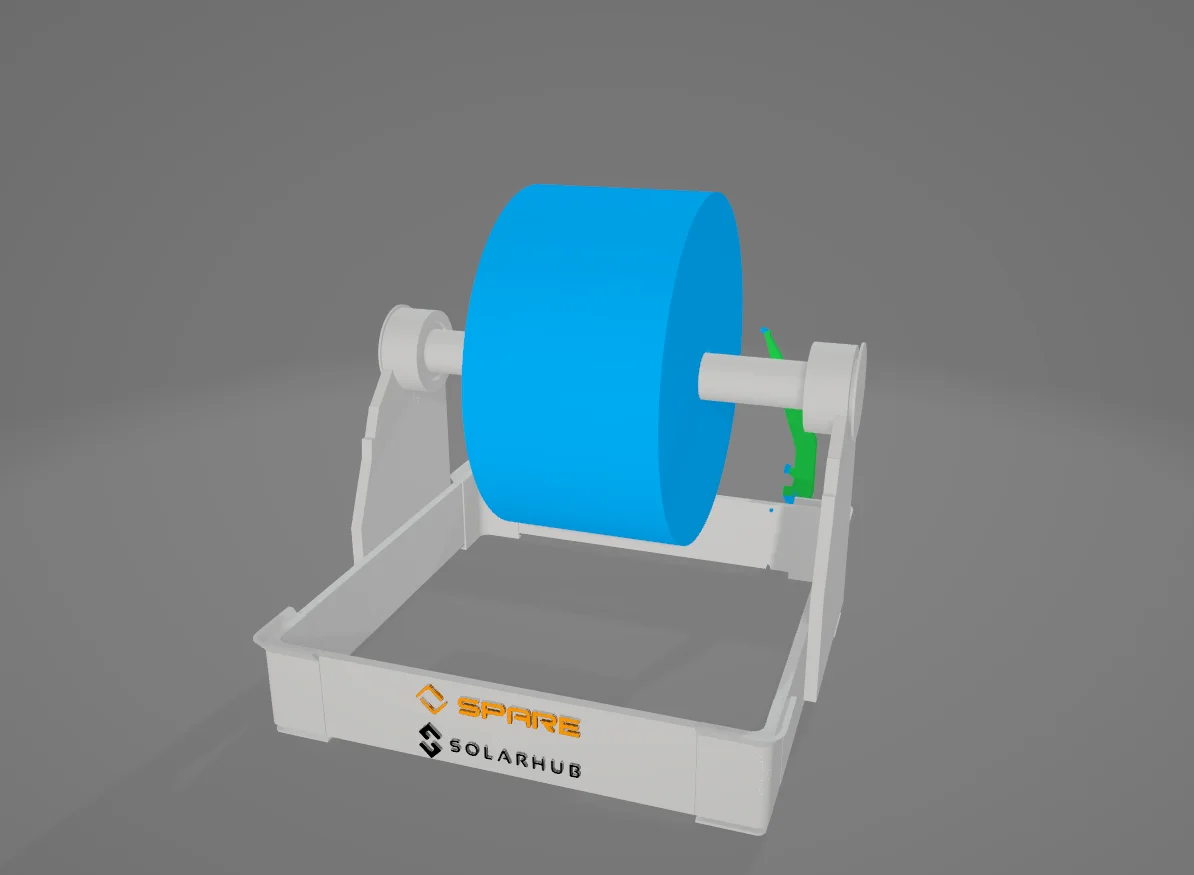
The Ultimate K1 Max Top-Upgrade

  • Reallocate Filament Runout Sensor to the outside
  • Print without glass-plate and runout-sensor for brittle materials
  • Supports up to 5kg spools
  • Reduces drag inside the PTFE Tube 
  • Only 2 M3 screws + Nuts required, re-uses all original parts

Build Guide
====  Required materials ==== 

  • 2x M3*30 Screws
  • 2x M3 Nut

====  Printing ==== 

  • We highly reccomend printing the whole assembly (or at least the back and back corners) in ABS, or another heat-resistant material: Heat rises, and quickly deforms the PLA once the chamber reaches above 50°C, especially the back where the filament is pulled from.
  • We used 20% infill, altough higher infill might be needed on the rods for heavier filament, ours worked fine for 2kg so far

==== Assembly ==== 

  1. Remove the Runout-Sensor with it's PTFE-Tube
    • On our K1-Max's the connector to the sensor was glued, we used the plyers to carefully remove the sticky layer: It helps if you do this right after a print so it's softened up.
  2. CAREFULLY cut the zip-tie of the runout-sensor-cable, and remove the cover on the top right cable-canal to pull the runout-sensor-cable out the right cable-canal
  3. Remove the PTFE-Tube running out the Back
  4. In some prints, the two filament-holes on the back-piece are not big enough:
    We used the hex-key to carefully widen the hole to the ~2mm it needs so that filament can pass through easely
  5. Run the PTFE-Tube with runout-sensor through the Top-Hole of the Back-Piece
  6. Attach the Runout-Sensor using the M3-Screws & Nuts. The grip on the PTFE-Tube is pretty tight, so if no screws are available, some tape should also do the trick.
  7. Attach the Outside-PTFE-Tube to the guide on the back
  8. Attach the four corners
  9. carefully side in the back, front and side pieces
    • When attaching the back-piece, make sure not to forget the cable and attach it to the runout-sensor
  10. Recalibrate the K1 Max so that it gets used to it's new weight

Read more Show less

Print spec

Formats
3mfstl
Model files
9
Total size
9.5 MB
Largest file
2.4 MB

0 comments

See all