

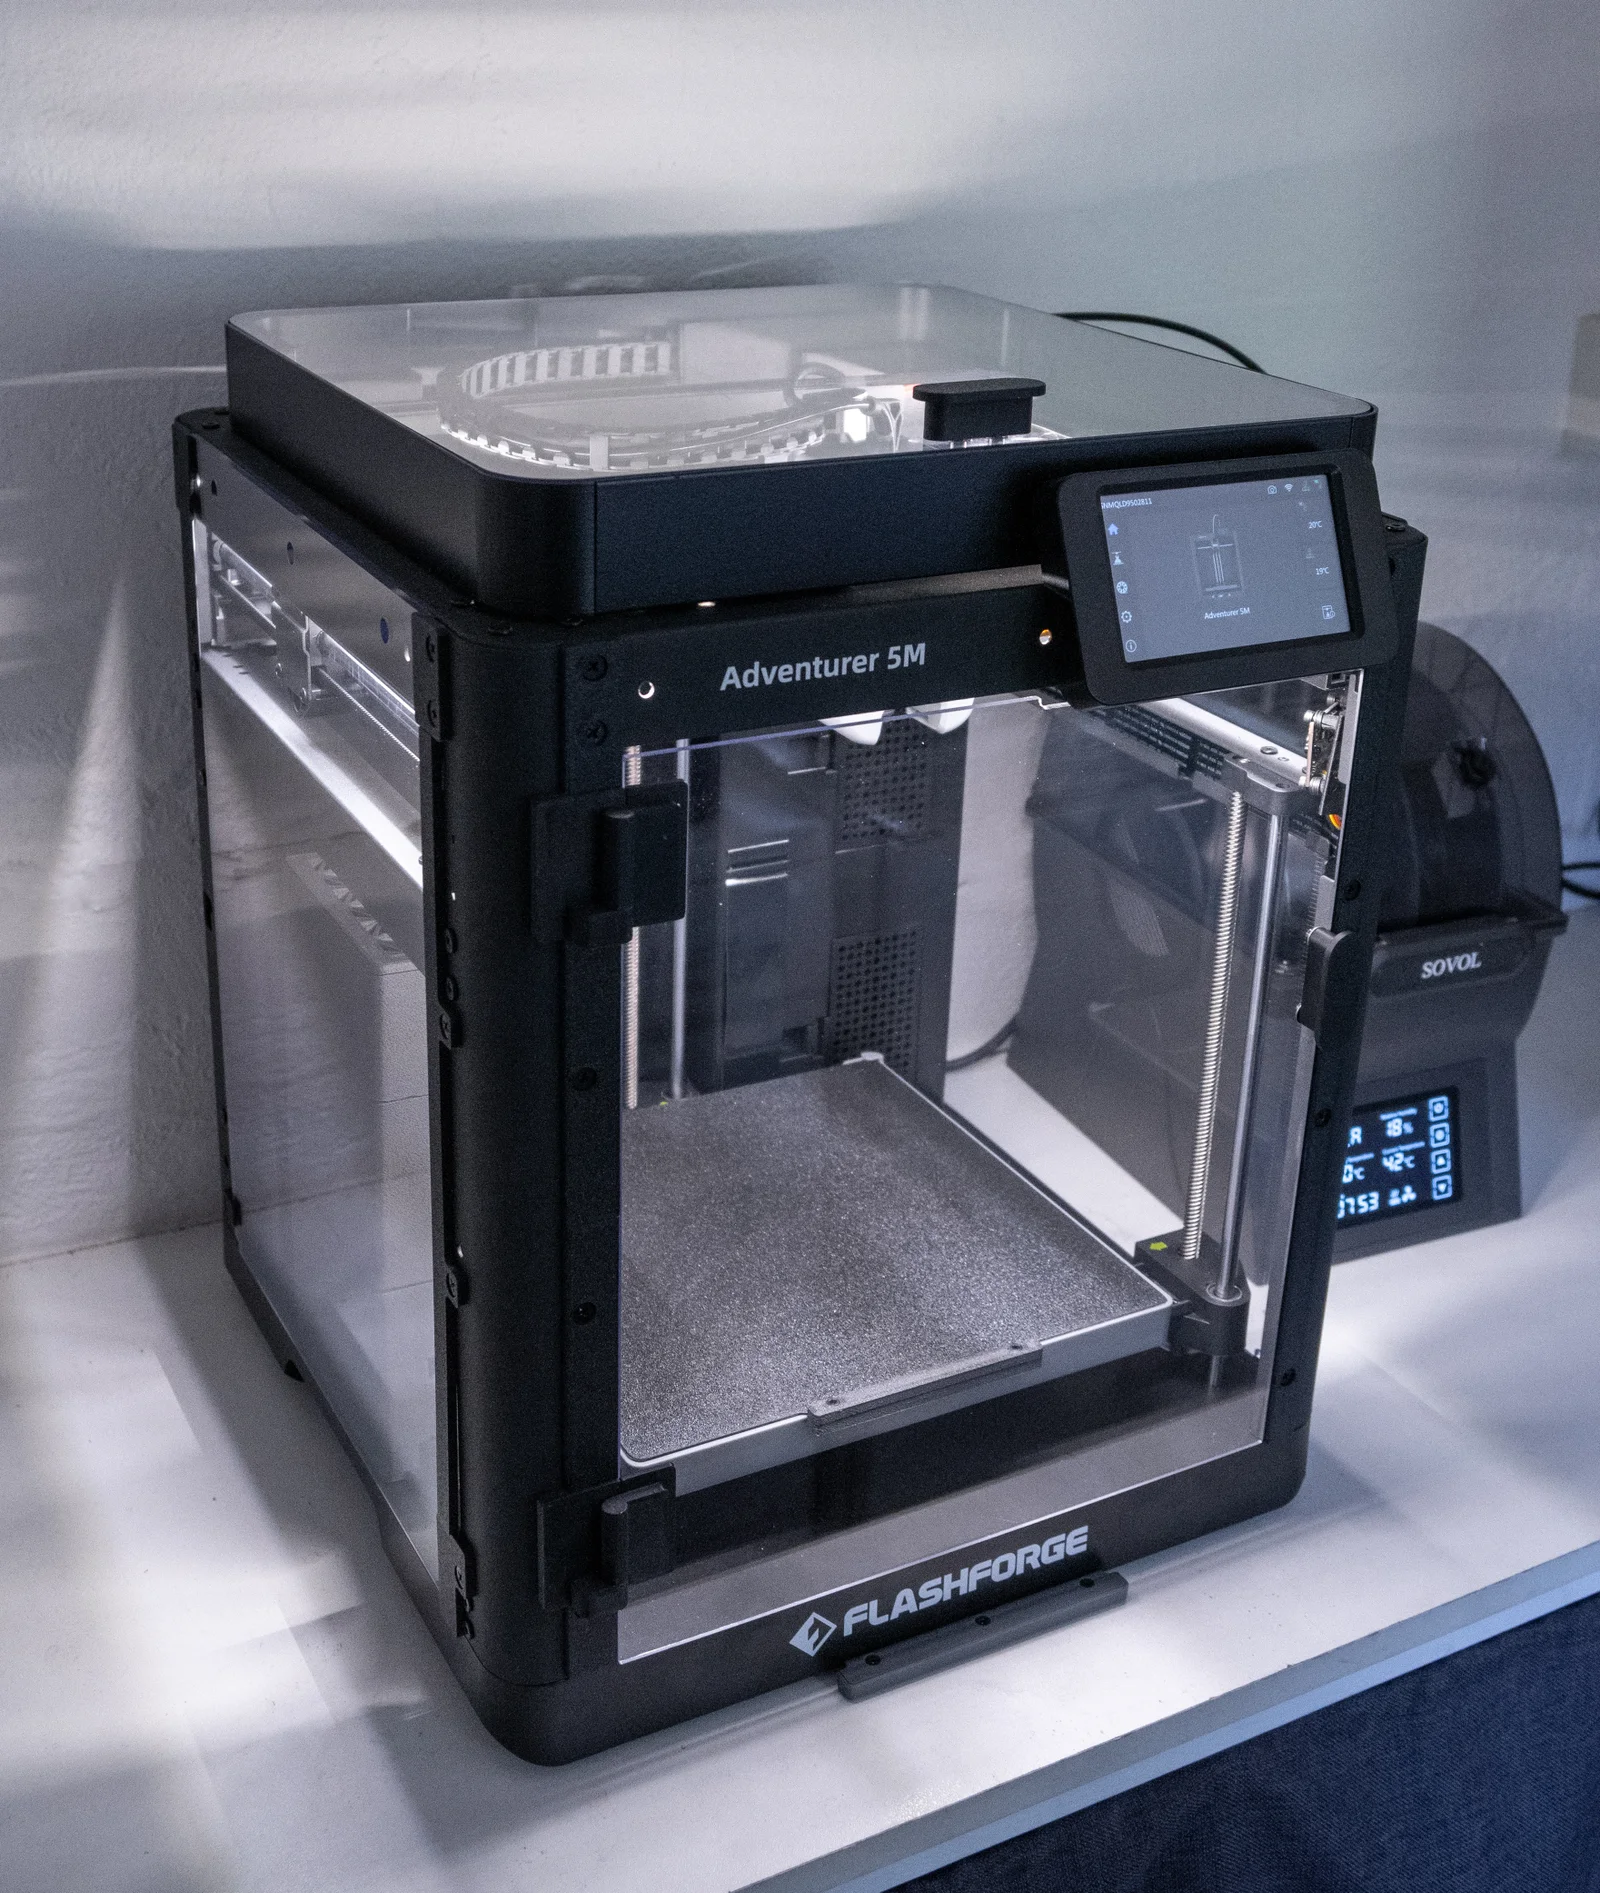


Kẹp giữ sợi Filament
 Bytinx_1344834Likes1.2KDownloads6K
Build another version of this model.
Designed a new enclosure. Main goals were:
Other mods include 5M COB LED bars (see my other design), an aliexpress camera, a BentoBox, and BentoBox adapter for 5m (not my design).
General printing notes:
Extra parts required: 40*25mm aluminium angle for the top, 6mm pins for the door hinges, heavy duty mounting tape - all details below.
Build notes
Intro
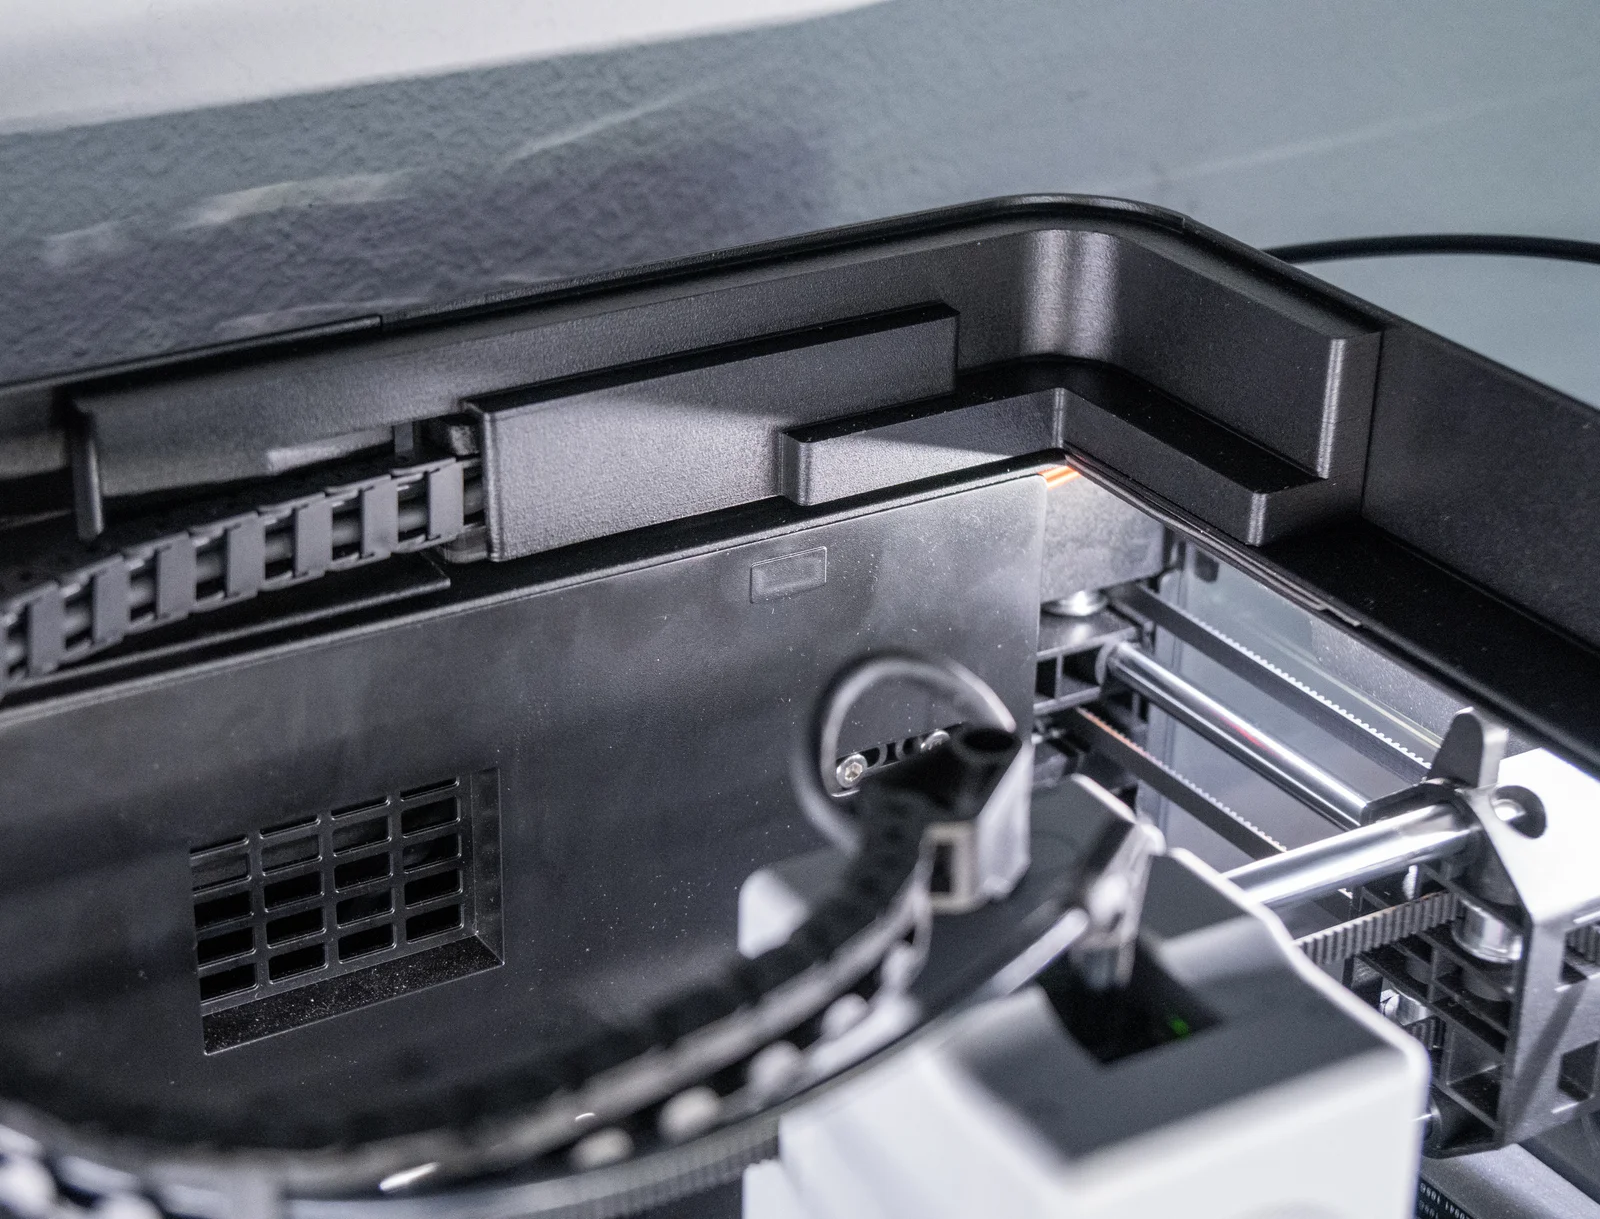
This build assumes that you have installed the drag chain mod and filament sensor mount - I have a remixed filament sensor/drag chain mount here but you can also go straight to the updated @design8studio upper and lower files here. You will also likely need the @m_e_muc_1854154 extruder pipe guide from here to stop rubbing on the new, lower profile lid. Orca slicer thinks the pipe guide is two parts, I didn't end up using the extra ‘cylinder’ part but your mileage may vary. I also trimmed about 10mm from the filament tube to get it to sit better.
Side Panels:
Check your frame for squareness and adjust if necessary - see note below.
Start with side panels as they are the ‘easiest’ part of the build. Attach the printed parts using existing screws/screws from enclosure , slide in the side panels from the top,they should rest on the bottom plastic frame edge.
Door:
Continue with the door files. Print and attach strips to frame sides, and then add parts to door. The door handle uses magnets and plastic screws from the enclosure kit, I added washers behind the screws to avoid cracking.
You will need to trim a small section off the door acrylic sheet to clear the screen and ribbon cable. I used a jigsaw with a fine blade. The section is 137x3mm.
When printing, add a slicing modifier to the hinge left piece, to 100% infill. Needed for strength:
Acquire the hinge pins - they need to be 6mm*33mm. Slightly shorter will work, longer wont (hinge won't sit low enough. I used an aluminium dowel and cut it down. Insert into hinge left, it should be a tolerance fit but use superglue if you have to. You could also drill out with a 6mm bit to be very certain it will fit (don't go too deep!).
Attach the hinge pieces to the door and frame using double sided tape. I used Gorilla Heavy Duty Mounting Tape - you can use any tape so long as you cut it to fit the recess, and it is approx 1.1mm thick. Same tape is used for the top assembly. Slide the door onto the hinges and make sure it clears the screen when closing.
Top Enclosure:
Print 3x corner pieces, and 1x extruder corner piece.
Cut the following lengths of 40*25 unequal aluminium angle: 2x 268mm (sides), 1x 284mm (front), 1x 162mm (rear). Assemble frame using same double sided tape. I also primed/sprayed my frame top with paint to match the 5M frame a little better at this point. Apply double layers of mounting tape to several spots on the bottom edge of the enclosure (to clear the frame screw head). Slide the rear gap over the drag chain, position directly behind the screen and centrally side-to-side, and press down.
You probably could also adapt the top corner pieces to suit whatever size aluminium you have available, or even use acrylic or printed pieces instead - design files are included if you want to mod.
Install the handle on the lid acrylic, and you are done.
Note:
You may have a misaligned frame, and not know it! One of my frame sides (only one) was ‘parallelogrammed’, as shown below. I talked to Flashforge, they said they hadn't heard of it before, but it was also present on the other 5m that I know of, so you might have it too! It sounds daunting but is actually easy to fix - you need to loosen all the frame scews on that side, push the frame back into square using a builder's square as a guide, and then tighten up the screws.
Recheck/readjust until frame is square. RELEVEL immediately after this!
This is my frame before alignment, acrylic is lined up with the top and bottom edges:
and after, bad angle photo but it is square:
Note:
Your frame may have slightly different dimensions than mine, seems like quality control is good enough rather than great. There are small edges on the side panel clips that may need tweaking for you printer - print first, note any adjustments needed, modify and re-print.
Bytinx_1344834Likes1.2KDownloads6K

 ByreddLikes216Downloads2.2K

 By3DSourcererLikes48Downloads376

 ByJasonOlliff_519145Likes241Downloads2K

 Bytopronix_2170418Likes41Downloads295

 Byoe123_1307374Likes7Downloads65

 Byprusa-researchLikes0Downloads777

 ByD3DorsettLikes3Downloads37

 ByMahko Blackburn BlackburnLikes28Downloads169

 Byarhi_585078Likes64Downloads540

 Bynamida-verascheLikes0Downloads145

 ByHanzo3dLikes155Downloads413