



Kẹp giữ sợi Filament
 Bytinx_1344834Likes1.2KDownloads6K
Remix of Hộp đựng ESP32 Cam By aqab0N_584411
Build another version of this model.
After using Octoprint and Obico for a long time, I really missed these tools while printing. So this is my solution:
Background information: Prusa-Firmware-ESP32-Cam on GitHub (I know, it sounds complicated. But this shows how many brilliant people are working on it. In the end, it is very easy, and you don't need to be a genius yourself. No soldering, gluing, or programming required!)
First, you need the following parts:
I ordered this ESP32-CAM+MB option, which includes the board with a camera and a programming adapter with Micro-USB for connecting the camera to a computer (flashing) and later to a power adapter: ESP32-CAM+MB on AliExpress (It's the last option for about 9,59 Euro and on the picture you see how to mount the parts together)
You might also want to order the right USB cable (USB-Micro to USB-C or USB-A) and a power adapter that suits your needs.
Once the parts have arrived, simply put them together in the correct orientation. It's kind of self explaining. That's it – your camera is ready to receive the firmware. Plug it in with the USB cable to your computer and use the following website:
It's very easy to flash using this brilliant web tool from the helpful Jake Lofthouse: Prusa-ESP32-Cam Web Upload (Note: Do not use the Safari browser.)
Next, you'll need to connect the camera to your WiFi network and optimize all settings. This is described in detail in the background link provided earlier or here again https://github.com/prusa3d/Prusa-Firmware-ESP32-Cam?tab=readme-ov-file#prusa_connect
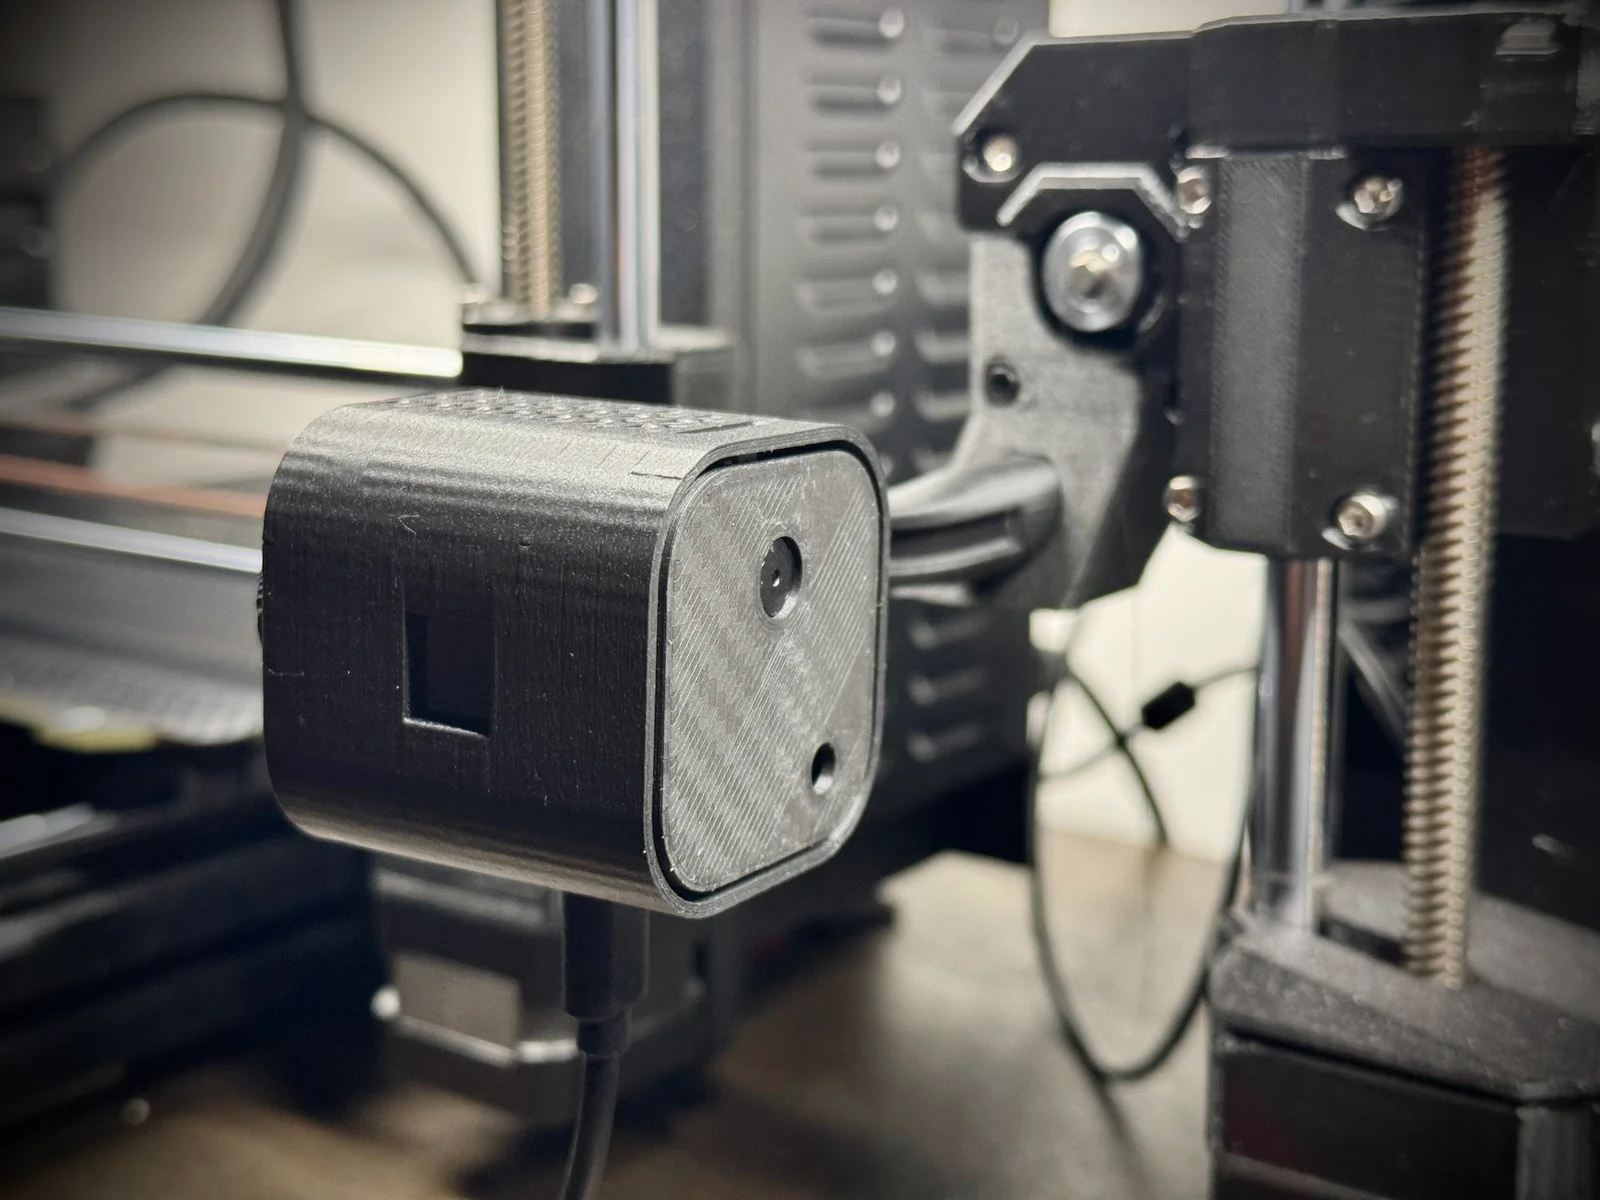
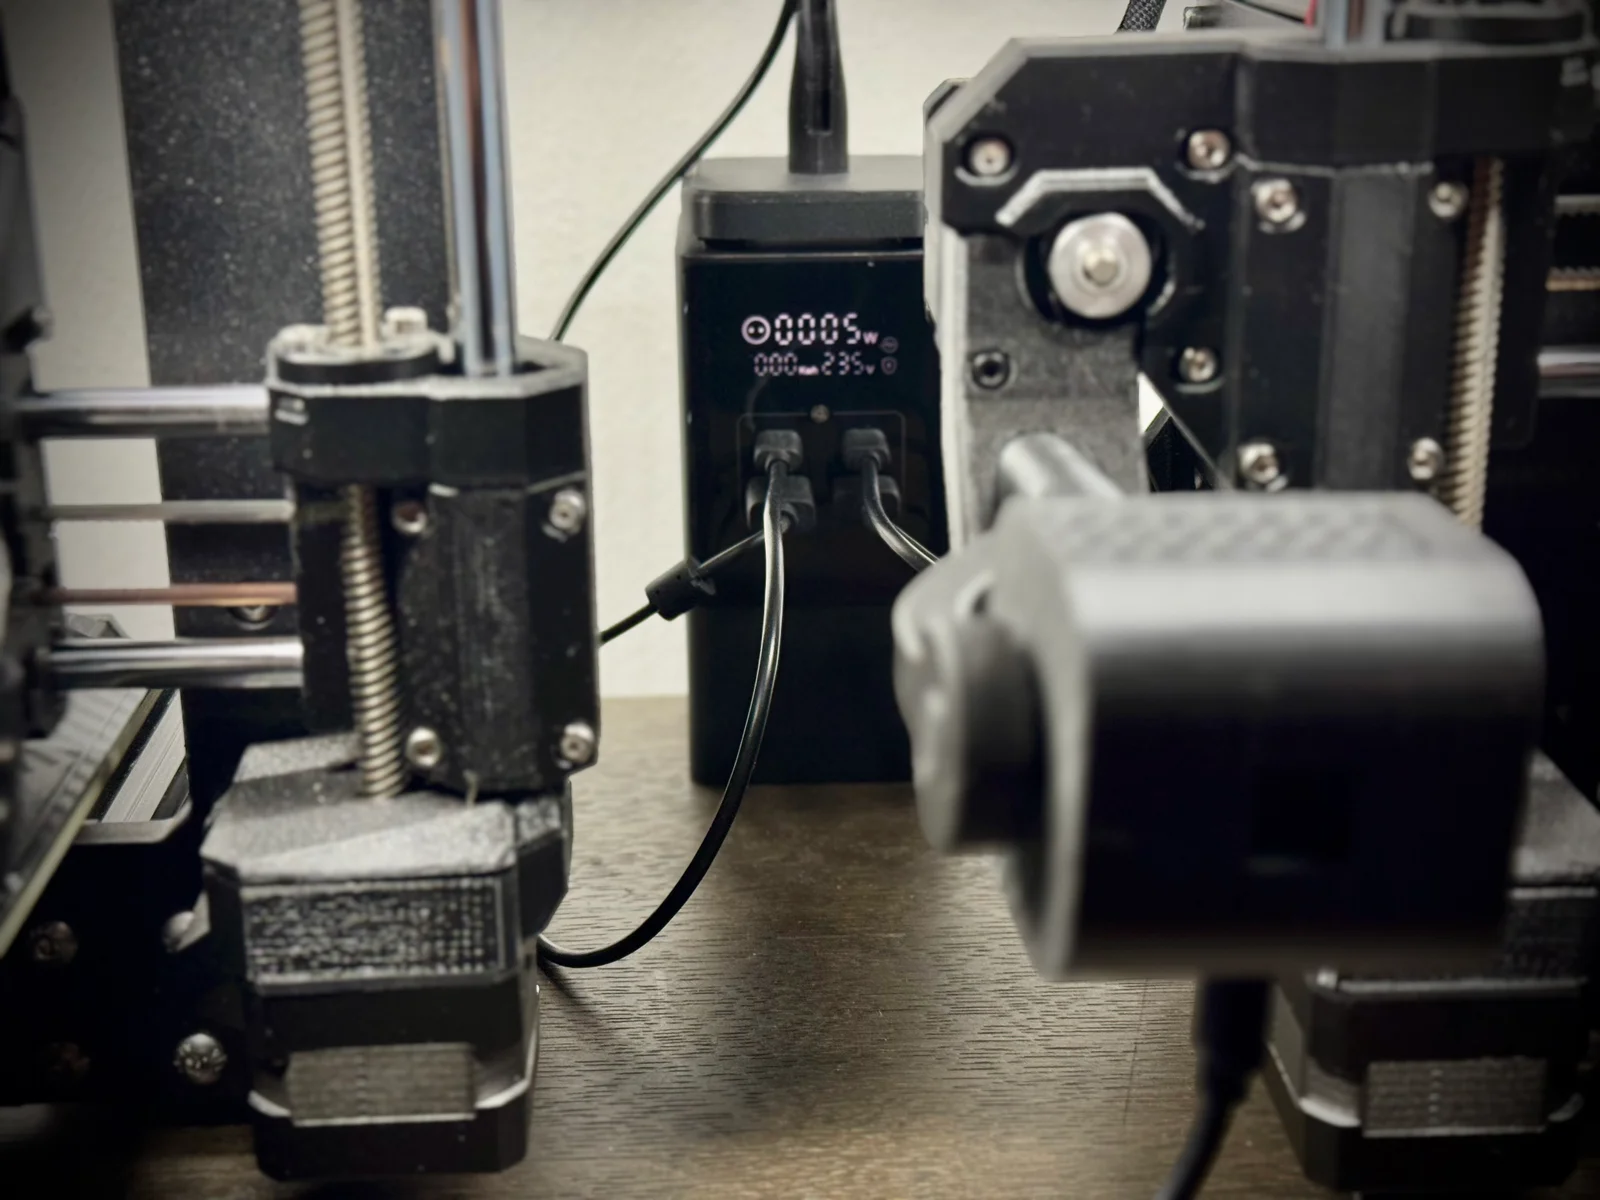
Afterward, you can place the camera into your (hopefully beautifully printed) camera housing and mount the z-axis holder as shown in the photos. You will need an M3 screw, 15-20mm in length. Assemble everything, and then plug the USB cable – which was previously connected to your computer – into a power source. I used a power adapter from Baseus, which you can see in the middle of the second photo.
You will find the parts I changed from the original and I am also providing a .3mf file with all the parts you need included. A picture of the settings I used to print my Prusa z-axis-mounted version, too. You can also download the original files from the genius aqab0N (link under the Files section) to print additional cameras that can be placed beside or in front of the printer. Prusa Connect can handle multiple cameras, allowing you to monitor the printing process from different angles. If you go this route, don't forget to order additional ESP32 cameras, dev boards, and USB cables. For the z-axis mount, these cables should ideally be short and flexible.
Bytinx_1344834Likes1.2KDownloads6K

 Byprusa-researchLikes0Downloads2.7K

 Byarhi_585078Likes64Downloads541

 ByHanzo3dLikes155Downloads414

 BydarienLikes0Downloads1K

 ByGeek5DLikes147Downloads485

 ByBrokentooth_designsLikes23Downloads407

 Byla-cave-au-chatLikes0Downloads963

 Bycrawler-3903250Likes0Downloads906

 ByvertigomakesLikes0Downloads561

 By3DSourcererLikes48Downloads377

 Byartme-3dLikes0Downloads333