



Còi Tàu Hơi Nước Mini
 ByfifindrLikes500Downloads4K
Remix of HP Robots | Otto Starter By OttoDIY
Build another version of this model.
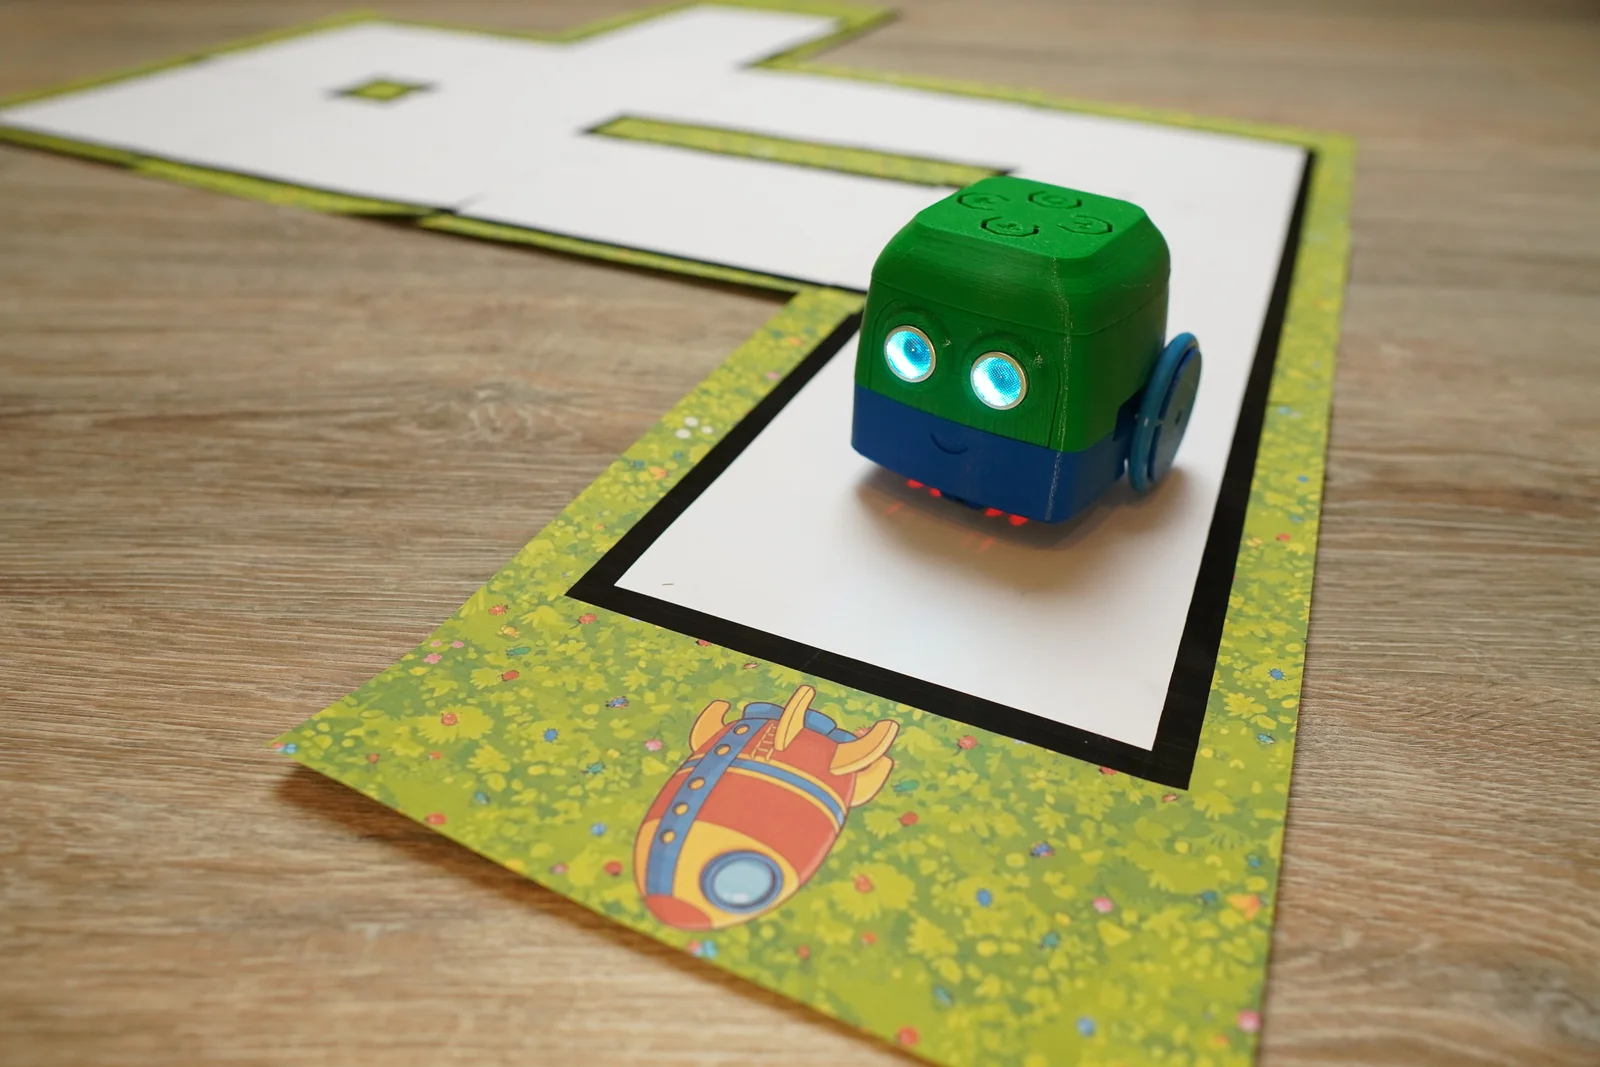
His home planet, Rokkix, has gone completely overboard with industrialization. Its scientists have realized that they need to restore the planet’s vegetation. However, they’ve lost their knowledge of plants. That’s why their brightest minds built the robot Rokki and sent him to Earth. Now it’s up to you to teach him about plants so he can return home and save his planet.
Rokki is an educational robot for elementary school.
He has four buttons on his head that are used to control him: Forward, Right, Left, and Start.
There is a PDF file with road segments that can be arranged in any order.
The children are asked to answer questions, and if they answer correctly, they can program the robot using the buttons. The goal is to guide Rokki to his rocket, and along the way, he should learn as much as possible—in this example, about plants. Of course, the story can be adapted as desired.
Programming is done by entering a sequence of movements for Rokki. If incorrect programming causes him to drive to the edge of the track, he notices this, stops, and shakes himself.
Most of the parts can be assembled as described in the HP instructions. Only the head is a bit special.
You’ll need 4 micro push buttons measuring 6x6x5 mm. These are the ones typically found in an Arduino kit.
You’ll also need some resistors:
2x 10 kΩ
1x 22 kΩ
1x 47 kΩ
and a three-wire cable from the HP Starter Kit, which you’ll unfortunately have to sacrifice.
Here is the circuit diagram for it:
The connector is then plugged into pin 9. And since this is an analog input, the current flowing through the pin varies depending on which button is pressed. This allows the program to later read which button was pressed.
The buttons are inspired by the Prusa MK3; the great thing is that you can easily install a button into a small print (see Button Mount). The tactile feedback is really great.
The top part is secured with small clamping tabs. I saw this method on Instagram; if I find the link again, I’ll post it here.
The gameplay concept with the buttons is based on the Bee-Bot.
The story can be adapted however you like to suit your lesson. There’s even a landing site with a crashed UFO, so the story can take a completely different turn. Mankind would then help him get home.
The name is a little tribute to Project Hail Mary, only in a “not from here” version.
For the design, I first had an AI generate some images and then adapted them for 3D printing in CAD.
The grass, the rocket, and the UFO are also AI-generated images, which I then combined into a game board using GIMP.
All files can be printed without support structures.
In addition to the files I created, the following files are required for the HP Otto:
2x HP_Wheel
1x HP_Batterycovermesh
1x HP_Bracket
1x HP_Caster
First of all, my Rokki unfortunately still drifts slightly when moving. I suspect that the rubber on the wheel is rubbing a bit; the new print is already almost on the printer...
Well, what’s really missing is the program. I’ve managed to read the button inputs. And you get different values, so it should be possible, for example, to save 10 button presses and then run the sequence. Unfortunately, I haven’t gotten around to programming that yet, but luckily the holidays are coming up soon :)
ByfifindrLikes500Downloads4K

 ByZED4EverLikes313Downloads5.2K

 ByVC_DesignLikes679Downloads3.6K

 ByDan Schwartz SchwartzLikes744Downloads3.4K

 Byvc-designLikes0Downloads3.2K

 ByUpcrid3D_1585693Likes808Downloads2.1K

 ByWilko_SLOLikes935Downloads2K

 Bychubbs8697_2027893Likes585Downloads1.7K

 Byquibeck_3353173Likes965Downloads1.9K

 BySeppoTakaloLikes960Downloads1.9K

 Byadvanced-hobby-labLikes0Downloads288

 ByRobertoGalloc_356815Likes549Downloads1.8K