



Vải In 3D Cấu Trúc Hình Bát Giác (Octagon Fabric)
 ByDrewmundLikes833Downloads4.6K
Build another version of this model.
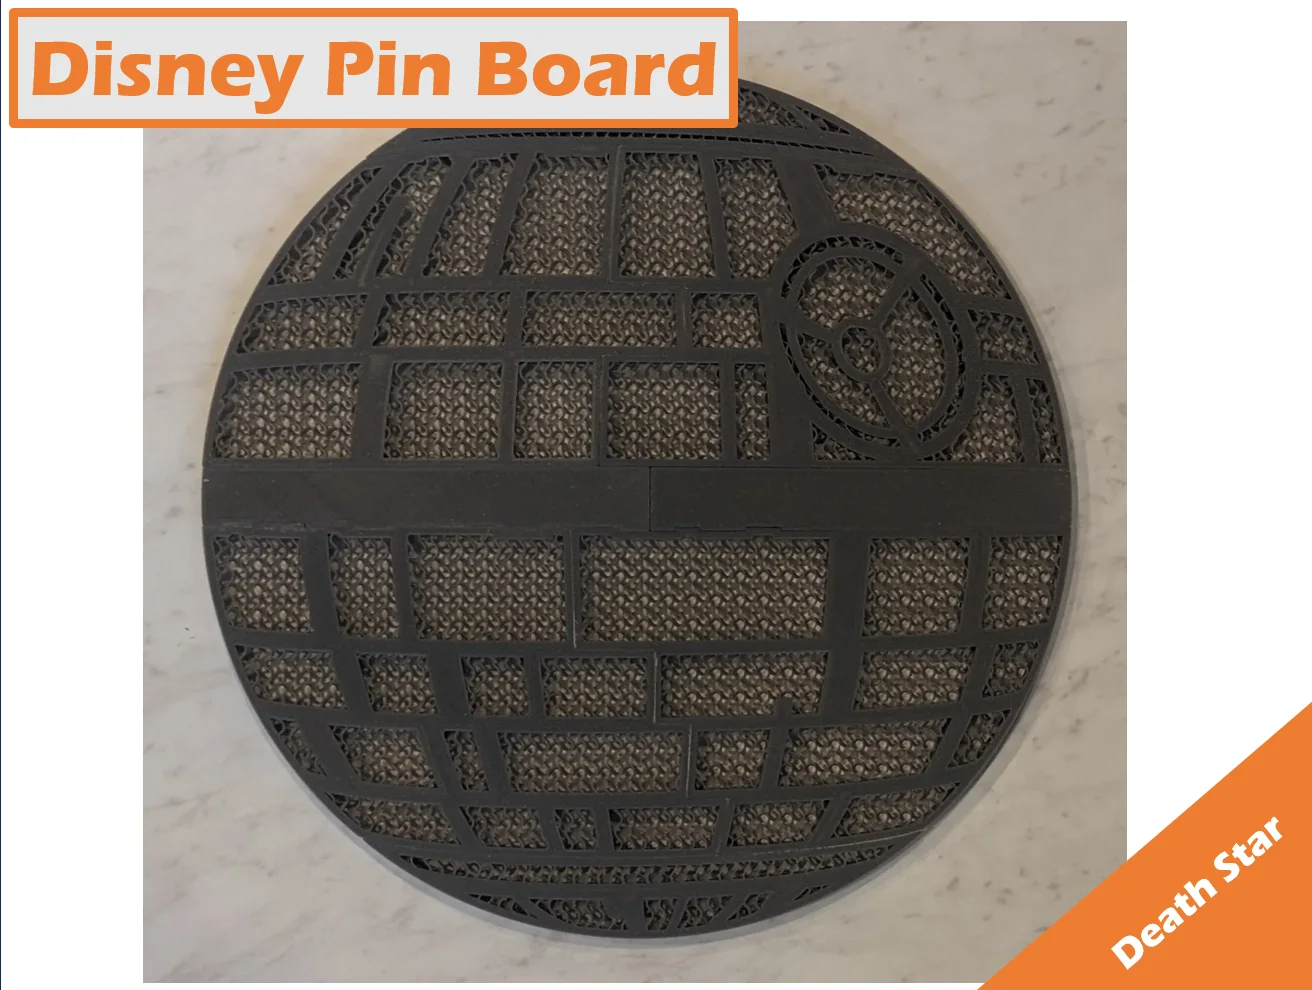
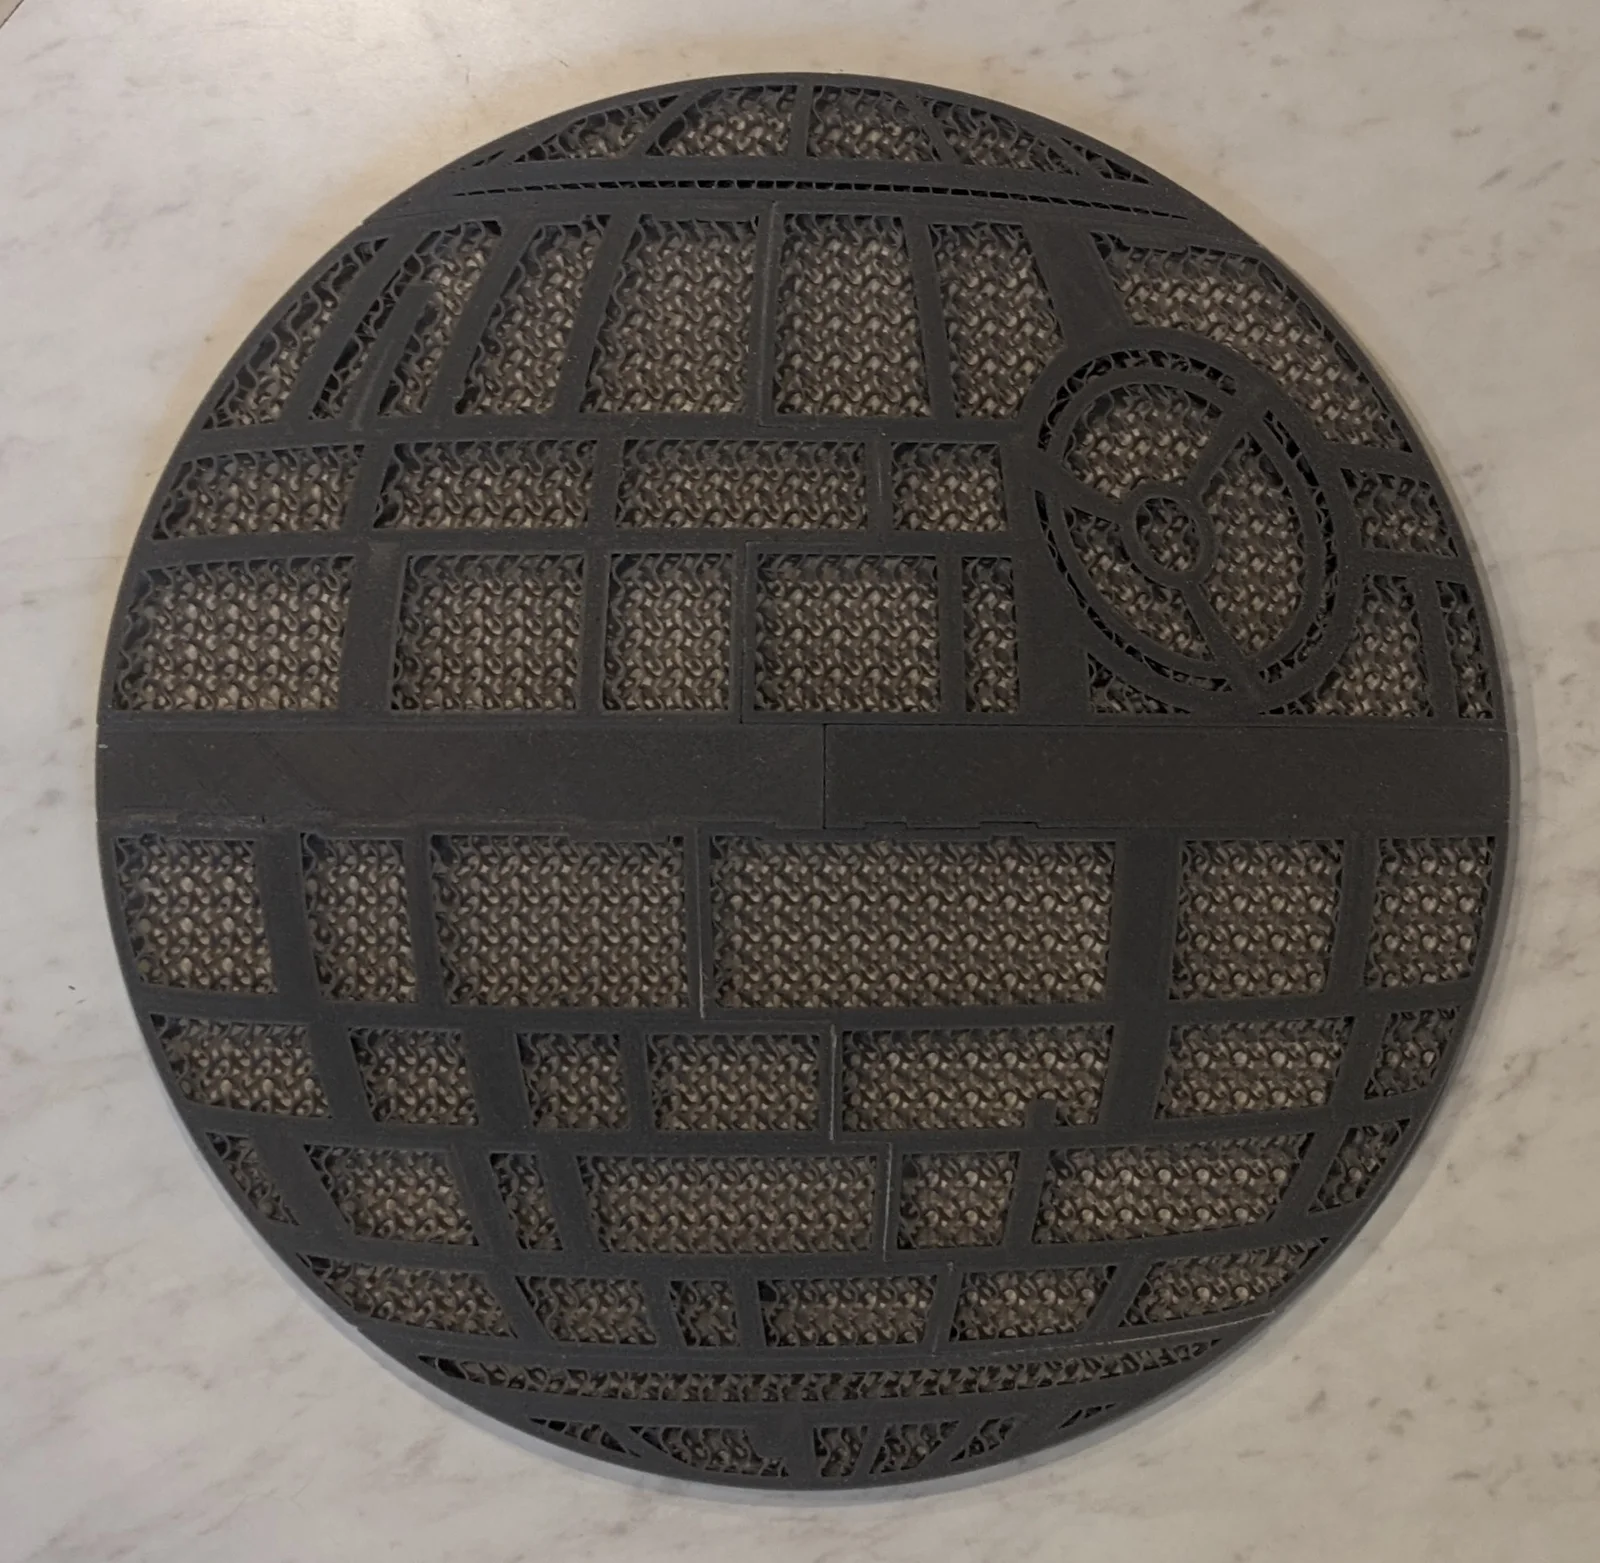
All parts printed in PLA at 0.2mm layer height. I designed a 0.18mm gap between all parts that fit together based on the tolerances of my printer and the filament I used. Entire model broken up into multiple parts due to the size limitation of my printer.
In order to get each model to simultaneously have top & bottom layers AND have exposed infill, I had to slice two STL files at once in order to generate the desired gcode.
The first STL file was the desired model. This STL file had outlines (of the Death Star) and a bottom layer 3mm thick. In CURA change the top & bottom layer count to “0” in order to expose the infill, and set infill to 13% gyroid. At this point any region of the STIL file that's wider that a wall will have its infill exposed. However, we don't want this for the entirety of each portion of the model.
So the second STL file I loaded in the slicer was the “blocker” file. I loaded the blocker file on the slicer virtual print bed along with the first STL file. The blocker file is the same as the first STL file but without the 3mm bottom layer. The purpose of the blocker file is to ‘mask’ the areas of the original STL file where I don't want infill exposed.
In order to do this I orient both STL files the same, and them place them at the center of the print bed (X=0mm, Y=0mm). This way both STL files are occupying the same space. I've already changed the top bottom layer count to “0” in CURA to expose the infill of the first STL file. Next:
The result is that everywhere the blocker file overlaps the original STL file there won't be any exposed infill. Only the 3mm thick bottom layer of the original STL file will have exposed infill, which is the portion of the print on to which you mount your pins.
NOTE: The equator files are meant to be printed with top and bottom layers intact. Do not expose the infill on the equator files.
I did not use frames for holding everything together like I did in some of my other pin boards. The entire pin board assembly is held together solely by super glue between the mating surfaces of the pieces.
Here are other Disney-themed pin boards for you to check out for personal use:
Click here to check out all of my other uploads. Happy printing!
ByDrewmundLikes833Downloads4.6K

 ByFastRaccoon_718321Likes461Downloads1.5K

 ByvexanixLikes168Downloads1.3K

 ByIvoLikes196Downloads1.1K

 Bynonoobybut_3307010Likes364Downloads1K

 ByvojtagrecLikes289Downloads902

 ByCodyMeyer_2545340Likes163Downloads725

 ByPexPeppers Hot Sauce Hot SauceLikes114Downloads559

 Bymartin-schneiderLikes0Downloads399

 ByFotisMintLikes71Downloads415

 ByAryserLikes36Downloads391

 ByowlartLikes56Downloads375