

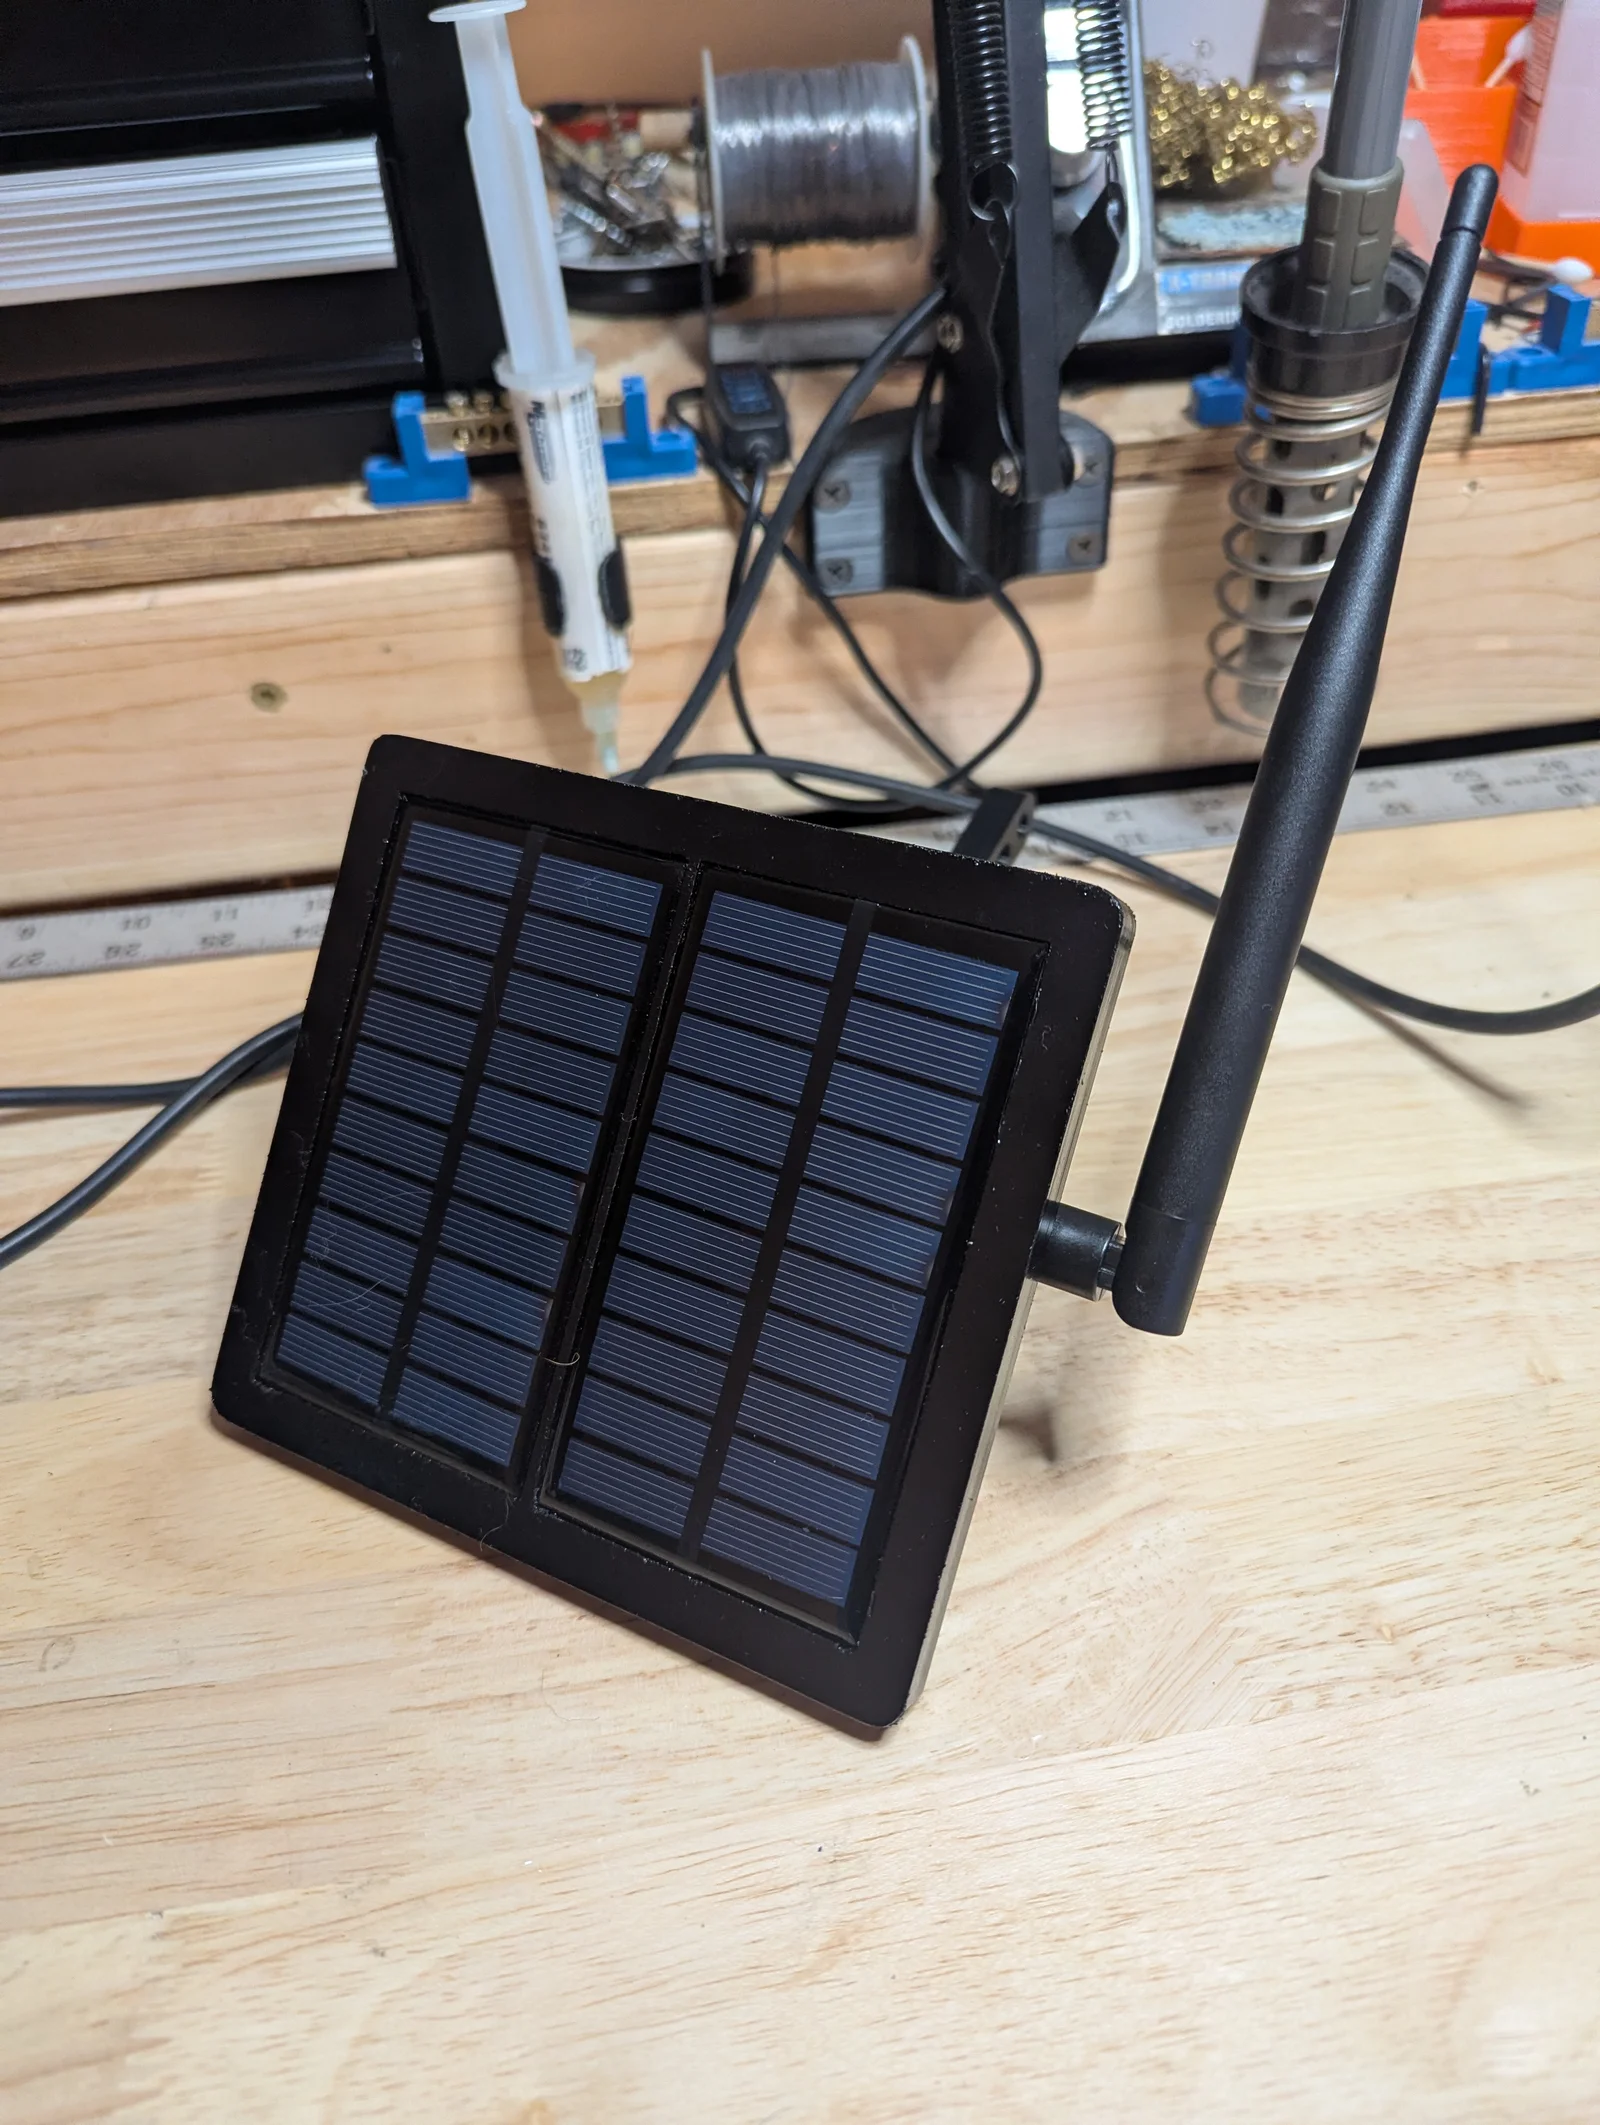
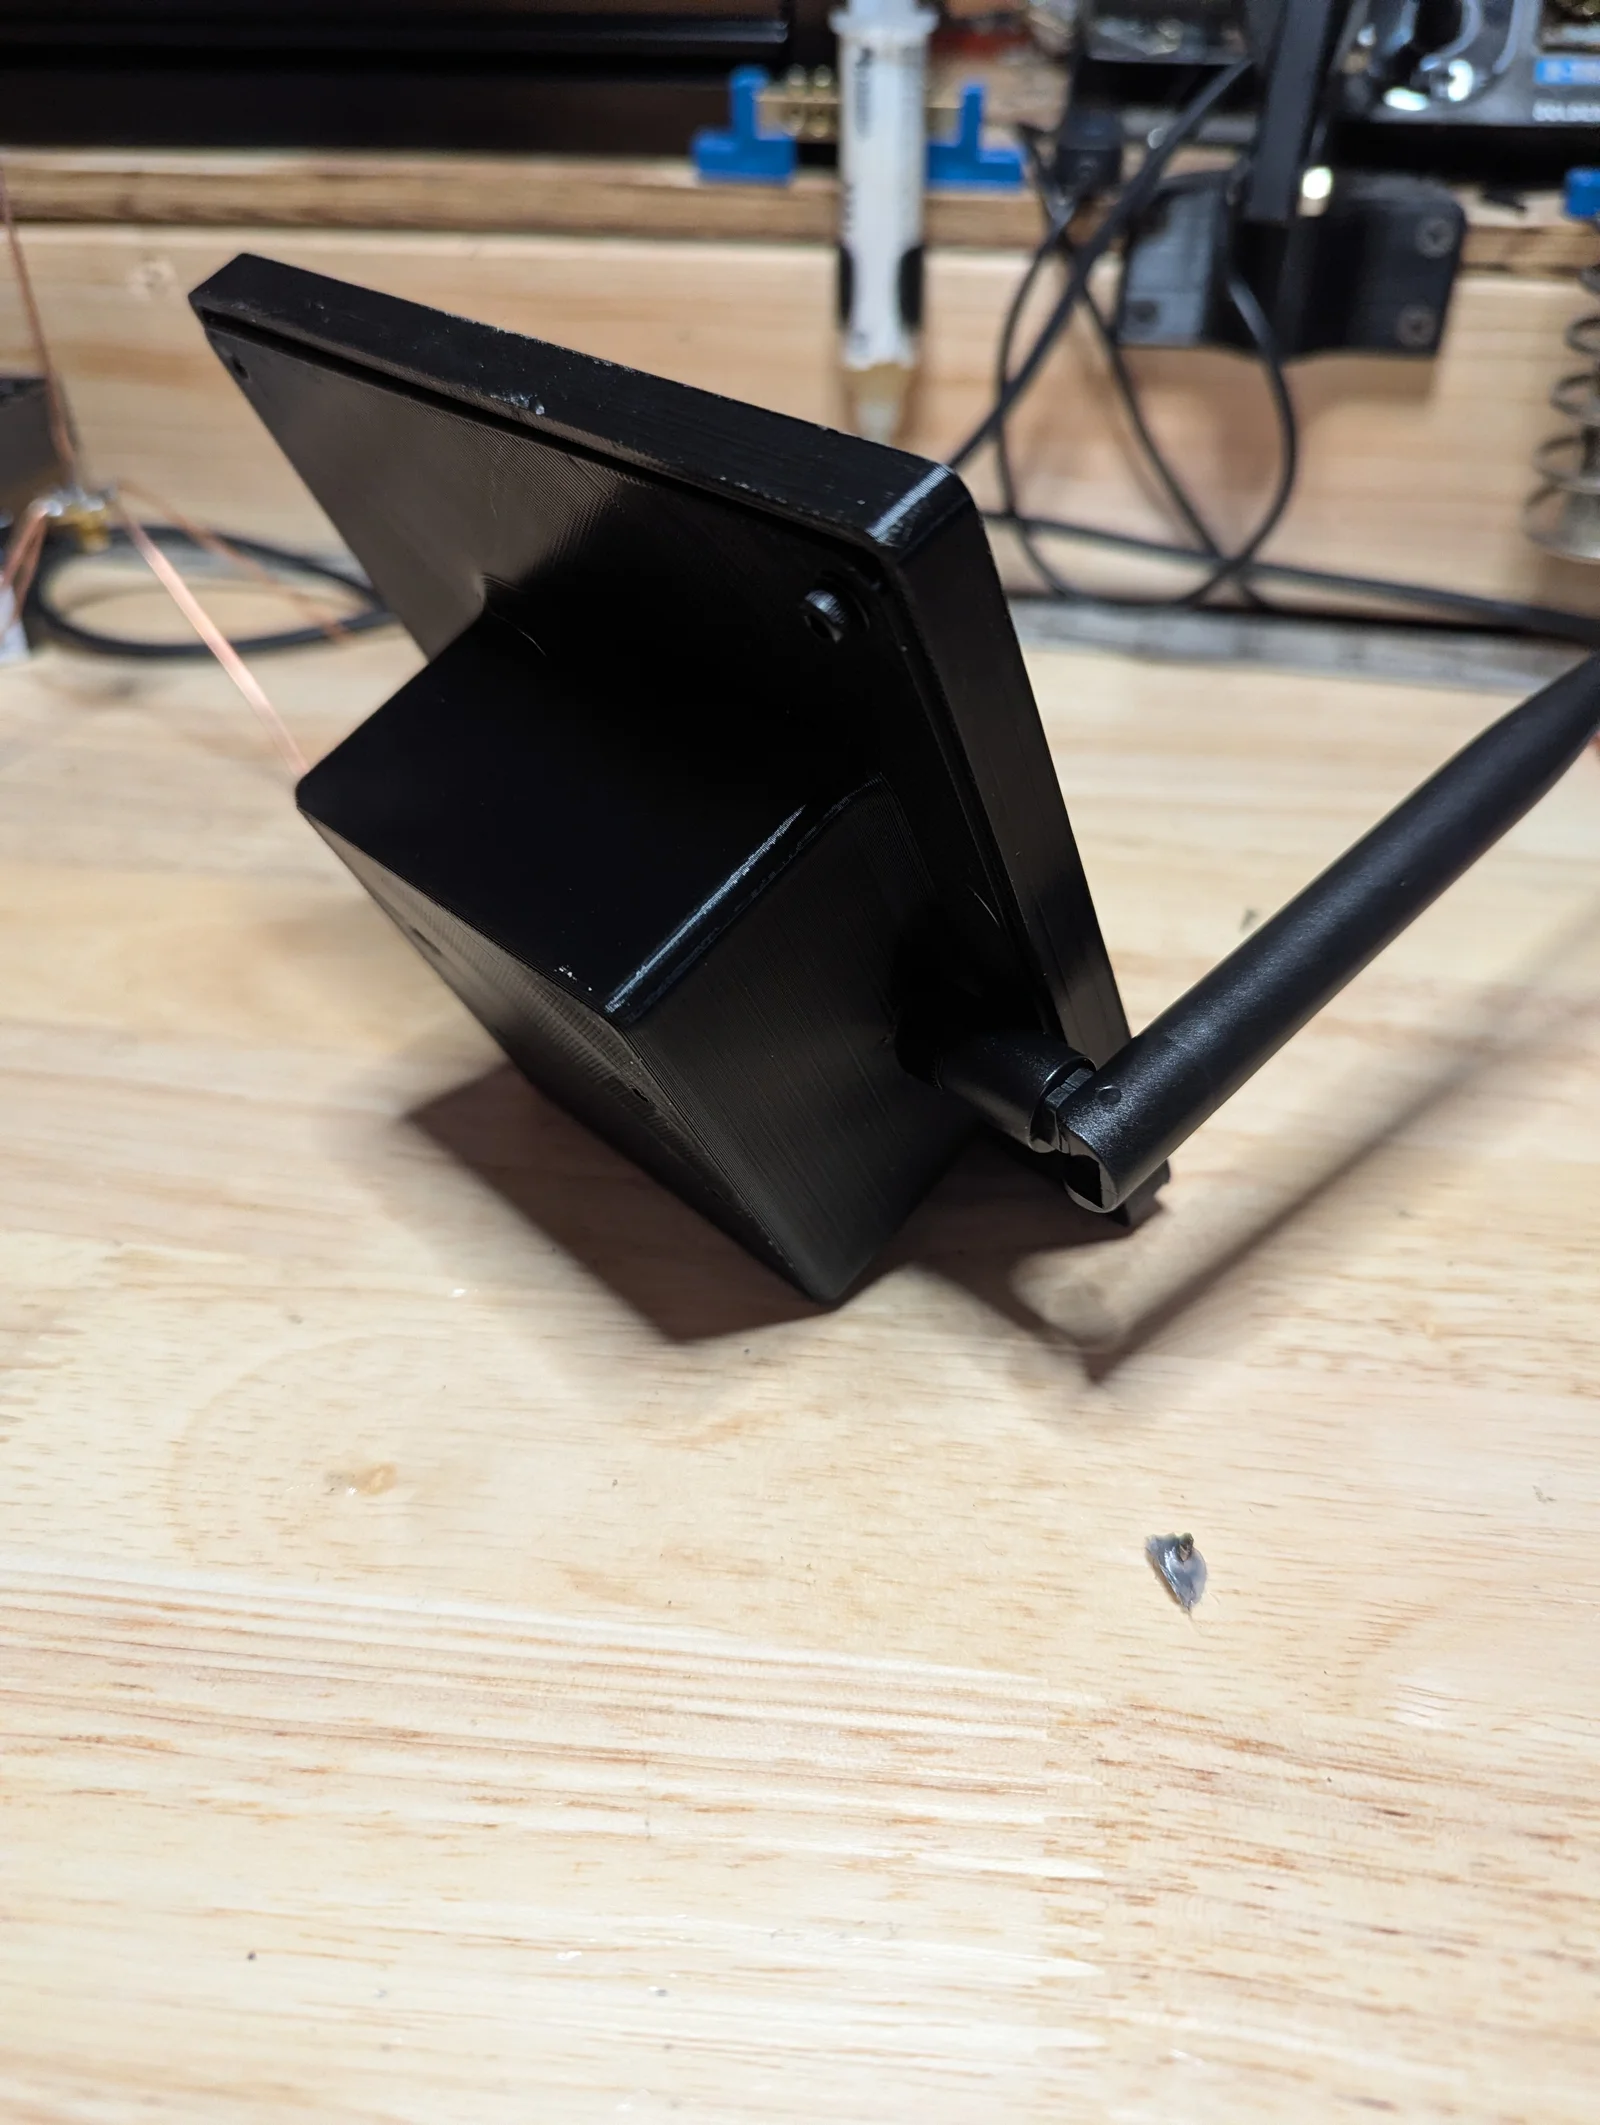


RAK 1W RUGGED CASE ATAK/MESHCORE
 Bysupreme-vermin-labsLikes0Downloads115
Build another version of this model.
RAKwireless WisBlock Meshtastic Starter Kit US915 Base RAK19007 + Core RAK4631
Micro Solar Panels (x2)
M3 heat insert nuts (x4)
M2.5 heat insert nuts (x4)
M3x6 screws (x4)
M3x16 screws (x4)
M3 nuts (x4)
M3 washers (x12)
M5 screws, nuts, washers (depends on mounting configuration)
Waterproof caulk/adhesive
Double sided tape (not strictly necessary)
Print all required parts
Flash and configure the WisBlock to your desired setup (router or repeater mode recommended)
Install the M3 and M2.5 heat-set inserts into the printed parts
Glue the solar panels into place and allow the adhesive to fully cure
Attach the Micro ZH connector to the solar panel leads
Secure the battery to the bottom of the main housing using double-sided tape
Mount the SMA antenna connector in its designated location
Install the RAK WisBlock board and secure it using the screws from the kit
Connect the battery, antenna, and solar panels to the board
Assemble the enclosure
Add mounting hardware (M5 screws, nuts, and washers) as needed for your setup
Bysupreme-vermin-labsLikes0Downloads115

 ByrjunLikes0Downloads304

 ByyuriyLikes0Downloads142

 ByleonicLikes0Downloads1.4K

 ByZED4EverLikes313Downloads5.2K

 ByVC_DesignLikes271Downloads756

 ByfifindrLikes500Downloads4K

 Bymrfixit_324954Likes65Downloads478

 Bylab-96Likes0Downloads106

 ByDan Schwartz SchwartzLikes744Downloads3.4K

 ByBrokentooth_designsLikes83Downloads453

 Byvc-designLikes0Downloads3.2K