
F3D
Dao trổ (Xacto) rút gọn in 3D 1

5 images

DIY

Dao trổ (Xacto) rút gọn in 3D

Remix of Dao Xacto Hobby Mỏng By DaHouzKat

By DaHouzKat

Downloads
289
Likes
86
Views
2,251

Files 16 17.9 MB

  • collar_1773909283.3mf3MF · 611.8 KB
  • chuck_1773909284.3mf3MF · 215.7 KB
  • spindle_1773909285.3mf3MF · 102.9 KB
  • handle_1773909286.3mf3MF · 196.2 KB

Make a variant with AI

Build another version of this model.

Open Studio

Description

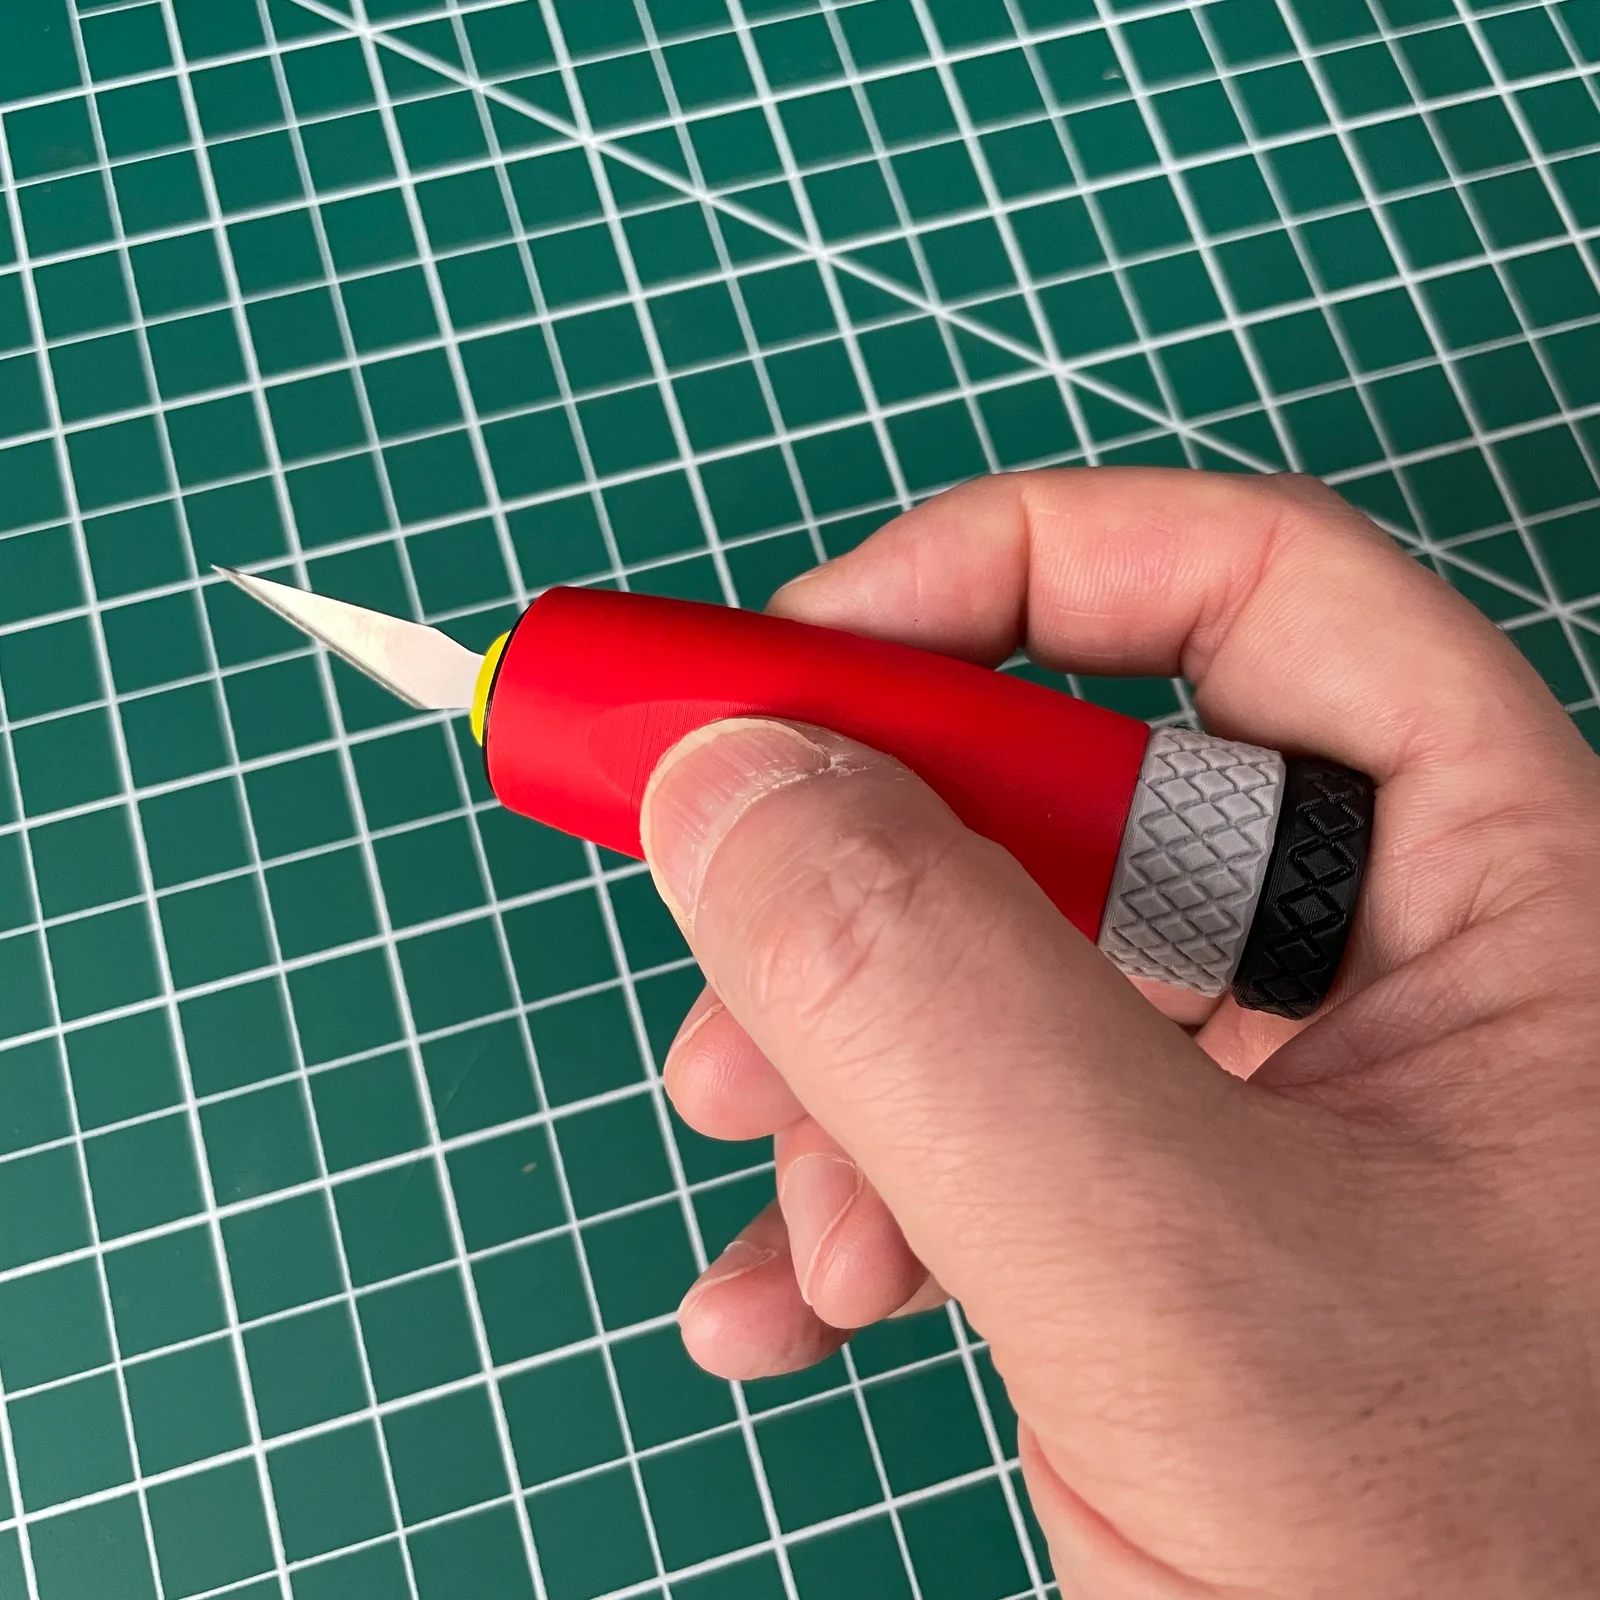
Retractable Xacto Knife 

Features

  • compact with retractable blade
  • compatible with no10 and no11 blade

Print Instructions

  • be careful
    • this is a very tight fit, your printer must be well calibrated
    • the classic perimeter generator produces better threads
    • try Original models used in this remix first
    • for best result, print each part separately
    • try to fit the test blade to avoid injury 
  • print settings
    • use default 0.20mm QUALITY PrusaSlicer Settings
      • avoid crossing perimeters : recommended
      • nozzle diameter : 0.40 mm
      • layer height : 0.20
      • filament : PETG
      • supports : none
      • brim : none
      • infill : 20%
    • collar
      • classic perimeter generator : recommended
      • perimeters : 3 or 4
    • chuck
      • classic perimeter generator : recommended
      • perimeters : 4
    • spindle
      • perimeters : 4
    • handle
      • perimeters : 3
    • grip, break and knob
      • filament : PETG or PLA
      • perimeters : 3
    • test_blade
      • default 0.10mm DETAIL PrusaSlicer Settings

Assembly

  • you may need to clean the chuck jaws 
    • pass an Xacto blade between each jaws 
      • be careful not to break anything ;-)
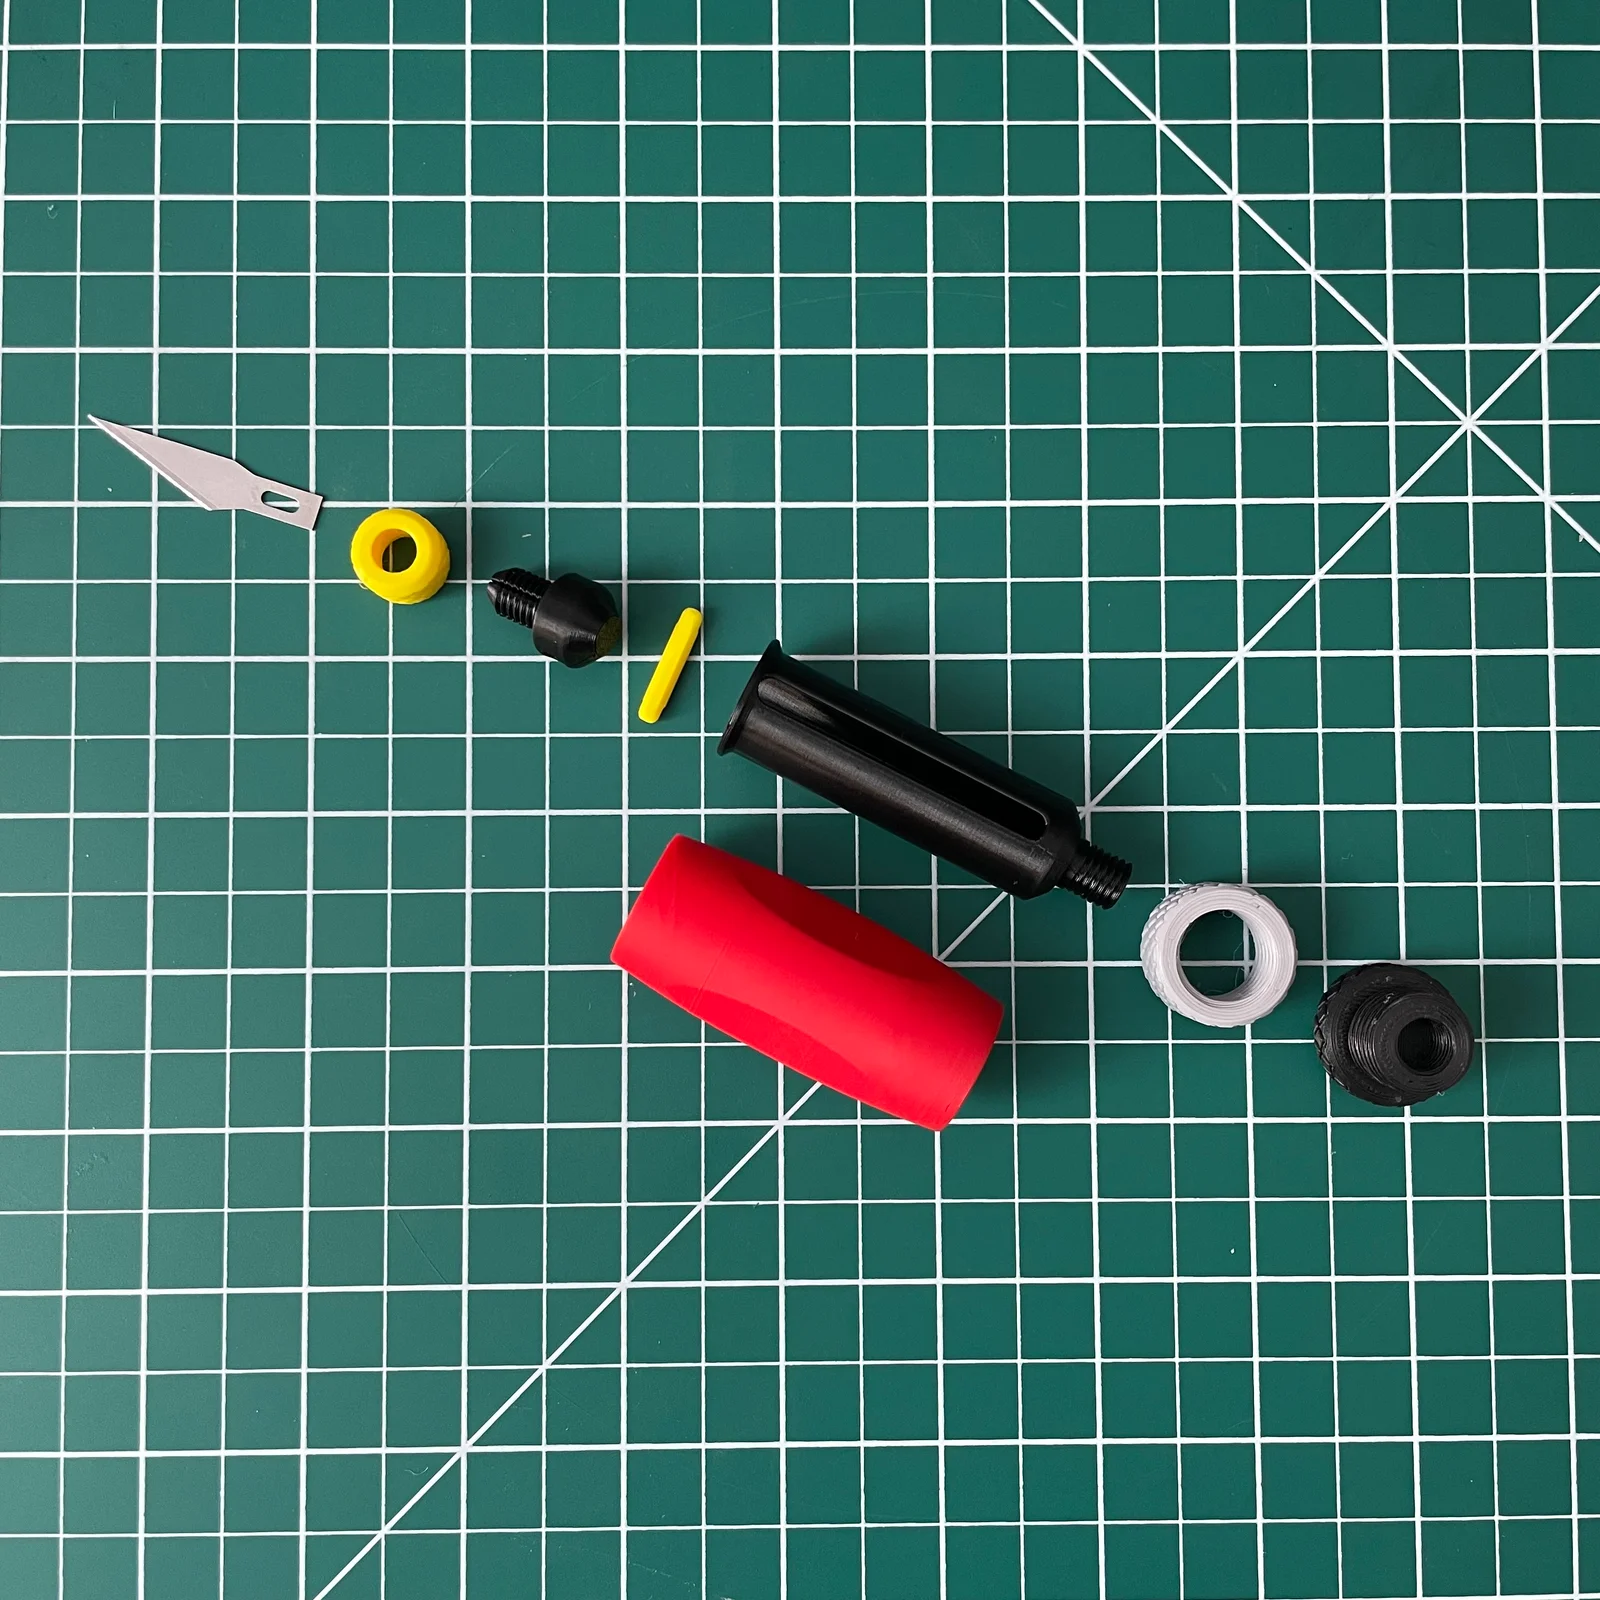
  • screw the collar to the chuck
    • make sure the collar is facing the right way
    • turn clockwise to tighten the chuck (and lock the blade in place)
    • turn counterclockwise to loosen the chuck (and release the blade)
  • insert the chuck into the handle and slide the spindle into the chuck
  • slide the handle into the grip
  • screw (clockwise) the break (gray ring) to the black knob
  • screw (counterclockwise) the knob assembly to the handle
  • insert the blade into the jaw
    • make sure you insert the blade into its slot
    • tighten chuck until blade is secure

Usage

  • moving the blade in or out
    • while holding the grip with one hand
      • turn the knob assembly clockwise or counterclockwise with the other hand
  • locking the blade in place
    • while holding the grip with one hand
      • put your index finger along the blade and against the top of the collar
        • the top of the collar must be flush (inside) with the top of the handle
      • turn the brake (gray ring) clockwise with the other hand until secure
  • unlocking the blade
    • while holding the break (gray ring) with one hand
      • turn the black knob clockwise with the other hand till the brake release

Read more Show less

Print spec

Formats
3mfgcode
Model files
16
Total size
17.9 MB
Largest file
6.6 MB

0 comments

See all