



Ốp lưng cho Samsung S22 Ultra
 ByckthLikes148Downloads2.4K
Build another version of this model.
Description
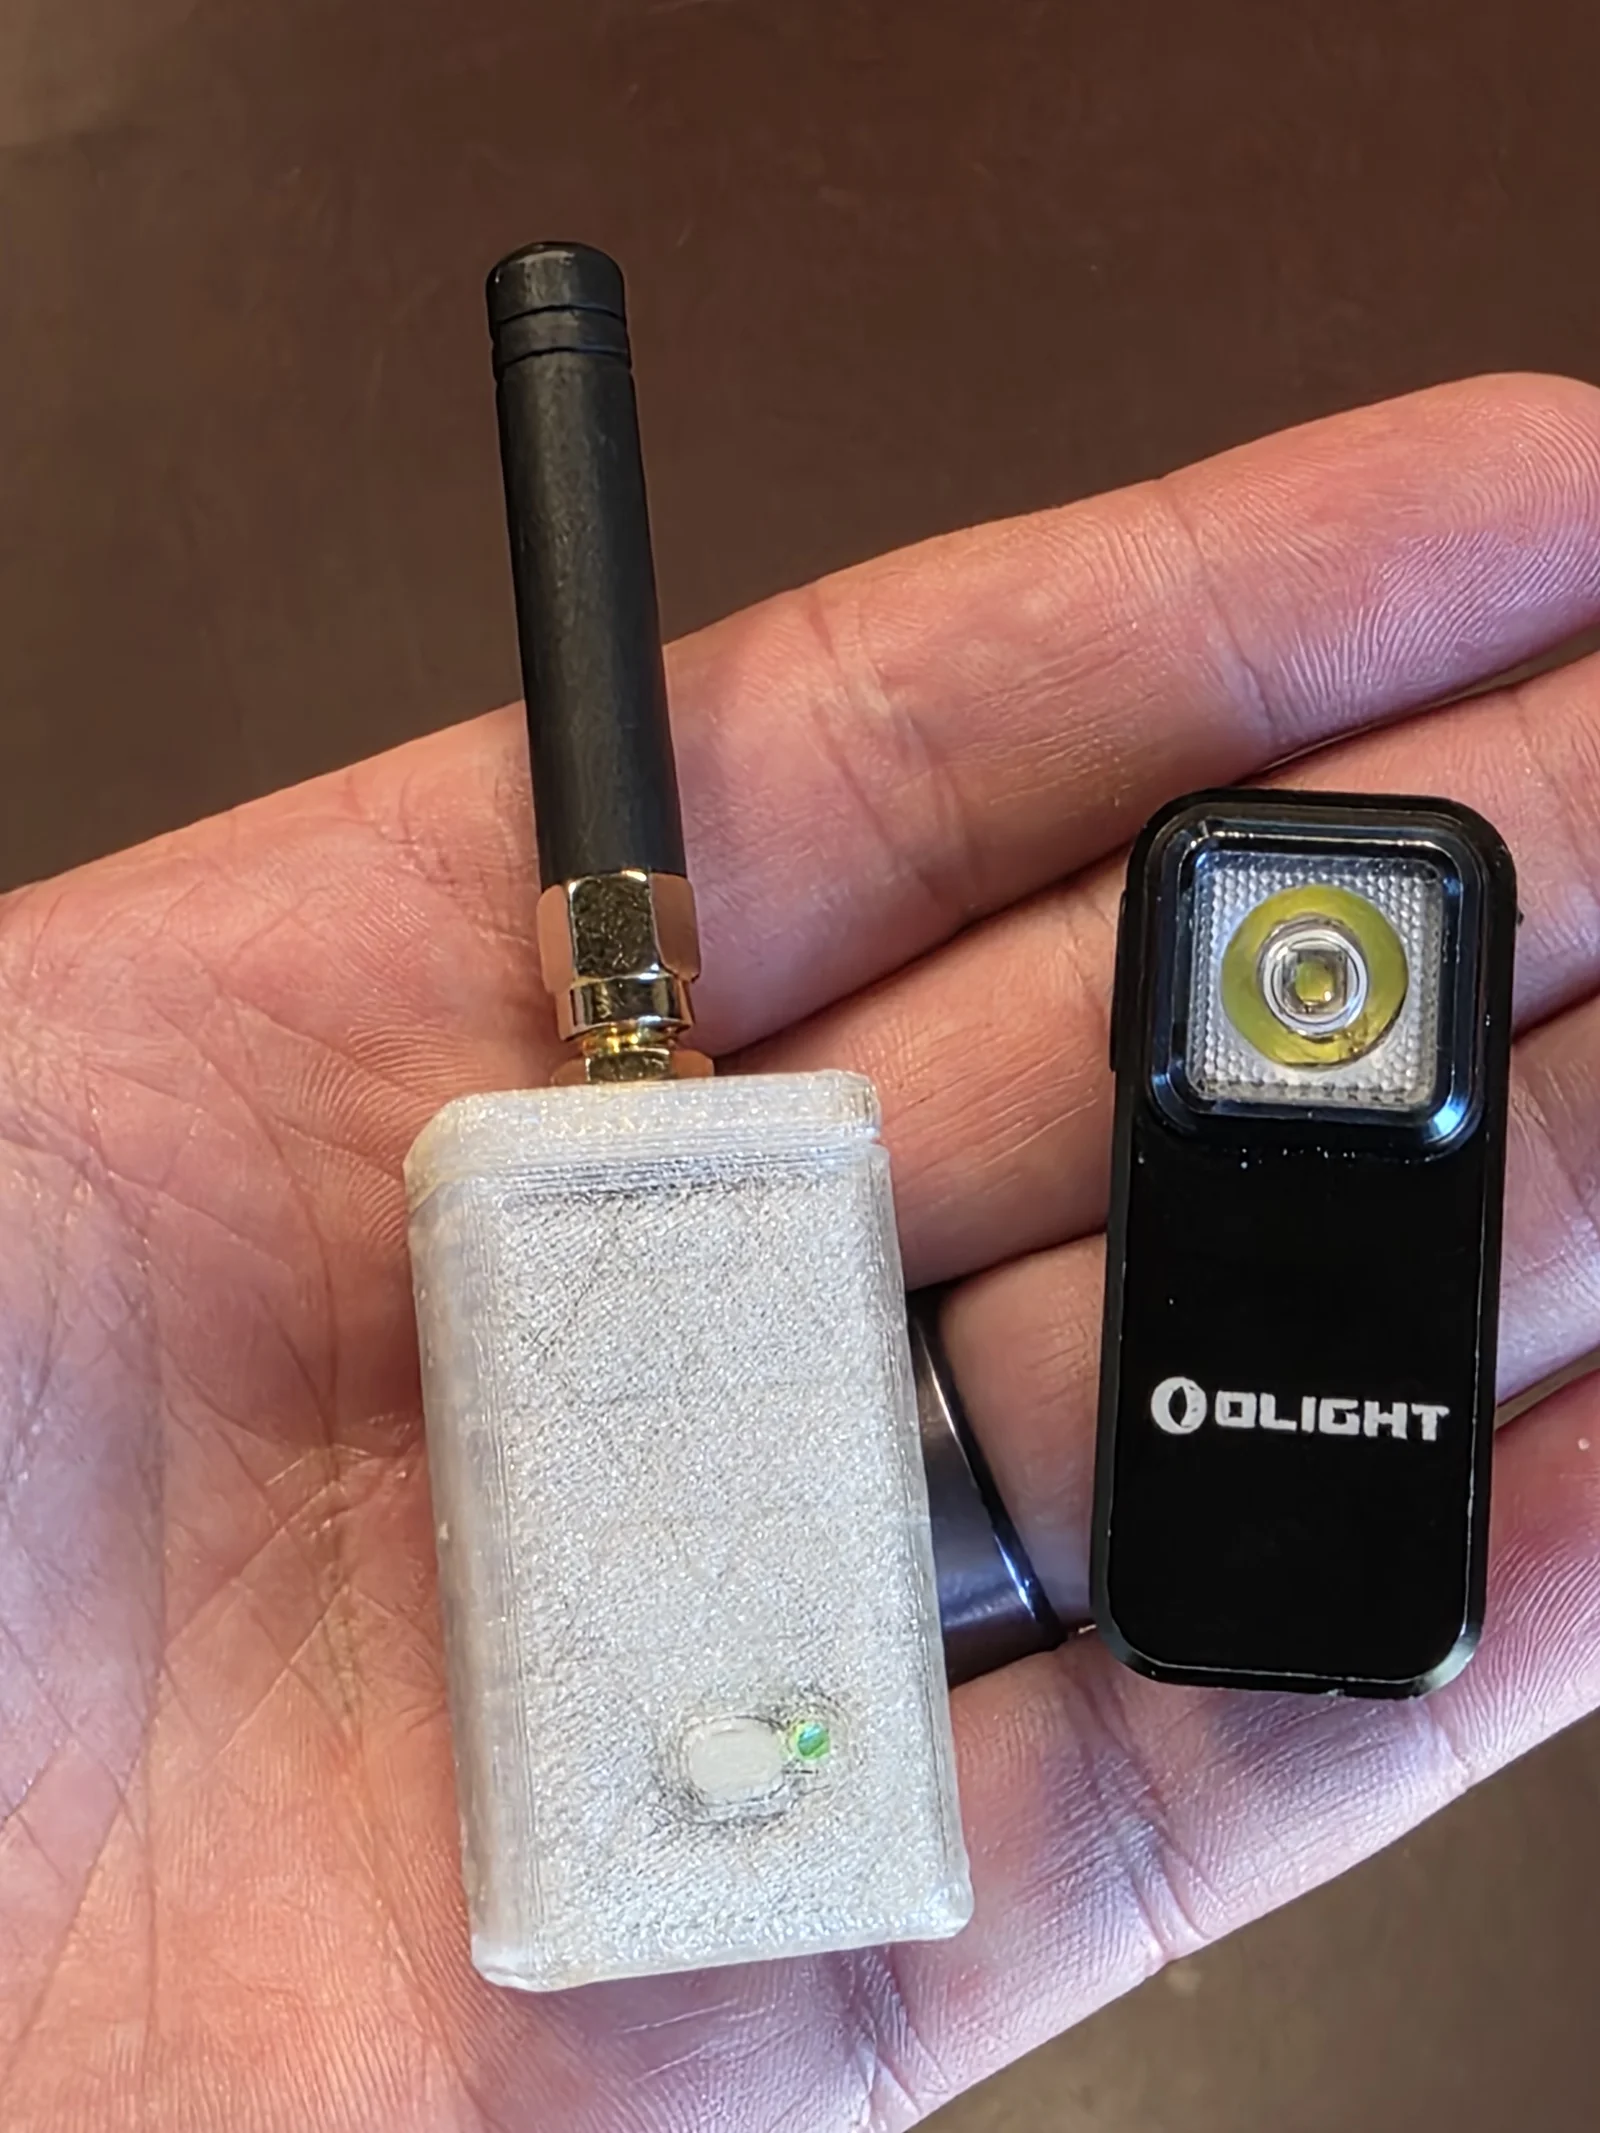
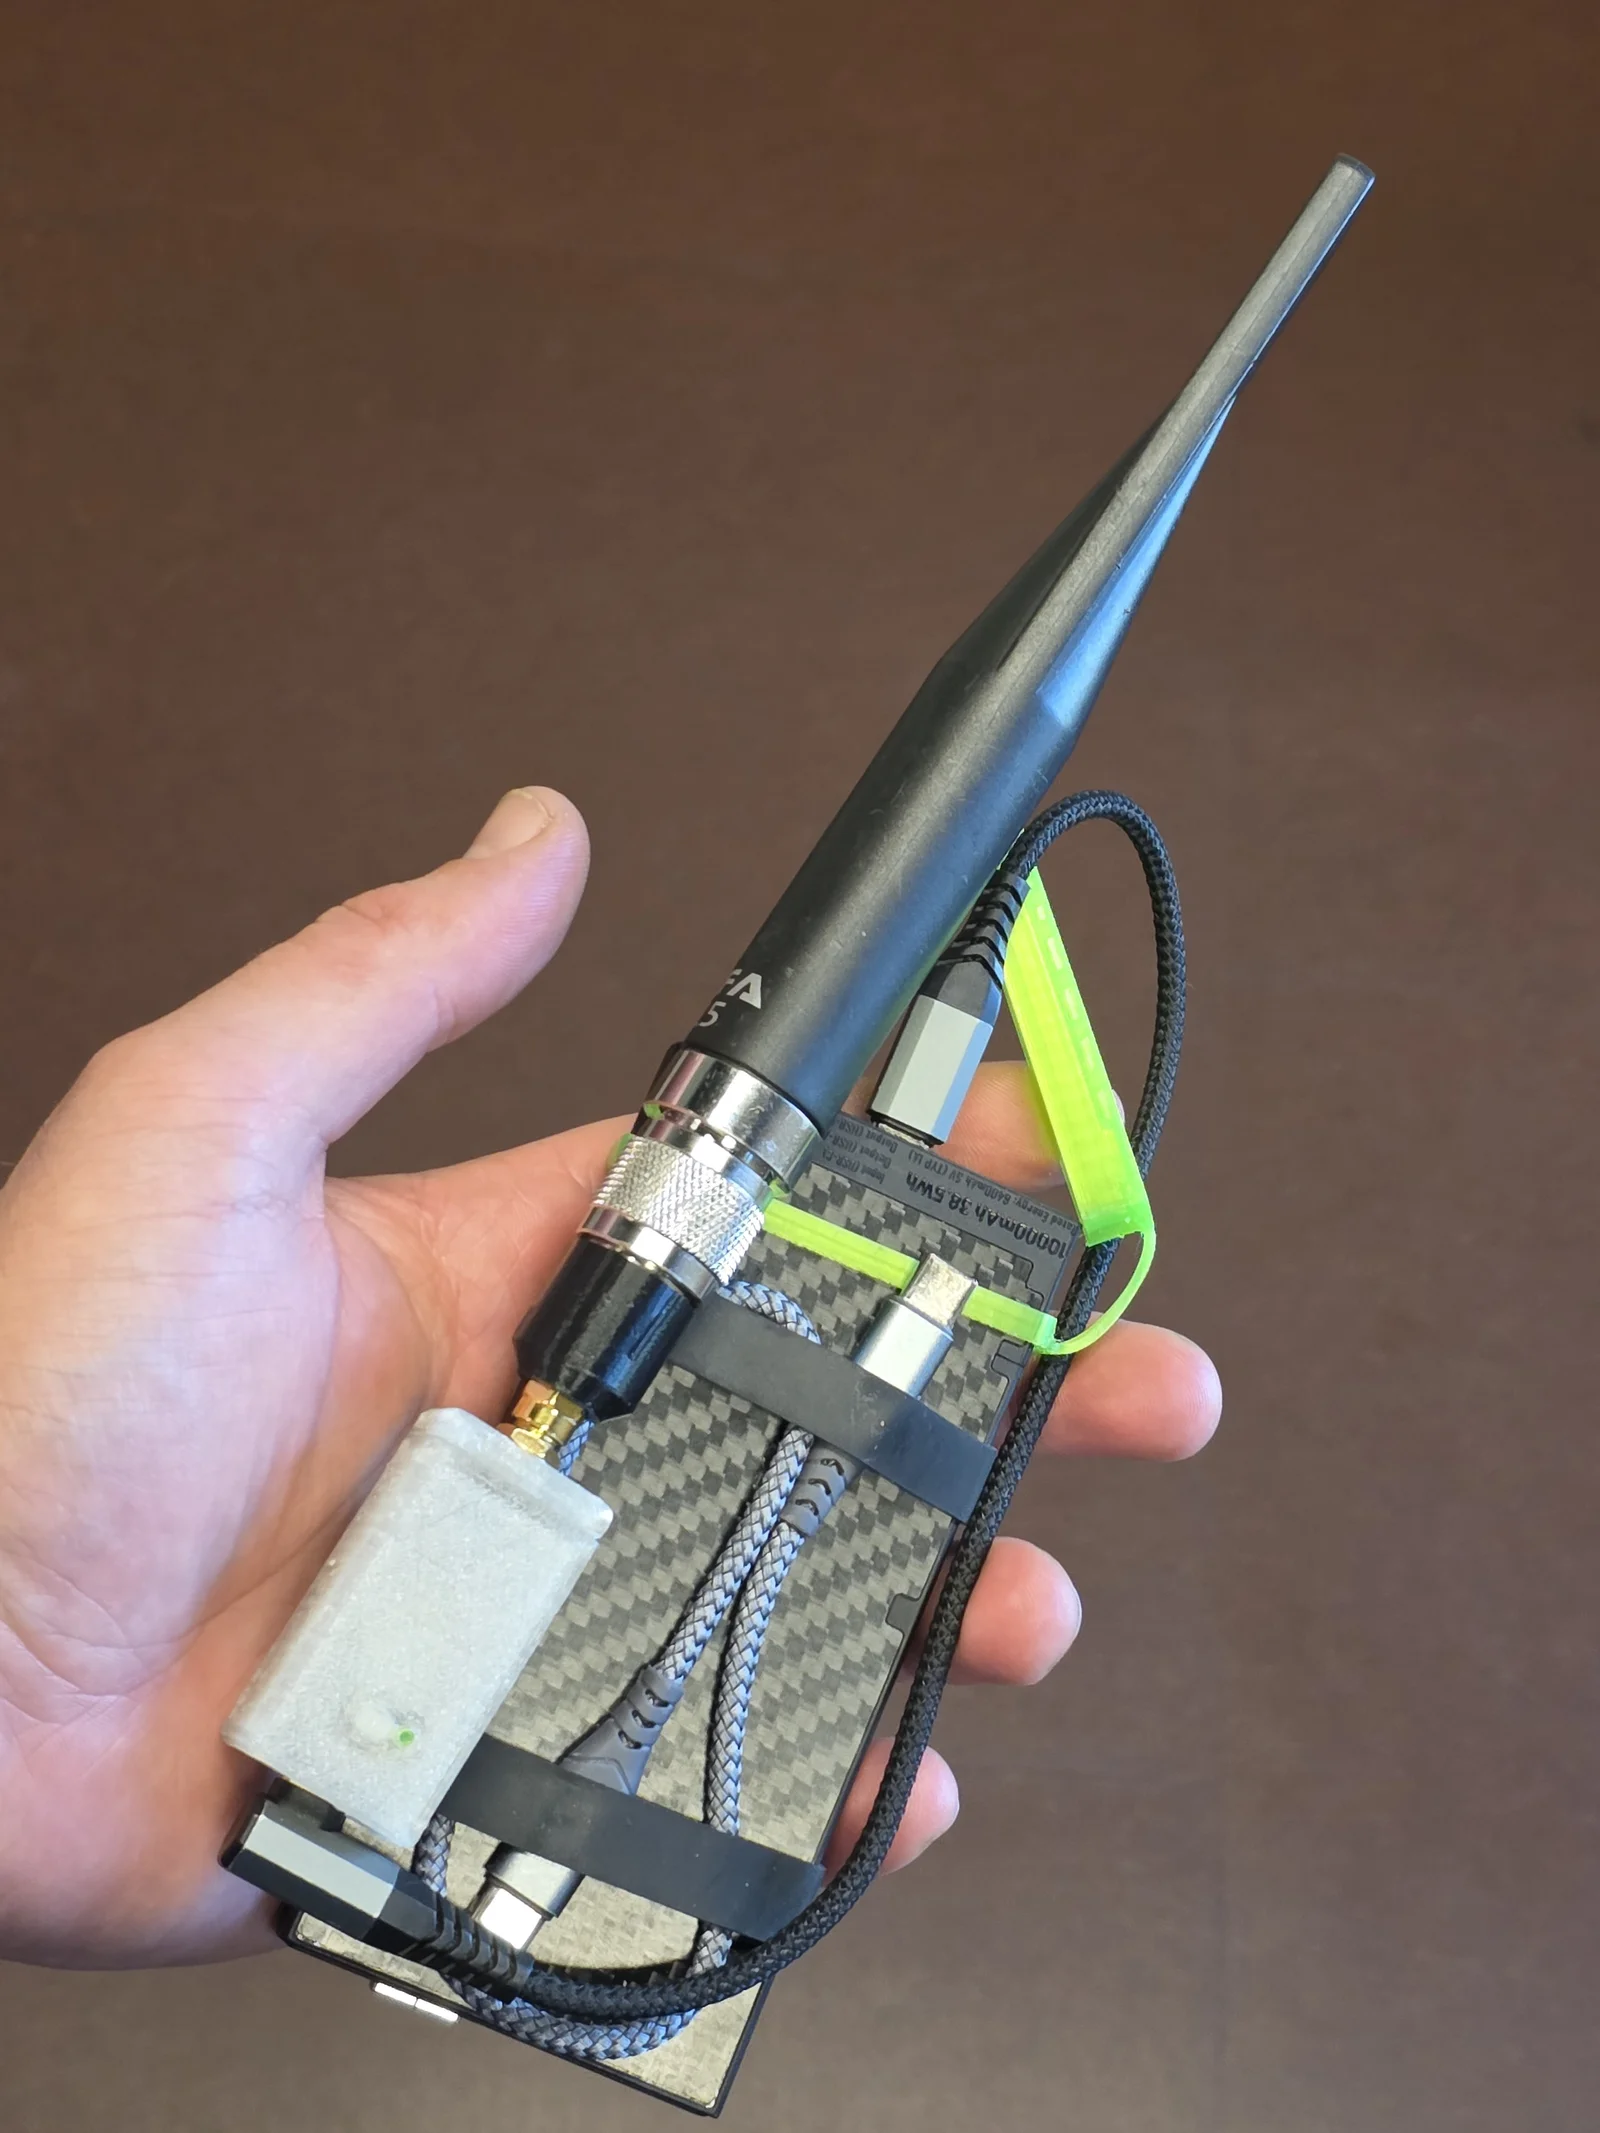
While I wasn't looking to make the most unreasonably small Meshtastic node when I originally bought my XIAO ESP32S3 & Wio-SX1262 from Seeed Studio; however, it has become quite a Quixotic quest to come up with one nonetheless. Over the past few months, I've made progress on this design in fits and starts and finally got to a point where I feel it's usable. Extra bonus points if you pair this with an unreasonably large antenna…
This case requires some light modifications of your ESP32S3 module in the form of desoldering the pins. As a novice with the soldering iron, this did not pose a very large challenge and was done in a few minutes.
I have provided both ventilated and non-ventilated versions of the lids to better suit your needs!
Please send any questions, recommendations, and requests my way!
Printing
Post-processing
The hole next to the switch is sized to fit a standard 1.75 mm segment of filament, that will likely require a little deburring with a needle file (to maintain an interference fit). This works remarkably well with clear filaments to see the status LED.
Depending on how tight of tolerances your printer can handle, light deburring of the case's button may be needed to prevent the button from sticking.
Assembly
The challenge with this design is getting everything all together (think building a ship in a bottle). I definitely recommend using the stock thin IPEX to RP-SMA cables that came with the device to avoid needing to actively bend the cable to get it in place.
I found the easiest way of putting it all together is looping the antenna cable down and around the USB side of the SX1216 module and seating the USB-C port in the opening before seating the bluetooth antenna (larger of the two supplied rectangular antennas) in the back side of the case.
ByckthLikes148Downloads2.4K

 BynasikLikes0Downloads272

 ByLecso_113752Likes76Downloads336

 ByBrokentooth_designsLikes30Downloads226

 BysedimentiLikes0Downloads113


 ByftoerringLikes79Downloads186

 ByFosphorLikes20Downloads239

 ByDiscotehkLikes35Downloads156

 ByjoranLikes0Downloads211

 ByJaronLikes310Downloads1K

 Byw3rN42Likes127Downloads935