

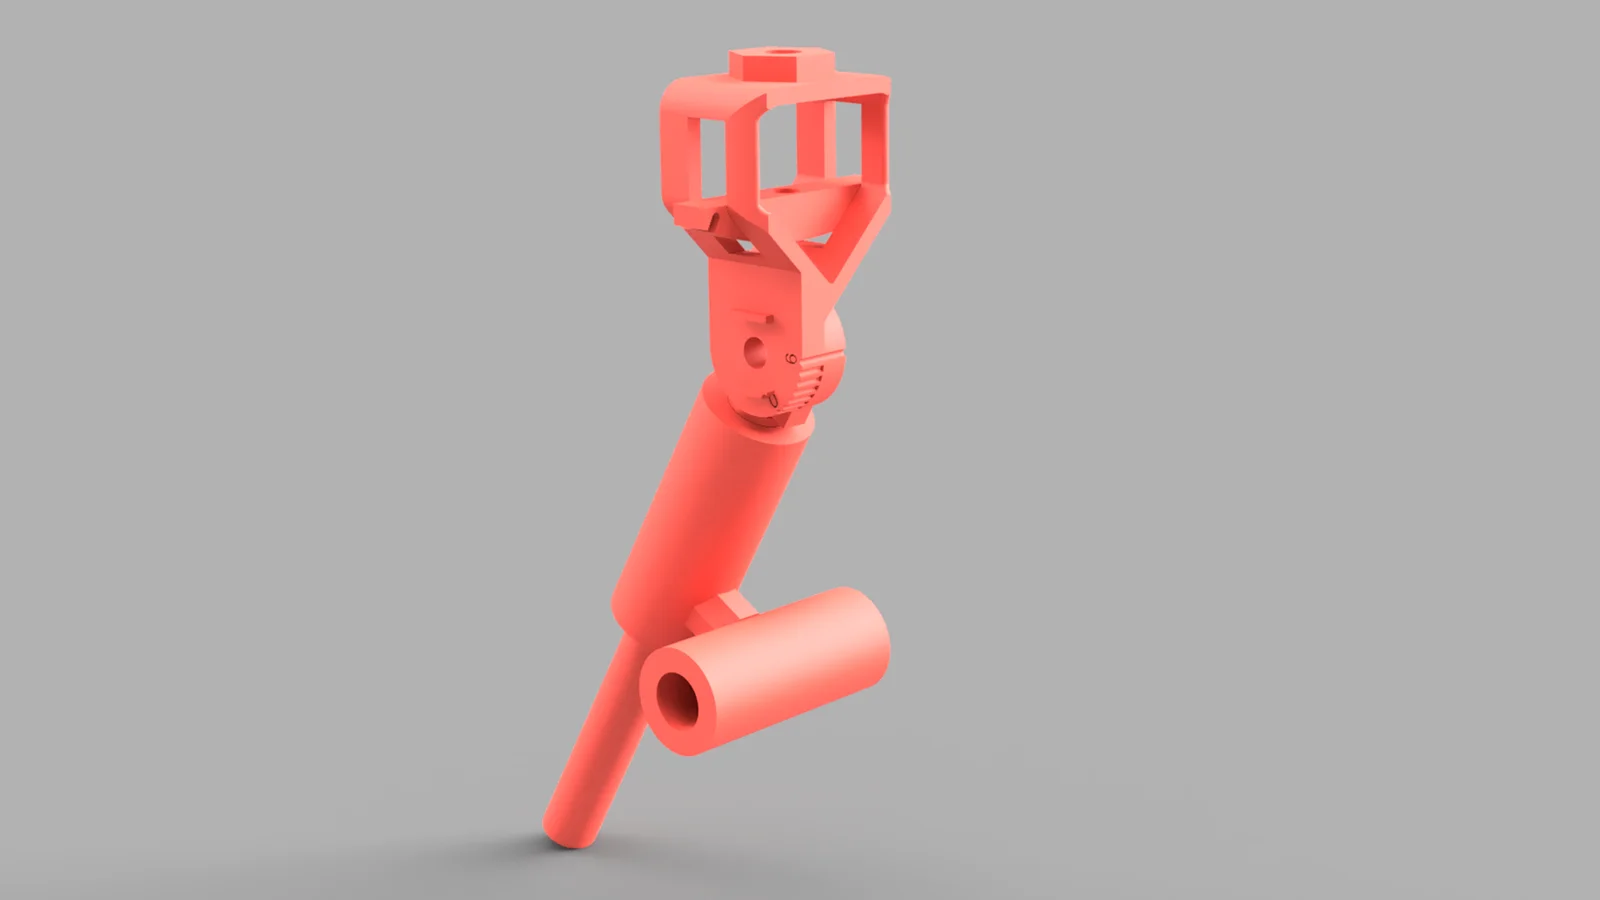


SolderMate - Fully 3D Printed Desk Soldering Companion
 ByleonicLikes0Downloads1.4K
Build another version of this model.
Printing:
Main Gouge Clamping Body - 40% infill or higher, print on flat backside
Lower Hinge Post and Assembly - 75% infill, 10mm brim, print vertically
Main Clamping Body - 40% infill
Horizontal Base - 20% infill
Follow JL Designs document if you have printing issues otherwise.
------------------------------------------------------------------------
Parts needed:
2 - ¼-20 Nuts
2 - ¼-20 Bolts (~2" and 1")
1 - ¼-20 Flat washer
Thin Hair Tie
------------------------------------------------------------------------
Assembly:
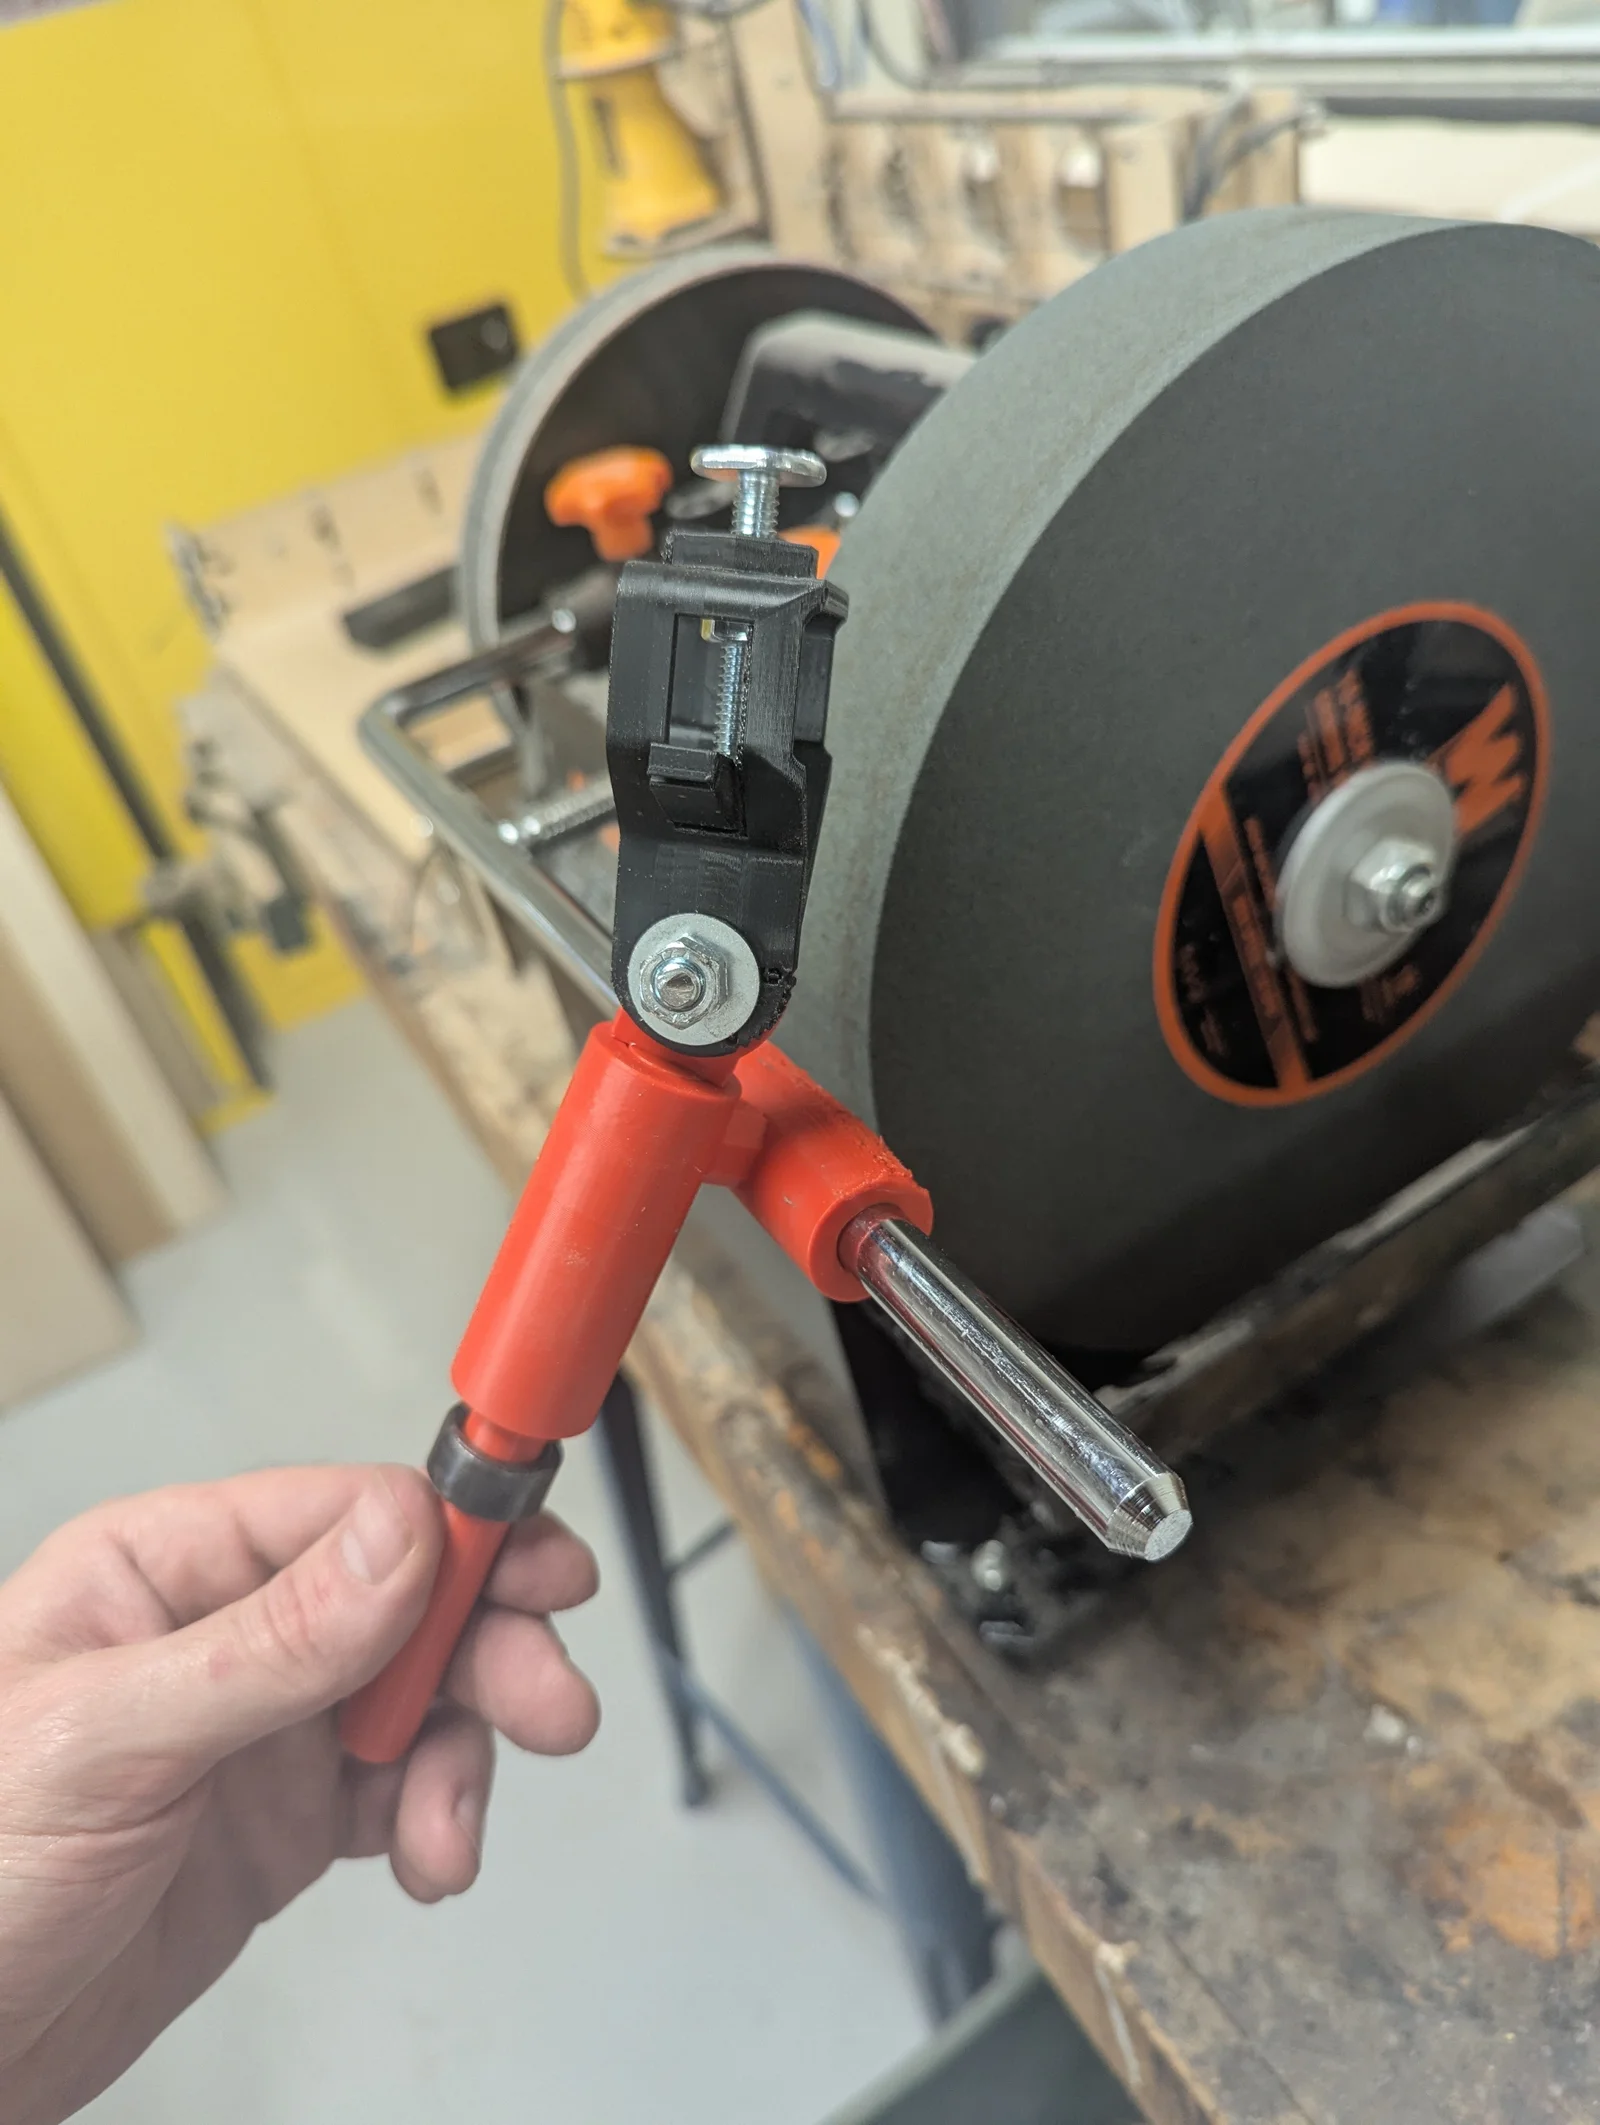
Main Gouge Clamping Body takes a ~2" ¼-20 bolt and nut. Place nut on inside and thread the bolt. Insert the Main Clamping Body inside the Gouge Clamping Body.
Attach Gouge Clamping body with 1" ¼-20 bolt, make sure the sides with the dimples face each other. Add washer and nut. Bolt should be cut to barely have threads poking out from nut. If too long, can come in contact with wheel/tool bar.
Helpful to have ¼-20 Hex bolt tightener: https://www.printables.com/model/1130432-5-lobe-14-20-hand-knobnut
------------------------------------------------------------------------
Usage:
Use TTS-100 for tool bar setting, reference profiles for the angle/grind you want.
Insert gouge into main clamping body and lightly tighten.
Use TTS-100 for tool protrusion.
Put Lower Hinge and Post inside horizontal base. Attach base to tool bar.
Sharpen!
ByleonicLikes0Downloads1.4K

 ByfifindrLikes500Downloads4K

 ByVC_DesignLikes679Downloads3.6K

 ByDan Schwartz SchwartzLikes744Downloads3.4K

 Byvc-designLikes0Downloads540

 Bythorin-oakenshieldLikes0Downloads536

 Bytorii-creative-studioLikes0Downloads454

 Bychubbs8697_2027893Likes585Downloads1.7K

 Byquibeck_3353173Likes965Downloads1.9K

 Bydenis-3dLikes0Downloads270

 ByRungeKuttaLikes229Downloads1.2K

 Bydelloo2008Likes0Downloads248