

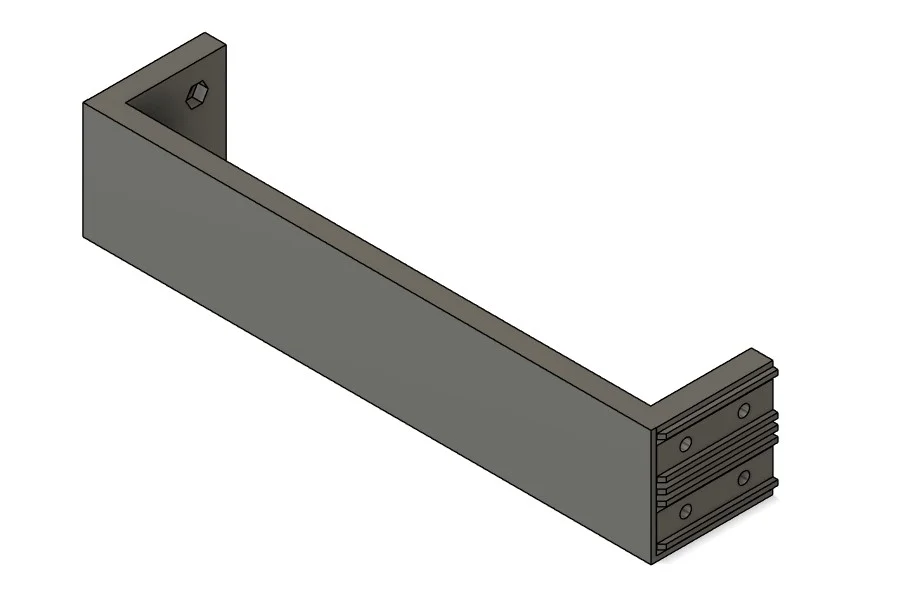


Tai gắn tủ rack (Rack Ear) cho Switch Linksys LGS326
 ByJMack_104264Likes12Downloads90
Build another version of this model.
 Giá đỡ thiết bị tùy chỉnh ESRack (ESRack Customizable Device Mount)ByDavidKahler_64887 · 04/15/2026
 Module Half-Width cho hệ thống kệ ESRackByShtsh_4490088 · 04/11/2026
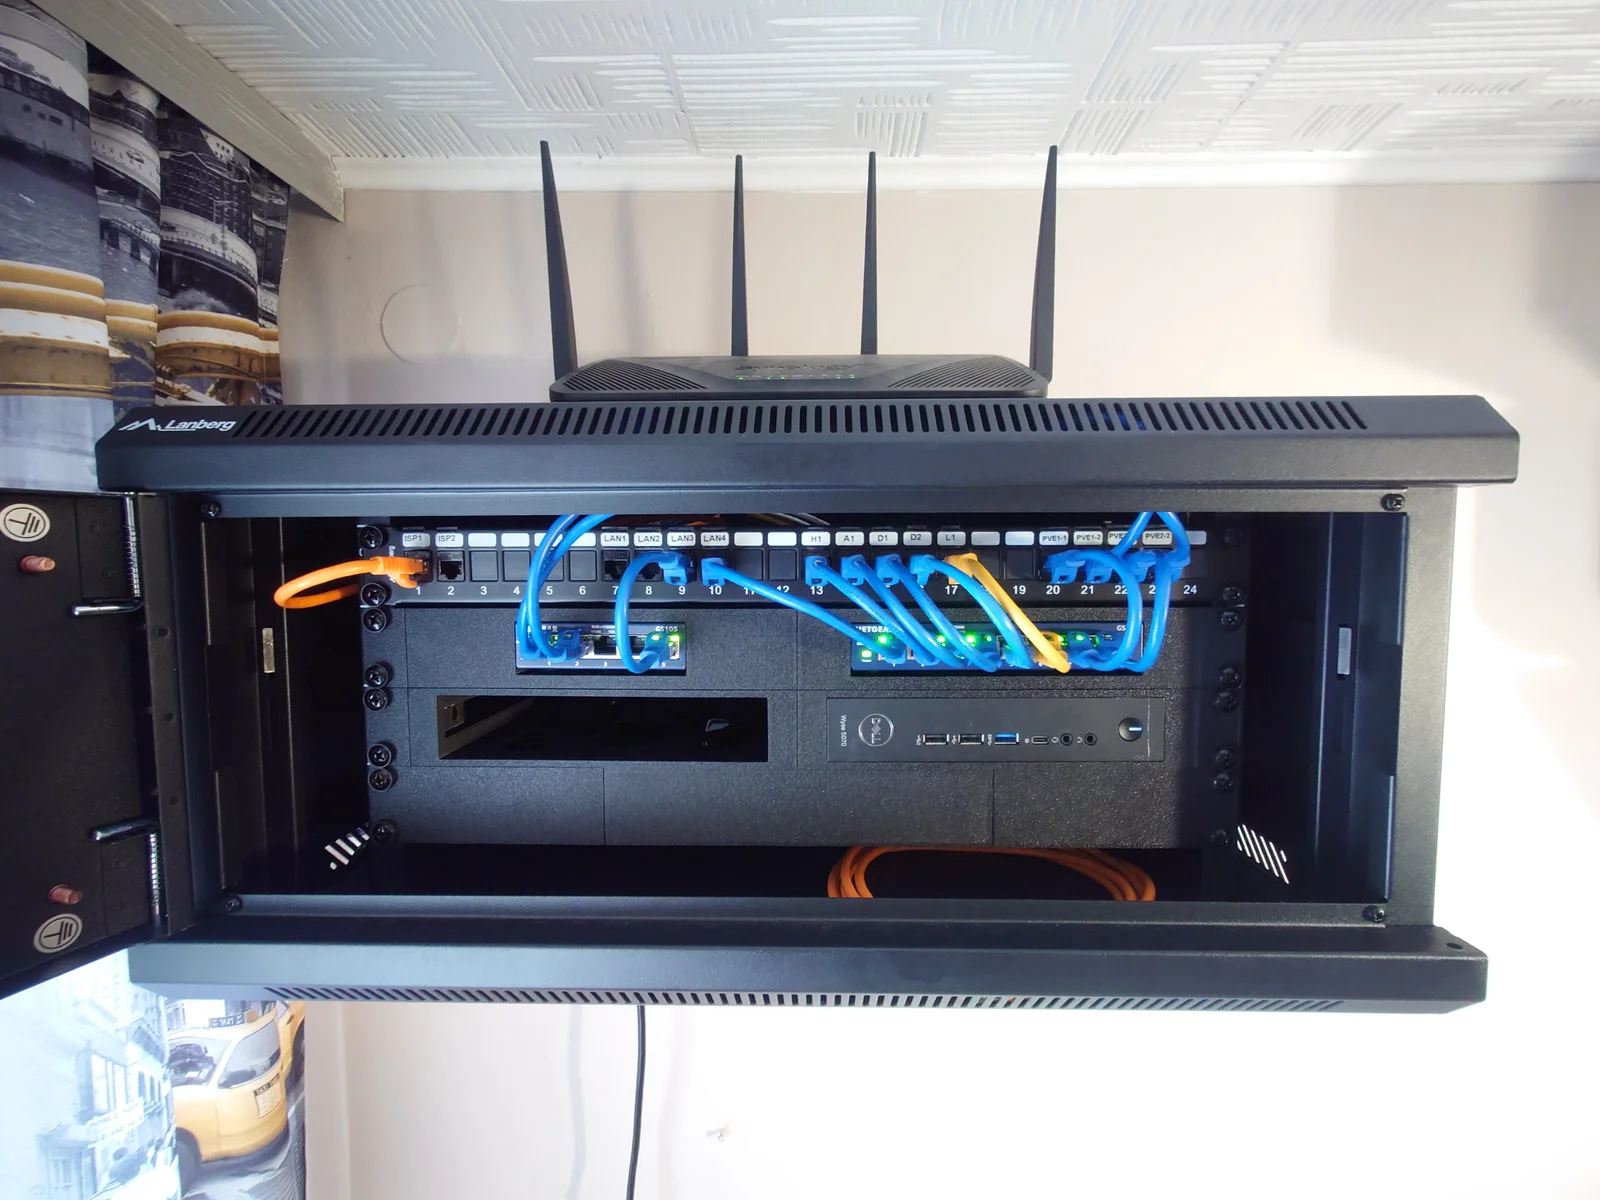
When I decided to assemble my HomeLab Rack I wanted each device to have its own dedicated holder, as I like to keep everything tidy and wanted to avoid a mass of shelves. Unfortunately I couldn't find any satisfactory solution, so I decided to design my own modular solution that would allow multiple configurations.
The ESRack system includes components:
Possible Configurations:
- [Mounting Bracket Short] + [Module] + [Module] + [Mounting Bracket Short]
- [Mounting Bracket Medium] + [Module] + [Mounting Bracket Medium]
- [Mounting Bracket Short] + [Module] + [Mounting Bracket Long]
- [Mounting Bracket Long] + [Module] + [Mounting Bracket Short]
- [Mounting Bracket Long] + [Mounting Bracket Long] (Blank Front Plate)
All modules were designed with very little clearance so installation of some devices may need to be pushed in by force.
Before you start printing the system, print the Connecting Block to check that you will be able to connect the modules.
I apologise that there are no detailed photos of the components after printing, but before assembly. It's because I decide to publish this project after fully assembling the racks.
All parts of ESRack system can be found here.
If you like my work you can support me and Buy Me A Coffee ;)
This module is a base for all other device holder, it can be connected with any of Mounting Bracket. It also can be used as dummy blank placeholder.
Material: PLA+/PETG (I used eSun PLA+)
Nozzle: 0.4 mm
Layer height: 0.2 mm
Wall loops: 3
Top/Bottom shell layers: 3
Infill: +25%
Infill pattern: Gyroid
Orientation: Print on front surface
Support: Not needed when correct orientation is used
High infill is needed to avoid bending after installing equipment. I used 20% infill and with heavy equipment it's bend a bit.
To connect the each individual modules together, you need:
- 4x M4 nuts (DIN934M4)
- 4x M4x12 allen screws (DIN912M4x12-8.8)
Use standard rack screws and nuts for rack mounting.
ByJMack_104264Likes12Downloads90

 Bynexgen-3d-printingLikes0Downloads392

 ByBrokentooth_designsLikes30Downloads224

 ByJaronLikes310Downloads1K

 Byw3rN42Likes127Downloads933

 ByTomDDLikes89Downloads574

 Bybullitt168Likes0Downloads27

 ByBoxseez_169293Likes13Downloads109

 ByJwidessLikes34Downloads375

 ByBroBuilds3D_4455044Likes32Downloads453

 ByckthLikes148Downloads2.4K

 ByVikingptty_1943738Likes50Downloads232