



Case for ESP8266MOD
 BymiceciczeLikes0Downloads597
Build another version of this model.
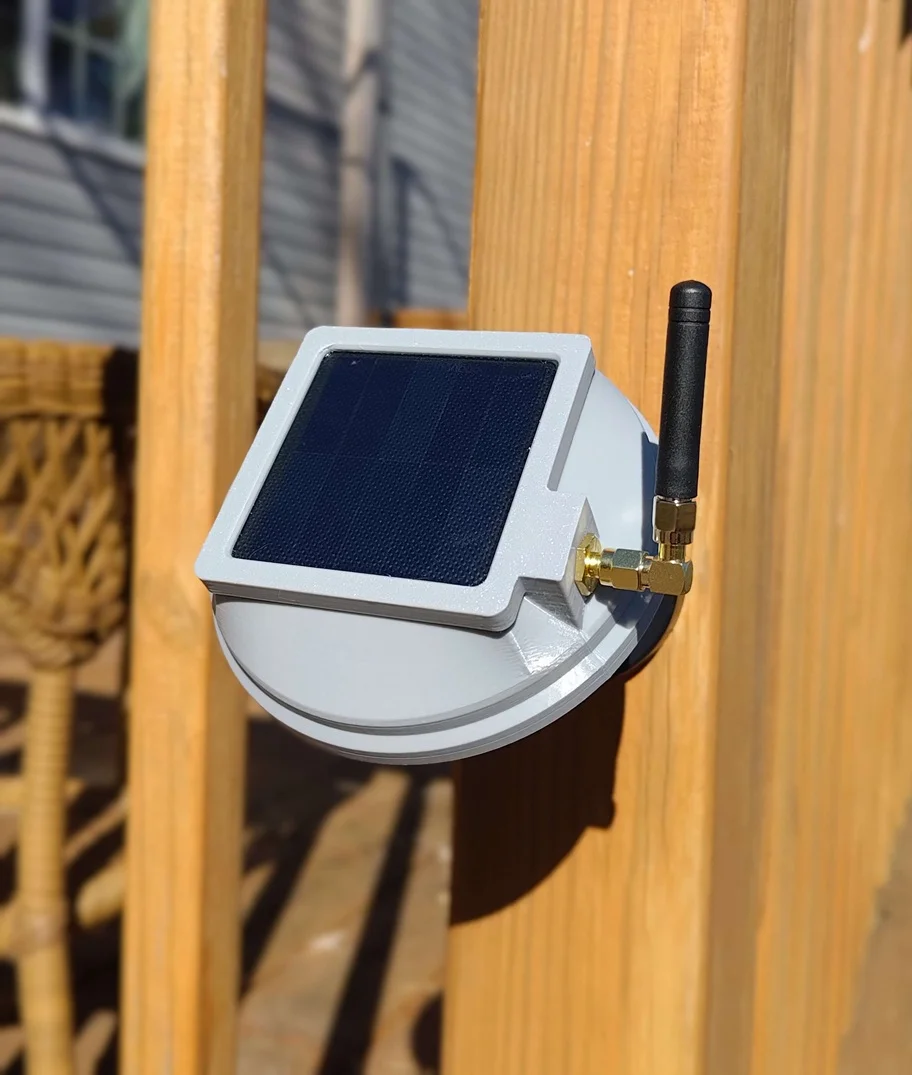
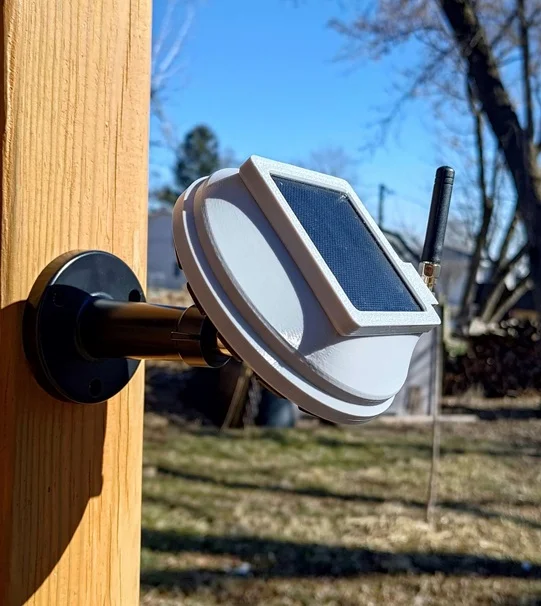
An outdoor/indoor solar powered RAKwireless meshtastic node enclosure. Compatible with any 1/4-20 Camera mount. Screw-off hardware-less base allows for easy maintenance access.
Will continue to update as needed to resolve any issues or make improvements. Project updates can be found here
Hardware
QTY
Components
QTY
M2 threaded heat insert, 3mm x 3mm
7
RAKwireless Mini Meshtastic Starter Kit US915 RAK19003 + 4631
1
1/4-20 threaded heat insert, 0.316" x 0.236"
1
18650 Lithium-Ion battery pack, pre-soldered leads, JST-PHR, >1500mAh
1
M2 x 6mm flat-head screws
7
Adafruit 5856/Voltaic P123, 5V 0.6W ETFE Solar Panel
1
100% silicone or RTV (Preferred)
-
SMA F-F bulkhead adapter
1
18-24AWG stranded wire, ~120mm length
2
SMA to IPX MHF1 Jumper cable, >/= 7cm
1
Velcro cable strap
1
RAK wireless 2.4GHz WiFi/BLE PCB Antenna
1
90 degree SMA adapter (optional)
1
For outdoor use, PETG or ADA is highly recommended.
A light color is recommended for main body, any color for the base plate is adequate.
No supports are needed, but a outer/inner brim may be needed for main body depending on your printer
Print time using on using Bambu P1S, 0.16mm, and gyroid @ %20 infill is around 5-6hrs for the entire assembly.
Add M2 heat inserts into both the main body and electronics plate
If needed, solder twisted 120mm leads onto solar panel. Optionally, apply non-conductive sealant over solder points.
Apply sealant around perimeter of inside of housing. Ensure to apply a light even coat to avoid any spill over.
Carefully place solar panel into place. Orientation is not restricted as long as you have long enough lead to properly route.
Apply light pressure to back of solar panel until sealant is dry enough.
Insert and tighten SMA panel adapter
Insert and tighten SMA to IPX cable
Assemble RAK Wireless board on electronics plate with 3x M2 screws
Add Battery pack to electronics plate (observe proper cable orientation)
Add Bluetooth antenna to electronics plate, feeding cable through passthrough hole. Route and plug into RAK board
Route SMA to IPX cable through hole of electronics plate, plug into RAK board
Place electronics plate into housing, ensuring no cables are pinched and battery/solar leads are properly routed.
Secure electronics plate with 4x M2 screws
Attach LoRa antenna
Plug battery and solar cables to RAK board.
Insert 1/4-20 heat insert into base plate.
Rotate base plate into main body until hand tight. Do not overtighten.
BymiceciczeLikes0Downloads597

 ByfifindrLikes500Downloads4K


 ByrjunLikes0Downloads304

 ByyuriyLikes0Downloads142

 ByleonicLikes0Downloads1.4K

 ByZED4EverLikes313Downloads5.2K

 ByVC_DesignLikes271Downloads756

 Bymrfixit_324954Likes65Downloads478

 Bylab-96Likes0Downloads106

 ByDan Schwartz SchwartzLikes744Downloads3.4K

 Bysupreme-vermin-labsLikes0Downloads114