



New
Fortnite Pirate Shop Token
 Bylarp3dLikes0Downloads1.4K
Build another version of this model.
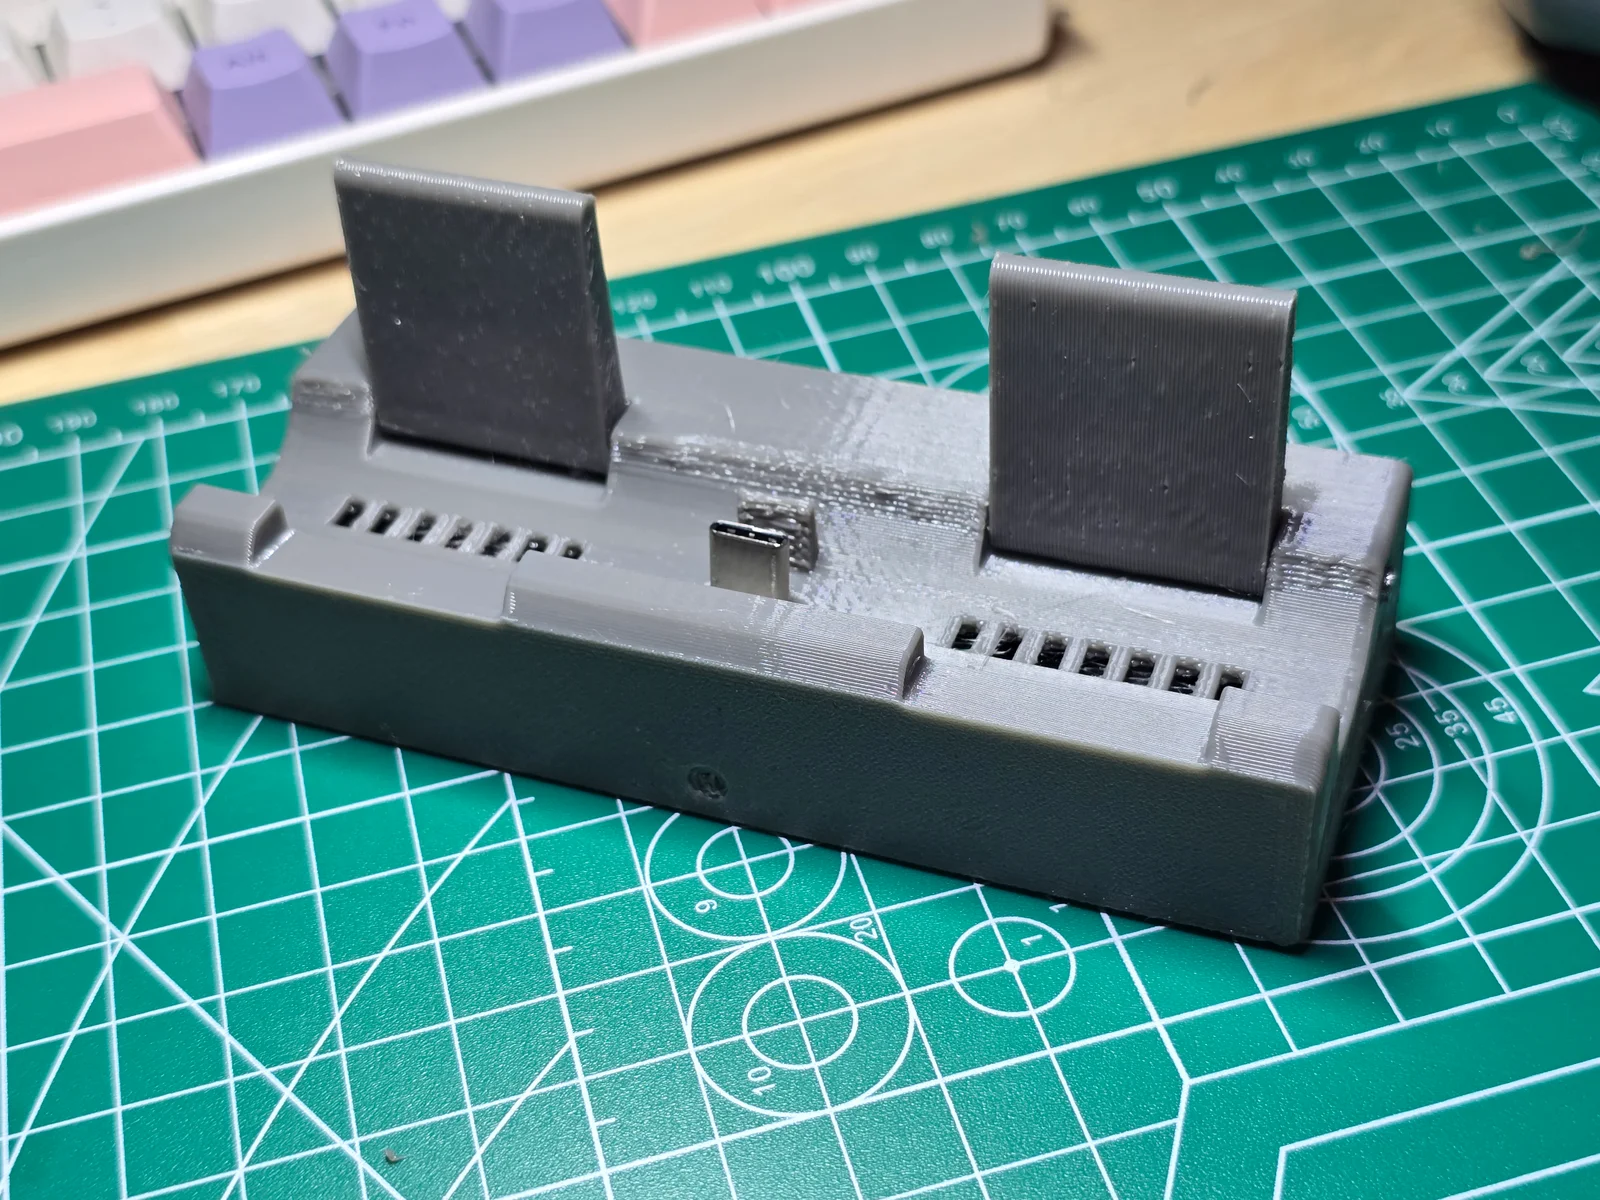
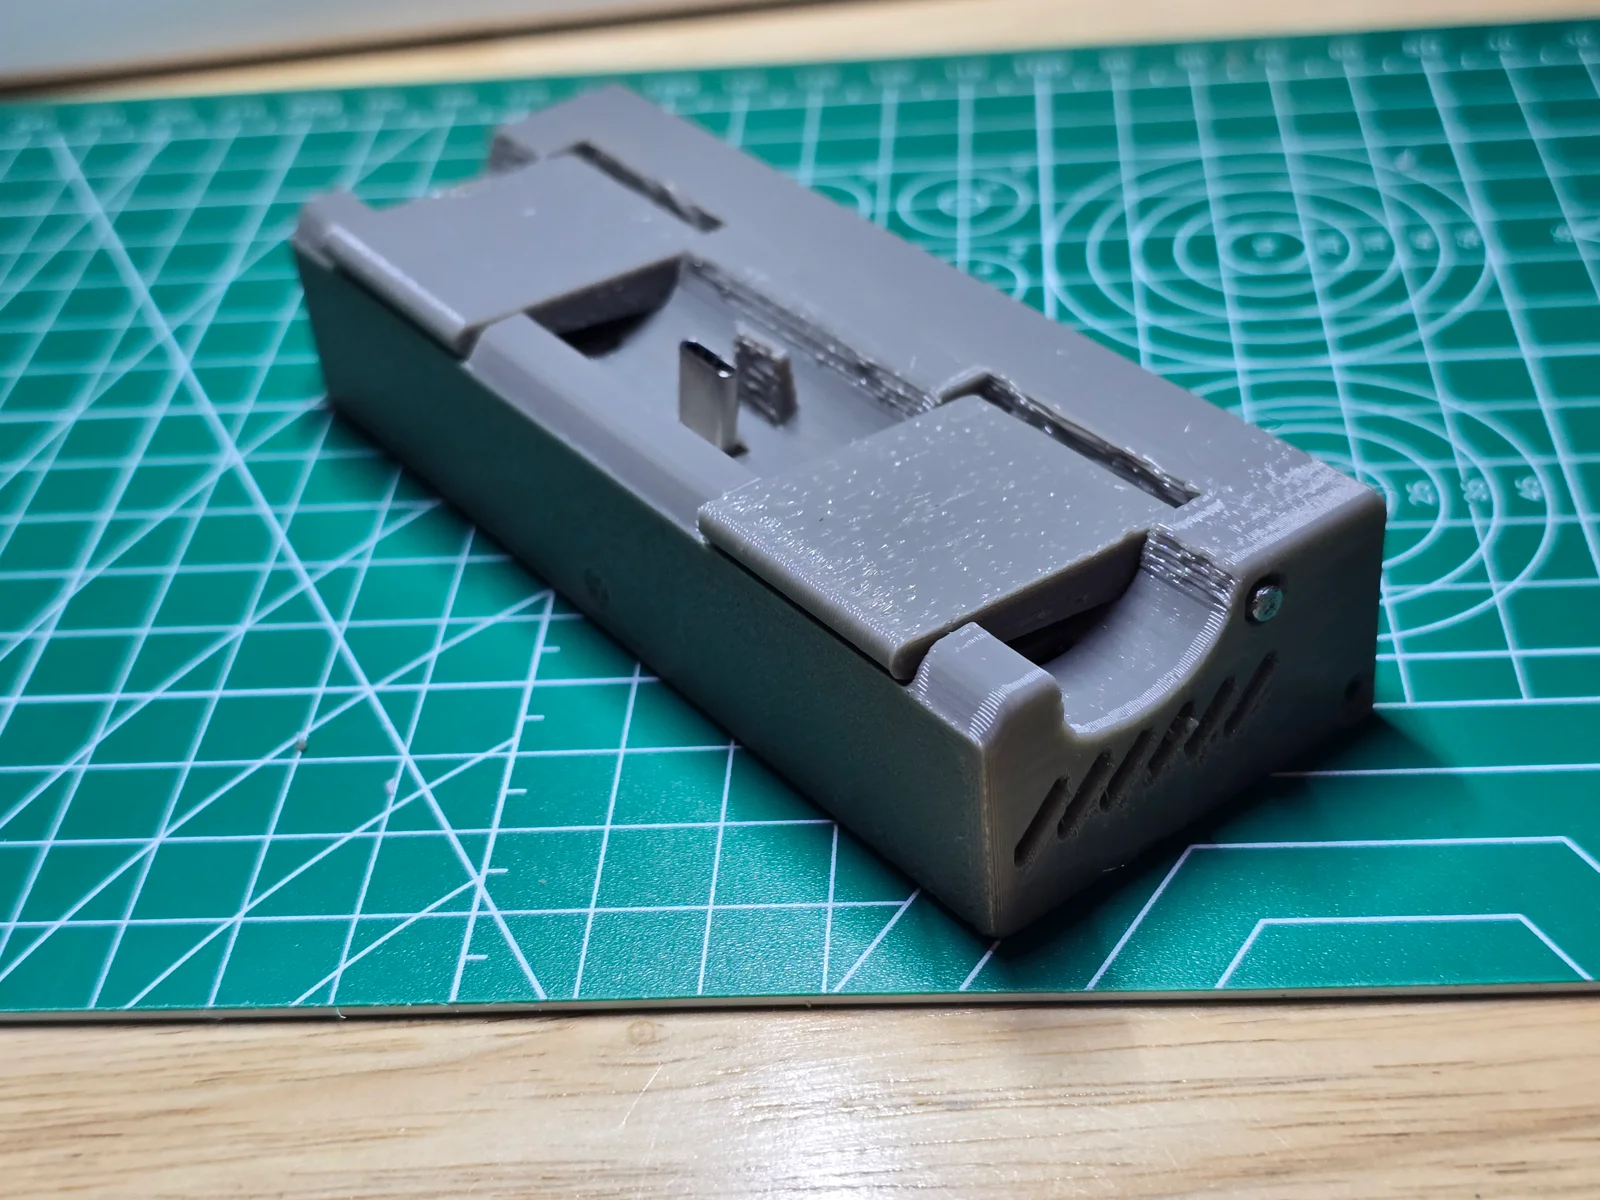
This is a remix of the Nintendo switch travel dock from CAD_is_my_Bane.
Just like his design, this dock takes the internal from a Antank/SIWIQU switch 2 dock, and make it into a more compact form factor.
This design opt to retain the capability of directly docking the switch on the dock, and have the following improvement comared to the Antank / SIWIQU design:
A larger cutout that allows docking a switch 2 with slim protective shell or switch 1
Folding support to help keep the angle of switch console align to the USB connector
Vent cutout under the switch, allow console to dissipate heat normally
And despite this was made to be dockable, you can still use a USB C extension cable to get more freedom on where you place your switch.
I also tried using USB C coupler ( female - female connector ), and learned that these coupler somehow does not work - it will still charge the switch, but no video signal is going through.. So if you want the wire connection you will still want to get a usb extension cable.
To assemble you will need the following parts:
The mainboard and doughboard from Antank / SIWIQU dock
The button clicker from the Antank / SIWIQU dock
Original screw from Antank / SIWIQU dock - including the panhead with washer for the board, and the panhead case screw
2 x 6d - 2in finish nail
First install the button clicker from the Antank / SIWIQU dock, to the same location on the Base. t
Using the USB and HDMI connector, line up the main board of the Antank / SIWIQU dock to the Base, and use the board mounting screw to secure the main board.
Slightly bend the ribbon cable and secure the daughter board onto the angled raised platform with same mounting screw.
Use 2x 6dx2" finish nail as axle, secure the support flaps onto the top piece.
Use the USB C connector hole as the guide, slide the top piece onto the base, then use 3x case screw to secure the top to the base.
Bylarp3dLikes0Downloads1.4K

 ByjoranLikes0Downloads218

 ByshionnLikes0Downloads146


 BywallartmaniaLikes0Downloads178

 ByatrushingLikes0Downloads304

 ByckthLikes148Downloads2.4K

 ByJac2307_889487Likes36Downloads259

 By3dwakeLikes0Downloads366

 ByvladtheinhalerLikes64Downloads259

 ByUpcrid3D_1585693Likes48Downloads215

 Bytovelaermans_3355197Likes63Downloads429