



New
Fortnite Pirate Shop Token
 Bylarp3dLikes0Downloads1.4K
Remix of Giá Đỡ MX Ergo 30-55° By Kevin_83794
Build another version of this model.
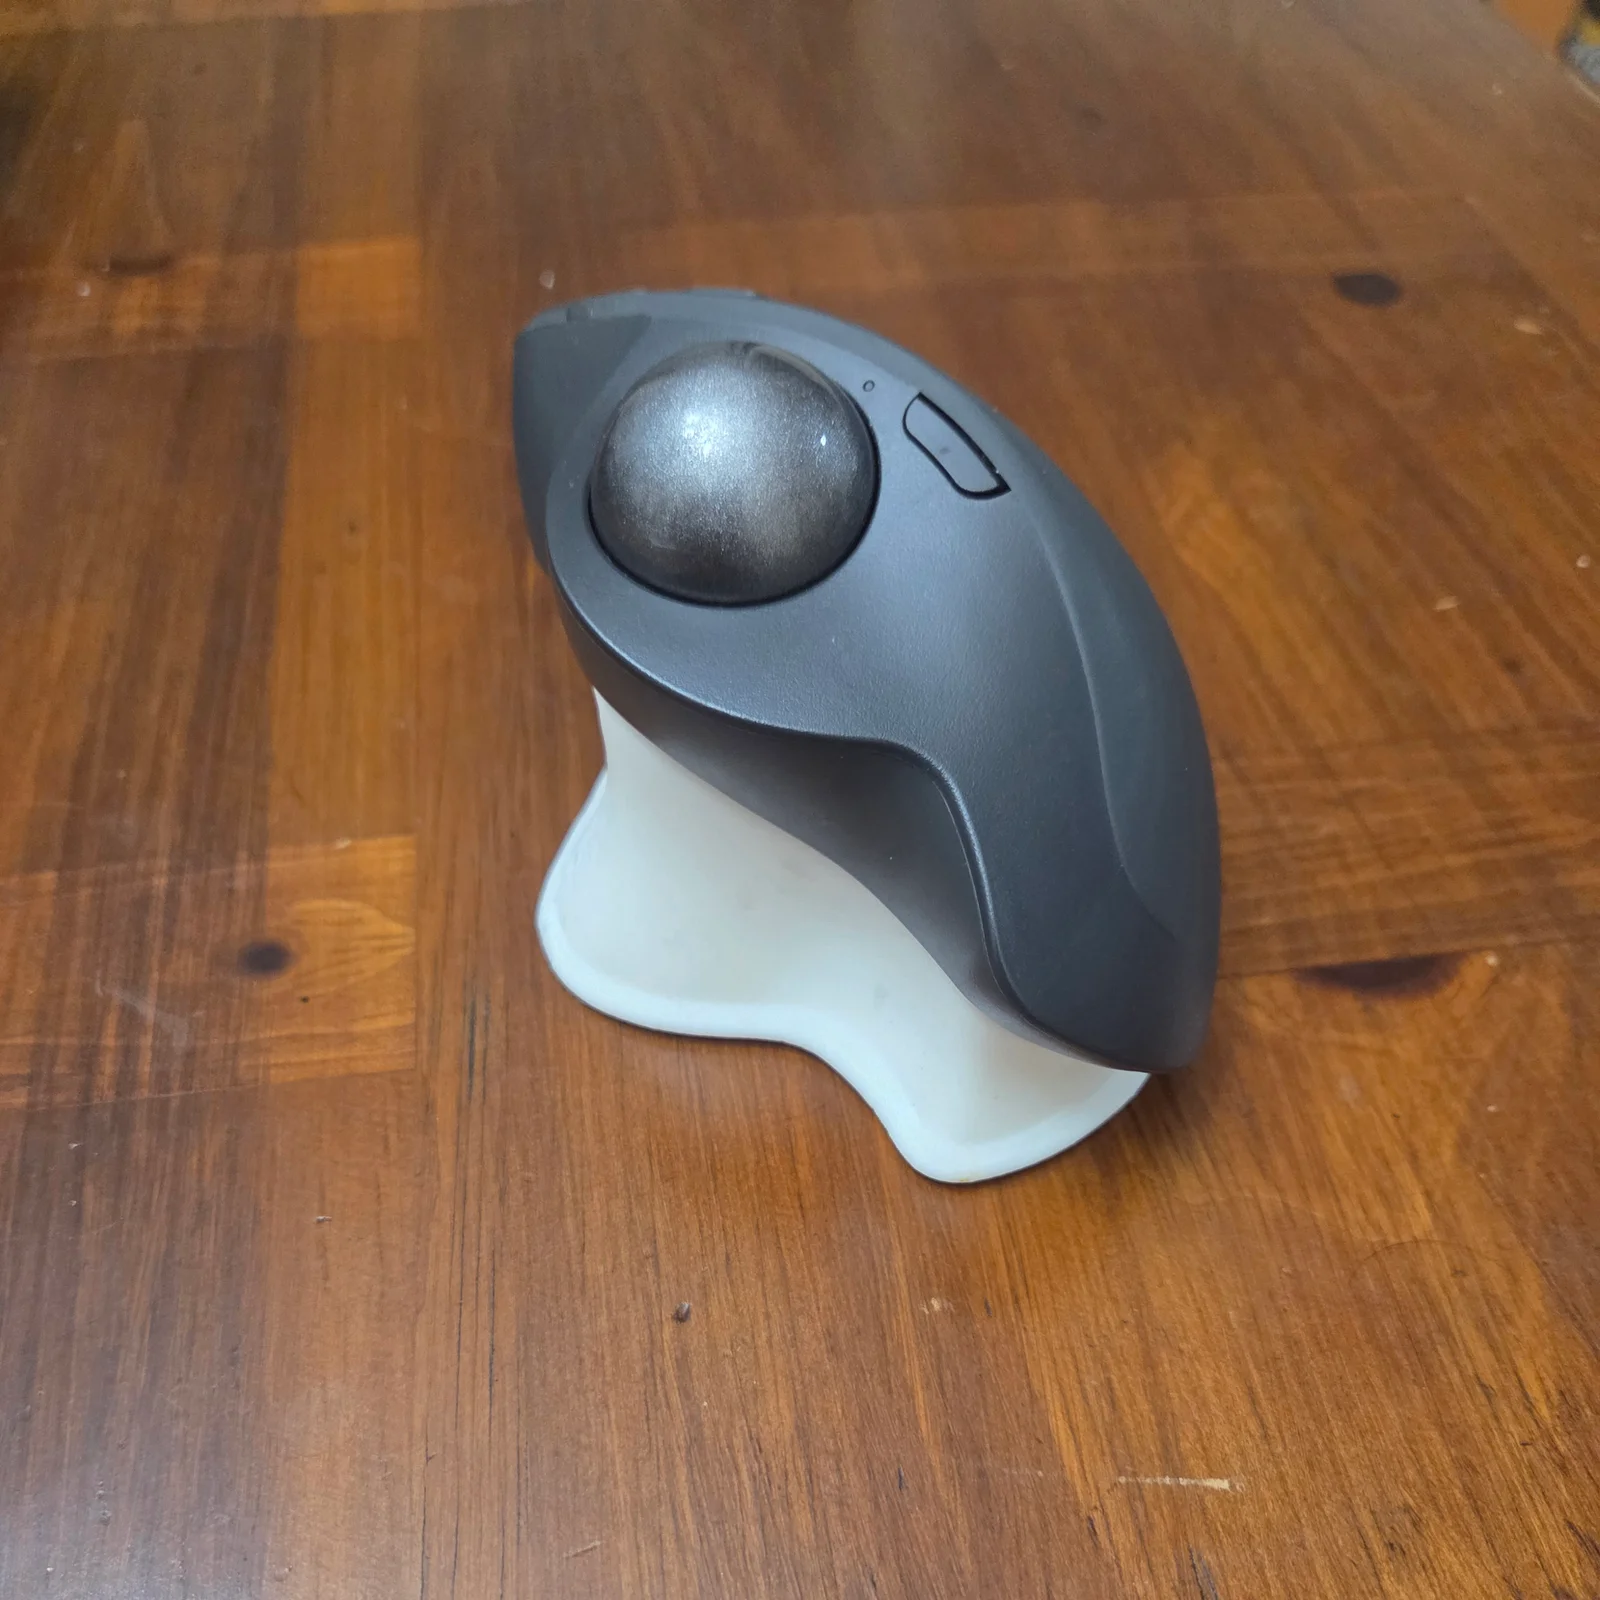
A refined stand that converts the Logitech MX Ergo (including S and Plus versions) into a comfortable and stable vertical mouse. The design is based on the excellent original model by @Kevin_83794, with a functional improvement to address a key usability issue.
The original model uses a flat bottom surface with embedded magnets to attach to the metal plate included with the MX Ergo. While this sounds fine, magnets are weak in shear. During normal use, this allows the metal plate to slide off the stand. The suggested workaround was to add electrical tape to increase friction, but this detracts from the appearance and feels like a temporary fix.
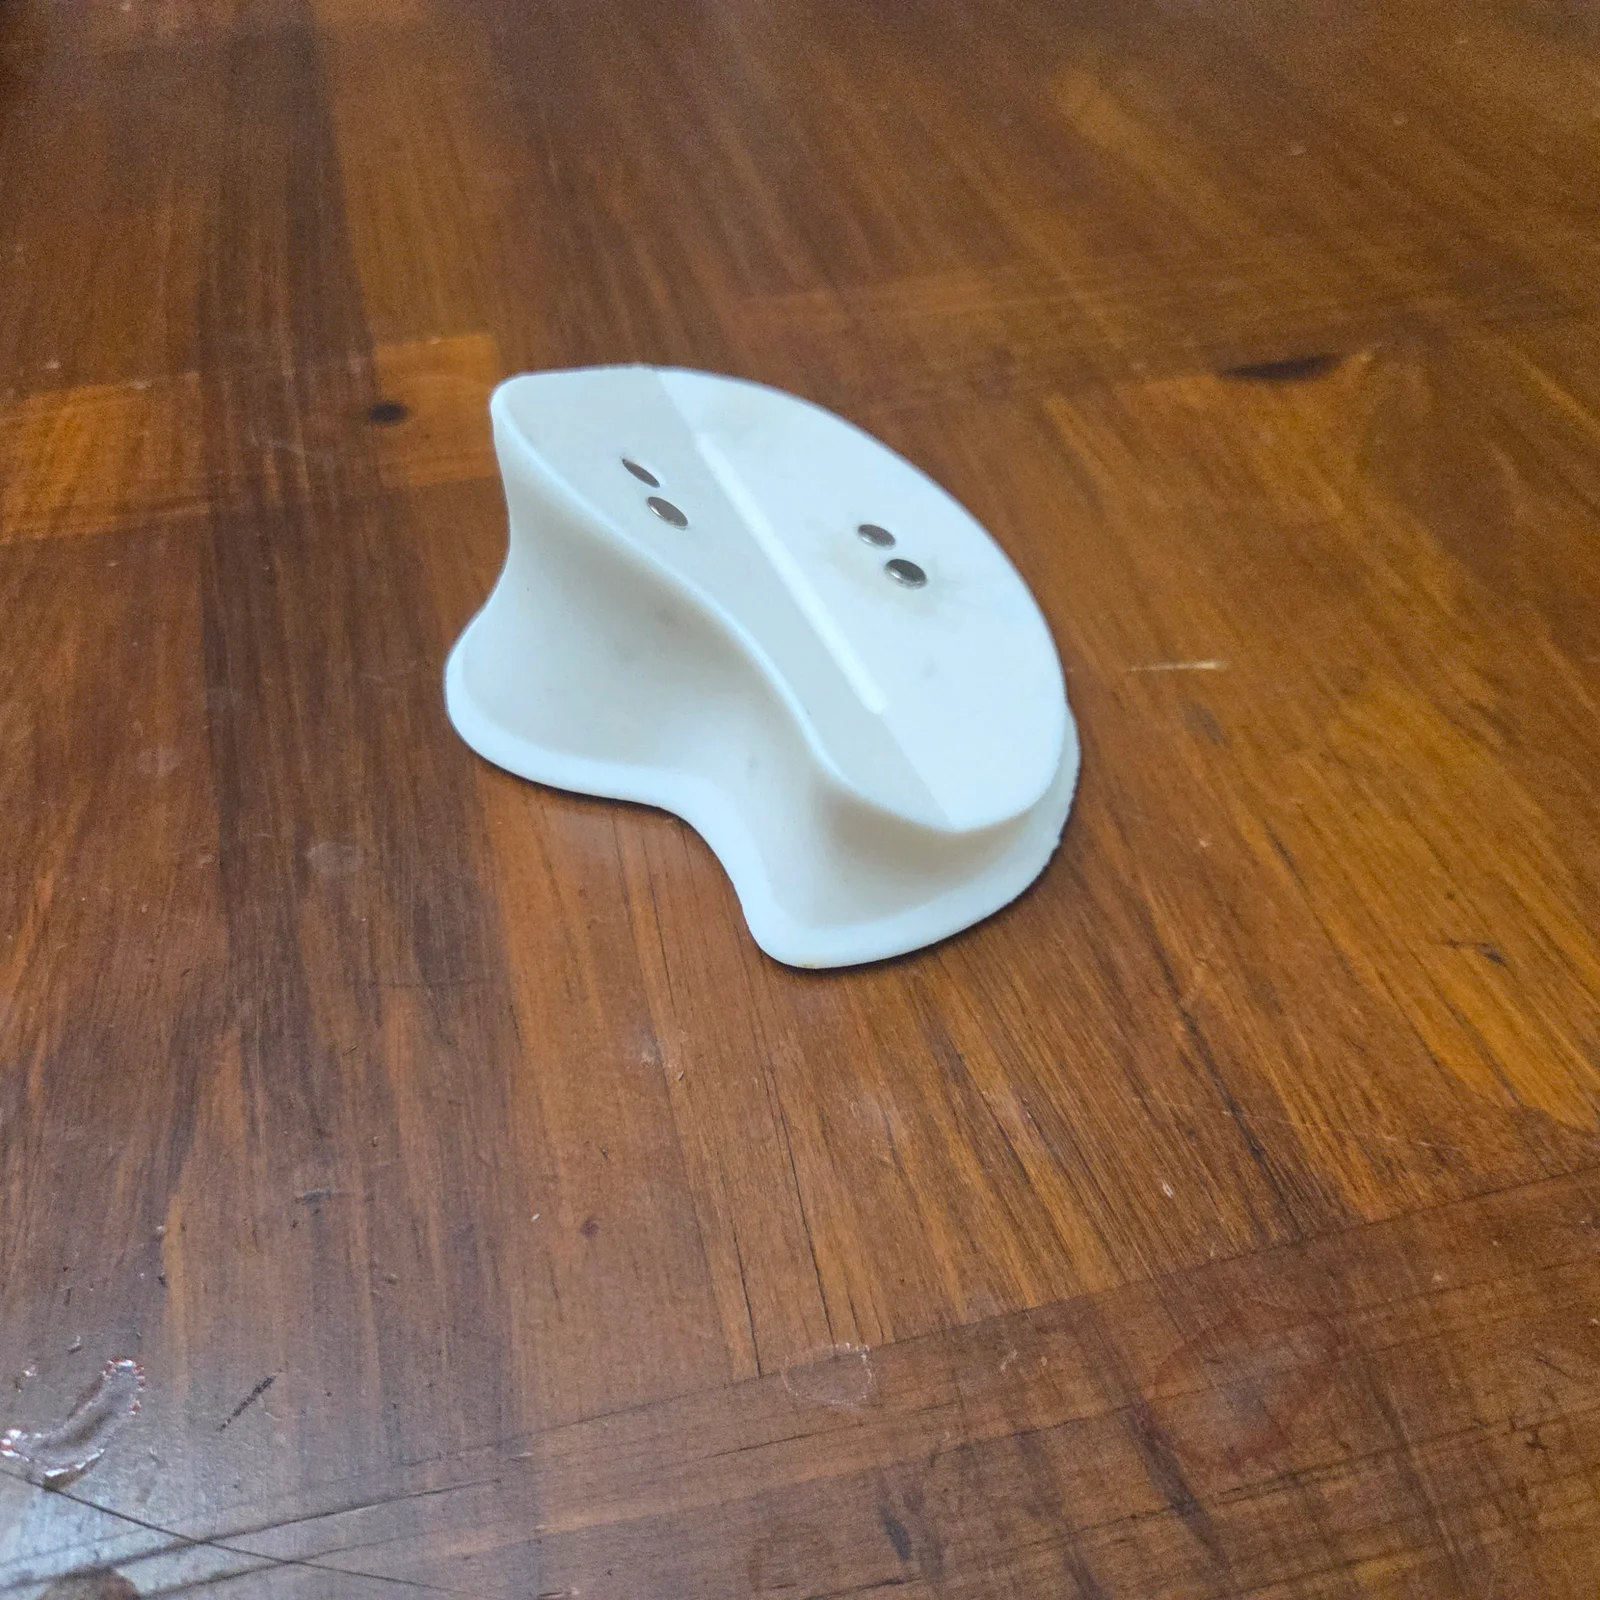
This remix adds a 1.25 mm retaining lip around the base of the mouse that precisely matches the geometry of the metal plate. The lip mechanically captures the plate on all sides, eliminating shear movement and keeping it securely in place—no tape or other hacks required.
Note: To preserve the ergonomics of the original design, the top face of the stand has also been lowered by 1.25 mm, ensuring the mouse sits at the same angle and height as intended.
Use the provided .3mf files and do NOT reorient the model (the .3mf files were made in Bambu Studio).
Enable supports (Normal supports, 30° overhang threshold).
- Why: This remix no longer has a flat side, so supports are required. The orientation and positioning saved in the .3mf files are intentional and have been optimized to minimize warping/curling, and support-related artifacts, especially around the slip-prevention lip where dimensional accuracy is critical for proper function.
Magnets:
Use N52 neodymium magnets, 6 mm diameter, 2–3 mm thick.
If the listing does not explicitly state N52, do not buy them.
I tested N35 magnets and found them insufficient for reliable retention.
The magnets that I ended up buying were these N52 magnets from Amazon: https://a.co/d/fCMVEXf
Angle selection:
I personally prefer the 40° version. I printed all available angles and found this one to be the most ergonomic for extended use. That said, ergonomics are subjective—printing a few angles and testing them yourself is highly recommended.
⚠ Be very careful with magnet orientation.
There are four magnet holes on the top surface of the stand. Follow the steps below to ensure correct polarity and a proper press fit.
Prepare two stacks of four magnets each.
Attach the first stack of four magnets to one of the internal magnets on the bottom of the MX Ergo.
Attach the second stack of four magnets to the other internal magnet under the same sticker.
There are four internal magnets total under the two stickers on the bottom of the MX Ergo (the face that contacts the stand).
The second internal magnet is approximately 1 cm away from the first and (at least on my mice) has opposite polarity.
Align the two magnet stacks (still attached to the mouse) with the corresponding magnet holes on the stand.
Press down firmly until the topmost magnet from each stack is press-fit into the stand.
Shear the mouse away by sliding it perpendicular to the magnet stack axis, leaving the press-fit magnets in the stand.
Do not pull straight up—shearing prevents the press-fit magnets from coming out.
If the magnet holes are slightly oversized and the magnets do not stay seated, add a small drop of super glue beneath the magnet or consider reprinting.
9. Repeat the process for the opposite pair of magnet holes on the top face of the stand.
An edited version of Kevin’s original SolidWorks model is included with this upload. It contains updated versions of the same configurations found in his original design, including all 22 versions Kevin originally provided. I chose not to regenerate the .3mf files for some of the variants as I personally do not use or recommend them and did not want to repeat the print-optimization process for configurations I don’t prefer.
A commenter on Kevin’s original post (@Cube_394598) suggested that the stand “would be better for my hand if it were tilted just a hint (5° or so) toward the user.” I tested this idea by modifying the model accordingly and found the result to be ergonomically problematic. Even after only a few hours of use, it caused noticeable wrist discomfort that persisted for days. Because of this, I intentionally did not include any preconfigured versions with a tilt toward the user in this listing, to avoid the risk of someone selecting it accidentally and injuring their wrist.
That said, if you are curious and want to experiment at your own risk, the updated SolidWorks file includes a new Global Variable named AngleTowardUser, which is currently set to 0. You can change this value to something like 5 or 10 degrees to generate your own test version.
Bylarp3dLikes0Downloads1.4K

 ByJaronLikes310Downloads1K

 Byw3rN42Likes127Downloads938

 ByTomDDLikes89Downloads579

 Bynodus-designLikes0Downloads108

 ByJwidessLikes34Downloads377

 ByBroBuilds3D_4455044Likes32Downloads458

 ByckthLikes148Downloads2.4K

 Bynexgen-3d-printingLikes0Downloads395

 ByVikingptty_1943738Likes50Downloads236

 By3dwakeLikes0Downloads363

 ByNoahLikes0Downloads205