



Kẹp giữ sợi Filament
 Bytinx_1344834Likes1.2KDownloads6K
Remix of Rook 2020 [MK1/2] Bed-Gantry nguyên khối (1-Piece) By Kanrog
Build another version of this model.
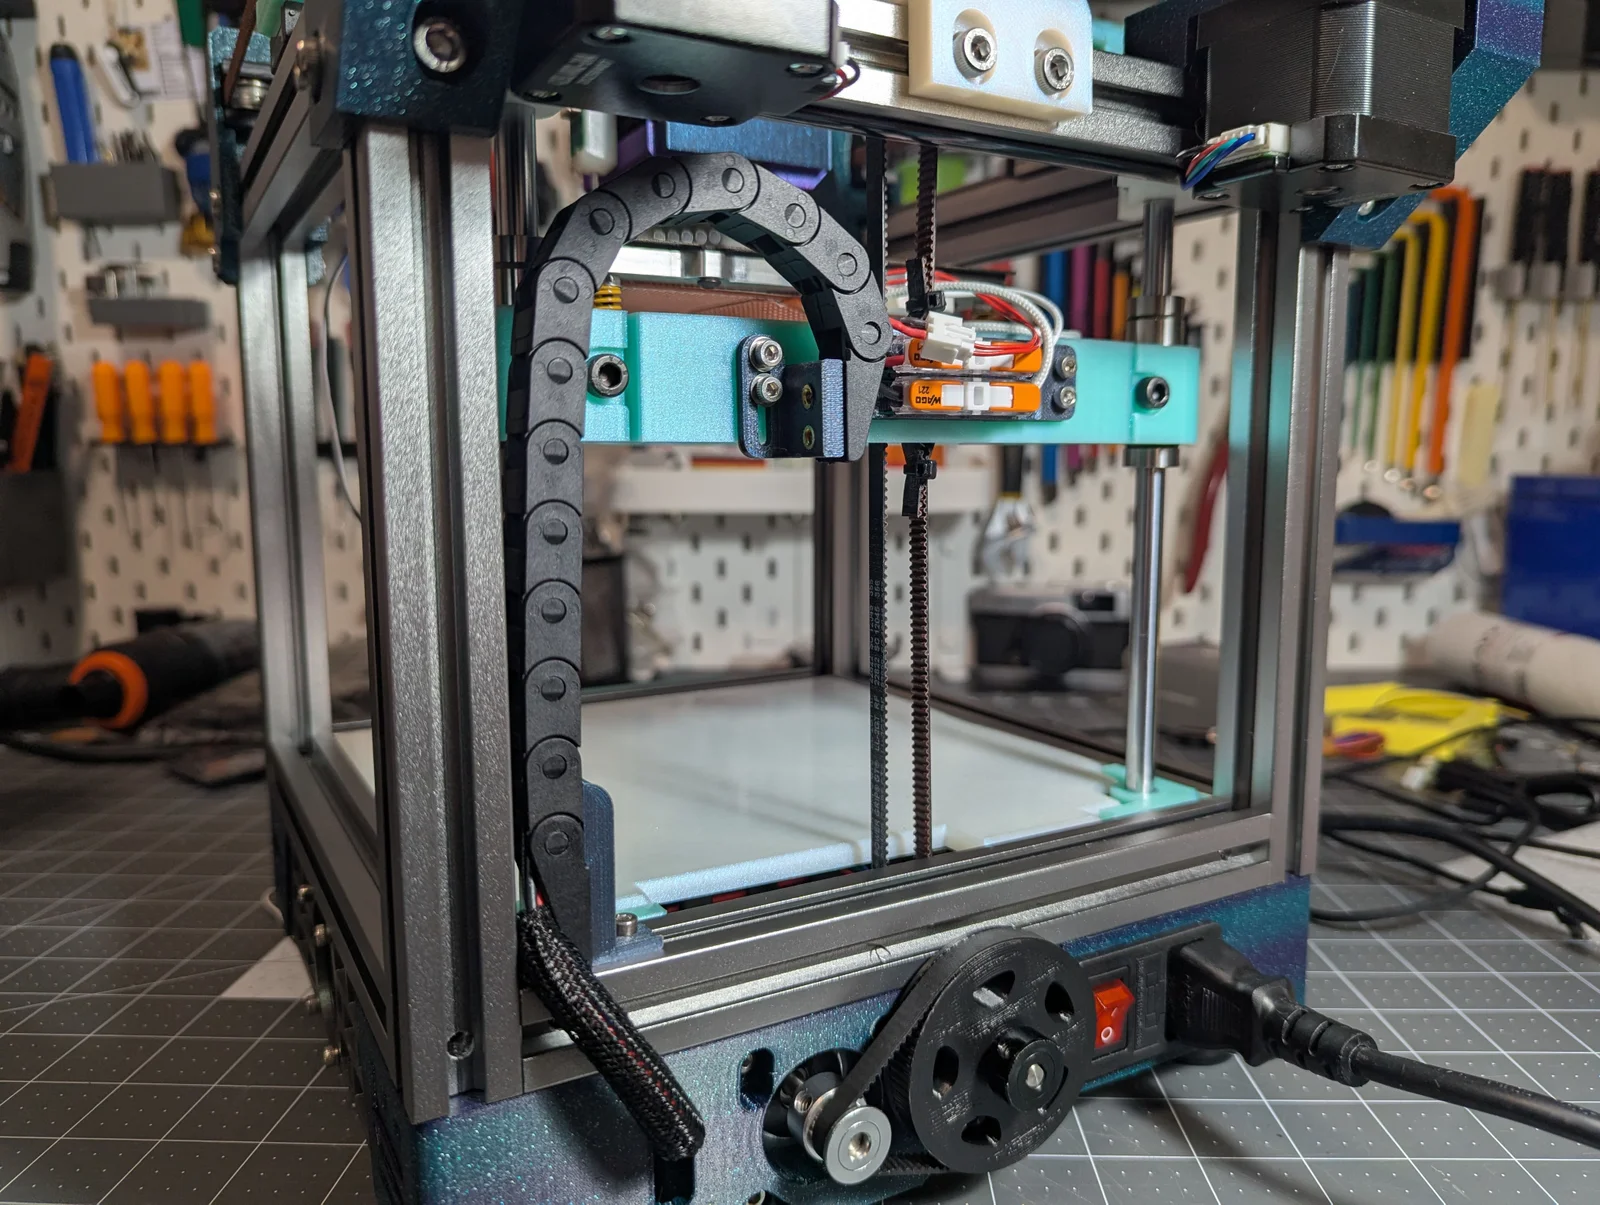
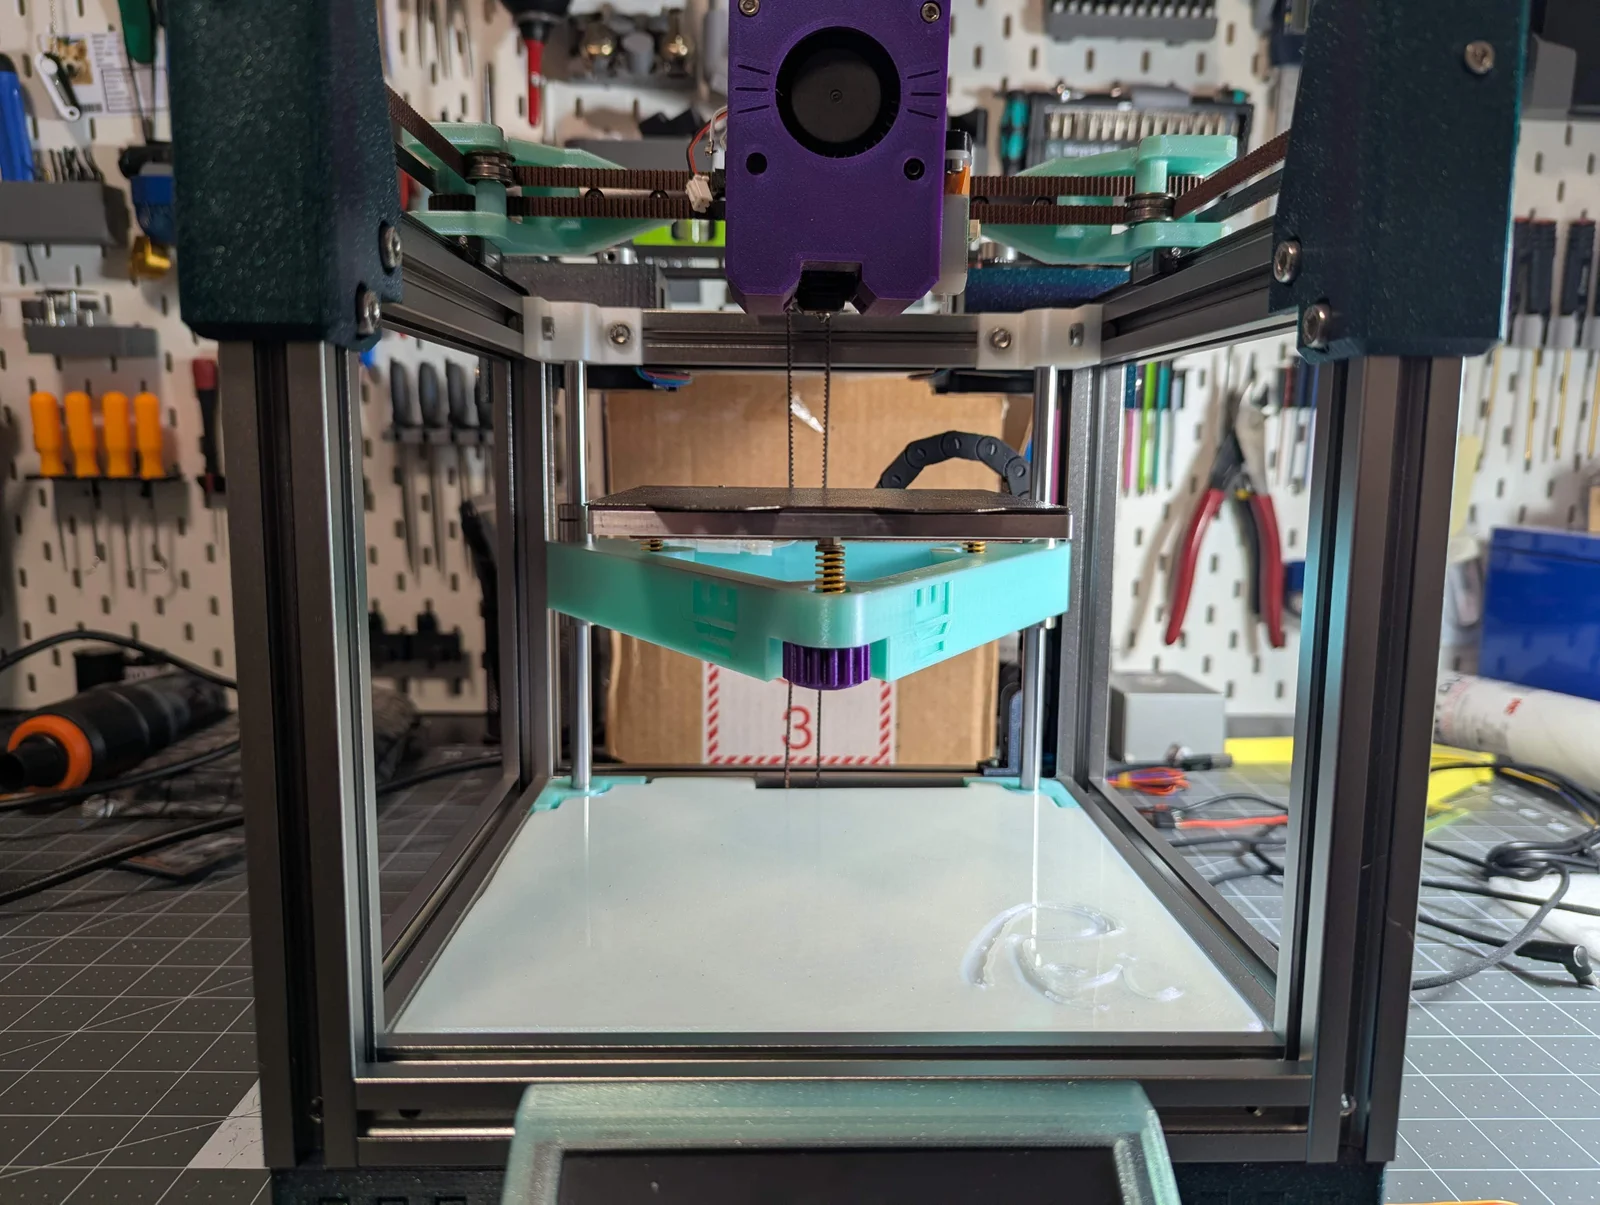
This modification to the Rook 2020 MK2 allows the usage of a Z-dragchain between the bed and extrusion to allow for neater wiring organization, utilizing a 7X7 drag chain similar to the one used in Voron V0 builds. Example listing here: https://www.amazon.com/dp/B07QVKL9VL
To use this mod, you would need at least the modified one piece bed (or drill and modify your existing one), and the dragchain top and bottom mounts. I have also included a mount to utilize Wago in-line connectors for the hotbed wiring, but you can choose any method that suits you to make those final connections instead.
7X7 dragchain with at least 15 links so that you have freedom to position. The Amazon listing above is for a full meter of chain, which is way more than enough for this.
8X Heat inserts. M3X4X5 (Voron Spec).
4X M3X6 FHSC flat-head screws for the chain endlinks
1X M3 T-nut
3X M3X8 (or 1X M3X8 and 2X M3X6, doesn't really matter)
Bed:
Put in 4X heat inserts to the modified bed's backside and install as normal.
If you already have a bed, you can drill four 4mm (5/32") holes 5mm deep on the backside of the bed (see model for an idea of where these are). These should be spaced about 50mm apart lengthwise and 8mm apart height wise. Then install the heat inserts.
Dragchain:
For my build, I used 13 links, one "single direction" endlink and one "free" endlink. You can adjust depending on how you want your chain to sit; for me, I wanted it to sit against the closest extrusion and left just enough chain slack to prevent binding or interference/crashing against other parts.
Pull wires through the chain as needed. JST-XH connectors and such won't fit through these chains, so you will have to depin them or keep them depinned before locking down final position.
Top Dragchain Mount:
Install 2X M3 heat inserts
Attach to "free" endlink with 2X M3X6 flathead screws
Loosely install to bed with 2X M3X6/8 screws. You will move the mount a bit up and down for best positioning after installing the lower mount.
Bottom Dragchain Mount:
Install 2X M3 heat inserts
Attach to "single direction" endlink with 2X M3X6 flathead screws
Loosely attach to extrusion with one M3X8mm screw and M3 T-nut. Again, you will adjust the final position next.
Wago Mount:
If you elect to use the Wago mount, just pop in the wago connectors and install to the bed with two M3X6 screws.
Adjust the positioning of the dragchain until you are happy with where it sits before tightening everything down. You will want to move the bed through its range of motion up and down to make sure there's no binding or interference issues.
Bytinx_1344834Likes1.2KDownloads6K

 Byprusa-researchLikes0Downloads2.7K

 Byarhi_585078Likes64Downloads540

 ByHanzo3dLikes155Downloads413

 BydarienLikes0Downloads1K

 ByGeek5DLikes147Downloads484

 ByBrokentooth_designsLikes23Downloads407

 ByvertigomakesLikes0Downloads560

 By3DSourcererLikes48Downloads377

 Byartme-3dLikes0Downloads333

 ByWyomingWolf_261196Likes52Downloads428

 Bytopronix_2170418Likes41Downloads297