



DIY
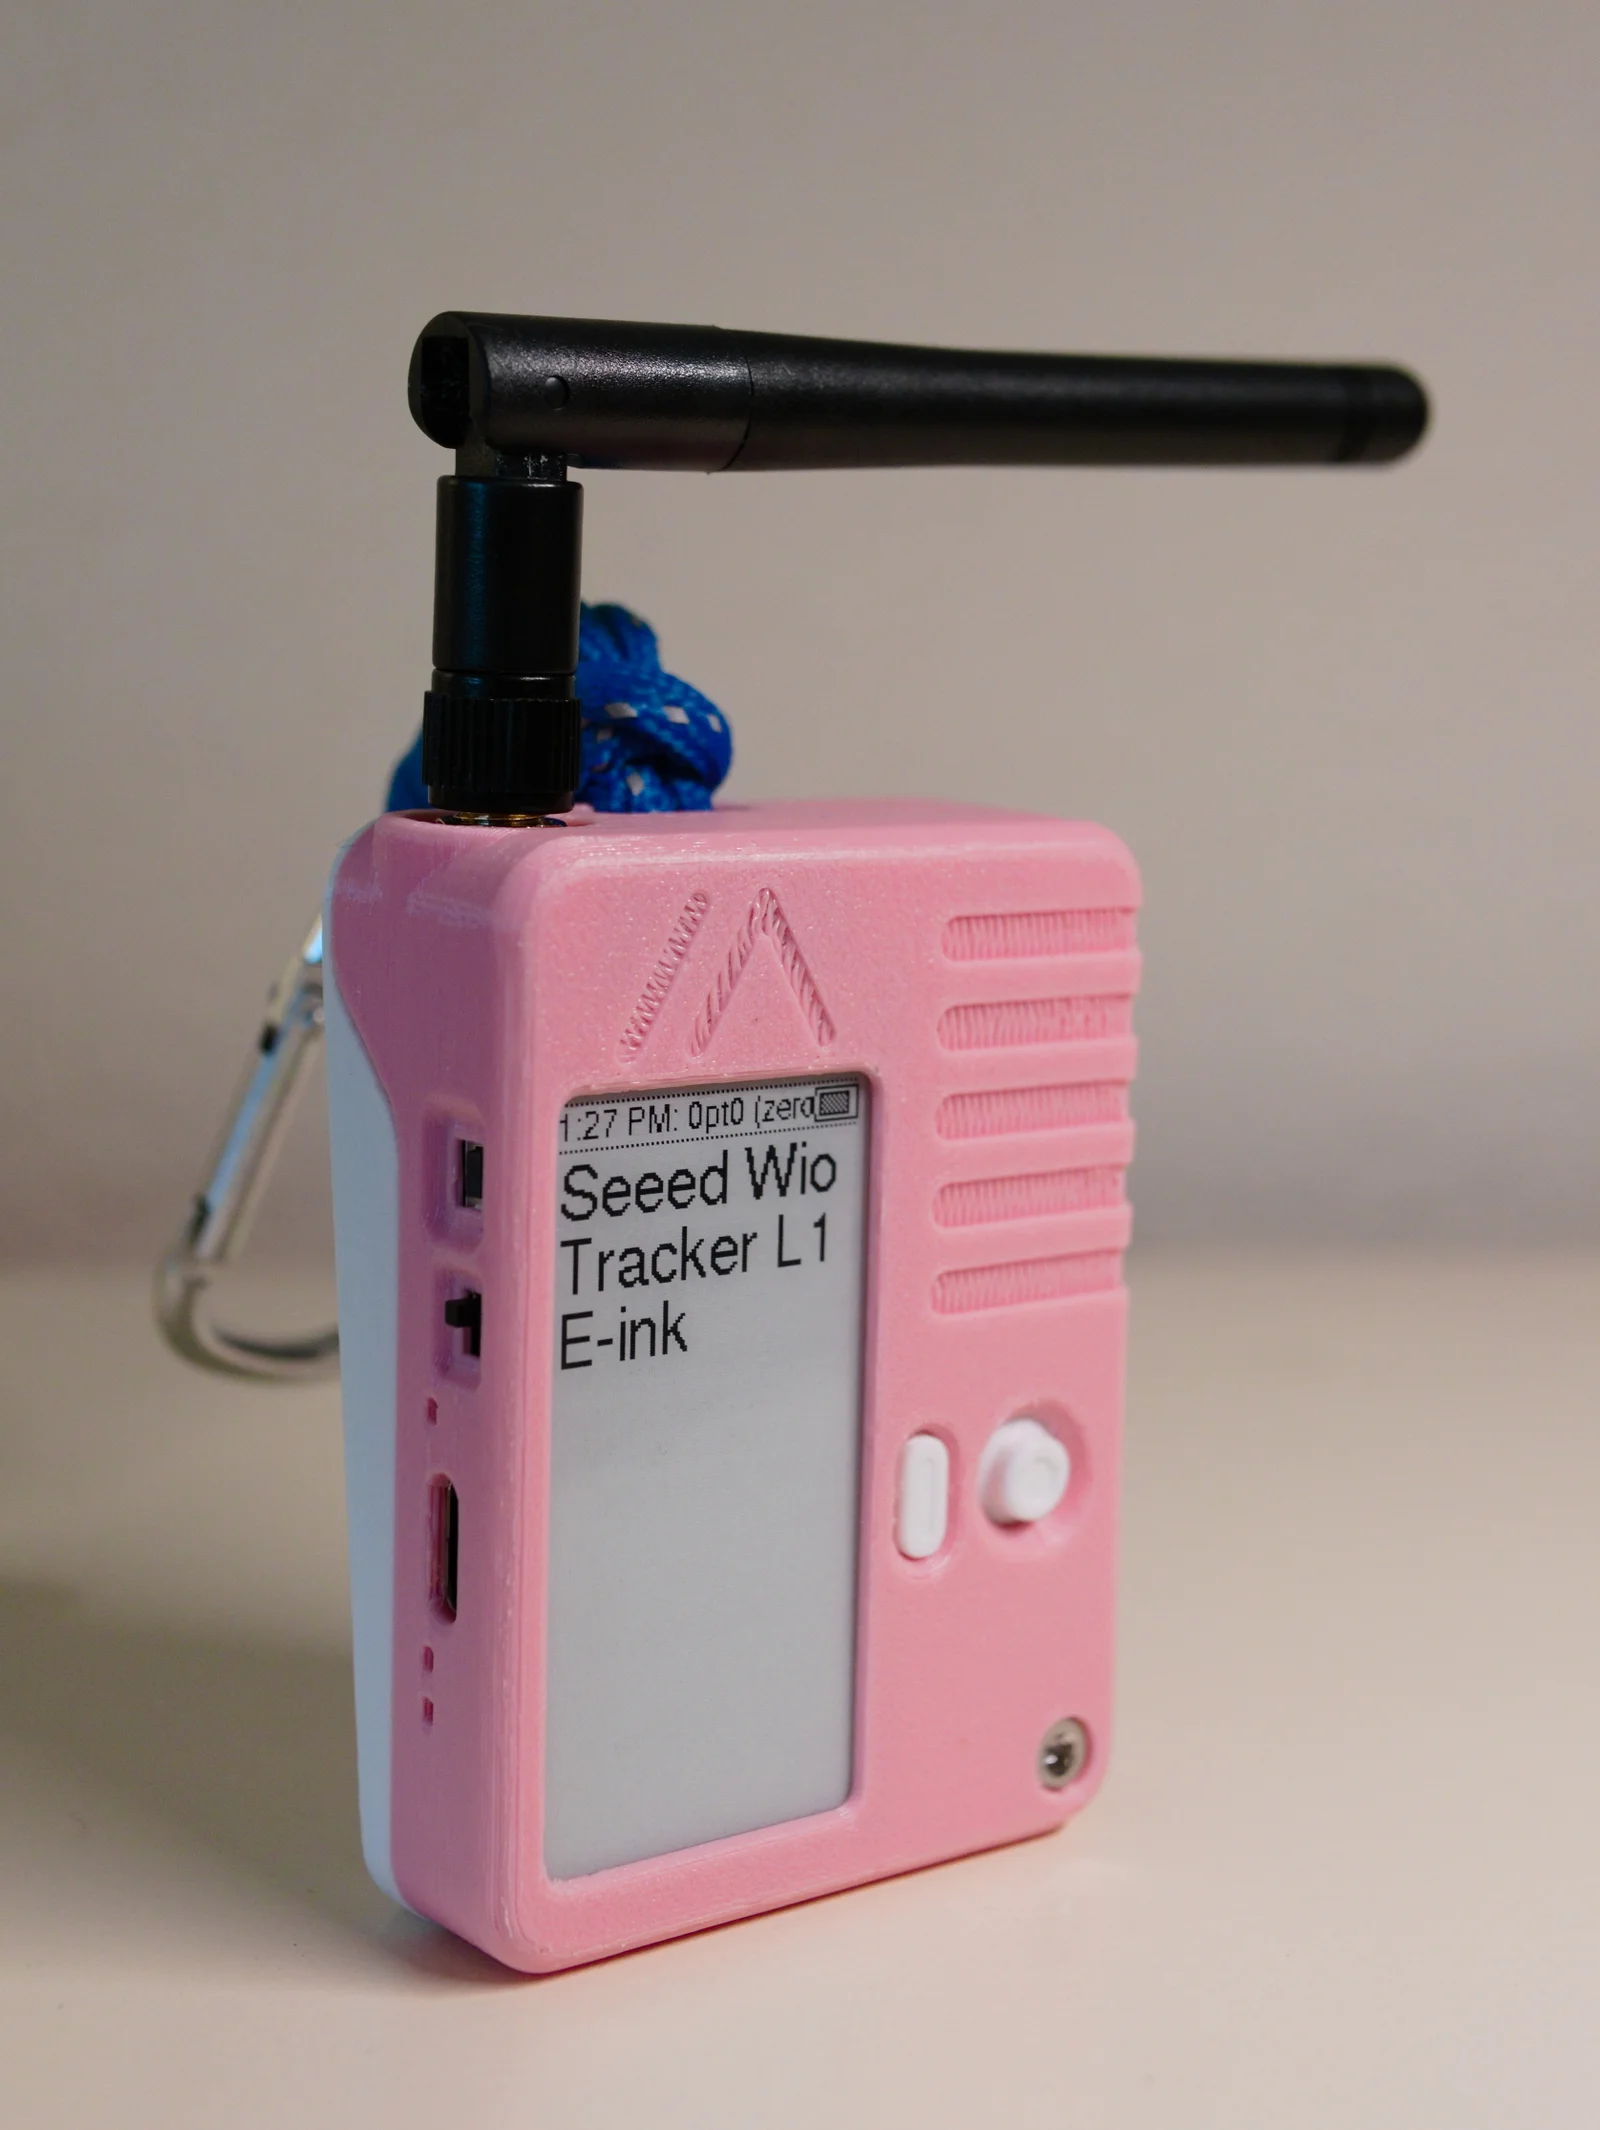
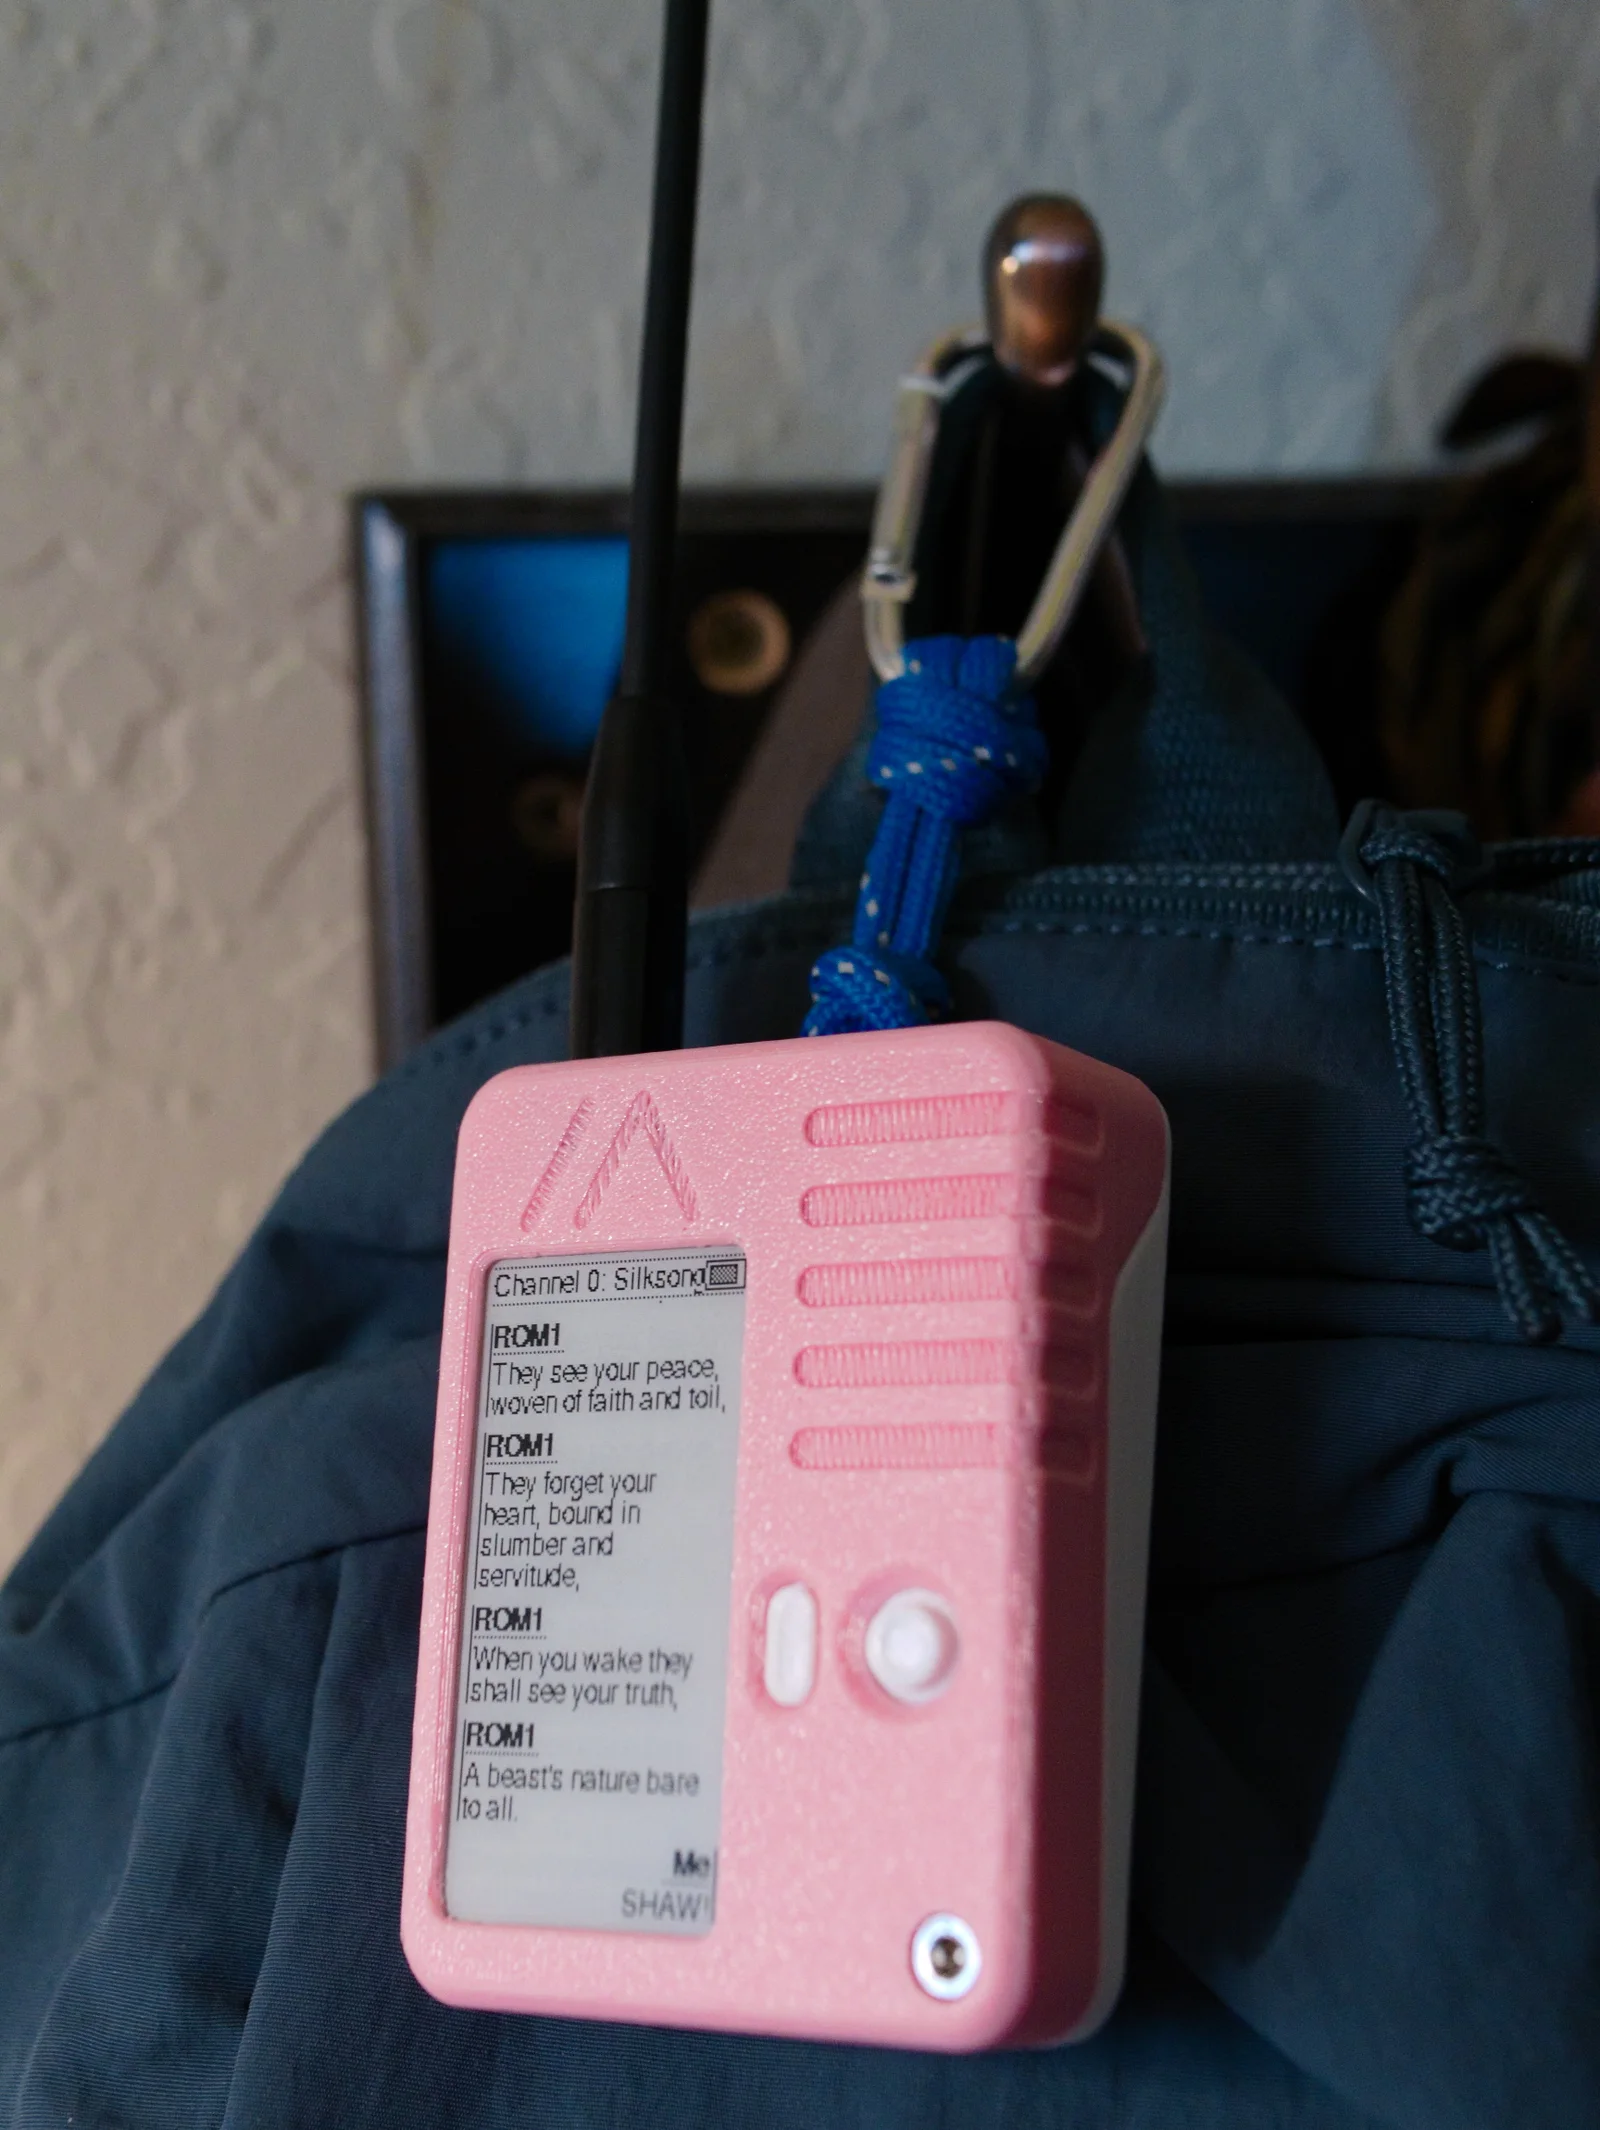
Vỏ cho Seeed Wio Tracker L1 E-ink
- Downloads
- 231
- Likes
- 40
- Views
- 1,331
- Remixes
- 3
- Comments
- 0
Files 7 663.6 KB
- Wio_Tracker_L1_Eink_Case_v1_3_-_Front_1766368464.3mf3MF · 153.9 KB
- Wio_Tracker_L1_Eink_Case_v1_3_-_Front_with_Speaker_Holes_1766368465.3mf3MF · 161.6 KB
- Wio_Tracker_L1_Eink_Case_v1_3_-_Plain_Front_1766368465.3mf3MF · 125.2 KB
- Wio_Tracker_L1_Eink_Case_v1_3_-_Plain_Front_with_Speaker_Holes_1766368466.3mf3MF · 133.1 KB
Make a variant with AI
Build another version of this model.
Remix versions 3
 HP2 - Vỏ bảo vệ cho Wio Tracker L1 E-inkByHarukiToreda · 07/01/2026
 Case Seeed Wio Tracker L1 E-ink 4000mAh + Magnetic SafeByDeeZett_2540300 · 05/13/2026
 Ốp Seeed Wio Tracker L1 E-ink cho pin 3000mAh (Meshtastic)ByFrey_4252707 · 01/22/2026
Details
- Model ID
- #173238
- Category
- DIY
- Published
- License
- Creative Commons — Attribution
Description
This is a custom case for the Wio Tracker L1 E-ink kit from Seeedstudio. The e-ink display that comes with the board is somewhat large but I tried to get the enclosure as pocket-able as possible.
I uploaded two versions of the front with and without the logo and grooves. I designed this using OnShape and I'll link the document if anyone wants to make their own modifications.
Battery:
I was able to comfortably fit a 103450 sized 2000mah LiPo from MakerFocus. Similarly sized as well as slightly larger batteries that are 10mm thick might also fit.
Hardware:
The WIO Tracker L1 is mounted to the case using two short M2 bolts and the case assembled with a single M3x12mm bolt.
Changes v1.1 (23 Sep. 2025):
- Modified the side clips and added a tab to the back enclosure that fits under the lanyard loop
- Stiffened the back of the enclosure around the lanyard loop
- Tweaked the button and joystick to sit more flush with the front of the enclosure
Changes v1.2 (3 Oct. 2025):
- Modified the fillets facing the print bed to terminate at 30 degrees reducing overhangs
Changes v1.3 (6 Oct. 2025):
- The case is now 54x70x24mm (previously 54x72x24mm).
- Increased the thickness of the side walls for a little more rigidity and to prevent the power switch from being toggled accidentally
- The clips wrap around the more of the case. The case I printed stays firmly together now even without the M3 screw.
- The hole for the SMA connector is now 2mm thick (previously 2.5mm) and is now recessed 3.5mm (previously 3mm).
- Added 0.2mm of clearance to the Back around the lanyard notch
- Improved the rounding on the edges of the case
- Added versions of the Front with holes for sound to escape
Print spec
- Formats
- 3mf
- Model files
- 7
- Total size
- 663.6 KB
- Largest file
- 161.6 KB
0 comments
You may also like 12 models
See all-
-
XTEINK X3 Charging Dock
 ByhonkLikes0Downloads257
-
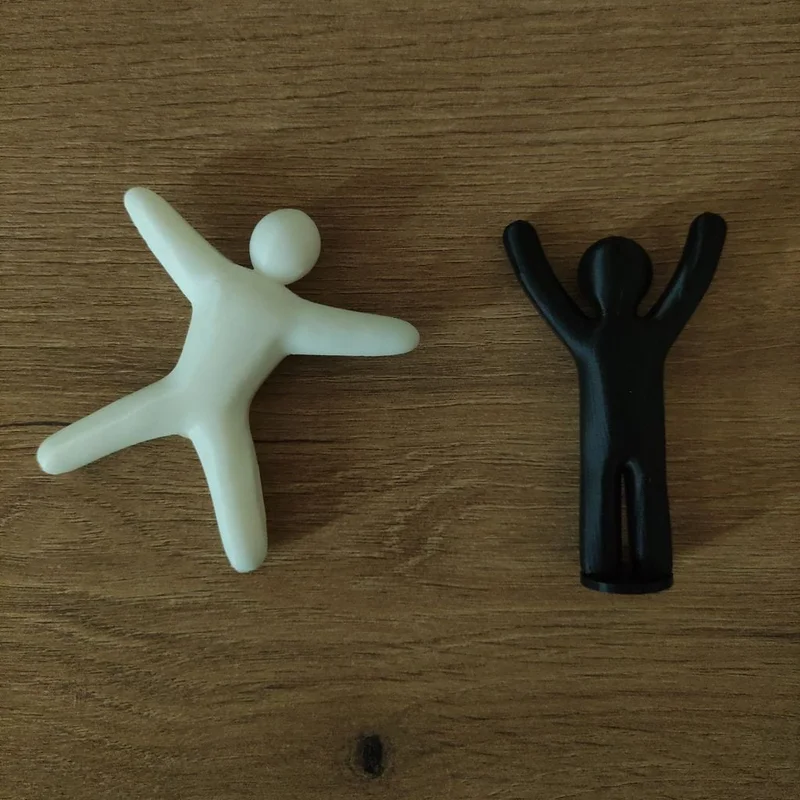
Bộ sưu tập 11 nhân vật mô hình Mecca Chameleon in 3D vui nhộn
 ByZED4EverLikes313Downloads5.2K
-
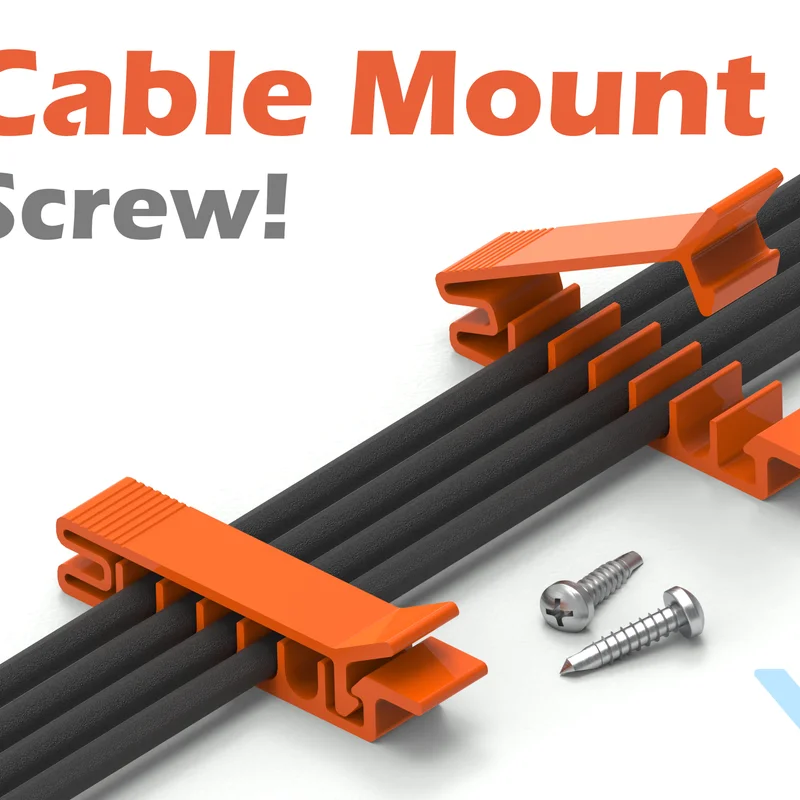
Cable Mount - Kẹp Giữ Dây Cáp (Có Lỗ Bắt Vít)
 ByVC_DesignLikes271Downloads752
-

Còi Tàu Hơi Nước Mini
 ByfifindrLikes500Downloads4K
-
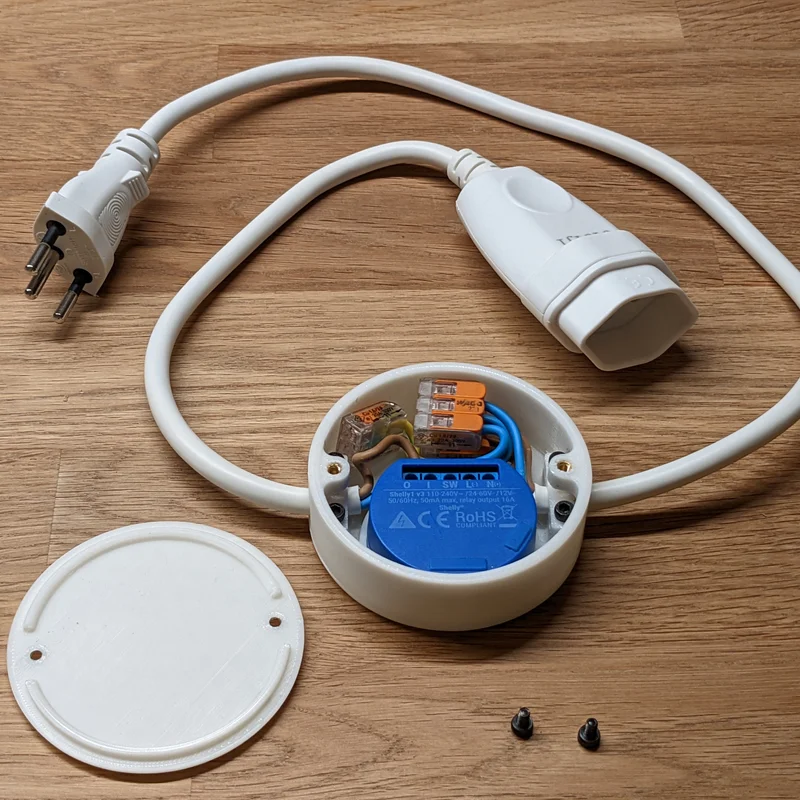
Hộp bảo vệ 3D cho Shelly 1 / 1PM Case - Gọn gàng và an toàn
 Bymrfixit_324954Likes65Downloads473
-
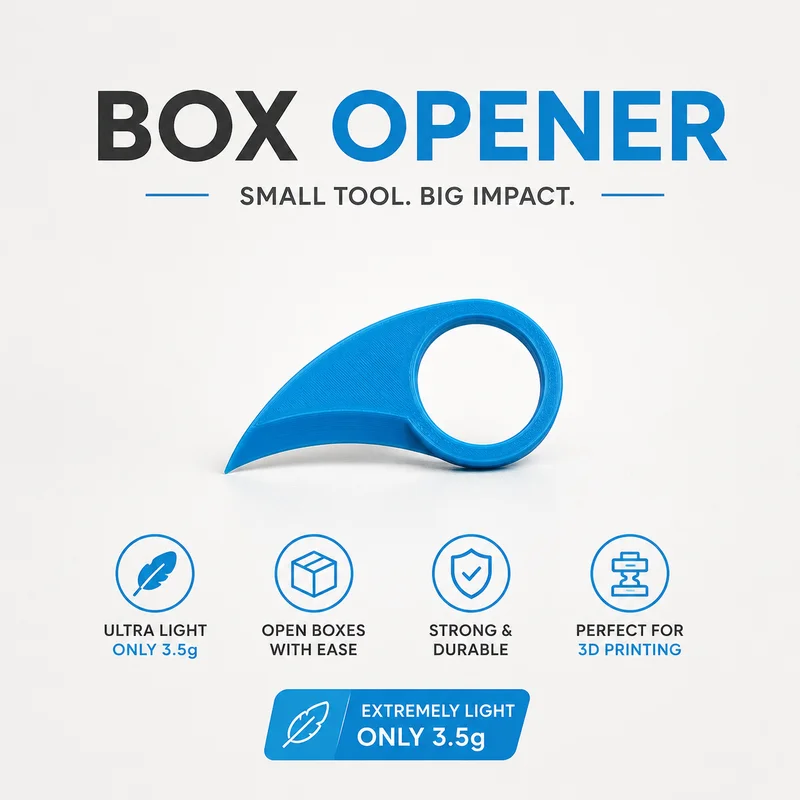
Dụng cụ mở hộp nhỏ gọn | Dao cắt thùng carton an toàn in 3D
 ByDan Schwartz SchwartzLikes744Downloads3.4K
-
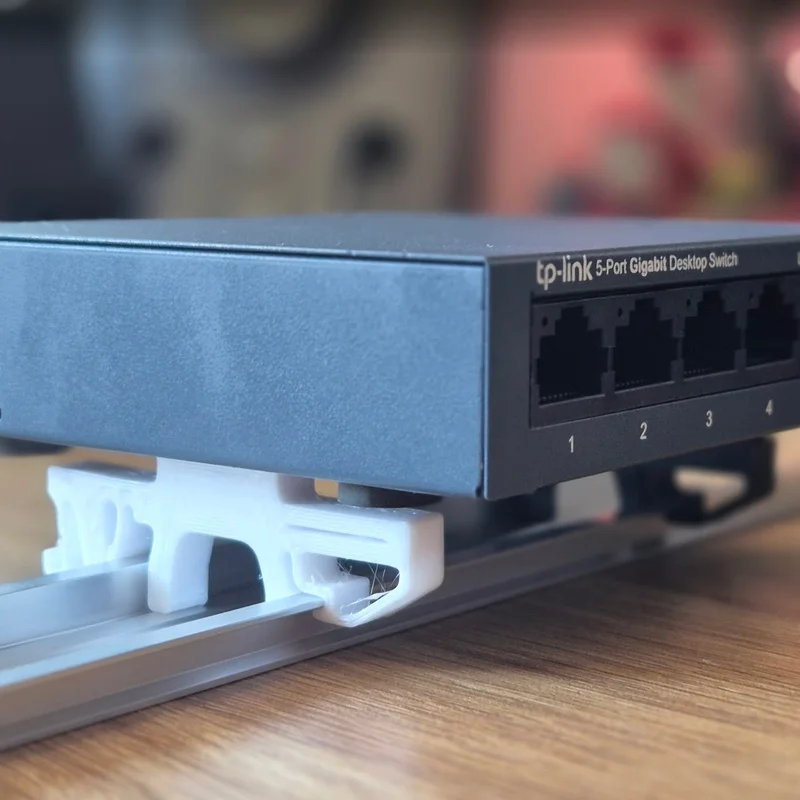
Bộ chuyển đổi từ khe Keyhole sang thanh ray DIN!
 ByBrokentooth_designsLikes83Downloads449
-

Grippy Broom Holder
 Byvc-designLikes0Downloads3.2K
-
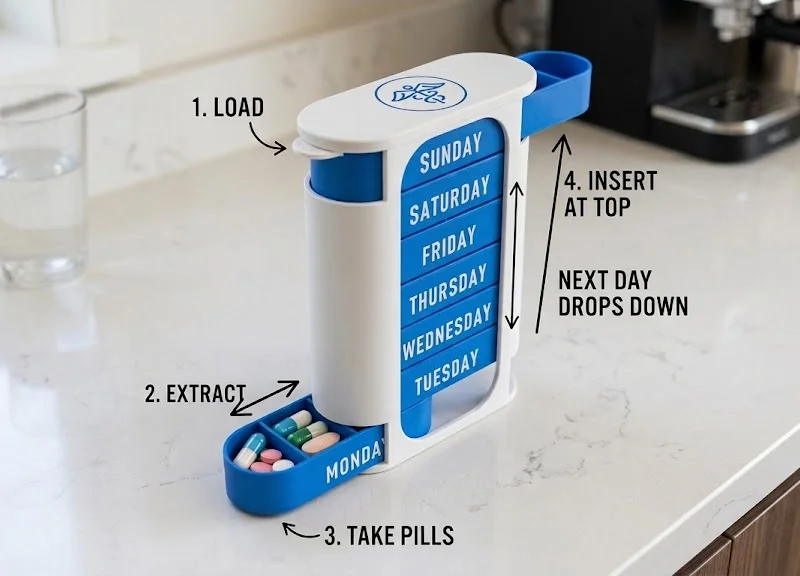
Hộp Chia Thuốc Thông Minh Hàng Tuần - Hệ Thống Tự Động Rơi Gravity Cascade
 ByUpcrid3D_1585693Likes808Downloads2.1K
-
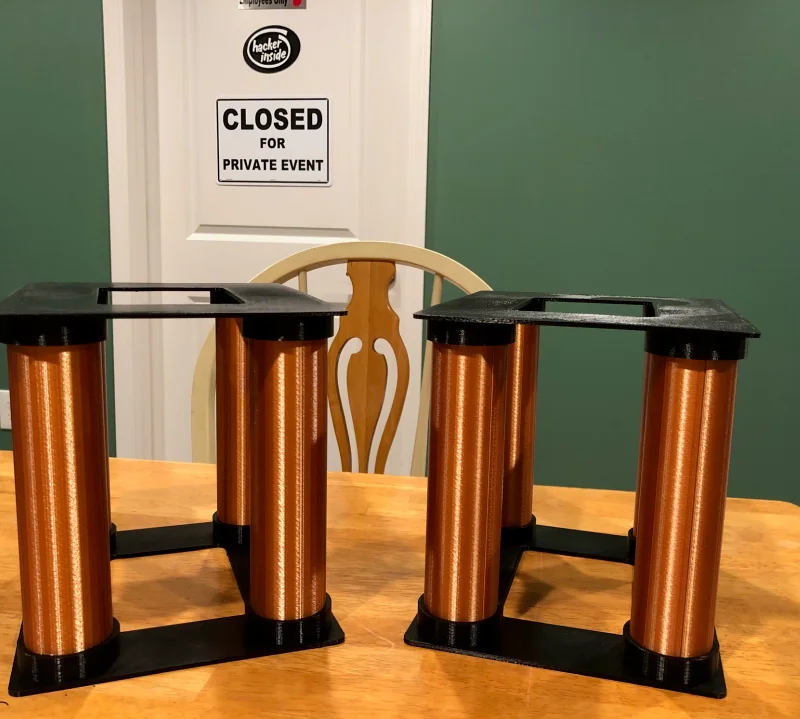
Chân Đế Loa Tùy Chỉnh (Customizable Speaker Stand)
 ByAdam Záhořák ZáhořákLikes39Downloads253
-
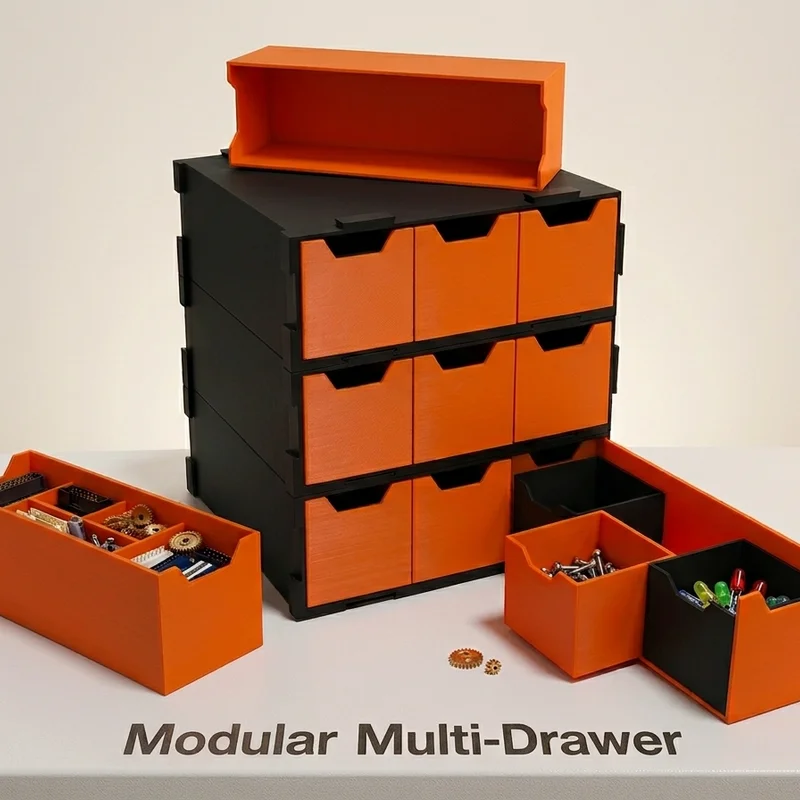
Ngăn Kéo Đa Năng Lắp Ghép Modular
 ByWilko_SLOLikes935Downloads2K


